本文主要是介绍微信小程序(四十四)鉴权组件插槽-登入检测,希望对大家解决编程问题提供一定的参考价值,需要的开发者们随着小编来一起学习吧!
注释很详细,直接上代码
新增内容:
1.鉴权组件插槽的用法
2.登入检测示范
源码:
app.json
{"usingComponents": {"auth":"/components/auth/auth"}
}
app.js
App({globalData:{//定义全局变量isLoad:false}
})
index.wxml
<button type="default" bind:tap="inLoad">登入</button><button type="primary" bind:tap="outLoad">退出登入</button><auth isLoad="{{isLoad}}"><!-- 传输数据 --><view class="tip">登入以后可以查看的内容</view>
</auth>
index.wxss
.tip{font-size: 60rpx;color:palegreen; margin-top: 200rpx;padding: 0rpx 30rpx;background-color: bisque;
}
index.js
Page({data:{isLoad:false},//登入inLoad(){//修改全局变量为trueconst app=getApp()app.globalData.isLoad=true//console.log(app.globalData.isLoad)this.setData({//修改页面数据isLoad:app.globalData.isLoad})},//退出登入outLoad(){const app=getApp()app.globalData.isLoad=false//console.log(app.globalData.isLoad)this.setData({isLoad:app.globalData.isLoad})}
})
温馨提醒,以下组件不是页面,请勿建错
auth.wxml
<slot wx:if="{{isLoad}}"></slot>
auth.js
Component({behaviors: [],properties: {isLoad: {//接收数据type: Boolean,value: false}},lifetimes: {created() {},attached() {},moved() {},detached() {},methods: {}
}
})
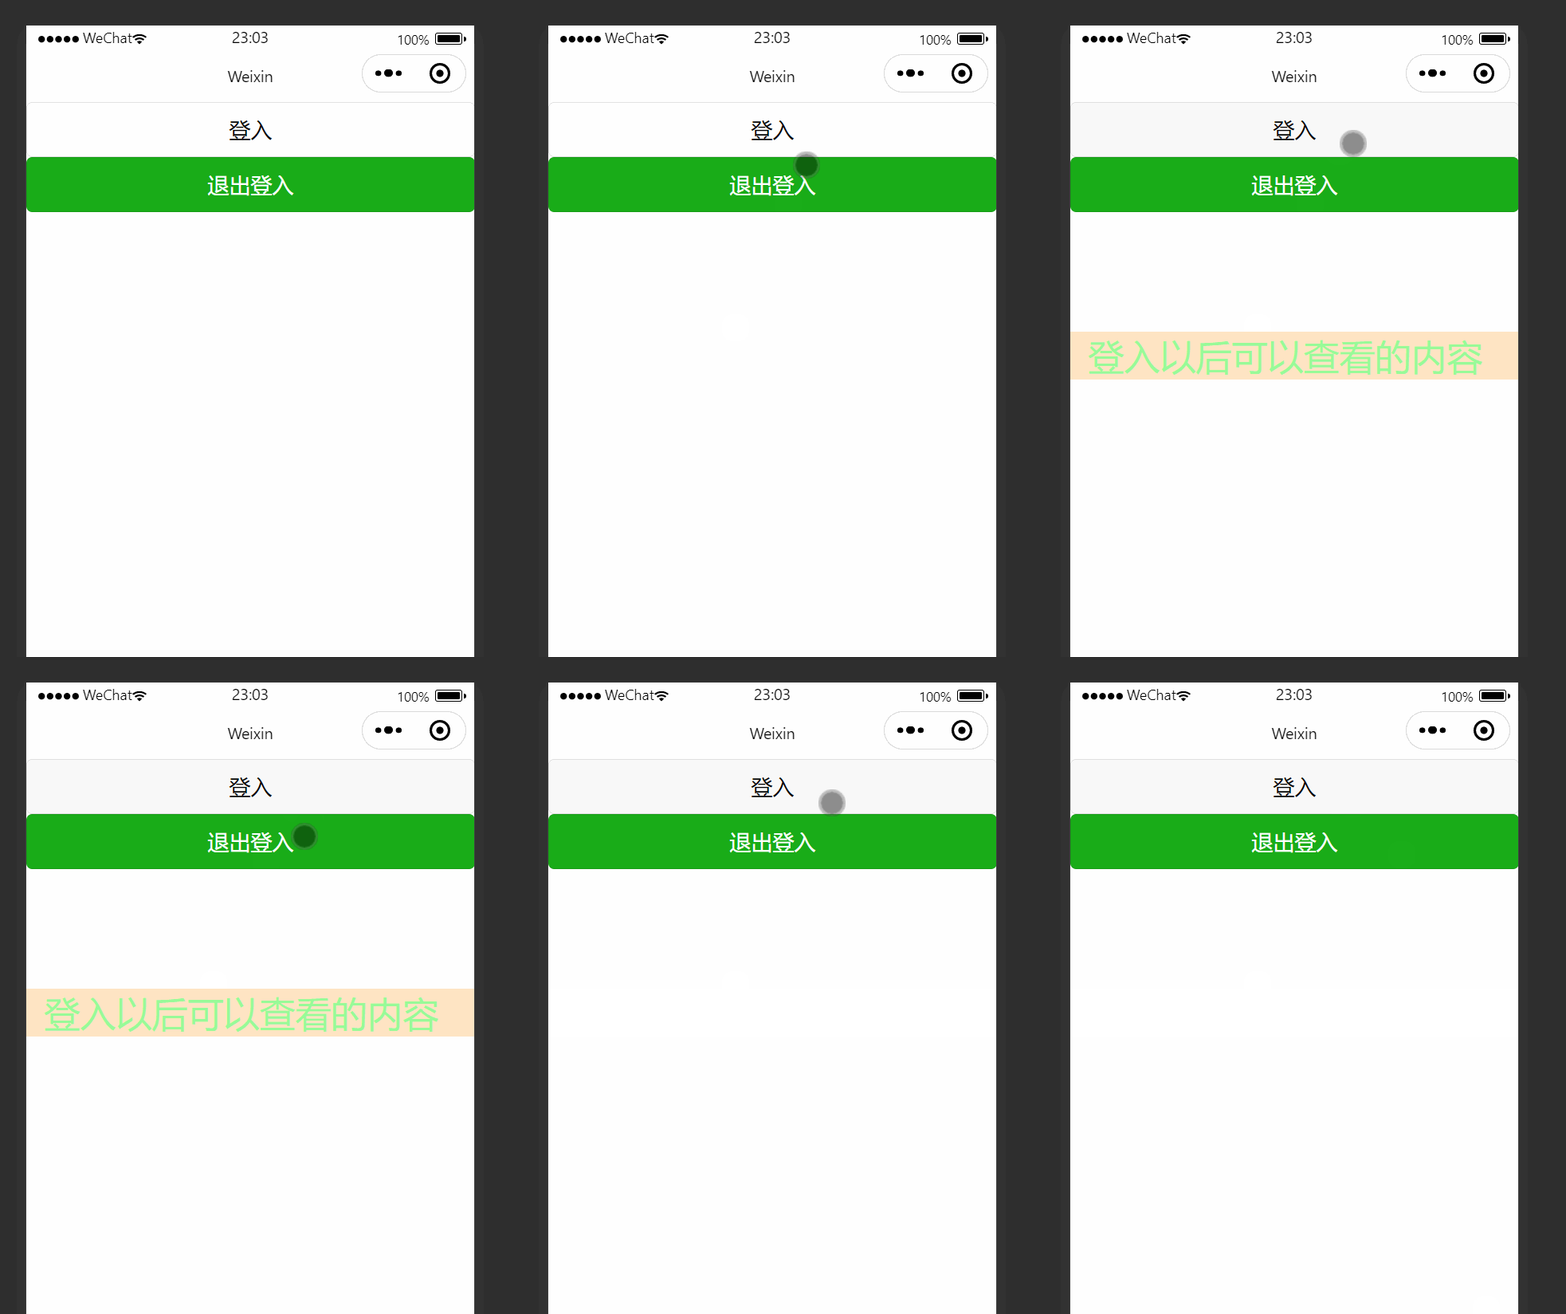
效果演示:

这篇关于微信小程序(四十四)鉴权组件插槽-登入检测的文章就介绍到这儿,希望我们推荐的文章对编程师们有所帮助!


