本文主要是介绍V-rep(CoppeliaSim)添加相机,与python联合仿真,并使用python读取V-rep中的RGB图与深度图,希望对大家解决编程问题提供一定的参考价值,需要的开发者们随着小编来一起学习吧!
目录
- 前言
- 在V-rep中构建场景
- 建立python与V-rep通信
前言
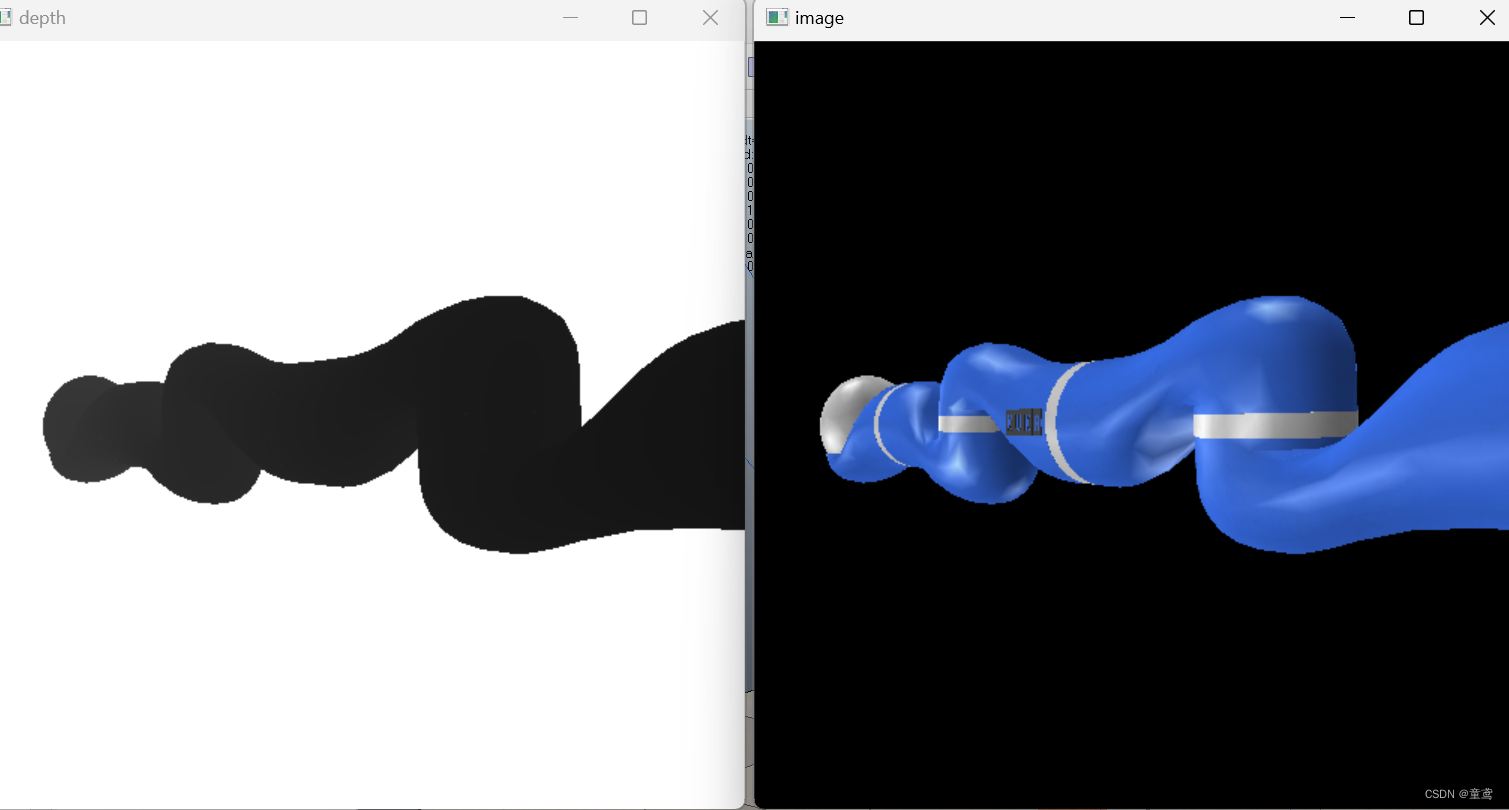
本文主要介绍了如何使用python与V-rep联合仿真,并用OpenCV可视化V-rep中视觉传感器所能看到的 RGB图和深度图,效果图如下。
在V-rep中构建场景
本文使用的V-rep版本是3.5:
- 打开V-rep,并将任意一个目标(如机械臂)拖入到场景中。
- 添加视觉传感器,在场景的空白处点击右键–>Add–>Vision Sensor–> Perspective projection,并将相机旋转合适的角度,使其能够看到机械臂,此时视觉传感器的名称为Vision_sensor。

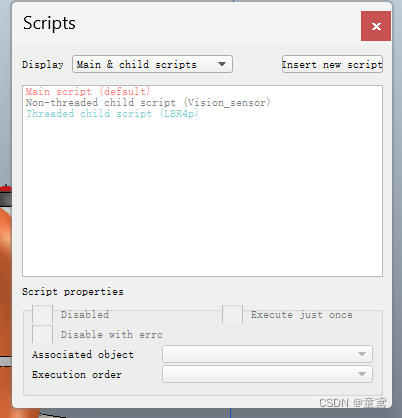
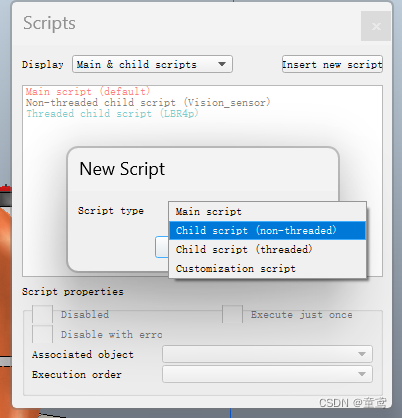
- 点击最右侧竖直工具栏图标按钮的脚本配置按钮,点击右上角Insert new script按钮,点击Child script(non-threaded)按钮创建脚本。点击Scripts中的Associated object,在下拉菜单中选择Vision_sensor,将脚本与相机关联。
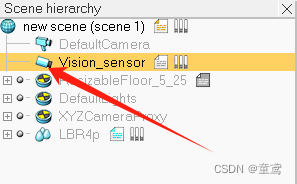
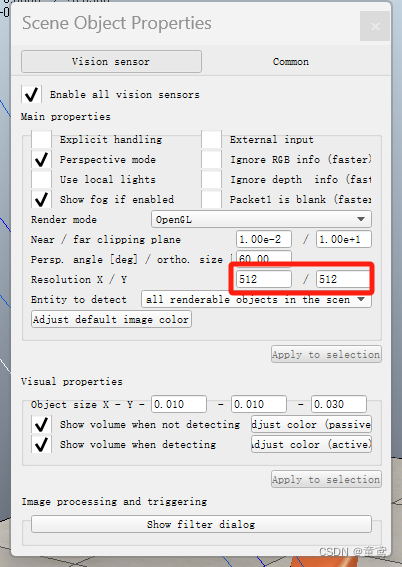
- 双击场景层次结构菜单栏中Vision_sensor的图标,注意不要点击文字。在弹窗中设计图像分辨率大小,如512*512(一定要是2的幂次方)。
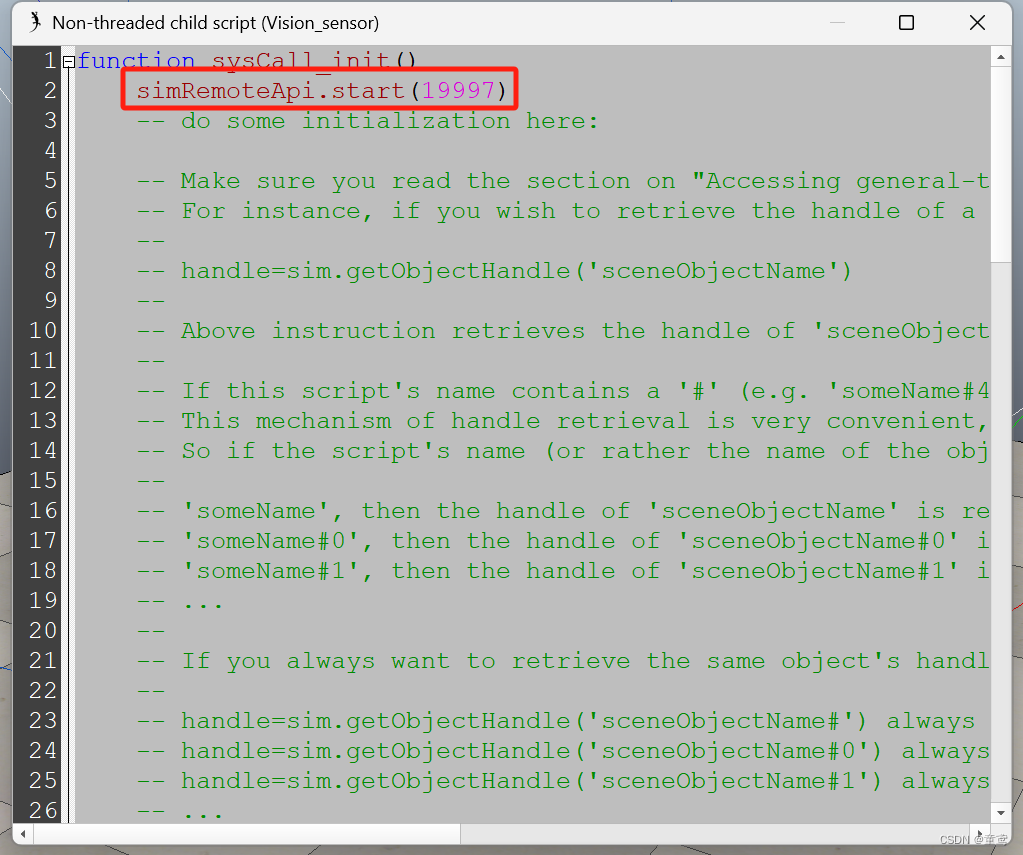
- 点击Vision_sensor后面的书签按钮,弹出Lua脚本,添加simRemoteApi.start(19997),此处的19997为端口号。

建立python与V-rep通信
- 将sim.py , simConst.py , remoteApi.dll(Windows),或 remoteApi.dylib(Mac os) 或 remoteApi.so(Linux) 复制到python项目文件夹中。
其中,sim.py , simConst.py在vrep的安装目录中,具体在“programming/remoteApiBindings/python”下。 **remoteApi.dll(Windows)**在“programming/remoteApiBindings/lib/lib/Windows”下。
- python与vrep通信
① 调用import sim加载库;
② 利用sim.simxStart()建立客户端;
③ 调用以"simx"为前缀的vrep远程API函数;
④ 停止仿真:sim.simxFinish().
- 下面是以上面场景为例,写的python脚本,该脚本实现了与vrep的通信,并用OpenCV将vrep相机数据的RGB图和depth图进行了可视化显示:
import sim
import time
import sys
import cv2
import numpy as np#关闭之前的连接
sim.simxFinish(-1)# 获得客户端ID
clientID = sim.simxStart('127.0.0.1',19997,True,True,5000,5)
print("Connection success!!!")if clientID != -1:print('Connected to remote API server')
else:print('Connection not successful')sys.exit('Could not connect')# 启动仿真
sim.simxStartSimulation(clientID,sim.simx_opmode_blocking)
print("Simulation start")# 使能同步模式
sim.simxSynchronous(clientID,True)# 获得对象的句柄
ret, targetObj = sim.simxGetObjectHandle(clientID,'target',sim.simx_opmode_blocking)
errorCode,visionSensorHandle = sim.simxGetObjectHandle(clientID,'Vision_sensor',sim.simx_opmode_oneshot_wait)
errprCode,resolution,rawimage = sim.simxGetVisionSensorImage(clientID,visionSensorHandle,0,sim.simx_opmode_streaming)def readVisionSensor():global resolutionerrprCode, resolution, rawimage = sim.simxGetVisionSensorImage(clientID, visionSensorHandle, 0, sim.simx_opmode_buffer)sensorImage = []sensorImage = np.array(rawimage, dtype=np.uint8)    #transform the raw image to uint8sensorImage.resize([resolution[1], resolution[0], 3])        # Process the image to the format (256,128,3)cv2.flip(sensorImage, 0, sensorImage)  # image upside downimage = sensorImage# print("image.shape: ", image.shape)return imagedef readDepthSensor():global resolution# 获取 Depth Infosim_ret, resolution, depth_buffer = sim.simxGetVisionSensorDepthBuffer(clientID, visionSensorHandle, sim.simx_opmode_blocking)depth_img = np.asarray(depth_buffer)depth_img.shape = (resolution[1], resolution[0])zNear = 0.01zFar = 2depth_img = depth_img * (zFar - zNear) + zNeardepth_img = cv2.flip(depth_img, 0)return depth_imgwhile True:# 获得对象的位置,并输出ret, arr = sim.simxGetObjectPosition(clientID,targetObj,-1,sim.simx_opmode_blocking)image = readVisionSensor()depth = readDepthSensor()print(depth)cv2.imshow("image", image)cv2.imshow("depth", depth)cv2.waitKey(1)saveFile = ".\image.jpg"  # 保存文件的路径cv2.imwrite(saveFile, depth)  # 保存图像文件if ret == sim.simx_return_ok:print(arr)# time.sleep(2)# 退出
sim.simxFinish(clientID)
print('Program end')
- 先运行vrep仿真,再运行python脚本,即可进行显示。

这篇关于V-rep(CoppeliaSim)添加相机,与python联合仿真,并使用python读取V-rep中的RGB图与深度图的文章就介绍到这儿,希望我们推荐的文章对编程师们有所帮助!


