本文主要是介绍使用ncnn的benchmark来测试模型每层结构的推理耗时,希望对大家解决编程问题提供一定的参考价值,需要的开发者们随着小编来一起学习吧!
一、编译protobuf-3.21.12
链接:Release Protocol Buffers v21.12 · protocolbuffers/protobuf · GitHub
下载并解压,然后执行以下指令,
cd <protobuf-root-dir>mkdir build_vs2017_x86
cd build_vs2017_x86## 假设编译的是32位的库
cmake -A Win32 -DCMAKE_INSTALL_PREFIX=%cd%/install -Dprotobuf_BUILD_TESTS=OFF -Dprotobuf_MSVC_STATIC_RUNTIME=OFF ../cmakecmake --build . --config Release -j 8cmake --build . --config Release --target install
二、编译ncnn-20240102
链接:Release android ios macos linux windows webassembly 预编译库 20240102 1e88fb8 · Tencent/ncnn · GitHub
下载并解压,然后执行以下指令,
cd <ncnn-root-dir>mkdir build_vs2017_x86
cd build_vs2017_x86## 需要将NCNN_BENCHMARK设为ON, 否则不会打印网络中每层结构的推理耗时
cmake -A Win32 -DCMAKE_INSTALL_PREFIX=%cd%/install -Dprotobuf_DIR=<protobuf-root-dir>/build_vs2017_x86/install/cmake -DNCNN_VULKAN=OFF -DNCNN_AVX2=OFF -DNCNN_AVX=OFF -DNCNN_BUILD_TESTS=OFF -DNCNN_OPENMP=OFF -DNCNN_BUILD_EXAMPLES=OFF -DNCNN_SSE2=OFF -DNCNN_BENCHMARK=ON..cmake --build . --config Release -j 8cmake --build . --config Release --target install三、使用benchncnn.exe测试网络中每层结构的推理耗时
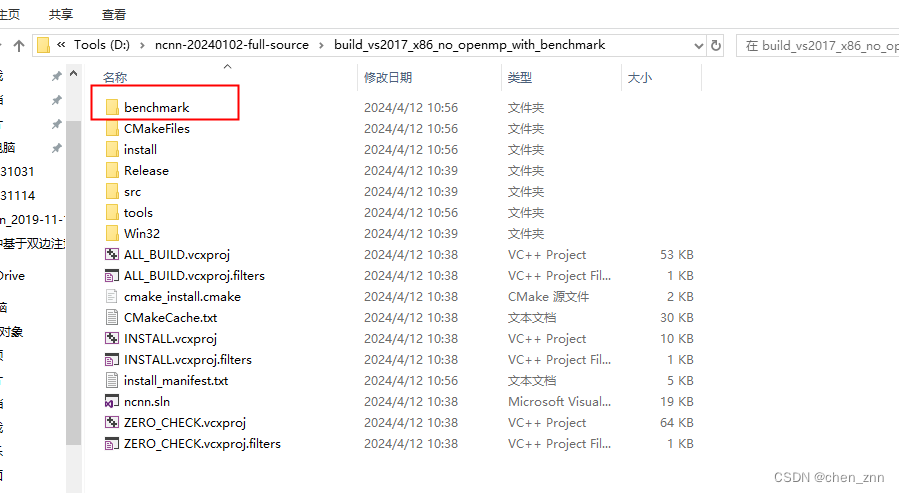
随后,在build_vs2017_x86目录下,会有benchmark文件夹,(下图仅作参考)
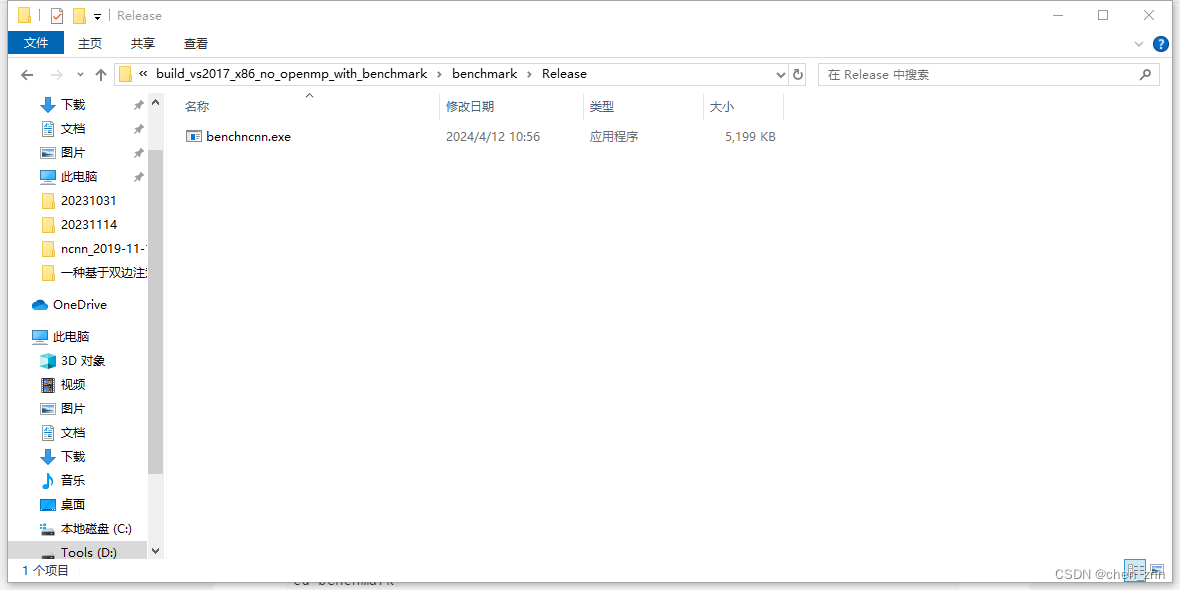
 进入benchmark/Release,会有一个编译好的可执行文件:benchncnn.exe

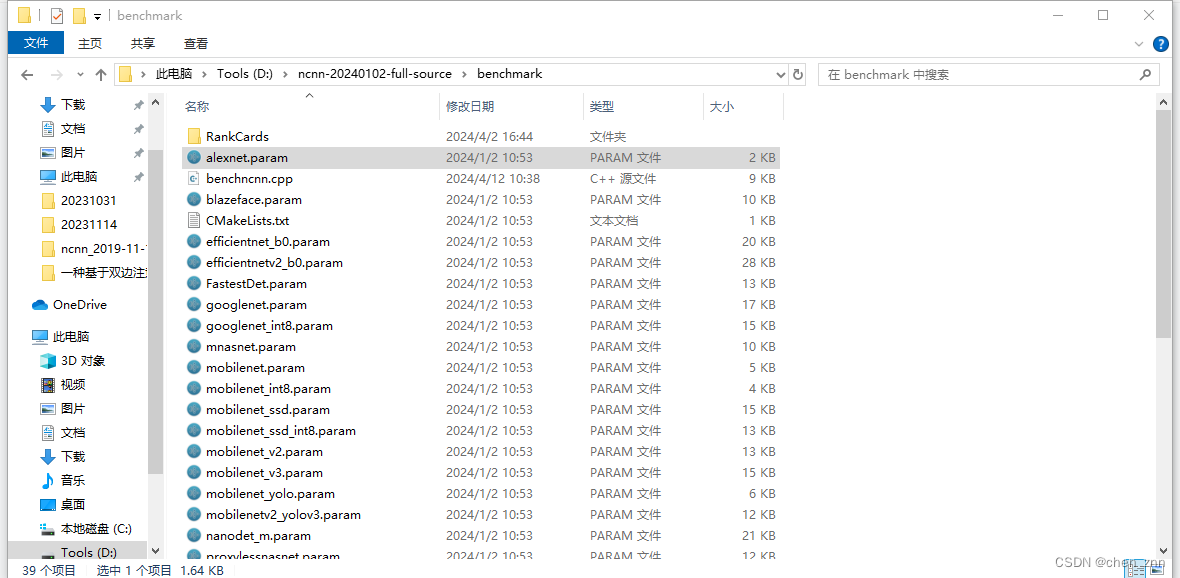
将ncnn-20240102/benchmark中的param文件(如,alexnet.param)复制到ncnn-20240102/build_vs2017_x86/benchmark/Release中,


做完以上操作后,便可测试alexnet每层结构的耗时,
## loop_count = 1
## num_threads = 1
## powersave = 2
## gpu_device = -1
## cooling_down = 1benchncnn.exe 1 1 2 -1 1 param=alexnet.param shape=[227,227,3]

这篇关于使用ncnn的benchmark来测试模型每层结构的推理耗时的文章就介绍到这儿,希望我们推荐的文章对编程师们有所帮助!


