本文主要是介绍前端对接fastGPT流式数据+打字机效果,希望对大家解决编程问题提供一定的参考价值,需要的开发者们随着小编来一起学习吧!
首先在对接api时 参数要设置stream: true,
const data = {chatId: 'abc',stream: true,//这里true返回流式数据detail: false,variables: {uid: 'sfdsdf',name: 'zhaoyunyao,'},messages: [{ content: text, role: 'user' }]};不要用axios发请求 不然处理不了流式数据 我这里使用fetch
const response = await fetch(`${url}`, {method: 'post',headers: headers,body: JSON.stringify(data)});const reader = response.body.getReader();//创建了一个读取器对象,用于从响应主体中读取数据。response.body 是一个 ReadableStream 对象,通过调用 getReader() 方法可以获取一个读取器对象,以便逐步读取响应的内容。// 循环读取响应流while (true) {const { done, value } = await reader.read();if (done) break;// 将ArrayBuffer转为文本const chunk = new TextDecoder('utf-8').decode(value);// 处理文本为json格式const jsonArr = chunk.trim().replace(/\n/g, '').split('data: ').splice(1)for (let index = 0; index < jsonArr.length; index++) {const json = jsonArr[index];try {if (JSON.parse(json).choices) {const text = JSON.parse(json).choices[0].delta.content ?? ''content += text.replace(/^\n/g, '')} else {content = "内部出了问题o(╥﹏╥)o"}} catch {// 处理转json不报错}}obj.content = content //这里的content就是最终输出的文本}然后我们再加一个打字机的光标 用html+css实现
<div class="chat-item-details">{{ item.content }}/** 这里的span就是光标 **/<span class="cursor-blink" v-show="item.awaitReply"> </span></div>再写上对应的css
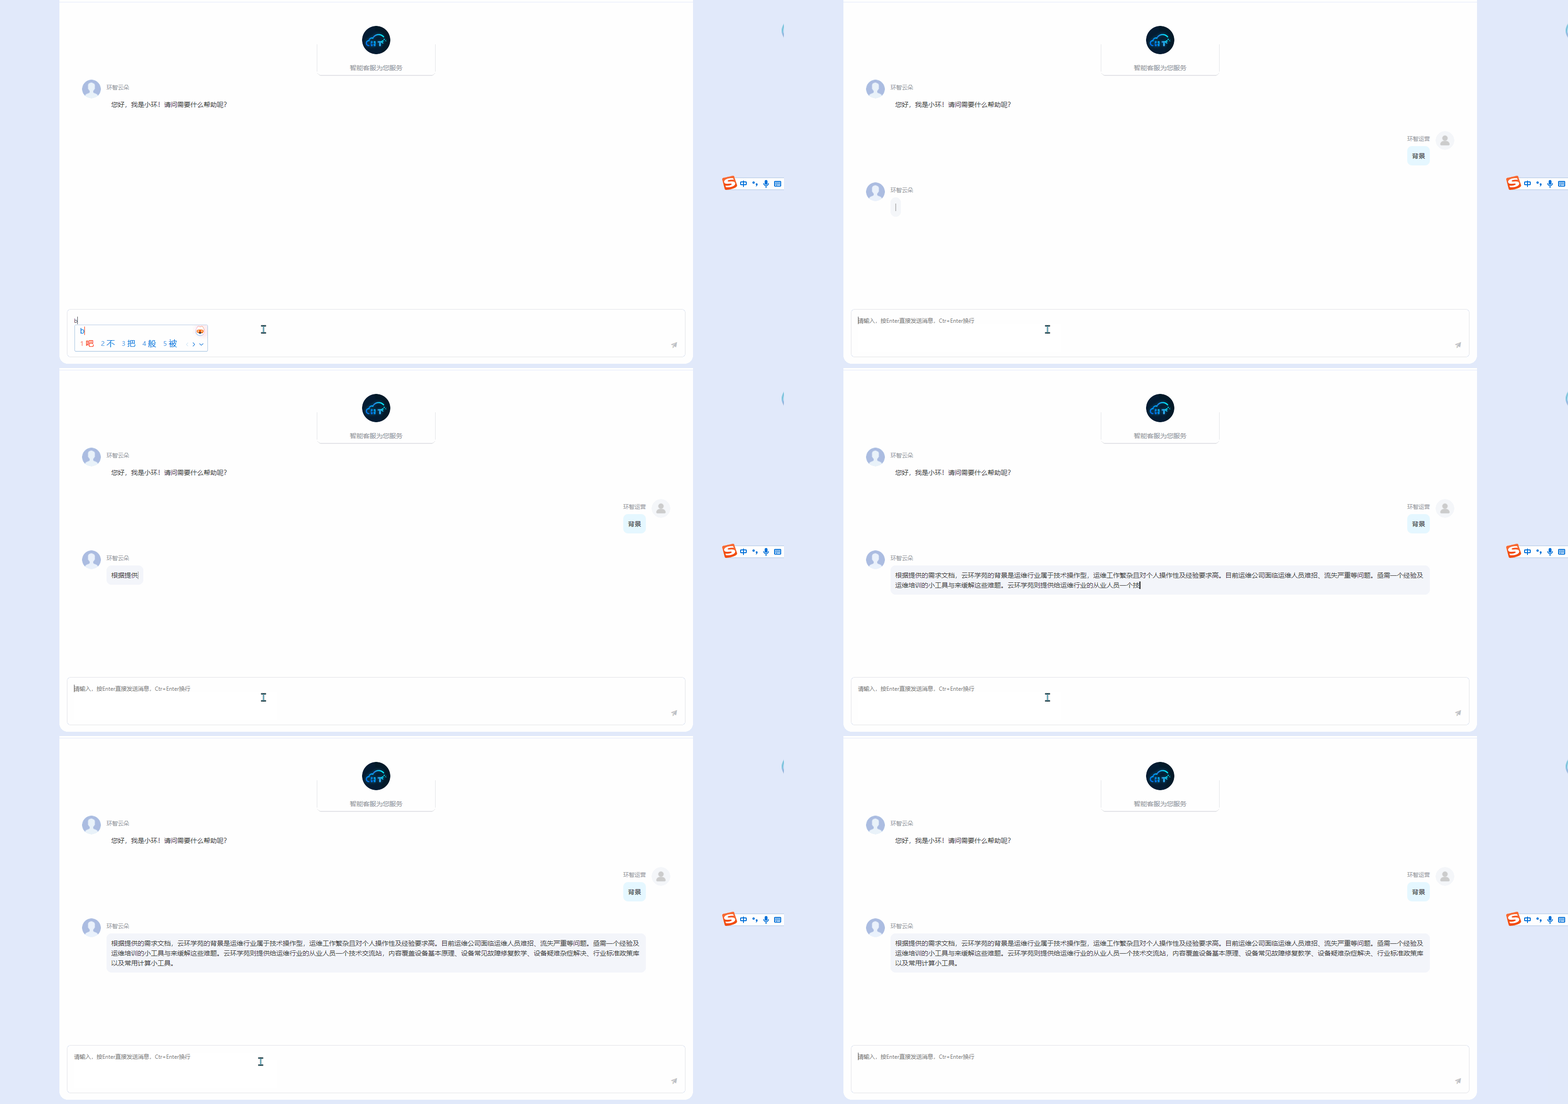
.cursor-blink {display: inline-block;height: 16px;margin-bottom: -3px;width: 2px;animation: blink 1s infinite steps(1, start);}/*这里设置动画blink*/@keyframes blink {0%,100% {background-color: #000;color: #aaa;}50% {background-color: #bbb;/* not #aaa because it's seem there is Google Chrome bug */color: #000;}}最后呈现的效果

上图呈现的差不多是打字机的效果了 不过呢 但在传输过程中每次停顿后会跳出一串内容然后又停顿一会,阅读体验有些不流畅, 就像玩游戏时帧数低卡顿的感觉, 我们用一个队列让它逐字地展示出来,并且根据传输速度控制输出的速度
- 需要一个打字机队列
- 队列提供入队和消费功能
- 需要一个动态时间来控制文字输出
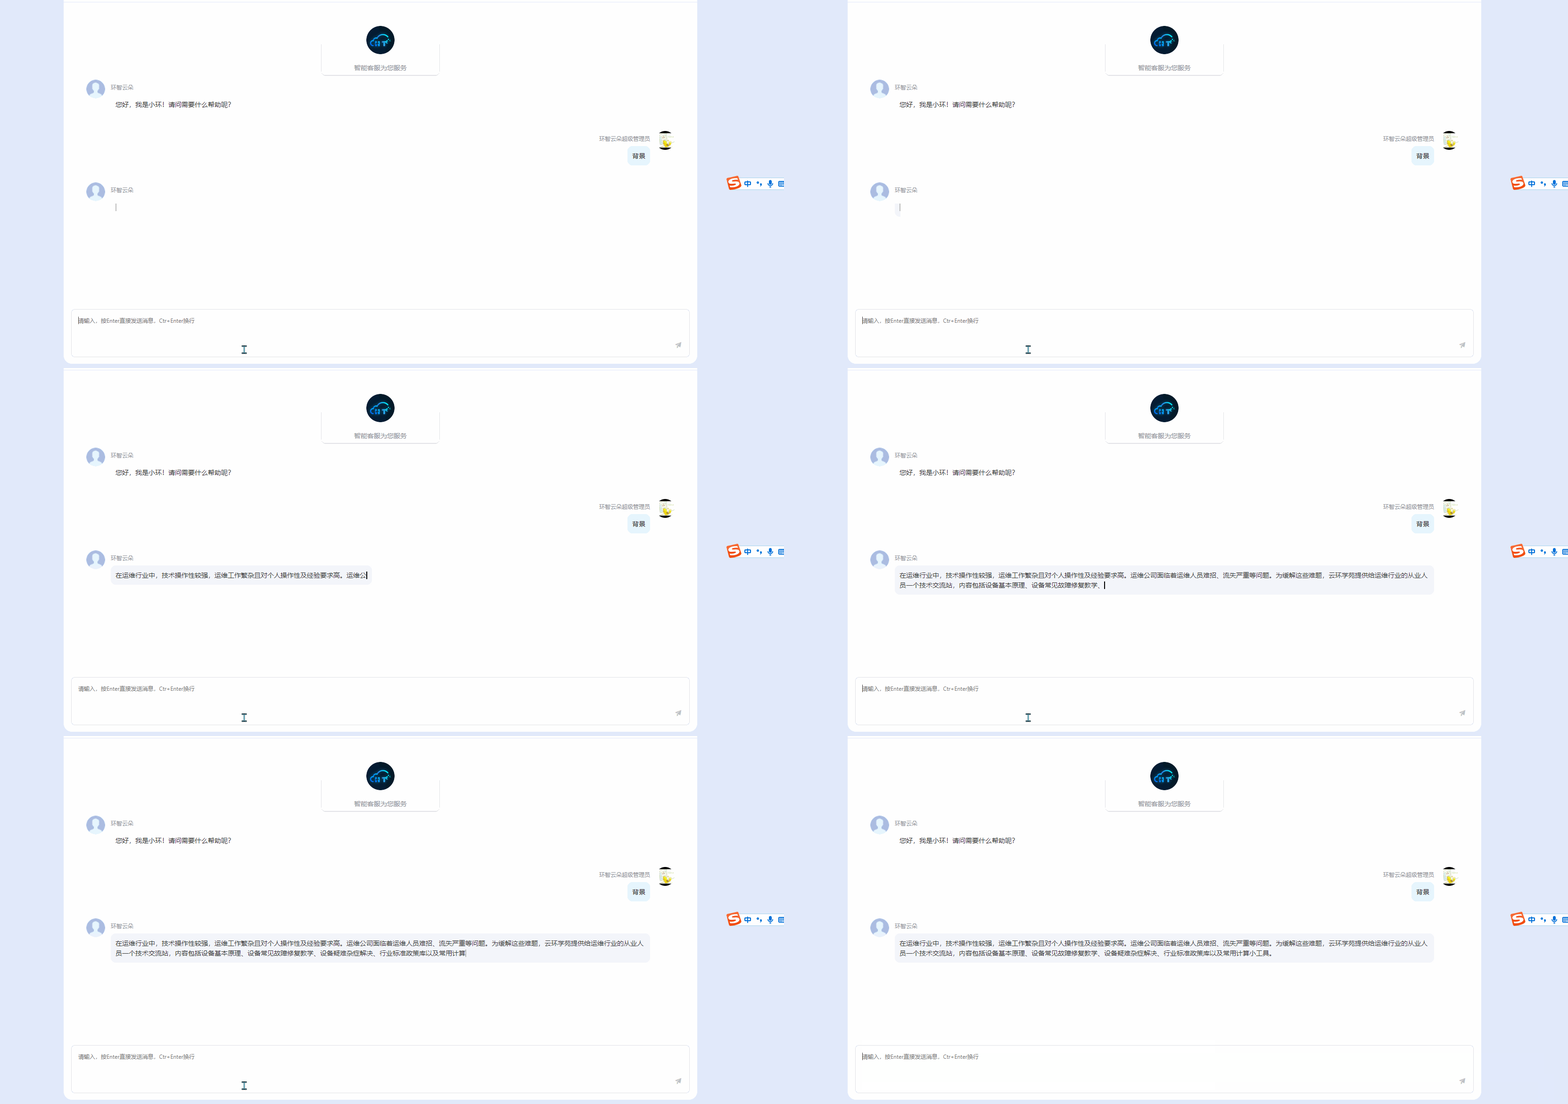
// 打字机队列// 添加队列addQueue(str,obj) {obj.queue.push(...str.split(''))},// 消费队列consume(obj) {if (obj.queue.length > 0) {let str = obj.queue.shift()str && this.onConsume(str,obj)} else if (obj.isDone) {obj.consuming = falseclearTimeout(obj.timmer)obj.awaitReply = falsethis.scrollBottom()}},// 消费间隔time(obj) {let time = 1000 / obj.queue.lengthreturn time > 100 ? 100 : time},// 消费下一个next(obj) {this.consume(obj)obj.timmer = setTimeout(() => {if (obj.consuming) {this.next(obj)}}, this.time(obj))},start(obj) {obj.consuming = trueobj.isDone=falsethis.next(obj)},done(obj) {obj.isDone=true},onConsume(str,obj) {obj.content += str}, 加了过后的效果
最后附上完整代码
export default {data() {return {key: "xxx",AppId: "xx",text: "",readonly: false,messages: [{ content: "您好,我是小环!请问需要什么帮助呢?", role: 'assistant', awaitReply: false },],userImg: this.$store.getters.avatar,username: this.$store.getters.nickname,awaitReply: false,timmer: null,obj: null,queue: [],consuming: false,isDone: false}},mounted() {const messageTextarea = document.getElementById('messageTextarea');messageTextarea.addEventListener('keydown', (event) => {// 如果按下的是回车键(Enter)if (event.key === 'Enter' && !event.ctrlKey) {event.preventDefault(); // 阻止默认的换行行为// 在这里可以添加发送消息的逻辑this.send();} else if (event.key === 'Enter' && event.ctrlKey) {const cursorPosition = messageTextarea.selectionStart; // 获取光标位置const textBeforeCursor = messageTextarea.value.substring(0, cursorPosition); // 获取光标前的文本const textAfterCursor = messageTextarea.value.substring(cursorPosition); // 获取光标后的文本messageTextarea.value = textBeforeCursor + '\n' + textAfterCursor; // 在光标位置插入换行符messageTextarea.selectionStart = cursorPosition + 1; // 设置光标位置为插入换行符后的位置messageTextarea.selectionEnd = cursorPosition + 1;}});},methods: {// 打字机队列// 添加队列addQueue(str, obj) {obj.queue.push(...str.split(''))},// 消费队列consume(obj) {if (obj.queue.length > 0) {let str = obj.queue.shift()str && this.onConsume(str, obj)} else if (obj.isDone) {obj.consuming = falseclearTimeout(obj.timmer)obj.awaitReply = falsethis.scrollBottom()}},// 消费间隔time(obj) {let time = 500 / obj.queue.lengthreturn time > 50 ? 50 : time},// 消费下一个next(obj) {this.consume(obj)obj.timmer = setTimeout(() => {if (obj.consuming) {this.next(obj)}}, this.time(obj))},start(obj) {obj.consuming = trueobj.isDone = falsethis.next(obj)},done(obj) {obj.isDone = true},onConsume(str, obj) {obj.content += str},async send() {if (this.text === "" || /^\s+$/.test(this.text)) {this.$message.warning('请输入内容')return}const text = this.textthis.text = ""const url = 'https://api.fastgpt.in/api/v1/chat/completions';this.messages.push({ role: 'user', content: text });let obj = { content: "", role: 'assistant', awaitReply: true, queue: [], consuming: false, isDone: false, timmer: null }this.messages.push(obj);this.scrollBottom()const data = {// 这里可以设置请求参数chatId: 'abc',stream: true,detail: false,variables: {uid: 'sfdsdf',name: 'zhaoyunyao,'},messages: [{ content: text, role: 'user' }]};const headers = {// 这里可以设置请求头Authorization: `Bearer ${this.key}`,"Content-Type": "application/json"};try {const response = await fetch(`${url}`, {method: 'post',headers: headers,body: JSON.stringify(data)});const reader = response.body.getReader();//let content = ""// 开始打字机队列this.start(obj)// 循环读取响应流while (true) {const { done, value } = await reader.read();if (done) break;// 将ArrayBuffer转为文本const chunk = new TextDecoder('utf-8').decode(value);// 处理文本为json格式const jsonArr = chunk.trim().replace(/\n/g, '').split('data: ').splice(1)for (let index = 0; index < jsonArr.length; index++) {const json = jsonArr[index];try {if (JSON.parse(json).choices) {const text = JSON.parse(json).choices[0].delta.content ?? ''this.addQueue(text.replace(/^\n/g, ''), obj)} else {this.addQueue('内部出了问题o(╥﹏╥)o', obj)}} catch {// 处理转json不报错}}this.scrollBottom()}} catch (error) {console.error('请求错误:', error);}this.done(obj)},// 滚到最底部scrollBottom() {setTimeout(() => {const mainChat = this.$refs.mainChatmainChat.scrollTop = mainChat.scrollHeight}, 0)},}
}
这篇关于前端对接fastGPT流式数据+打字机效果的文章就介绍到这儿,希望我们推荐的文章对编程师们有所帮助!


