本文主要是介绍ROS-Tutorials:rviz之Markers: Sending Basic Shapes (C++,附vscode调试说明),希望对大家解决编程问题提供一定的参考价值,需要的开发者们随着小编来一起学习吧!
官方的教程在这里:rviz/Tutorials/Markers: Basic Shapes - ROS Wiki![]() https://wiki.ros.org/rviz/Tutorials/Markers%3A%20Basic%20Shapes
https://wiki.ros.org/rviz/Tutorials/Markers%3A%20Basic%20Shapes
我自己在ubuntu20.04上运行时碰到了一些问题,所以记录一下,
mkdir -p prj001/src
cd prj002/src
catkin_create_pkg using_markers roscpp visualization_msgs
这时候会生成下面这样的目录结构:
~/prj001/src/using_markers/src
~/prj001/src/using_markers/include
~/prj001/src/using_markers/CMakeLists.txt
然后建立一个叫basic_shapes.cpp的文件,放在这里,
~/prj001/src/using_markers/src/basic_shapes.cpp文件内容如下,
#include <ros/ros.h>
#include <visualization_msgs/Marker.h>int main( int argc, char** argv )
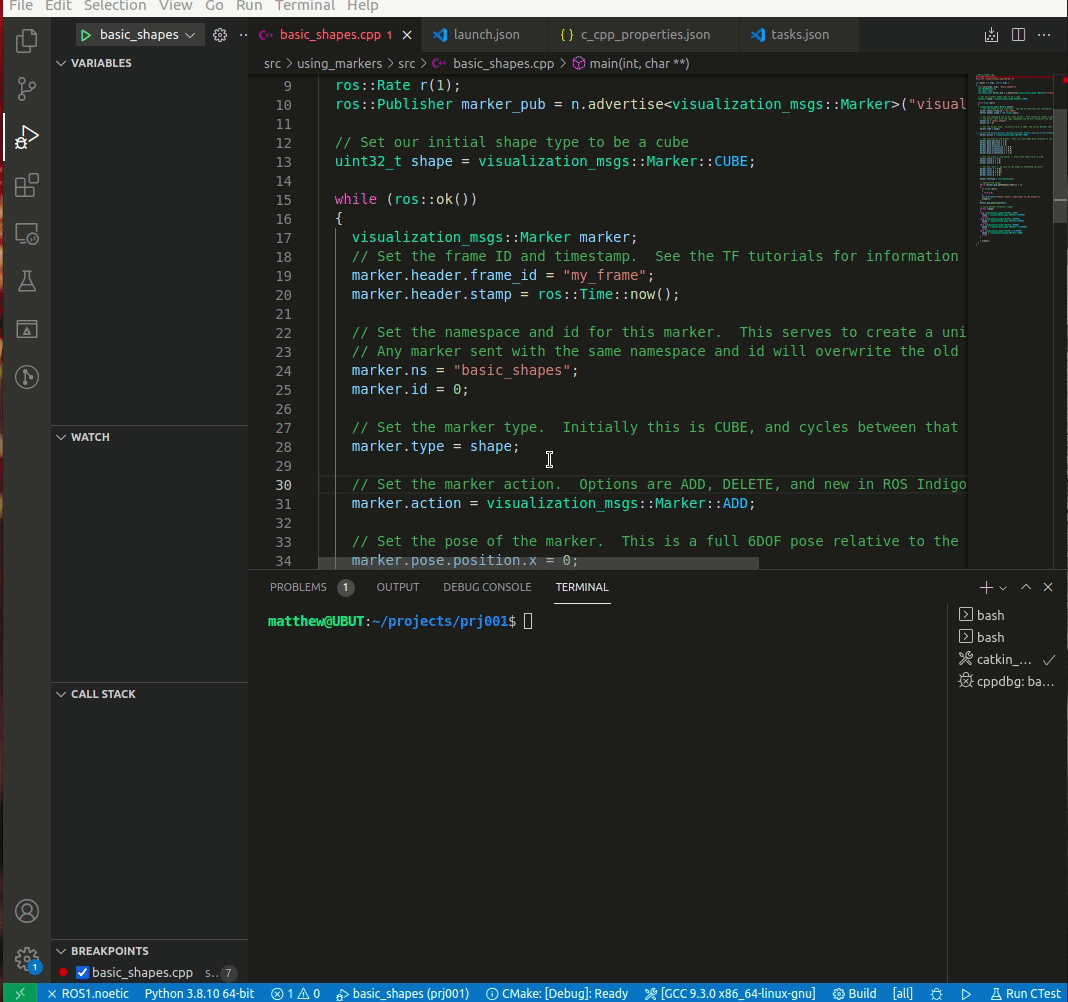
{ros::init(argc, argv, "basic_shapes");ros::NodeHandle n;ros::Rate r(1);ros::Publisher marker_pub = n.advertise<visualization_msgs::Marker>("visualization_marker", 1);// Set our initial shape type to be a cubeuint32_t shape = visualization_msgs::Marker::CUBE;while (ros::ok()){visualization_msgs::Marker marker;// Set the frame ID and timestamp. See the TF tutorials for information on these.marker.header.frame_id = "my_frame"; //<------------注意这里有改动marker.header.stamp = ros::Time::now();// Set the namespace and id for this marker. This serves to create a unique ID// Any marker sent with the same namespace and id will overwrite the old onemarker.ns = "basic_shapes";marker.id = 0;// Set the marker type. Initially this is CUBE, and cycles between that and SPHERE, ARROW, and CYLINDERmarker.type = shape;// Set the marker action. Options are ADD, DELETE, and new in ROS Indigo: 3 (DELETEALL)marker.action = visualization_msgs::Marker::ADD;// Set the pose of the marker. This is a full 6DOF pose relative to the frame/time specified in the headermarker.pose.position.x = 0;marker.pose.position.y = 0;marker.pose.position.z = 0;marker.pose.orientation.x = 0.0;marker.pose.orientation.y = 0.0;marker.pose.orientation.z = 0.0;marker.pose.orientation.w = 1.0;// Set the scale of the marker -- 1x1x1 here means 1m on a sidemarker.scale.x = 1.0;marker.scale.y = 1.0;marker.scale.z = 1.0;// Set the color -- be sure to set alpha to something non-zero!marker.color.r = 0.0f;marker.color.g = 1.0f;marker.color.b = 0.0f;marker.color.a = 1.0;marker.lifetime = ros::Duration();// Publish the markerwhile (marker_pub.getNumSubscribers() < 1){if (!ros::ok()){return 0;}ROS_WARN_ONCE("Please create a subscriber to the marker");sleep(1);}marker_pub.publish(marker);// Cycle between different shapesswitch (shape){case visualization_msgs::Marker::CUBE:shape = visualization_msgs::Marker::SPHERE;break;case visualization_msgs::Marker::SPHERE:shape = visualization_msgs::Marker::ARROW;break;case visualization_msgs::Marker::ARROW:shape = visualization_msgs::Marker::CYLINDER;break;case visualization_msgs::Marker::CYLINDER:shape = visualization_msgs::Marker::CUBE;break;}r.sleep();}
}要特别注意"/my_frame"被我改成了"my_frame",主要原因是新的tf不再支持原来的命名方式。如果不改的话rviz会报错:
Invalid argument "/my_frame" passed to canTransform argument source_frame in tf2 frame_ids cannot start with a '/' like同时basic_shapes也会提示:
please create a subscriber to the marker 然后,CMakeLists.txt之中要添加下面这两句
add_executable(basic_shapes src/basic_shapes.cpp)
target_link_libraries(basic_shapes ${catkin_LIBRARIES})
这样,准备好之后就可以按官方的操作编译了,
$ cd ~/prj001/
$ catkin_make
rosmake rviz
完成后分别打开三个terminal,在每个terminal中要记得source devel/setup.bash
roscore
rosrun using_markers basic_shapes
rosrun rviz rviz
最后就可以看到输出的图像了。

VSCode调试说明
参考:
Ubuntu20.04+vscode快速调试ROS通用程序_tanmx219的博客-CSDN博客(PlaceHolder.....)这里假设你已经安装好了ROS noetic和git。(1) 安装vscode和extensionsubuntu上如何安装vscode可以参考官网,Running Visual Studio Code on Linux需要安装的vscode扩展如下,C/C++ (c++ intellisense and configuration help) -> MandatoryClangd (Alternative intellisense provhttps://blog.csdn.net/tanmx219/article/details/122799015
快捷键ctrl+shift+p,找到C/C++ :Edit configurations (JSON),添加c_cppproperties.json文件,这个文件应该是指定一些路径和语言标准,如下,
c_cpp_properties.json
{"configurations": [{"browse": {"databaseFilename": "${workspaceFolder}/.vscode/browse.vc.db","limitSymbolsToIncludedHeaders": false},"includePath": ["/opt/ros/noetic/include/**","/home/matthew/projects/prj001/src/using_markers/include/**","/usr/include/**"],"name": "ROS","intelliSenseMode": "gcc-x64","compilerPath": "/usr/bin/gcc","cStandard": "c11","cppStandard": "c++14","configurationProvider": "ms-vscode.cmake-tools"}],"version": 4
}
快捷键ctrl+shift+p,找到Tasks:Configure Task,添加tasks.json文件,这个文件指定一些catkin_make的编译参数。
注意这里的定义"-DCMAKE_BUILD_TYPE=Debug",
tasks.json
{"tasks": [{"type": "shell","label": "prerun","command": "source ./devel/setup.sh && export ROS_MASTER_URI=http://localhost:11311/",            },{"type": "shell","label": "catkin_make","command": "catkin_make","args": ["--directory","~/projects/prj001/","-DCMAKE_BUILD_TYPE=Debug"],"options": {"cwd": "${fileDirname}"},"problemMatcher": ["$msCompile"],"group": "build","detail": "调试器生成的任务。"},{"label": "Build","dependsOn": ["catkin_make","prerun"]}],"version": "2.0.0"
}
launch.json
{// Use IntelliSense to learn about possible attributes.// Hover to view descriptions of existing attributes.// For more information, visit: https://go.microsoft.com/fwlink/?linkid=830387"version": "0.2.0","configurations": [{"name": "basic_shapes","type": "cppdbg","request": "launch","program": "${workspaceFolder}/devel/lib/using_markers/basic_shapes","args": [],"stopAtEntry": false,"cwd": "${fileDirname}","environment": [],"externalConsole": false,"MIMode": "gdb","setupCommands": [{"description": "为 gdb 启用整齐打印","text": "-enable-pretty-printing","ignoreFailures": true}],"preLaunchTask": "catkin_make","miDebuggerPath": "/usr/bin/gdb"}]
}
附加说明
如果需要在launch之前运行tasks.json里的任务,就可以加上preLaunchTask这一条,比如这里tasks.json里有一个名字叫"catkin_make",可以通过
"preLaunchTask": "catkin_make"
这样的语句使程序在启动前都编译一次源码。
这样,启动vscode,选择basic_shapes,就可以调试源码了。
这篇关于ROS-Tutorials:rviz之Markers: Sending Basic Shapes (C++,附vscode调试说明)的文章就介绍到这儿,希望我们推荐的文章对编程师们有所帮助!


