本文主要是介绍MLflow【部署 01】MLflow官网Quick Start实操(一篇学会部署使用MLflow),希望对大家解决编程问题提供一定的参考价值,需要的开发者们随着小编来一起学习吧!
一篇学会部署使用MLflow
- 1.版本及环境
- 2.官方步骤
- Step-1 Get MLflow
- Step-2 Start a Tracking Server
- Step 3 - Train a model and prepare metadata for logging
- Step 4 - Log the model and its metadata to MLflow
- Step 5 - Load the model as a Python Function (pyfunc) and use it for inference
- Step 6 - View the Run in the MLflow UI
- 3.总结
Learn in 5 minutes how to log,register,and load a model for inference. 在5分钟内学习如何记录、注册和加载模型用于推理。
1.版本及环境
本文基于2.9.2版本进行说明,内容来自官方文档:https://www.mlflow.org/docs/2.9.2/getting-started/intro-quickstart/index.html,测试环境说明:
# 1.服务器系统版本
CentOS Linux release 7.9.2009 (Core)# 2.使用conda创建的虚拟环境【conda create -n mlflow python=3.8】
(mlflow) [root@tcloud /]# python -V
Python 3.8.18
2.官方步骤
Step-1 Get MLflow
# 官方步骤
pip install mlflow# 实际操作【限制版本 否则会安装最新版本】
pip install mlflow==2.9.2
Step-2 Start a Tracking Server
# 官方步骤
mlflow server --host 127.0.0.1 --port 8080
# 启动日志【删除了时间信息】
[5027] [INFO] Starting gunicorn 21.2.0
[5027] [INFO] Listening at: http://127.0.0.1:8080 (5027)
[5027] [INFO] Using worker: sync
[5030] [INFO] Booting worker with pid: 5030
[5031] [INFO] Booting worker with pid: 5031
[5032] [INFO] Booting worker with pid: 5032
[5033] [INFO] Booting worker with pid: 5033# 实际操作【使用的是腾讯云服务器】
mlflow server --host 0.0.0.0 --port 9090
# 启动日志【删除了时间信息】
[13020] [INFO] Starting gunicorn 21.2.0
[13020] [INFO] Listening at: http://0.0.0.0:9090 (13020)
[13020] [INFO] Using worker: sync
[13023] [INFO] Booting worker with pid: 13023
[13024] [INFO] Booting worker with pid: 13024
[13025] [INFO] Booting worker with pid: 13025
[13026] [INFO] Booting worker with pid: 13026
- –host 0.0.0.0 to listen on all network interfaces (or a specific interface address).
启动后,访问http://<host>:<port>可查看到页面:
如果使用的是 Databricks 未提供的托管 MLflow 跟踪服务器,或者运行本地跟踪服务器,请确保使用以下命令设置跟踪服务器的 URI:
import mlflowmlflow.set_tracking_uri(uri="http://<host>:<port>")
如果未在运行时环境中设置此项,则运行将记录到本地文件系统。
Step 3 - Train a model and prepare metadata for logging
在本部分中,我们将使用 MLflow 记录模型。这些步骤的快速概述如下:
- 加载并准备用于建模的 Iris 数据集。
- 训练逻辑回归模型并评估其性能。
- 准备模型超参数并计算日志记录指标。
官方代码如下:
import mlflow
from mlflow.models import infer_signatureimport pandas as pd
from sklearn import datasets
from sklearn.model_selection import train_test_split
from sklearn.linear_model import LogisticRegression
from sklearn.metrics import accuracy_score, precision_score, recall_score, f1_score# Load the Iris dataset
X, y = datasets.load_iris(return_X_y=True)# Split the data into training and test sets
X_train, X_test, y_train, y_test = train_test_split(X, y, test_size=0.2, random_state=42
)# Define the model hyperparameters
params = {"solver": "lbfgs","max_iter": 1000,"multi_class": "auto","random_state": 8888,
}# Train the model
lr = LogisticRegression(**params)
lr.fit(X_train, y_train)# Predict on the test set
y_pred = lr.predict(X_test)# Calculate metrics
accuracy = accuracy_score(y_test, y_pred)
Step 4 - Log the model and its metadata to MLflow
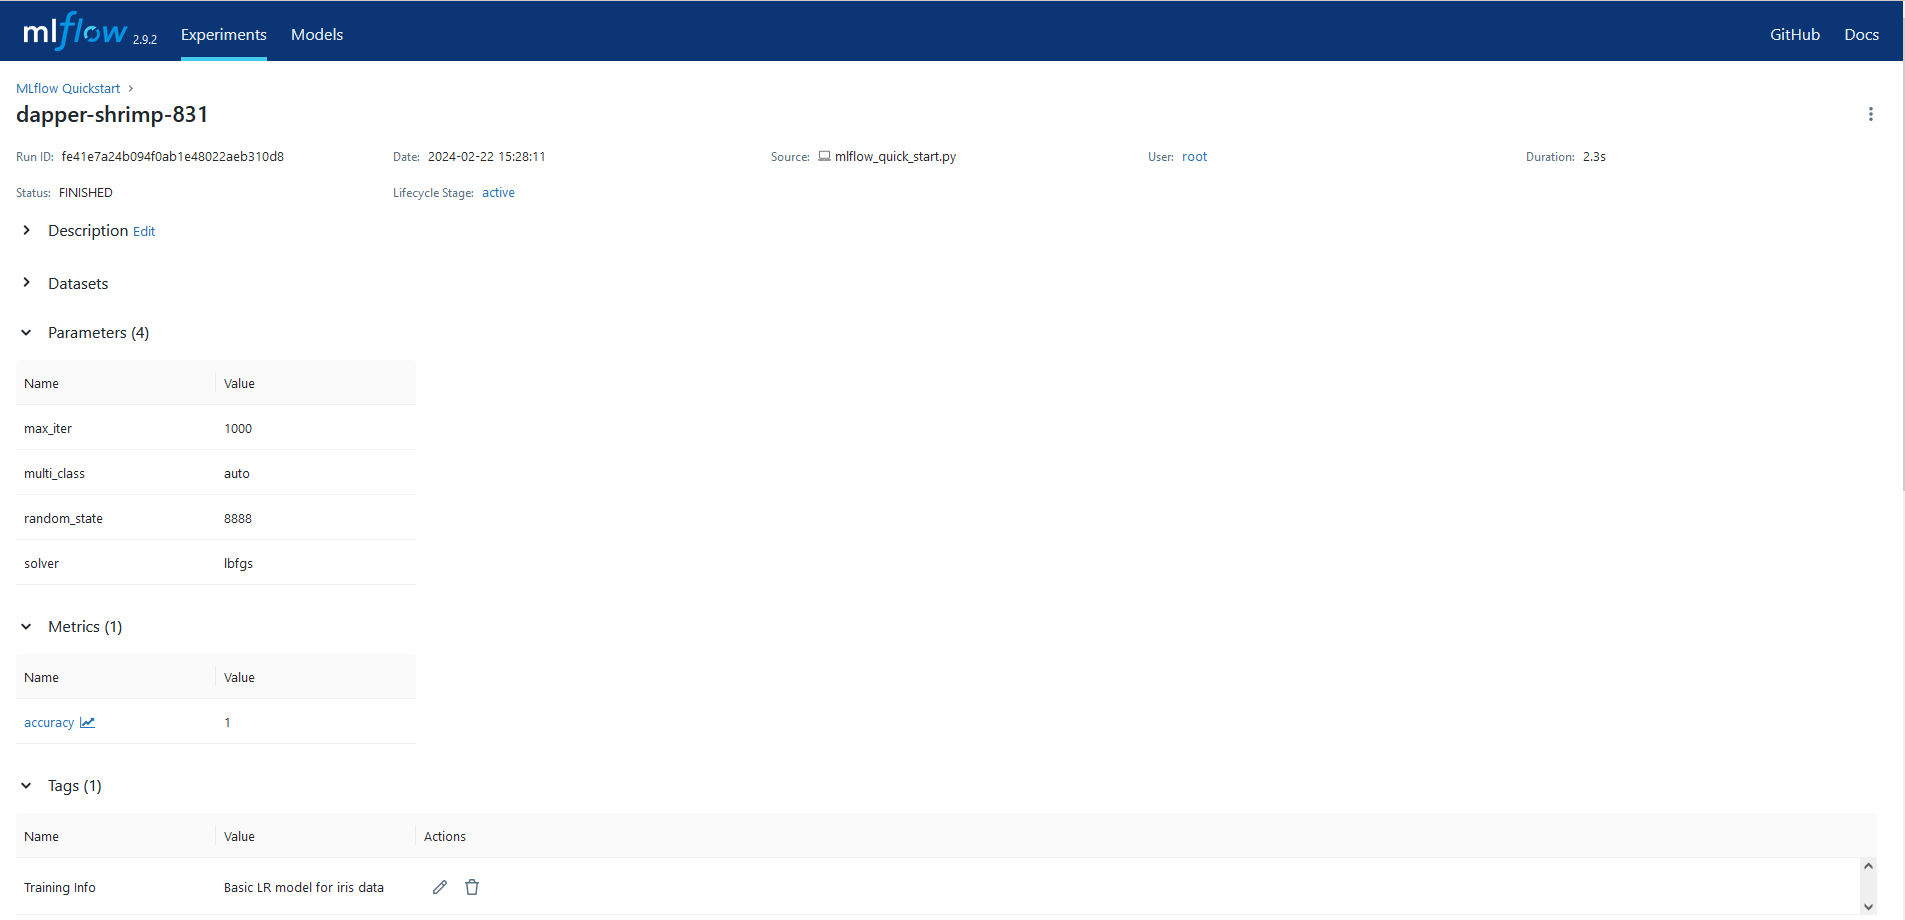
这个步骤将使用我们训练的模型、为模型拟合指定的超参数,以及通过评估模型对要记录到 MLflow 的测试数据的性能来计算的损失指标。步骤如下:
- 启动 MLflow 运行上下文以启动新运行,我们将模型和元数据记录到该运行。
- 记录模型参数和性能指标。
- 标记运行以便于检索。
- 在记录(保存)模型时,在 MLflow 模型注册表中注册模型。
官方代码如下:
# Set our tracking server uri for logging
mlflow.set_tracking_uri(uri="http://127.0.0.1:8080")# Create a new MLflow Experiment
mlflow.set_experiment("MLflow Quickstart")# Start an MLflow run
with mlflow.start_run():# Log the hyperparametersmlflow.log_params(params)# Log the loss metricmlflow.log_metric("accuracy", accuracy)# Set a tag that we can use to remind ourselves what this run was formlflow.set_tag("Training Info", "Basic LR model for iris data")# Infer the model signaturesignature = infer_signature(X_train, lr.predict(X_train))# Log the modelmodel_info = mlflow.sklearn.log_model(sk_model=lr,artifact_path="iris_model",signature=signature,input_example=X_train,registered_model_name="tracking-quickstart",)
Step 5 - Load the model as a Python Function (pyfunc) and use it for inference
记录模型后,我们可以通过以下方式执行推理:
- 使用 MLflow 的 pyfunc 风格加载模型。
- 使用加载的模型对新数据运行 Predict。
官方源码如下:
# Load the model back for predictions as a generic Python Function model
loaded_model = mlflow.pyfunc.load_model(model_info.model_uri)predictions = loaded_model.predict(X_test)iris_feature_names = datasets.load_iris().feature_namesresult = pd.DataFrame(X_test, columns=iris_feature_names)
result["actual_class"] = y_test
result["predicted_class"] = predictionsresult[:4]
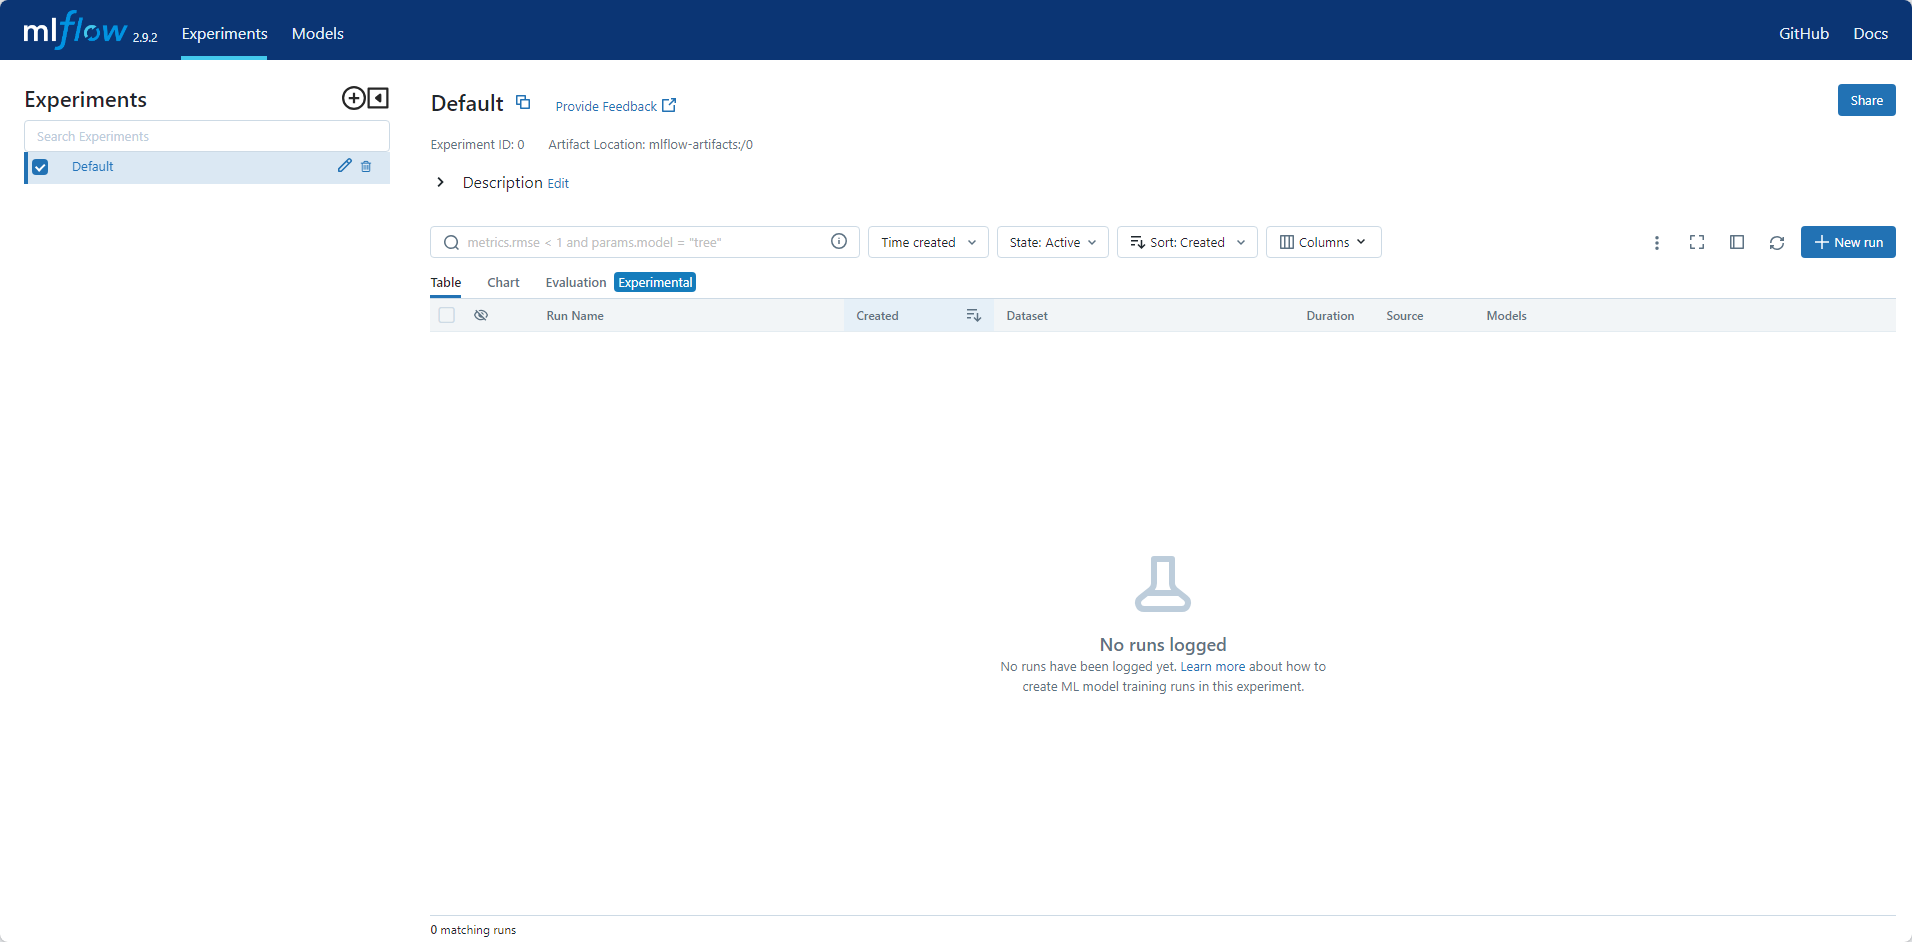
Step 6 - View the Run in the MLflow UI
官方带注释的示例:

实际执行示例:

官方运行详情图片:

实际运行详情图片:
查看生成的模型:

恭喜你完成了 MLflow 跟踪快速入门!
3.总结
- 安装简单
- 快速入门不难
- 能够灵活应用需要进行更多的学习
这篇关于MLflow【部署 01】MLflow官网Quick Start实操(一篇学会部署使用MLflow)的文章就介绍到这儿,希望我们推荐的文章对编程师们有所帮助!


