本文主要是介绍轻量封装WebGPU渲染系统示例<51>- 视差贴图(Parallax Map)(源码),希望对大家解决编程问题提供一定的参考价值,需要的开发者们随着小编来一起学习吧!
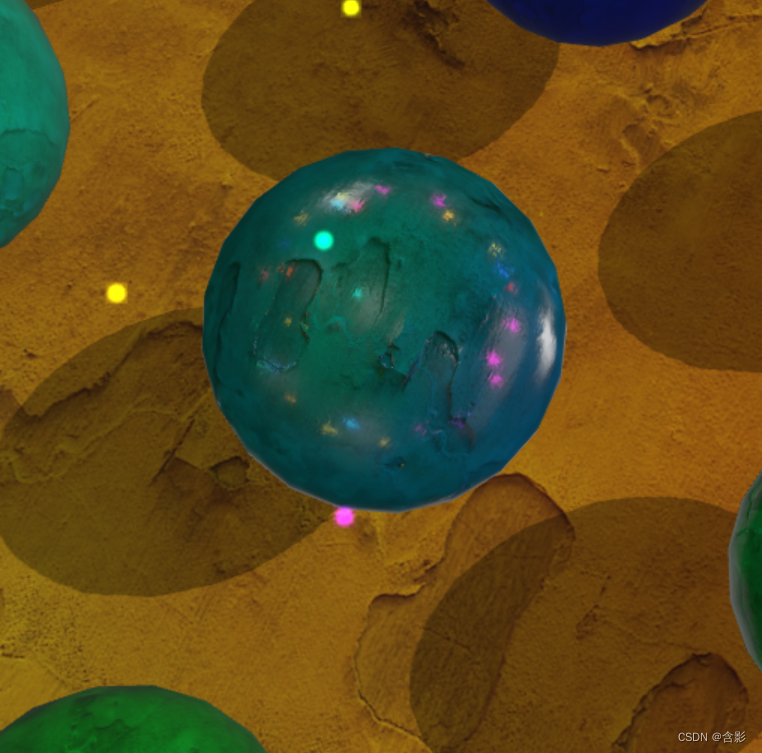
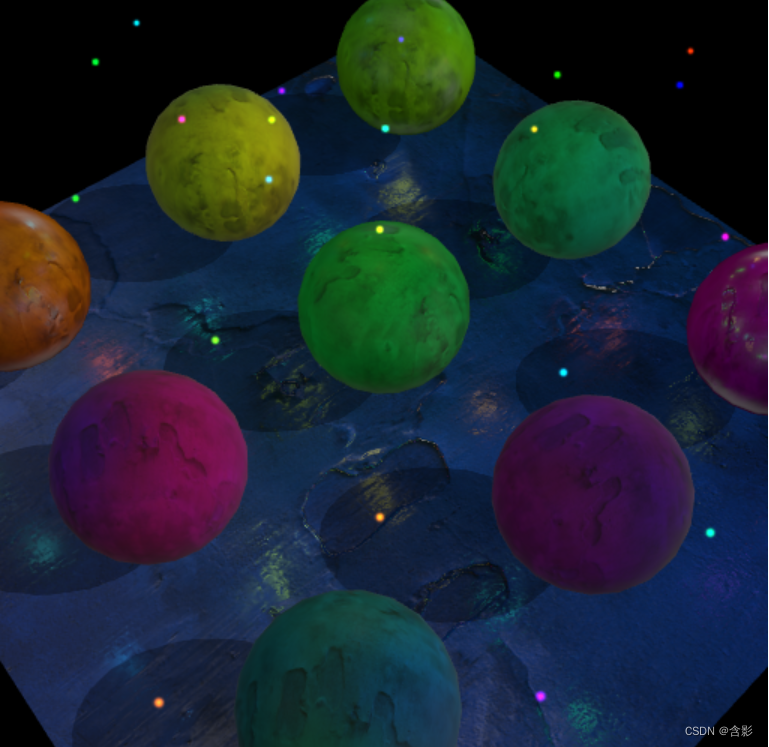
视差纹理是一种片段着色阶段增强材质表面凹凸细节的技术。
当前示例源码github地址:
https://github.com/vilyLei/voxwebgpu/blob/feature/material/src/voxgpu/sample/ParallaxTexTest.ts
当前示例运行效果:
此示例基于此渲染系统实现,当前示例TypeScript源码如下:
export class ParallaxTexTest {private mRscene = new RendererScene();initialize(): void {console.log("ParallaxTexTest::initialize() ...");this.loadImg();}initSys(): void {this.mRscene.initialize({canvasWith: 512,canvasHeight: 512,mtplEnabled: true,rpassparam:{multisampled: true}});this.initScene();this.initEvent();}private mPixels: Uint8ClampedArray;private mPixelsW = 128;private mPixelsH = 128;getRandomColor(s?: number): ColorDataType {if (s === undefined) {s = 1.0;}let i = 5;let j = Math.floor(Math.random() * this.mPixelsW);let k = i * this.mPixelsW + j;let vs = this.mPixels;k *= 4;let cs = [s * vs[k] / 255.0, s * vs[k + 1] / 255.0, s * vs[k + 2] / 255.0];return cs;}private loadImg(): void {let img = new Image();img.onload = evt => {this.mPixelsW = img.width;this.mPixelsH = img.height;let canvas = document.createElement("canvas");canvas.width = img.width;canvas.height = img.height;let ctx = canvas.getContext('2d');ctx.drawImage(img, 0, 0);this.mPixels = ctx.getImageData(0, 0, img.width, img.height).data;this.initSys();}img.src = 'static/assets/colorPalette.jpg';}private mLightData: MtLightDataDescriptor;private createLightData(): MtLightDataDescriptor {let ld = { pointLights: [], directionLights: [], spotLights: [] } as MtLightDataDescriptor;let total = 5;let scale = 3.0;for (let i = 0; i < total; ++i) {for (let j = 0; j < total; ++j) {let position = [-500 + 250 * j, 290 + Math.random() * 30, -500 + 250 * i];position[0] += Math.random() * 60 - 30;position[2] += Math.random() * 60 - 30;let color = this.getRandomColor(scale);let factor1 = 0.00001;let factor2 = 0.00002;let pLight = new PointLight({ color, position, factor1, factor2 });ld.pointLights.push(pLight);if (Math.random() > 0.5) {position = [-500 + 150 * j, 290 + Math.random() * 50, -500 + 150 * i];position[0] += Math.random() * 160 - 80;position[2] += Math.random() * 160 - 80;color = this.getRandomColor(scale);let direction = [(Math.random() - 0.5) * 8, -1, (Math.random() - 0.5) * 8];let degree = Math.random() * 10 + 5;let spLight = new SpotLight({ position, color, direction, degree, factor1, factor2 });ld.spotLights.push(spLight);}}}let dLight = new DirectionLight({ color: [0.5, 0.5, 0.5], direction: [-1, -1, 0] });ld.directionLights.push(dLight);return ld;}private createBillboard(pv: Vector3DataType, c: ColorDataType, type: number): void {let rc = this.mRscene;let diffuseTex0 = { diffuse: { url: "static/assets/flare_core_03.jpg" } };if (type > 1) {diffuseTex0 = { diffuse: { url: "static/assets/circleWave_disp.png" } };}let billboard = new BillboardEntity({ size: 10, textures: [diffuseTex0] });billboard.color = c;billboard.alpha = 1;billboard.transform.setPosition(pv);rc.addEntity(billboard);}private createBillboards(): void {let lightData = this.mLightData;let pls = lightData.pointLights;for (let i = 0; i < pls.length; i++) {let lp = pls[i];this.createBillboard(lp.position, lp.color, 1);}let spls = lightData.spotLights;for (let i = 0; i < spls.length; i++) {let lp = spls[i];this.createBillboard(lp.position, lp.color, 2);}}private initScene(): void {let rc = this.mRscene;let mtpl = rc.renderer.mtpl;this.mLightData = this.createLightData();mtpl.light.lightData = this.mLightData;mtpl.shadow.param.intensity = 0.4;mtpl.shadow.param.radius = 4;let position = [-30, 220, -50];let materials = this.createMaterials(true);let sphere: SphereEntity;let total = 3;let py = 150;for (let i = 0; i < total; ++i) {for (let j = 0; j < total; ++j) {if (total > 2) {position = [-350 + 350 * j, py, -350 + 350 * i];} else {position = [0, py, 0];}let rotation = [0, Math.random() * 360, 0];let materials = this.createMaterials(true);if (sphere) {let sph = new SphereEntity({geometry: sphere.geometry,materials,transform: { position, rotation }});rc.addEntity(sph);} else {sphere = new SphereEntity({radius: 110.0,materials,transform: { position, rotation }});rc.addEntity(sphere);}}}position = [0, 0, 0];materials = this.createMaterials(true, false, 'back');let plane = new PlaneEntity({axisType: 1,materials,extent: [-600, -600, 1200, 1200],transform: { position }});rc.addEntity(plane);this.createBillboards();}private createArmTextures(): WGTextureDataDescriptor[] {const albedoTex = { albedo: { url: `static/assets/pbrtex/rough_plaster_broken_diff_1k.jpg` } };const normalTex = { normal: { url: `static/assets/pbrtex/rough_plaster_broken_nor_1k.jpg` } };const armTex = { arm: { url: `static/assets/pbrtex/rough_plaster_broken_arm_1k.jpg` } };const parallaxTex = { parallax: { url: `static/assets/pbrtex/rough_plaster_broken_disp_1k.jpg` } };let envTex = { specularEnv: {} };let textures = [envTex,albedoTex,normalTex,armTex,parallaxTex] as WGTextureDataDescriptor[];return textures;}private createMaterials(shadowReceived = false, shadow = true, faceCullMode = 'back', uvParam?: number[]): BaseMaterial[] {let textures0 = this.createArmTextures();let material0 = this.createMaterial(textures0, ["solid"], 'less', faceCullMode);this.applyMaterialPPt(material0, shadowReceived, shadow);let list = [material0];if (uvParam) {for (let i = 0; i < list.length; ++i) {list[i].property.uvParam.value = uvParam;}}return list;}private applyMaterialPPt(material: BaseMaterial, shadowReceived = false, shadow = true): void {let ppt = material.property;ppt.ambient.value = [0.2, 0.2, 0.2];ppt.albedo.value = this.getRandomColor(1.0);ppt.arms.roughness = Math.random() * 0.95 + 0.05;ppt.arms.metallic = 0.2;ppt.armsBase.value = [0, 1.0, 0];ppt.specularFactor.value = [0.1, 0.1, 0.1];ppt.shadow = shadow;ppt.lighting = true;ppt.shadowReceived = shadowReceived;}private createMaterial(textures: WGTextureDataDescriptor[], blendModes: string[], depthCompare = 'less', faceCullMode = 'back'): BaseMaterial {let pipelineDefParam = {depthWriteEnabled: true,faceCullMode,blendModes,depthCompare};let material = new BaseMaterial({ pipelineDefParam });material.addTextures(textures);return material;}private initEvent(): void {const rc = this.mRscene;rc.addEventListener(MouseEvent.MOUSE_DOWN, this.mouseDown);new MouseInteraction().initialize(rc, 0, false).setAutoRunning(true);}private mouseDown = (evt: MouseEvent): void => { };run(): void {this.mRscene.run();}
}
这篇关于轻量封装WebGPU渲染系统示例<51>- 视差贴图(Parallax Map)(源码)的文章就介绍到这儿,希望我们推荐的文章对编程师们有所帮助!


