HDLbits: Fsm serial

2023-10-16 03:44
文章标签 hdlbits serial fsm

本文主要是介绍HDLbits: Fsm serial,希望对大家解决编程问题提供一定的参考价值,需要的开发者们随着小编来一起学习吧!

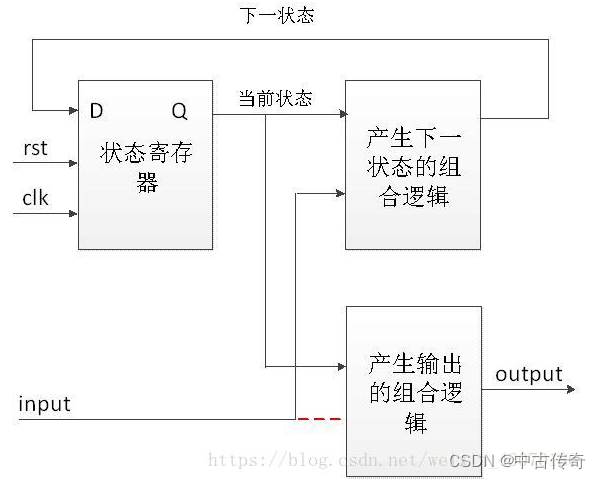
根据题意设计了四个状态,写出代码如下:

module top_module(input clk,input in,input reset,    // Synchronous resetoutput done
); parameter IDLE = 3'b000, START = 3'b001, DATA = 3'b010, STOP = 3'b100, bit_counter_end = 4'd7;reg [2:0] state,next_state;reg [3:0] bit_counter;always@(*)begincase(state)START: next_state = DATA;DATA: next_state = (bit_counter >= bit_counter_end)? (in?STOP:IDLE):DATA;STOP: next_state = in?IDLE:START;IDLE: next_state = in?IDLE:START;default: next_state = IDLE;endcaseendalways@(posedge clk)beginif(reset)state <= IDLE;elsestate <= next_state;endalways@(posedge clk)beginif(reset)bit_counter <= 4'd0;            else if(state == DATA)bit_counter <= bit_counter + 4'd1;  elsebit_counter <= 4'd0;endassign done = (state == STOP);    endmodule

时序图如下,有误:
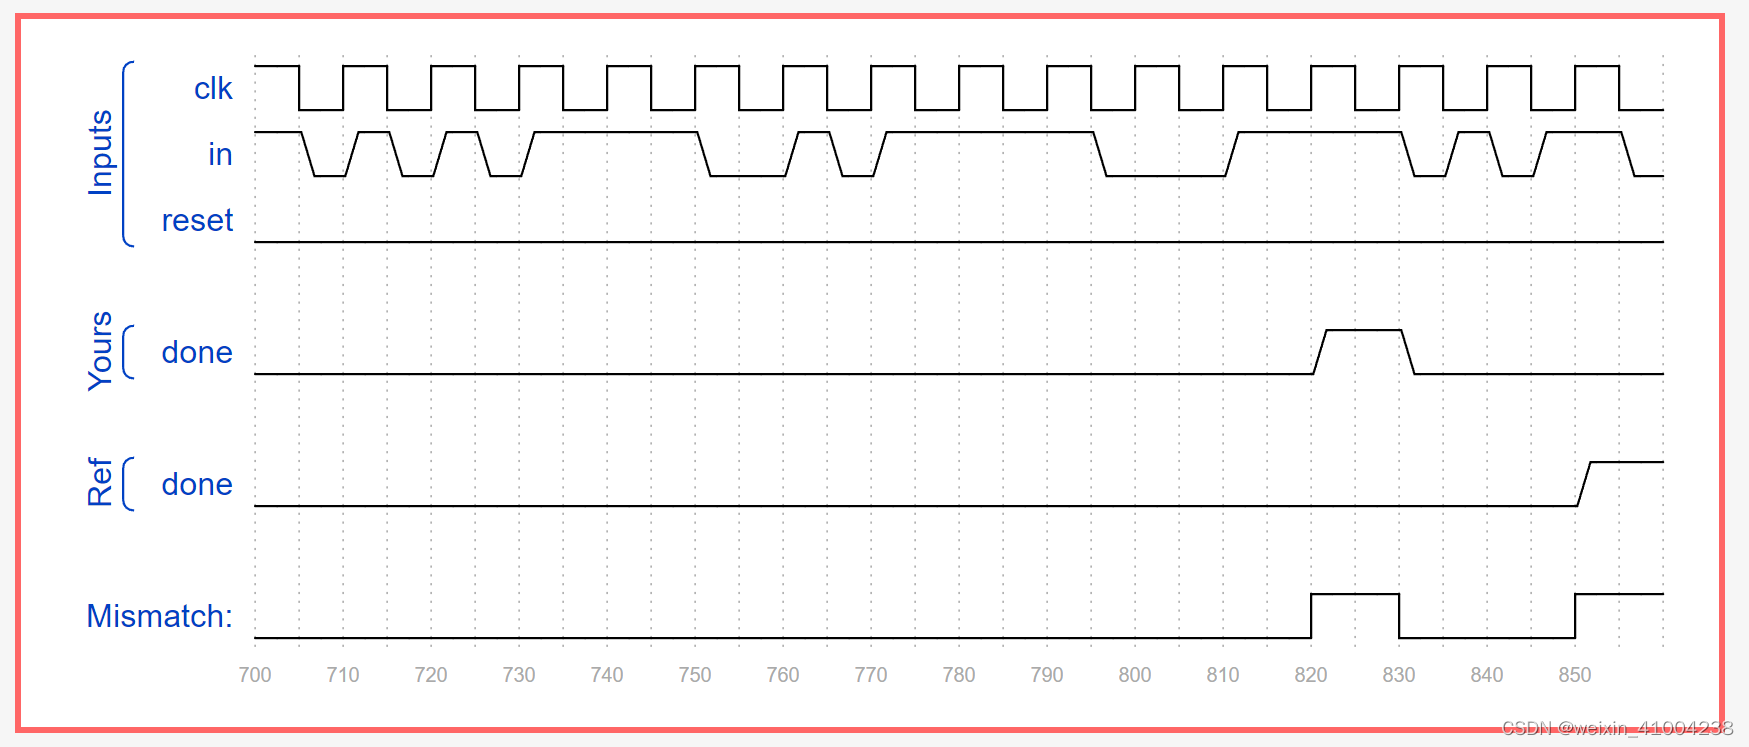
参考网上的答案,加入了一个ERROR状态表示例题时序图"?"的时候,下面代码没问题了

注意bit_counter计数的那块如果用state==DATA判断,那么上面长度判断就得用7,如果用next_state==DATA判断,上面长度判断就得用8

module top_module(input clk,input in,input reset,    // Synchronous resetoutput done
); parameter IDLE = 4'b0000, START = 4'b0001, DATA = 4'b0010, STOP = 4'b0100, ERROR = 4'b1000, bit_counter_end = 4'd7;reg [3:0] state,next_state;reg [3:0] bit_counter;always@(*)begincase(state)START: next_state = DATA;DATA: next_state = (bit_counter >= bit_counter_end)? (in?STOP:ERROR):DATA;STOP: next_state = in?IDLE:START;ERROR: next_state = in?IDLE:ERROR;IDLE: next_state = in?IDLE:START;default: next_state = IDLE;endcaseendalways@(posedge clk)beginif(reset)state <= IDLE;elsestate <= next_state;endalways@(posedge clk)beginif(reset)bit_counter <= 0;            else if(state == DATA)          bit_counter <= bit_counter + 1;elsebit_counter <= 0;endassign done = (state == STOP);    endmodule

这篇关于HDLbits: Fsm serial的文章就介绍到这儿,希望我们推荐的文章对编程师们有所帮助!


http://www.chinasem.cn/article/218805

相关文章

kernel 下串口serial输入输出控制,屏蔽log的输出

最近工作在调试usb虚拟串口,让其作为kernel启动的调试串口,以及user空间的输入输出控制台。 利用这个机会,学习下printk如何选择往哪个console输出以及user空间下控制台如何选择,记录与此,与大家共享,也方便自己以后翻阅。 Kernel版本号:3.4.55 依照我的思路(还是时间顺序)分了4部分,指定kernel调试console ,  kernel下printk con

ROS Serial相关失误总结

1、连接失败 Client Failed to receive data from server 10054 Failed to receive data from server 10054 Failed to receive data from server 10054 Send failed with error 10054 Failed to receive data from ser

Source Insight 3.x serial 序列号

Source Insight 3.5[3.x]序列号 SI3US-205035-36448 SI3US-466908-65897 SI3US-368932-59383 SI3US-065458-30661 SI3US-759512-70207

TX2 关闭console serial使用该串口

由于项目变更,GPU型号从Tx1变成Tx2,原来的硬件接口没有变,但是把原来UART0的console serial功能关闭变成一个串口使用的方法没法使用了。这就导致了数据通过该串口发送的数据变的很有问题,无法使用了。 经过测试,终于找到了解决的方法。 首先在虚拟机上,安装编辑设备树的软件: $sudo apt-get update $sudo apt-get install device

Golang笔记:使用serial包进行串口通讯

文章目录 目的使用入门总结 目的 串口是非常常用的一种电脑与设备交互的接口。这篇文章将介绍golang中相关功能的使用。 本文使用的包为 :go.bug.st/serial https://pkg.go.dev/go.bug.st/serial https://github.com/bugst/go-serial 另外还有一些常见的包如:tarm/serial https:/

platformio烧写STC8H1K08单片机程序失败:Serial port error: read timeout

问题 在使用platformio进行STC8H1K08单片机开发,在烧录编译好的程序时失败了,烧录过程日志如下: * 正在执行任务: C:\Users\23043036\.platformio\penv\Scripts\platformio.exe run --target upload Processing STC8H1K08 (platform: intel_mcs51; board:

【经验分享】RT600 serial boot mode测试

【经验分享】RT600 serial boot mode测试 一, 文档描述二, Serial boot mode测试2.1 evkmimxrt685_gpio_led_output 工程测试2.2 evkmimxrt685_dsp_hello_world_usart_cm33工程测试 一, 文档描述 RT600的启动模式共支持4种: 1) Master boot mode 该

Java --- serial port communication example codes

/** public SerialBean(int PortID) 本函数构造一个指向特定串口的SerialBean,该串口由参数PortID所指定。PortID = 1 表示COM1,PortID = 2 表示COM2,由此类推。 public int Initialize() 本函数初始化所指定的串口并返回初始化结果。如果初始化成功返回1,否则返回-1。初始化的结果是该串口被Serial

基于Verilog表达的FSM状态机

基于Verilog表达的FSM状态机 1 FSM1.1 Intro1.2 Why FSM?1.3 How to do 在这里聚焦基于Verilog的三段式状态机编程; 1 FSM 1.1 Intro 状态机是一种代码实现功能的范式;一切皆可状态机; 状态机编程四要素:– 1.状态State: 2.转态跳转Condition Jump: 3.行为Action: 4.次态–>现

有限状态机—— FSM(finite-state machine)

//有限状态机 finite-state machine #include <stdio.h> #include <stdlib.h> #include <sys/types.h> #include <sys/stat.h> #include <fcntl.h> #include <unistd.h> #include <errno.h> #define TTY1 "/dev/tty1