本文主要是介绍鸿蒙canvans的使用-仿照QQ聊天气泡效果(未完),希望对大家解决编程问题提供一定的参考价值,需要的开发者们随着小编来一起学习吧!
开胃小菜
@Entry
@Component
struct Index {//2D渲染context: CanvasRenderingContext2D = new CanvasRenderingContext2D();build() {Row() {Column({ space: 20 }) {Canvas(this.context)//绘制东西需要上下文,类似画笔.width('100%')//宽度.aspectRatio(1.5)//宽高比.backgroundColor(Color.Gray)//背景色.onReady(() => { //canvas准备好了的时候回调,如果画布没出来,是不会回调该方法的。//静态的可以再这里绘制this.context.beginPath();this.context.strokeStyle ="#123"//颜色this.context.lineWidth = 4//线宽this.context.rect(1,2,3,4)//绘制矩形this.context.fill()//填充画笔this.context.stroke()//类似于Android的Invalidate()this.context.closePath();//绘制path路径this.context.beginPath();this.context.strokeStyle = '#0f0';this.context.moveTo(20,20);//起点移动this.context.lineTo(100,100);//与起点确定一条直线this.context.stroke();this.context.closePath();this.context.clearRect(0,0,360,240);//清空上面所绘制的内容}).onAreaChange((old: Area, newArea: Area) => {//大小位置变化的时候调用。//old 和 newArea两个参数只能是具体的vp值,而不是百分比,可以打印输出值,以方便看结果console.log("jett", "old:" + JSON.stringify(old));console.log("jett", "newArea:" + JSON.stringify(newArea));})Row({space:20}){Button("Canvas上给制").onClick(()=>{//可以在这里直接画  基本操作this.context.beginPath();this.context.strokeStyle = '#F00';this.context.lineWidth = 4;// this.context.rect(50, 50, 100, 100);this.context.arc(180, 120, 100, 60, 270, true);// this.context.fill();this.context.stroke(); //完成绘制的渲染this.context.closePath();//画path路径this.context.beginPath();this.context.strokeStyle = '#0F0';this.context.moveTo(20,20);this.context.lineTo(100,100);this.context.lineTo(150,200);this.context.stroke(); //完成绘制的渲染this.context.closePath();})Button("清除Canvas").onClick(()=>{this.context.clearRect(0,0,360,240); //数值前面打印了})}}.width('100%')}.height('100%')}
}
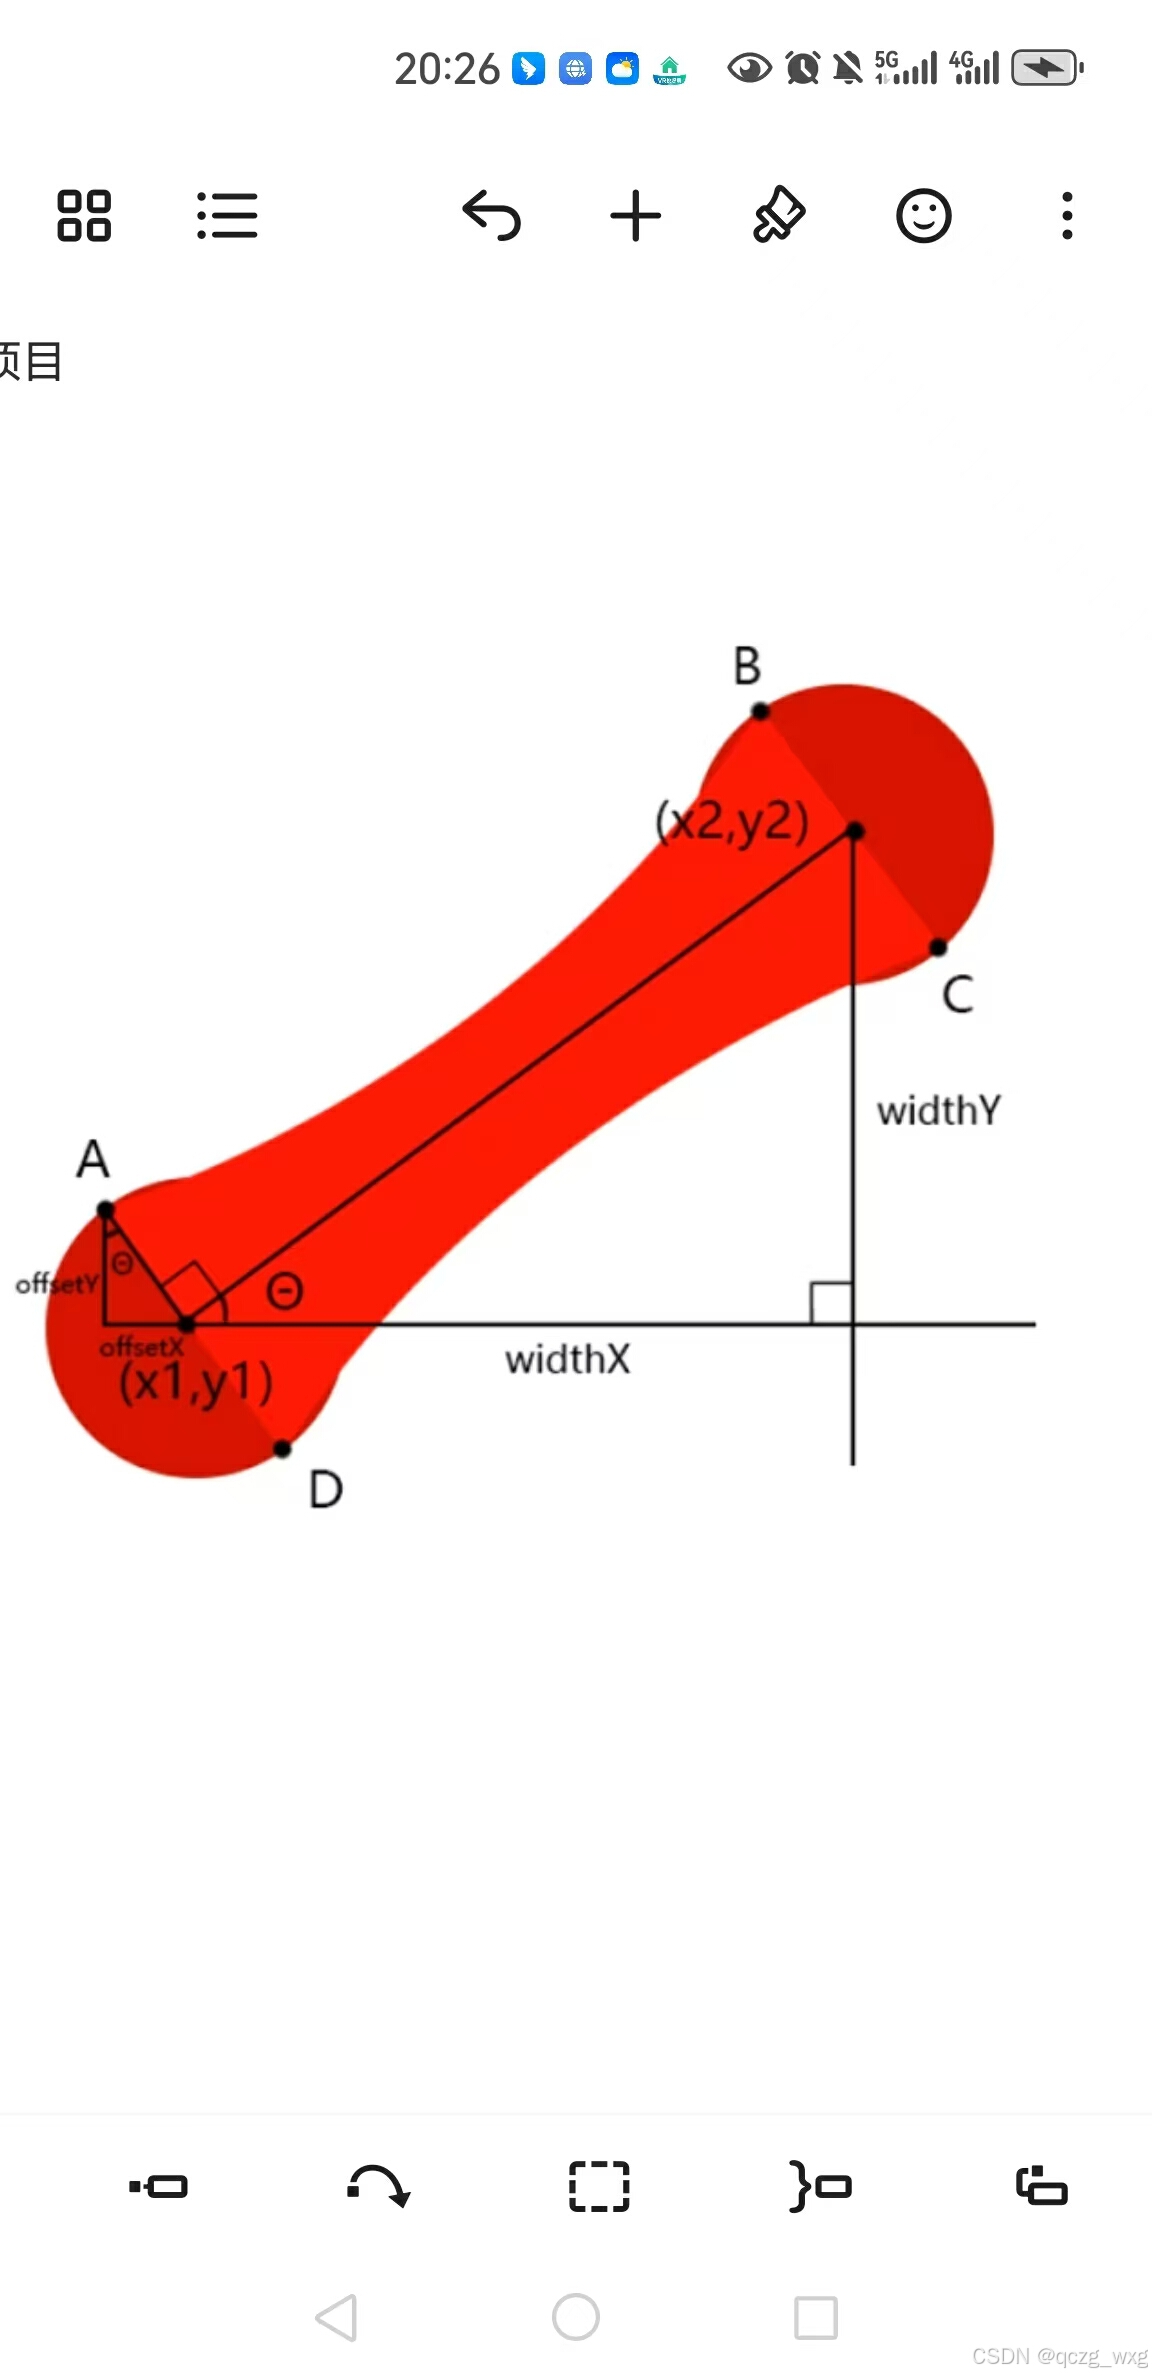
仿照QQ气泡的绘制

这篇关于鸿蒙canvans的使用-仿照QQ聊天气泡效果(未完)的文章就介绍到这儿,希望我们推荐的文章对编程师们有所帮助!


