本文主要是介绍[js高手之路]html5 canvas动画教程 - 边界判断与小球粒子模拟喷泉,散弹效果,希望对大家解决编程问题提供一定的参考价值,需要的开发者们随着小编来一起学习吧!
备注:本文后面的代码,如果加载了ball.js,那么请使用这篇文章[js高手之路] html5 canvas动画教程 - 匀速运动的ball.js代码.
本文,我们要做点有意思的效果,首先,来一个简单的边界判断,所谓边界判断:就是把物体的运动限定在一个范围内.我们先来一个简单的实例,在canvas上生成一个小球,小球的初始位置是在canvas的正中间,然后通过键盘的上下左右来移动小球的位置,如果小球碰到canvas的左边,那么不能再向左运动,其他方向同理.
要实现这个效果,只需要一个边界判断,即可。
 1 function checkBorder() {
 2     if ( ball.x < ball.radius ) { //碰到左边界
 3         ball.x = ball.radius;
 4     } else if ( ball.y < ball.radius ) { //碰到上边界
 5         ball.y = ball.radius;
 6     } else if ( ball.x > width - ball.radius ) { //碰到右边界
 7         ball.x = width - ball.radius;
 8     }else if ( ball.y > height - ball.radius ){
 9         ball.y = height - ball.radius;
10     }
11 }
左边界:只要判断小球的圆心x 如果小于小球的半径,那肯定是碰到了左边界,我们就让小球的中心x等于小球的半径。
右边界:只要判断小球的圆心x 如果大于canvas的宽度减去小球的半径,那肯定是碰到了右边界,我们就让小球的中心x等于canvas的宽度减去小球的半径
其他上下边界跟左右是同理。
完整的实例代码:
 1 <head>
 2     <meta charset='utf-8' />
 3     <style>
 4         #canvas {
 5             border: 1px dashed #aaa;
 6         }
 7     </style>
 8     <script src="./ball.js"></script>
 9     <script>
10         window.onload = function () {
11             var oCanvas = document.querySelector("#canvas"),
12                 oGc = oCanvas.getContext('2d'),
13                 width = oCanvas.width, height = oCanvas.height,
14                 ball = new Ball(width / 2, height / 2);
15                 ball.fill( oGc );
16             addEventListener("keydown", function (ev) {
17                 oGc.clearRect(0, 0, width, height);
18                 var oEvent = ev || event;
19                 switch (oEvent.keyCode) {
20                     case 37:
21                         ball.x -= 5;
22                         checkBorder();
23                         ball.fill(oGc);
24                         break;
25                     case 39:
26                         ball.x  = 5;
27                         checkBorder();
28                         ball.fill(oGc);
29                         break;
30                     case 38:
31                         ball.y -= 5;
32                         checkBorder();
33                         ball.fill(oGc);
34                         break;
35                     case 40:
36                         ball.y  = 5;
37                         checkBorder();
38                         ball.fill(oGc);
39                         break;
40                 }
41             }, false);
42             function checkBorder() {
43                 if ( ball.x < ball.radius ) { //碰到左边界
44                     ball.x = ball.radius;
45                 } else if ( ball.y < ball.radius ) { //碰到上边界
46                     ball.y = ball.radius;
47                 } else if ( ball.x > width - ball.radius ) { //碰到右边界
48                     ball.x = width - ball.radius;
49                 }else if ( ball.y > height - ball.radius ){
50                     ball.y = height - ball.radius;
51                 }
52             }
53         }
54     </script>
55 </head>
56
57 <body>
58     <canvas id="canvas" width="1200" height="600"></canvas>
59 </body>
边界穿透:
如果小球向左运动,且完全超出左边界,我们就让他从右边出来,如果小球向右运动,且完全超出右边界,我们就让他从左边出来。上下方向同理
1 <head>
2 <meta charset='utf-8' />
3 <style>
4 #canvas {
5 border: 1px dashed #aaa;
6 }
7 </style>
8 <script src="./ball.js"></script>
9 <script>
10 window.onload = function () {
11 var oCanvas = document.querySelector("#canvas"),
12 oGc = oCanvas.getContext('2d'),
13 width = oCanvas.width, height = oCanvas.height,
14 ball = new Ball(width / 2, height / 2);
15 ball.fill(oGc);
16 addEventListener("keydown", function (ev) {
17 oGc.clearRect(0, 0, width, height);
18 var oEvent = ev || event;
19 switch (oEvent.keyCode) {
20 case 37:
21 ball.x -= 5;
22 checkBorder();
23 ball.fill(oGc);
24 break;
25 case 39:
26 ball.x = 5;
27 checkBorder();
28 ball.fill(oGc);
29 break;
30 case 38:
31 ball.y -= 5;
32 checkBorder();
33 ball.fill(oGc);
34 break;
35 case 40:
36 ball.y = 5;
37 checkBorder();
38 ball.fill(oGc);
39 break;
40 }
41 }, false);
42 function checkBorder() {
43 if (ball.x < -ball.radius) { //完全超出左边界
44 ball.x = width ball.radius; //让球从右边出来
45 } else if (ball.y < -ball.radius) { //完全超出上边界
46 ball.y = height ball.radius;//让球从下面出来
47 } else if (ball.x > width ball.radius) { //完全超出右边界
48 ball.x = -ball.radius;//让球从左边出来
49 } else if (ball.y > height ball.radius) {//完全超出下边界
50 ball.y = -ball.radius; //让球从上边出来
51 }
52 }
53 }
54 </script>
55 </head>
56
57 <body>
58 <canvas id="canvas" width="1200" height="600"></canvas>
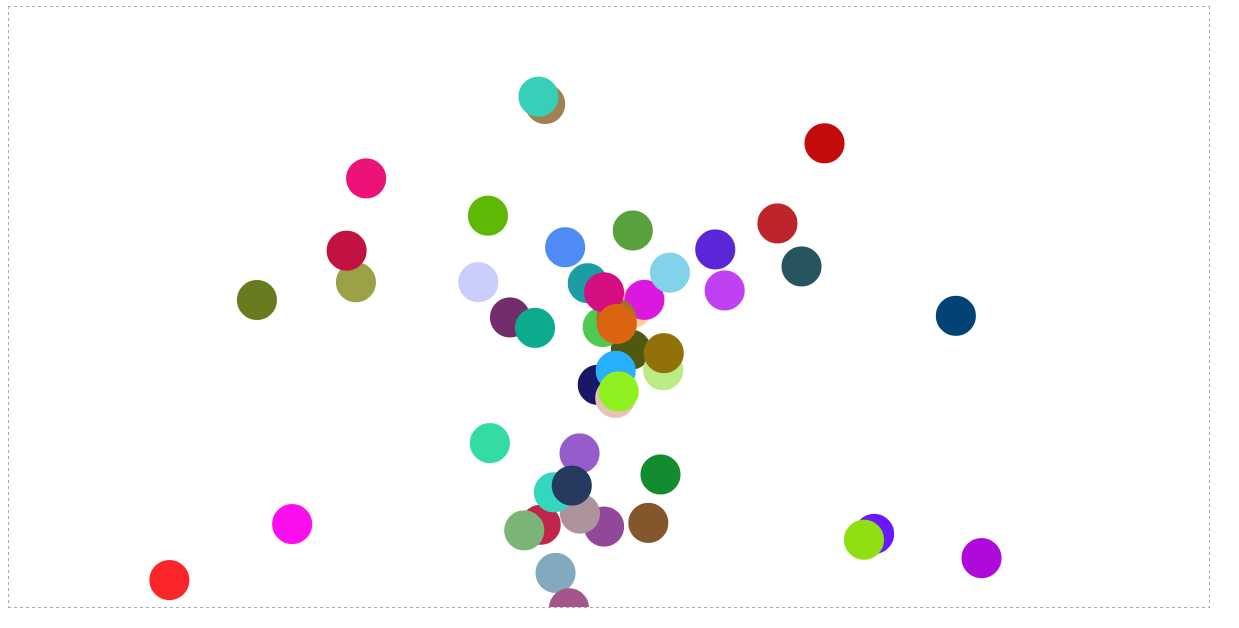
59 </body>散弹效果:
通过canvas的中心点,不停的向四周发射小球,形成散弹的效果.
我不知道你们有没有这样的误区:不停的向四周发射小球,那是不是要不停的创造小球呢?如果你这样想,程序就算写出来了,肯定会卡死.
其实我们可以只创建,一定数量的小球,比如( 50, 60. ...100 ),然后当这些小球,完全超出的边界的时候,再把这些小球的圆心( x, y )设定到最开始的位置,再次随机x和y方向的速度,就可以达到目的了, 说白了就是,那个完全超出边界的小球,我们让他重新回到最初的地方,只是改变了他的颜色和速度,给人感觉就是那个发射小球的地方源源不断的在发射小球

完整的散弹效果:
 1 <head>
 2     <meta charset='utf-8' />
 3     <style>
 4         #canvas {
 5             border: 1px dashed #aaa;
 6         }
 7     </style>
 8     <script src="./ball.js"></script>
 9     <script>
10         window.onload = function () {
11             var oCanvas = document.querySelector("#canvas"),
12                 oGc = oCanvas.getContext('2d'),
13                 width = oCanvas.width, height = oCanvas.height,
14                 balls = [], n = 50;
15             function getRandColor() {
16                 return '#'   ( function( color ){
17                     return ( color  = '0123456789abcdef' [Math.floor( Math.random() * 16 )] ) && ( color.length == 6 ) ? color : arguments.callee( color );
18                 } )( '' );
19             }
20             for( var i = 0; i < n; i   ) {
21                 var ball = new Ball( width / 2, height / 2, 20, getRandColor() );
22                 ball.vx = ( Math.random() * 2 - 1 ) * 5;
23                 ball.vy = ( Math.random() * 2 - 1 ) * 5;
24                 balls.push( ball );
25             }
26             (function move(){
27                 oGc.clearRect( 0, 0, width, height );
28                 balls.forEach( function( ball ){
29                     if ( ball.x < -ball.radius
30                         || ball.x > width   ball.radius
31                         || ball.y < -ball.radius
32                         || ball.y > height   ball.radius ) {
33                             ball.x = width / 2;
34                             ball.y = height / 2;
35                             ball.vx = ( Math.random() * 2 - 1 ) * 5;
36                             ball.vy = ( Math.random() * 2 - 1 ) * 5;
37                     }
38                     ball.x  = ball.vx;
39                     ball.y  = ball.vy;
40                     ball.fill( oGc );
41                 } );
42                 requestAnimationFrame( move );
43             })();
44         }
45     </script>
46 </head>
47 <body>
48     <canvas id="canvas" width="1200" height="600"></canvas>
49 </body>
我们可以在之前的基础上,加上重力的影响,实现喷泉的效果
这张图,看着是不是更像喷泉?

 1 <head>
 2     <meta charset='utf-8' />
 3     <style>
 4         #canvas {
 5             border: 1px dashed #aaa;
 6         }
 7     </style>
 8     <script src="./ball.js"></script>
 9     <script>
10         window.onload = function () {
11             var oCanvas = document.querySelector("#canvas"),
12                 oGc = oCanvas.getContext('2d'),
13                 width = oCanvas.width, height = oCanvas.height,
14                 balls = [], n = 50, gravity = 0.2;
15             function getRandColor() {
16                 return '#'   (function (color) {
17                     return (color  = '0123456789abcdef'[Math.floor(Math.random() * 16)]) && (color.length == 6) ? color : arguments.callee(color);
18                 })('');
19             }
20             for (var i = 0; i < n; i  ) {
21                 var ball = new Ball(width / 2, height / 2, 20, getRandColor());
22                 ball.vx = (Math.random() * 2 - 1) * 5;
23                 ball.vy = (Math.random() * 2 - 1) * 10;
24                 balls.push(ball);
25             }
26             (function move() {
27                 oGc.clearRect(0, 0, width, height);
28                 balls.forEach(function (ball) {
29                     if (ball.x < -ball.radius
30                         || ball.x > width   ball.radius
31                         || ball.y < -ball.radius
32                         || ball.y > height   ball.radius) {
33                         ball.x = width / 2;
34                         ball.y = height / 2;
35                         ball.vx = (Math.random() * 2 - 1) * 5;
36                         ball.vy = (Math.random() * 2 - 1) * 10;
37                     }
38                     ball.x  = ball.vx;
39                     ball.y  = ball.vy;
40                     ball.vy  = gravity;
41                     ball.fill(oGc);
42                 });
43                 requestAnimationFrame(move);
44             })();
45         }
46     </script>
47 </head>
48
49 <body>
50     <canvas id="canvas" width="1200" height="600"></canvas>
51 </body>
还可以通过控制小球的vx, vy,就是x方向和y方向的速度,来限制小球朝某一个方向发射,下面的例子,我们只让小球朝着x轴的右边发射
 1 <head>
 2     <meta charset='utf-8' />
 3     <style>
 4         #canvas {
 5             border: 1px dashed #aaa;
 6         }
 7     </style>
 8     <script src="./ball.js"></script>
 9     <script>
10         window.onload = function () {
11             var oCanvas = document.querySelector("#canvas"),
12                 oGc = oCanvas.getContext('2d'),
13                 width = oCanvas.width, height = oCanvas.height,
14                 balls = [], n = 50;
15             function getRandColor() {
16                 return '#'   ( function( color ){
17                     return ( color  = '0123456789abcdef' [Math.floor( Math.random() * 16 )] ) && ( color.length == 6 ) ? color : arguments.callee( color );
18                 } )( '' );
19             }
20             for( var i = 0; i < n; i   ) {
21                 var ball = new Ball( width / 2, height / 2, 20, getRandColor() );
22                 ball.vx = Math.abs( ( Math.random() * 2 - 1 ) * 5 );
23                 ball.vy = ( Math.random() * 2 - 1 ) * 5;
24                 balls.push( ball );
25             }
26             (function move(){
27                 oGc.clearRect( 0, 0, width, height );
28                 balls.forEach( function( ball ){
29                     if ( ball.x < -ball.radius
30                         || ball.x > width   ball.radius
31                         || ball.y < -ball.radius
32                         || ball.y > height   ball.radius ) {
33                             ball.x = width / 2;
34                             ball.y = height / 2;
35                             ball.vx = Math.abs( ( Math.random() * 2 - 1 ) * 5 );
36                             ball.vy = ( Math.random() * 2 - 1 ) * 5;
37                     }
38                     ball.x  = ball.vx;
39                     ball.y  = ball.vy;
40                     ball.fill( oGc );
41                 } );
42                 requestAnimationFrame( move );
43             })();
44         }
45     </script>
46 </head>
47 <body>
48     <canvas id="canvas" width="1200" height="600"></canvas>
49 </body> 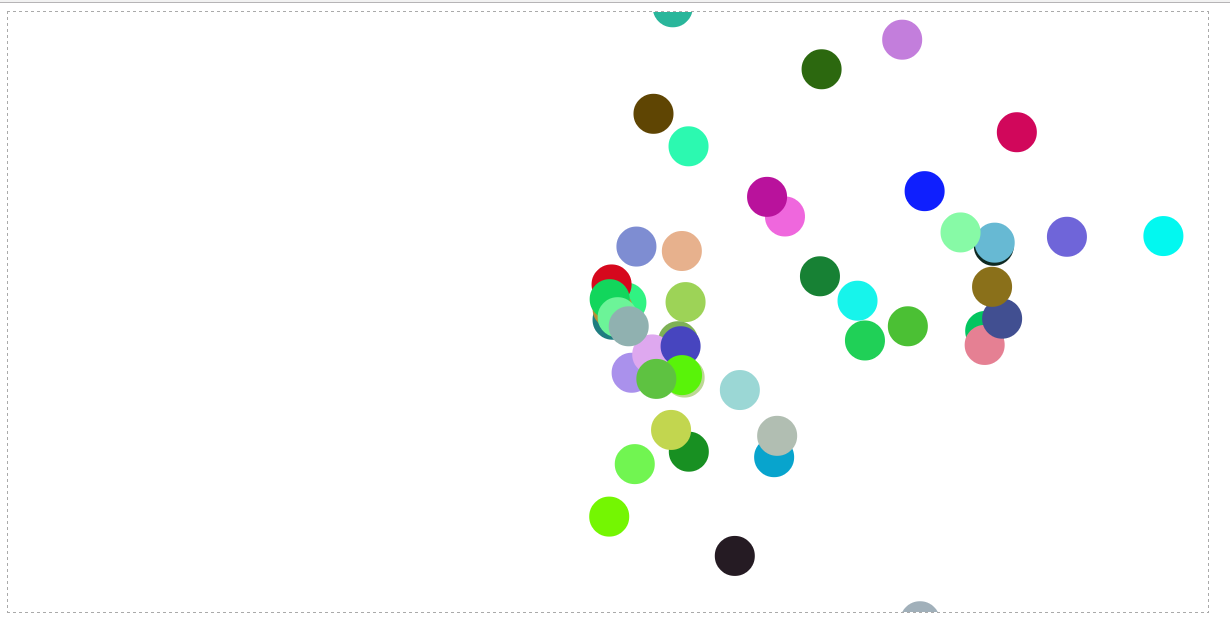
这篇关于[js高手之路]html5 canvas动画教程 - 边界判断与小球粒子模拟喷泉,散弹效果的文章就介绍到这儿,希望我们推荐的文章对编程师们有所帮助!


