本文主要是介绍Unity涂鸦纹理实现,希望对大家解决编程问题提供一定的参考价值,需要的开发者们随着小编来一起学习吧!
文章目录
- 前言
- 实现过程
- UV坐标和UI坐标对齐
- 修改像素代码
前言
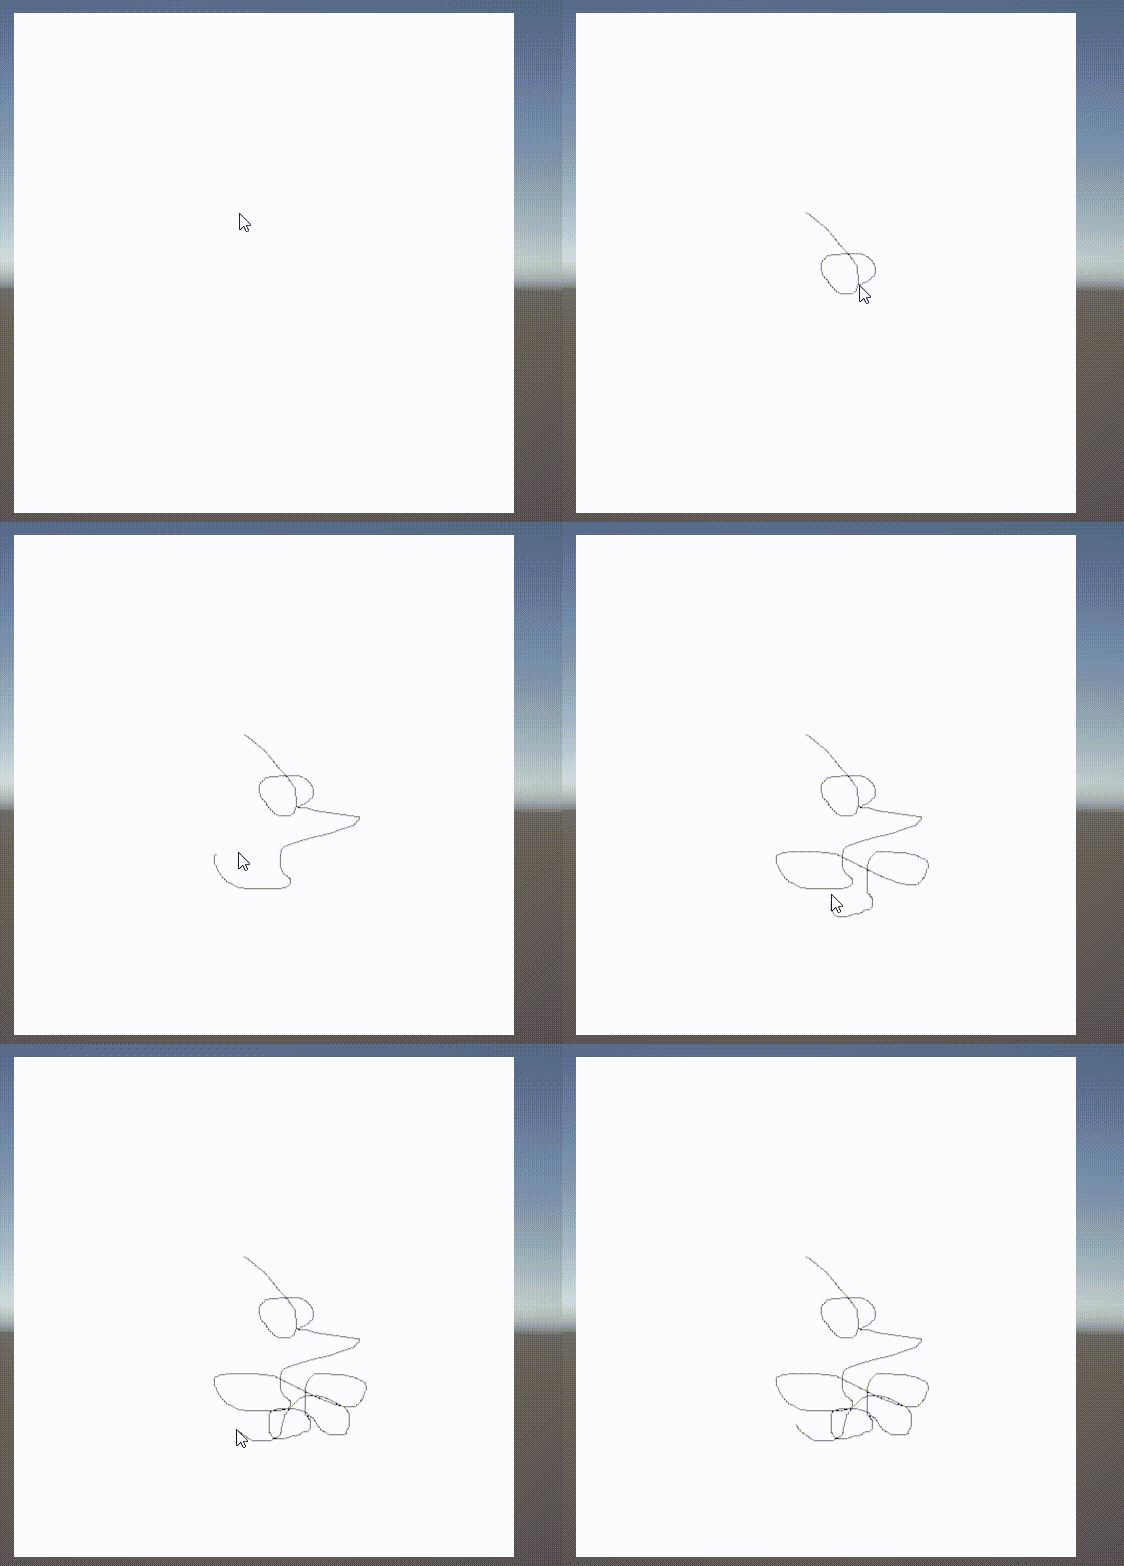
心血来潮实现下场景中提供一张纹理进行涂鸦的功能。
最终实现效果:

实现过程
UV坐标和UI坐标对齐
这里的纹理使用了UGUI的Canvas进行显示,所以这里使用一张RawImage。

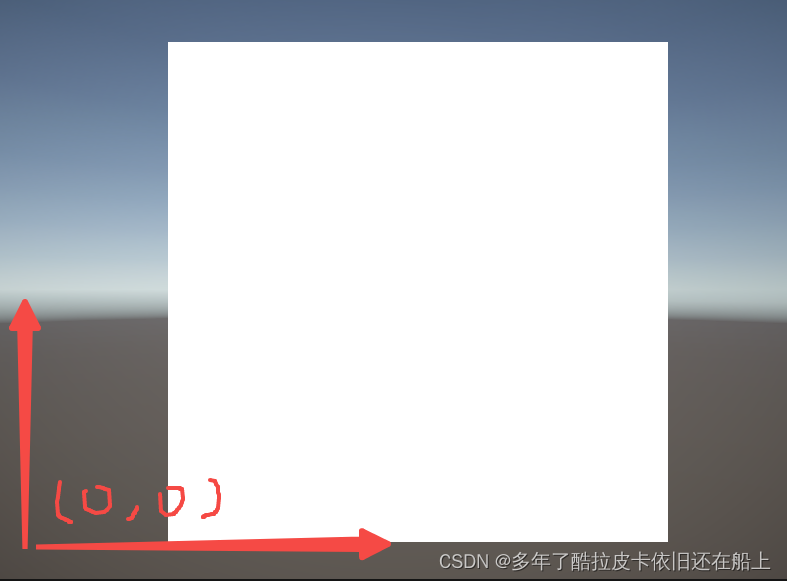
因为Unity的视口坐标是以左下角为(0,0)坐标基准的,所以对RawImage的RectTransform进行调整。锚点改成左下角,Pivot坐标改成(0,0)

因为使用鼠标进行输入的,所以这里需要获取鼠标后,在对坐标进行偏差计算,这里由视口坐标转换成纹理的UV坐标的格式为:
uvPos = mousePos - rectOffest
rectOffset是RawImage的矩形坐标
修改像素代码
计算出相应的x,y坐标后写入纹理,代码如下
private RawImage m_rawImage;private Texture2D m_texture2D; private int m_widht = 500, m_height = 500;private Vector2 m_offsetVect = new Vector2(); private void Awake(){m_rawImage = GetComponent<RawImage>();m_texture2D = new Texture2D(m_widht,m_height);Color[] colors = new Color[m_widht * m_height];for (int i = 0; i < colors.Length;i++){colors[i] = Color.white; }m_texture2D.SetPixels(colors);m_texture2D.Apply();m_rawImage.texture = m_texture2D;m_rawImage.SetAllDirty();m_offsetVect = m_rawImage.rectTransform.anchoredPosition;}private void Draw(Vector2 pos){int x = Mathf.FloorToInt(pos.x);int y = Mathf.FloorToInt(pos.y);if (x > 0 && x < m_widht && y >=0 && y< m_height){m_texture2D.SetPixel(x,y,Color.black); m_texture2D.Apply(); }} private void Update(){ if (Input.GetMouseButton(0)){Vector2 mousePos = Input.mousePosition; mousePos -= m_offsetVect;Draw(mousePos); }}
这样就可以在纹理上进行涂鸦了,但是这个时候会发现,当我们的鼠标很快的时候涂鸦的像素点之间就会有明显的间隔,那么我们就需要做一下插值运算了。
需要记录上一次帧数的画的坐标进行插值。那么修改Update方法如下:
private void Update(){if (Input.GetMouseButtonDown(0)){m_lastFramePos = (Vector2)Input.mousePosition - m_offsetVect;} if (Input.GetMouseButton(0)){Vector2 mousePos = Input.mousePosition; mousePos -= m_offsetVect;Draw(mousePos); if (m_lastFramePos!=mousePos){float dis = Vector2.Distance(mousePos, m_lastFramePos);if (dis > m_brushLerpSize){Vector2 dir = (mousePos - m_lastFramePos).normalized;int num = (int)(dis / m_brushLerpSize);for (int i = 0; i < num; i++){Vector2 newPoint = m_lastFramePos + dir * (i + 1) * m_brushLerpSize;Draw(newPoint);}}}//保存下上帧数的点m_lastFramePos = mousePos;}}
这篇关于Unity涂鸦纹理实现的文章就介绍到这儿,希望我们推荐的文章对编程师们有所帮助!


