本文主要是介绍Vue3+Nuxt3 从0到1搭建官网项目(SEO搜索、中英文切换、图片懒加载),希望对大家解决编程问题提供一定的参考价值,需要的开发者们随着小编来一起学习吧!
Vue2+Nuxt2 从 0 到1 搭建官网~
想开发一个官网,并且支持SEO搜索,当然离不开我们的 Nuxt ,Nuxt2 我们刚刚可以熟练运用,现在有出现了Nuxt3,那通过本篇文章让我们一起了解一下。
安装 Nuxt3
// npx nuxi@latest init <project-name>npx nuxi@latest init nuxt3-democd nuxt3-demo初始化的 package.json
这是项目刚创建后的package.json文件
{"name": "nuxt3-demo","private": true,"type": "module","scripts": {"dev": "nuxt dev","build": "nuxt build","generate": "nuxt generate","preview": "nuxt preview","postinstall": "nuxt prepare"},"dependencies": {"nuxt": "3.8.2","vue": "3.3.10","vue-router": "4.2.5"}
}
项目结构
├── app.vue // 主文件
├── assets // 静态资源
├── components  // 公共vue组件
├── composables // 将你的Vue组合式函数自动导入到你的应用程序中
├── error.vue  // 路由匹配不到时
├── i18n.config.ts  // 语言切换配置文件
├── lang  // 语言JSON
├── nuxt.config.ts  // nuxt 配置文件
├── package.json
├── pages   //  pages文件夹下面的页面名,默认为 路由地址
├── plugins  // 公共插件
├── public   // 提供网站的静态资源
├── server
├── tsconfig.json
└── yarn.lock // 包含了应用程序的所有依赖项和脚本
初始化项目
我们首先创建一个首页,将项目运行起来,这样一会儿讲到SEO、语音切换时,方便查看效果
pages 文件下创建index.vue
<template><div class="home-wrap">Nuxt3--这是我们的首页</div>
</template><script>
export default {}
</script><style lang="scss" scoped>
.home-wrap{height: 500px;display: flex;justify-content: center;align-items: center;font-size: 50px;
}
</style>
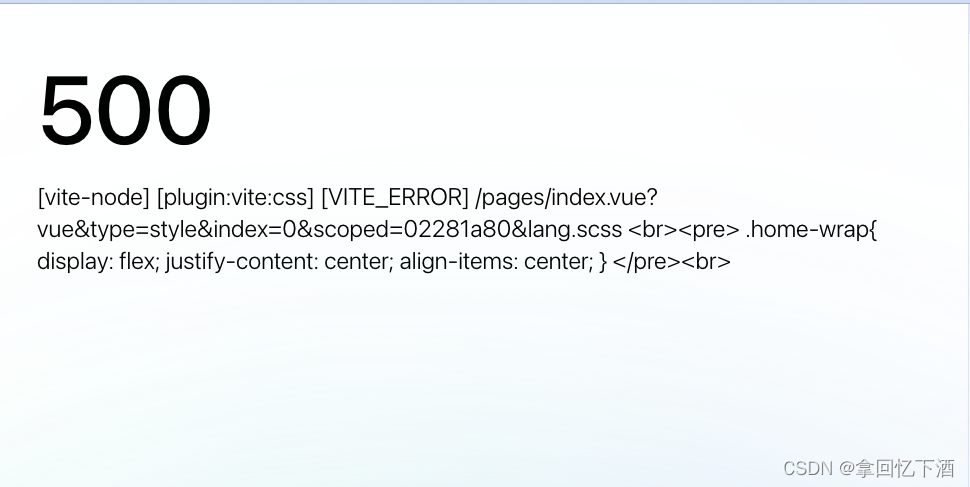
我们发现页面出现如下错误,提示我们需要引入 sass

 )
)
引入sass
// 如果下载失败。记得比对package.json 中依赖的版本号
// node_modules 和 yarn.lock 记得也删除一下
yarn add string-width@7.1.0 sass@1.69.5 sass-loader@13.3.2  --save
修改 app.vue 文件
<template><div><NuxtPage /></div>
</template>
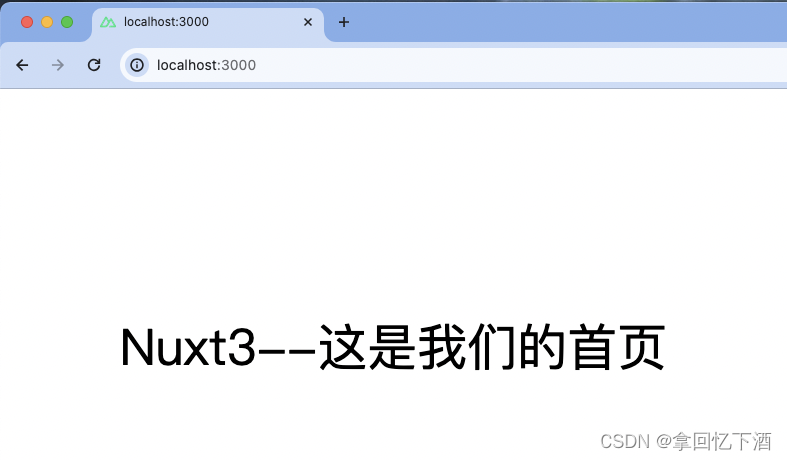
查看效果

配置公共的css、meta
在我们的项目中,UI风格肯定是有规范(统一)的,因此我们可以将 css 重置文件、公共的css文件,以及Meta提前引入
在assets 文件夹下,我们可以创建css(样式)、img(图片)、fonts(字体库)等文件夹
reset.scss 重置文件
因为UI主体区域为1200px,因此body 我们设置了最大宽度是1350px,这样主体区域两侧有一点占位空间,使内容不至于紧贴设备边界
/* CSS reset */
// /assets/css/reset.scsshtml,body,div,dl,dt,dd,ul,ol,li,h1,h2,h3,h4,h5,h6,pre,form,fieldset,input,textarea,p,blockquote,th,td {margin:0;padding:0;
}body{font-family:"思源黑体","Microsoft YaHei","微软雅黑",Arial,sans-serif;font-size: 14px;color: #333;min-width: 1350px;
}
*{-webkit-text-size-adjust: none;
}
*,*:after,*:before{box-sizing:border-box;margin: 0;padding:0;
}
table {border-collapse:separate;border-spacing:0;
}
fieldset,img {border:0;
}
img{display: block;-webkit-user-drag: none;
}
img[src=""],img:not([src]){opacity: 0;border:none;visibility: hidden;max-width: none;
}
address,caption,cite,code,dfn,th,var {font-style:normal;font-weight:normal;
}
ol,ul ,li{list-style:none;
}
caption,th {text-align:left;
}
h1,h2,h3,h4,h5,h6 {font-size:100%;font-weight:normal;
}
abbr,acronym { border:0;
}
a{text-decoration:none;
}/* 解决兼容而加的样式 */
a, img {-webkit-touch-callout: none; /*禁止长按链接与图片弹出菜单*/}
a,button,input{-webkit-tap-highlight-color:rgba(255,0,0,0);}
img{display: block;
}
button,input,optgroup,select,textarea {outline:none;/*-webkit-appearance:none; /*去掉webkit默认的表单样式*/}a,button,input,optgroup,select,textarea {-webkit-tap-highlight-color:rgba(0,0,0,0); /*去掉a、input和button点击时的蓝色外边框和灰色半透明背景*/
}input:-ms-input-placeholder{color:#b3b7c0;}
input::-webkit-input-placeholder{color:#b3b7c0;}
input:-moz-placeholder{color:#b3b7c0;}
input::-moz-placeholder{color:#b3b7c0;}
common.scss
/* CSS common */
// 这里大家可以写一些公共的css样式,我这里主要是举例
// /assets/css/common.scss.g-border{position: relative;}
.g-border1{position: relative;}
.g-border:after{content:'';position: absolute;bottom:0;width:100%;height:1px;background:#e8e8e8;overflow: hidden;left:0;transform:translate(0%,0) scale(1,0.5);}
.g-border1::before{content:'';position: absolute;top:0;width:100%;height:1px;background:#e8e8e8;overflow: hidden;left:0;transform:translate(0%,0) scale(1,0.5);}.g-border-on::before,.g-border-on:after{background: #dcdcdc!important;
}.g-text-ove2{display: -webkit-box;-webkit-box-orient: vertical; -webkit-line-clamp: 2;overflow: hidden;}
.g-text-ove1{overflow: hidden;text-overflow:ellipsis;white-space: nowrap;}
配置nuxt.config.ts
// 熟悉我的小伙伴可能注意到,我非常喜欢在项目中使用 address,哈哈哈
yarn add address@2.0.1 --save
// https://nuxt.com/docs/api/configuration/nuxt-config
const address = require('address')
const localhost = address.ip() || 'localhost'export default defineNuxtConfig({ssr:true,app:{head: {meta: [{ charset: 'utf-8' },{ name: 'viewport', content: 'width=device-width, initial-scale=1' },{ hid: 'viewport', name: 'viewport', content:"width=1350,  user-scalable=no,viewport-fit=cover"},{ hid: 'description', name: 'description', content: 'CSDN 作者:拿回忆下酒,介绍Vue3+Nuxt3 从0到1搭建官网项目(SEO搜索、中英文切换、图片懒加载)的dome' },{ hid: 'keywords', name: 'keywords', content: 'Vue3,Nuxt3,CSDN 拿回忆下酒' },{ name: 'format-detection', content: 'telephone=no' }],link:[{rel:'icon',type:'image/x-icon',href:'/favicon.ico'}]},},css: ['@/assets/css/reset.scss',// 公共class'@/assets/css/common.scss'],devtools: { enabled: true,ssr:false},devServer:{host: localhost,port:8303}
})
现在的package.json
防止小伙伴下错版本号,咱们确定一下 现在的依赖包的版本号
大家也可以复制一下内容,将node_modules 和 yarn.lock 删除,重新执行 yarn install
{"name": "nuxt3-demo","private": true,"type": "module","scripts": {"dev": "nuxt dev --open","build": "nuxt build","generate": "nuxt generate","preview": "nuxt preview","postinstall": "nuxt prepare"},"dependencies": {"@nuxt/devtools": "latest","@nuxtjs/i18n": "8.0.0","address": "2.0.1","nuxt": "3.8.2","sass": "1.69.5","sass-loader": "13.3.2","string-width": "7.1.0","vue": "3.3.10","vue-router": "4.2.5"}
}
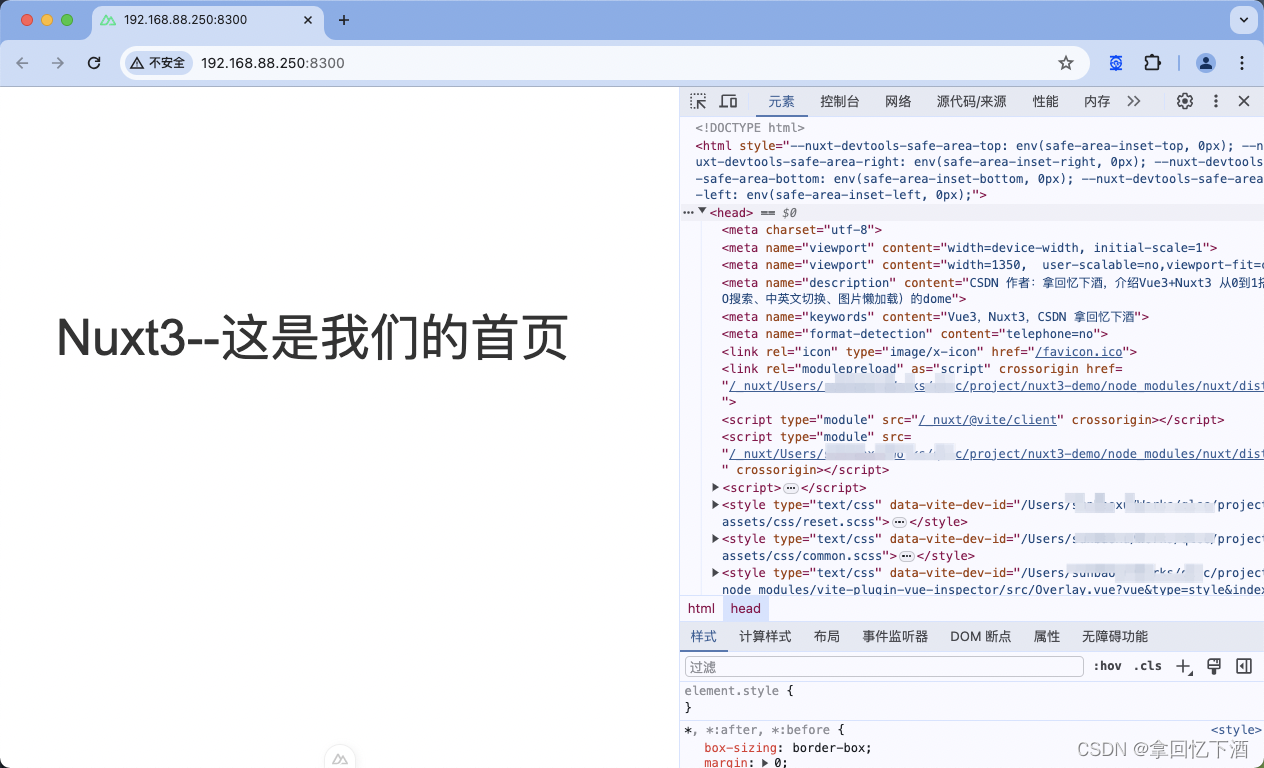
查看效果
我们可以看到 IP、端口、meta、css 已经都改变了

引入i18n(语言切换)
yarn add @nuxtjs/i18n@8.0.0 --save
文章正在努力完善中。。。。。
这篇关于Vue3+Nuxt3 从0到1搭建官网项目(SEO搜索、中英文切换、图片懒加载)的文章就介绍到这儿,希望我们推荐的文章对编程师们有所帮助!


