本文主要是介绍Unity | 集成 Protobuf(proto 转 cs 插件及序列化与反序列化),希望对大家解决编程问题提供一定的参考价值,需要的开发者们随着小编来一起学习吧!

1. 添加 dll
1. 下载 protobuf 源码
根据需要下载 protobuf 指定版本的源码,这里以 v3.21.12(protobuf-csharp-3.21.12.zip)为例:
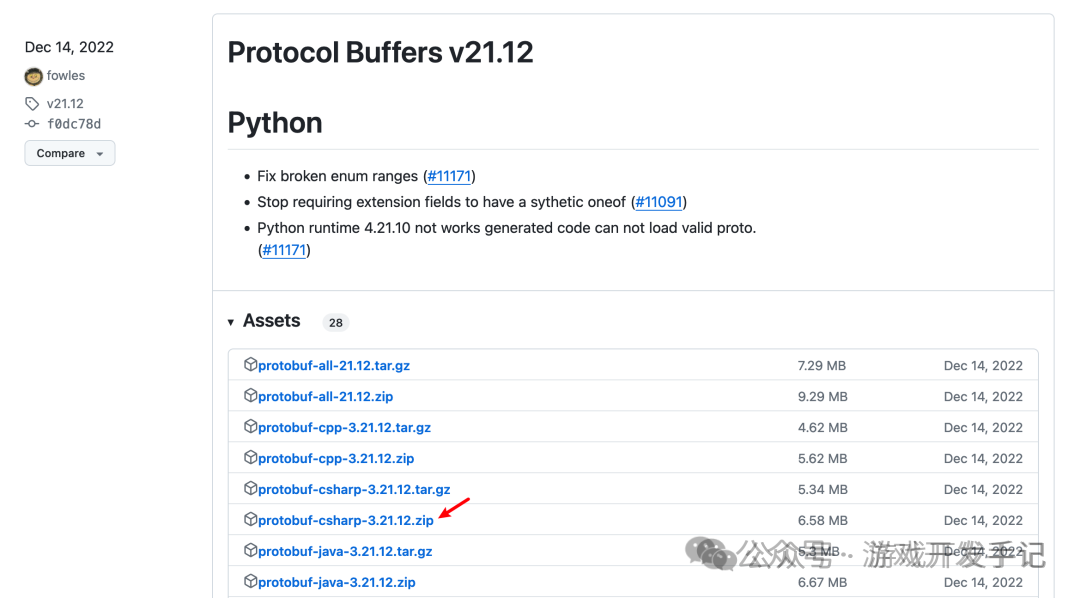
下载地址:「https://github.com/protocolbuffers/protobuf/releases」
2. 下载 Visual Studio 2022
曾尝试使用 Visual Studio 2021 版本编译,但是会报错,更新版本后,即可编译成功
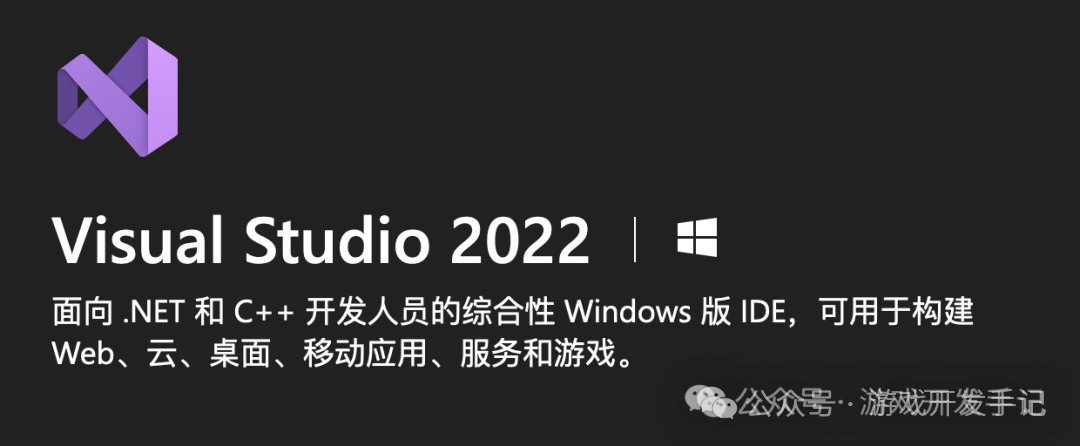
下载地址:「https://visualstudio.microsoft.com/zh-hans/downloads/」
3. 编译 dll
1. 使用 Visual Studio 2022 打开 protobuf 项目中的 Google.Protobuf.sln

2. 编译模式选择:Release

3. Google.Protobuf 右键选择生成 Google.Protobuf

4. 拷贝 dll
编译生成的 dll 在 csharp/src/Google.Protobuf/bin/Release 目录下

将 net45 目录下所有的 dll 文件拷贝到 Unity 指定目录中
2. proto 转 cs
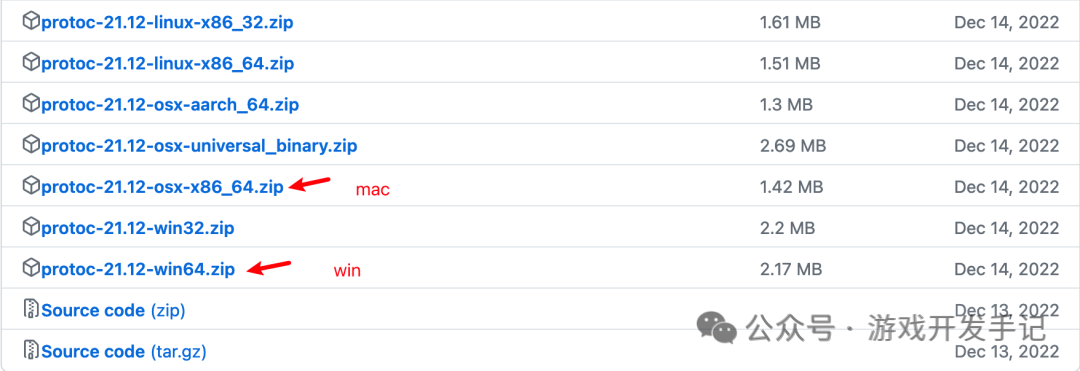
1. 下载编译器
在 protobuf 源码链接中下载对应的平台的编译器(mac: protoc-21.12-osx-x86_64.zip,windows:protoc-21.12-win64.zip)
2. 命令行转换
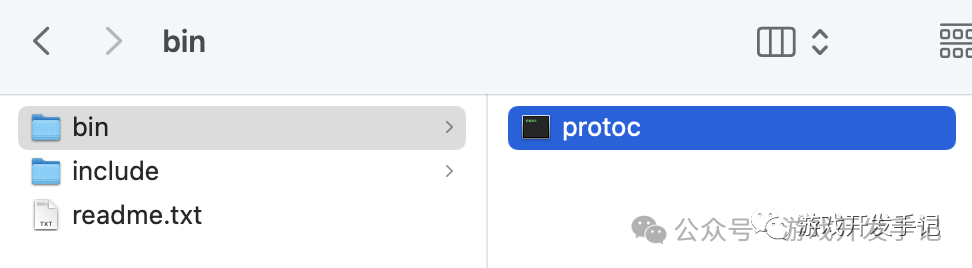
在终端中进入到编译器所在的目录:bin/protoc,然后执行对应的命令
-
转换指定 proto 文件:
./protoc ./Addressbook.proto --csharp_out=./
-
转换指定目录下所有 proto 文件:
./protoc ./*.proto --csharp_out=./
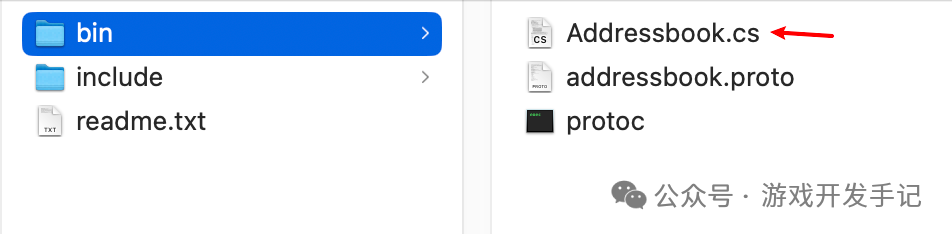
将生成的 cs 文件,放入 Unity 项目中
3. 插件转换
除了直接使用命令行外,也可以在 Unity 中编写插件,利用 Process 执行命令行,转换 proto 文件:
public class ProtoToClass
{[MenuItem("RavenKit/Proto To Class")]public static void GenerateClassFromProto(){string rootPath = Environment.CurrentDirectory;string protoPath = Path.Combine(rootPath, "Proto/");string protoc = Path.Combine(protoPath,RuntimeInformation.IsOSPlatform(OSPlatform.Windows) ? "protoc.exe" : "protoc");string outPath = EditorPrefs.GetString(Application.identifier + "-ProtoClassPath");if (string.IsNullOrEmpty(outPath)){outPath = EditorUtility.OpenFolderPanel("选择存储目录", Application.dataPath, "");if (!string.IsNullOrEmpty(outPath)){EditorPrefs.SetString(Application.identifier + "-ProtoClassPath", outPath);}}string[] protoFiles = Directory.GetFiles(protoPath, "*.proto");foreach (var variable in protoFiles){string argument = $"--csharp_out={outPath} --proto_path={protoPath} {variable}";Run(protoc, argument);}AssetDatabase.Refresh();}public static Process Run(string exe, string arguments){ProcessStartInfo info = new ProcessStartInfo{FileName = exe,Arguments = arguments,CreateNoWindow = true,UseShellExecute = false,RedirectStandardOutput = true,RedirectStandardError = true,};Process process = Process.Start(info);process.WaitForExit();if (process.ExitCode != 0){Debug.LogError($"Failed to Run {arguments}. Exit code: " + process.ExitCode);}return process;}
}
3. 序列化及反序列化
使用方法在官方的源码中也有详细的示例:
byte[] bytes;
// Create a new person
Person person = new Person
{Id = 1,Name = "Foo",Email = "foo@bar",Phones = { new Person.Types.PhoneNumber { Number = "555-1212" } }
};
using (MemoryStream stream = new MemoryStream())
{// Save the person to a streamperson.WriteTo(stream);bytes = stream.ToArray();
}
Person copy = Person.Parser.ParseFrom(bytes);AddressBook book = new AddressBook
{People = { copy }
};
bytes = book.ToByteArray();
// And read the address book back again
AddressBook restored = AddressBook.Parser.ParseFrom(bytes);// The message performs a deep-comparison on equality:
if (restored.People.Count != 1 || !person.Equals(restored.People[0]))
{throw new Exception("There is a bad person in here!");
}
反序列化时,除了使用 ParseFrom 方法
AddressBook.Parser.ParseFrom(bytes)
也可以使用 MergeFrom 方法
message.MergeFrom(data);
将序列化和反序列化封装为通用的函数:
public static class ProtobufUtility
{/// <summary>/// 序列化/// </summary>/// <param name="msg"></param>/// <returns></returns>public static byte[] Serialize(IMessage message){using (MemoryStream stream = new MemoryStream()){message.WriteTo(stream);byte[] result = ms.ToArray();return result;}}/// <summary>/// 反序列化/// </summary>/// <typeparam name="T"></typeparam>/// <param name="data"></param>/// <returns></returns>public static T Deserialize<T>(byte[] data) where T : IMessage, new(){T message = new T();// message = (T)message.Descriptor.Parser.ParseFrom(data);message.MergeFrom(data);return msg;}
}
这篇关于Unity | 集成 Protobuf(proto 转 cs 插件及序列化与反序列化)的文章就介绍到这儿,希望我们推荐的文章对编程师们有所帮助!


