本文主要是介绍骑砍2霸主MOD开发(6)-使用C#-Harmony修改本体游戏逻辑,希望对大家解决编程问题提供一定的参考价值,需要的开发者们随着小编来一起学习吧!
一.C#-Harmony反射及动态注入
利用C#运行时环境的反射原理,实现对已加载DLL,未加载DLL中代码替换和前置后置插桩.
C#依赖库下载地址:
霸王•吕布 / CSharpHarmonyLib · GitCode![]() https://gitcode.net/qq_35829452/csharpharmonylib
https://gitcode.net/qq_35829452/csharpharmonylib
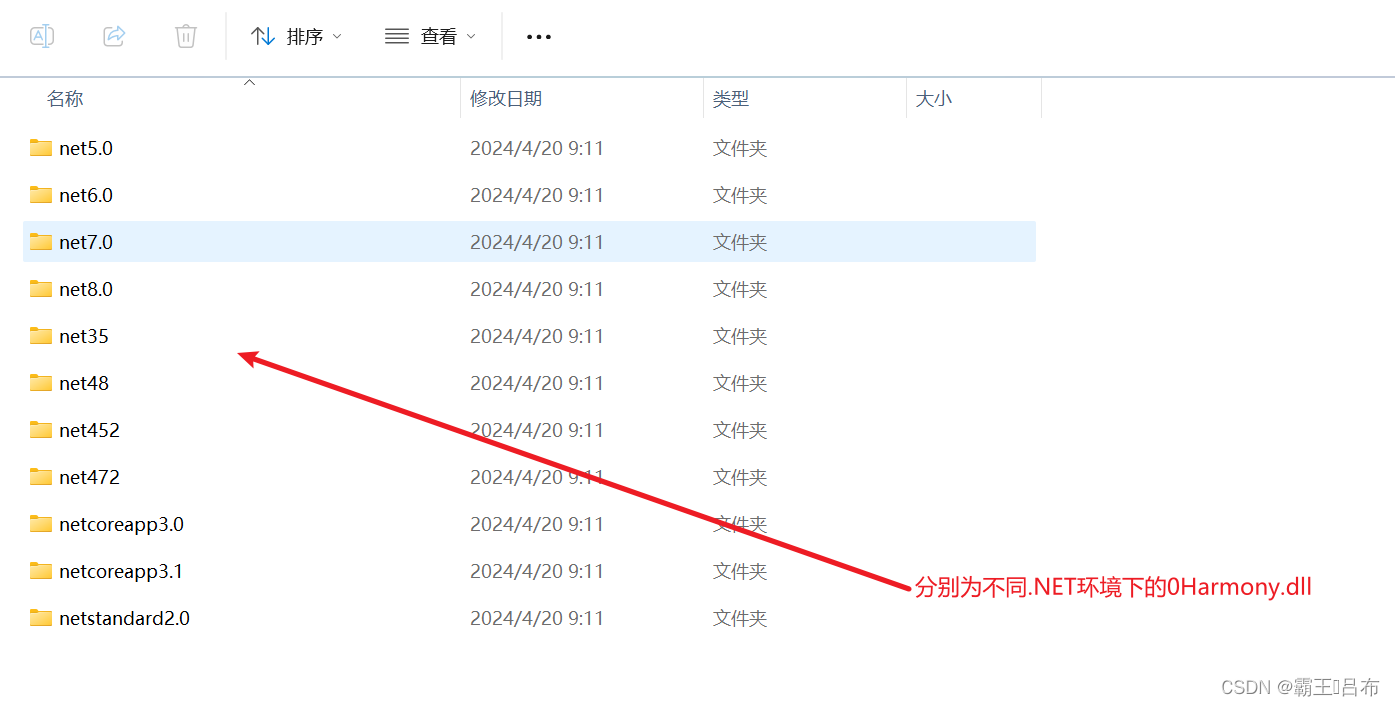
根据实际运行.Net环境选择对应版本的0Harmony.dll

二.csproj文件添加0Harmony.dll依赖
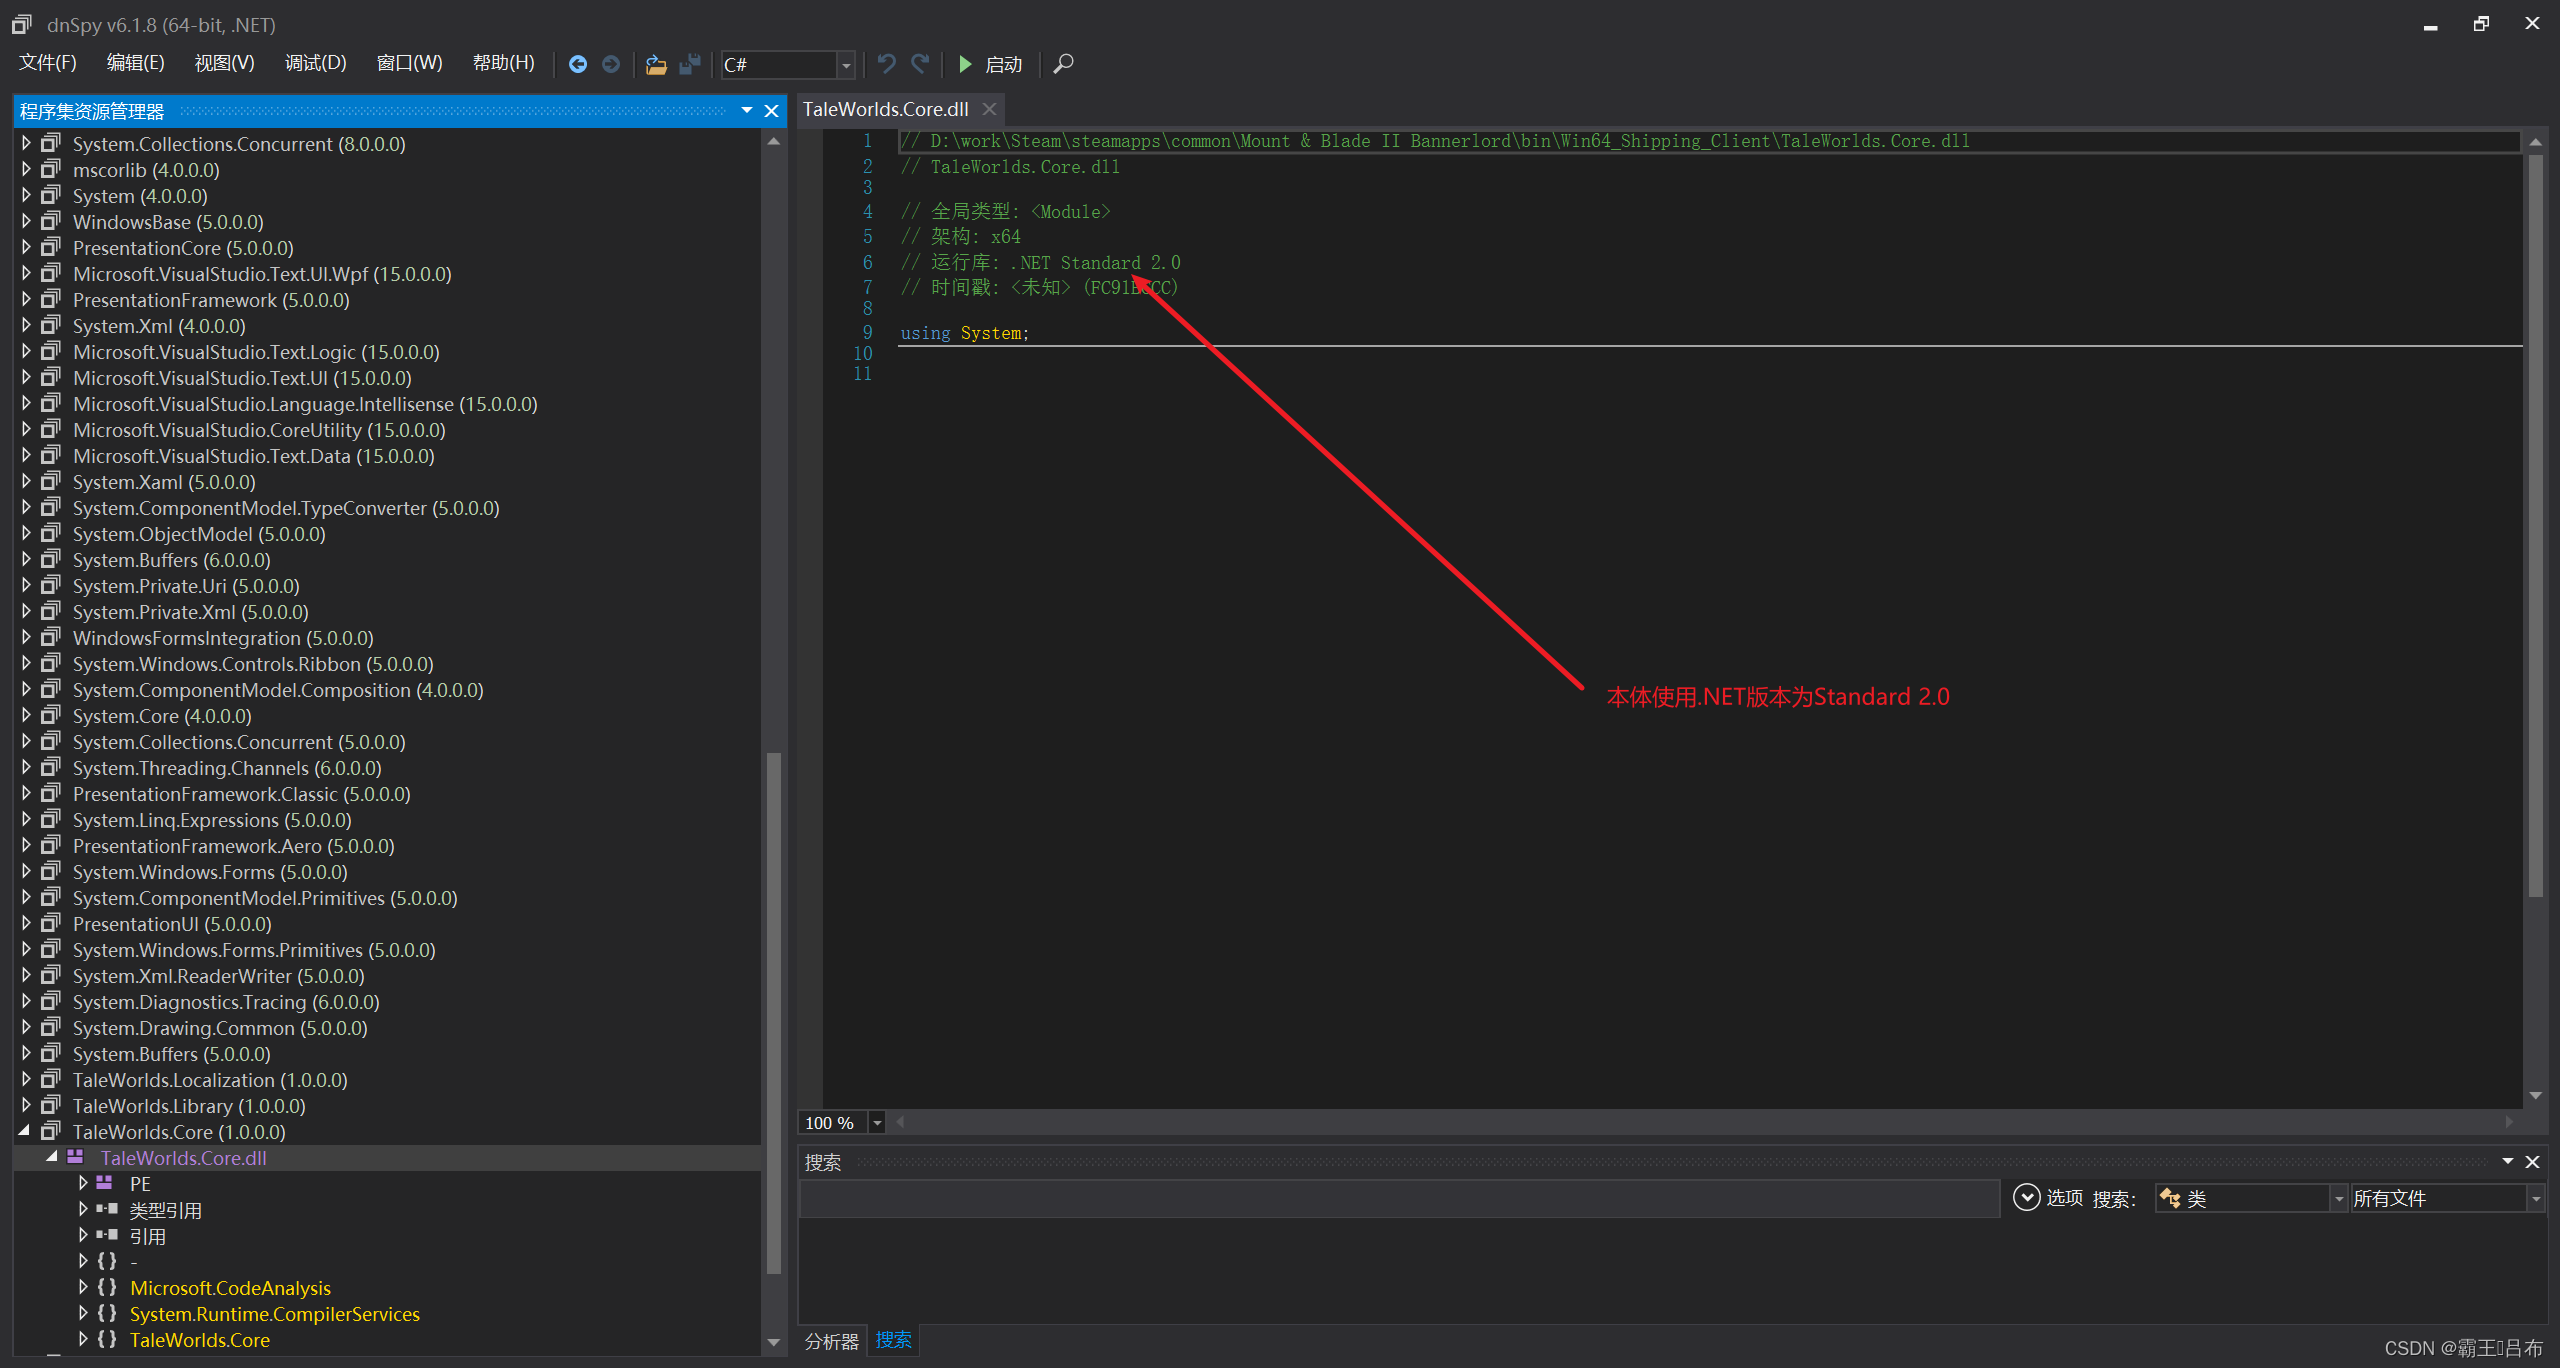
<1.使用dnspy确定当前游戏版本使用.NET运行时环境

<2.确定启动项为TaleWorlds.MountAndBlade.Launcher.exe
<3.csproj选择编译环境,依赖dll路径
<Project Sdk="Microsoft.NET.Sdk"><PropertyGroup><Version>0.0.1</Version><!--指定VS编译依赖.net2框架--><TargetFramework>netstandard2.0</TargetFramework><Platforms>x64</Platforms><!--指定游戏安装目录--><GameFolder>D:\work\Steam\steamapps\common\Mount & Blade II Bannerlord</GameFolder><GameBinariesFolder Condition="Exists('$(GameFolder)\bin\Win64_Shipping_Client\Bannerlord.exe')">Win64_Shipping_Client</GameBinariesFolder><GameBinariesFolder Condition="Exists('$(GameFolder)\bin\Gaming.Desktop.x64_Shipping_Client\Bannerlord.exe')">Gaming.Desktop.x64_Shipping_Client</GameBinariesFolder><!--指定输出dll名称,输出dll路径--><AppendTargetFrameworkToOutputPath>false</AppendTargetFrameworkToOutputPath><AppendRuntimeIdentifierToOutputPath>false</AppendRuntimeIdentifierToOutputPath><AssemblyName>NativeTest</AssemblyName><OutputPath>D:\work\Steam\steamapps\common\Mount & Blade II Bannerlord\Modules\NativeTest\bin\Win64_Shipping_Client</OutputPath></PropertyGroup><!--指定使用C#接口--><ItemGroup><Reference Include="$(GameFolder)\bin\$(GameBinariesFolder)\Newtonsoft.Json.dll"><HintPath>%(Identity)</HintPath><Private>False</Private></Reference><Reference Include="$(GameFolder)\Modules\Harmony\bin\Win64_Shipping_Client\0Harmony.dll"><HintPath>%(Identity)</HintPath><Private>False</Private></Reference><Reference Include="$(GameFolder)\bin\$(GameBinariesFolder)\TaleWorlds.*.dll" Exclude="$(GameFolder)\bin\$(GameBinariesFolder)\TaleWorlds.Native.dll"><HintPath>%(Identity)</HintPath><Private>False</Private></Reference><Reference Include="$(GameFolder)\Modules\Native\bin\$(GameBinariesFolder)\*.dll"><HintPath>%(Identity)</HintPath><Private>False</Private></Reference><Reference Include="$(GameFolder)\Modules\SandBox\bin\$(GameBinariesFolder)\*.dll"><HintPath>%(Identity)</HintPath><Private>False</Private></Reference><Reference Include="$(GameFolder)\Modules\SandBoxCore\bin\$(GameBinariesFolder)\*.dll"><HintPath>%(Identity)</HintPath><Private>False</Private></Reference><Reference Include="$(GameFolder)\Modules\StoryMode\bin\$(GameBinariesFolder)\*.dll"><HintPath>%(Identity)</HintPath><Private>False</Private></Reference><Reference Include="$(GameFolder)\Modules\CustomBattle\bin\$(GameBinariesFolder)\*.dll"><HintPath>%(Identity)</HintPath><Private>False</Private></Reference><Reference Include="$(GameFolder)\Modules\BirthAndDeath\bin\$(GameBinariesFolder)\*.dll"><HintPath>%(Identity)</HintPath><Private>False</Private></Reference></ItemGroup>
</Project>三.SubModule.xml添加0Harmony.dll依赖
<!-- 对应bin\Win64_Shipping_Client下的MOD自定义DLL--><SubModules><SubModule><Name value="NativeTestSubModule" /><DLLName value="NativeTest.dll" /><SubModuleClassType value="NativeTest.NativeTest" /><Assemblies><Assembly value="0Harmony.dll" /></Assemblies><Tags><Tag key="DedicatedServerType" value ="none" /></Tags></SubModule></SubModules>四.Harmony实现对任意类任意方法的前置后置插桩
<1.MBSubModuleBase.OnSubModuleLoad()中进行Harmony注入
<2.实现Prefix,Postfix前置后置插桩,实现对本体代码的修改,例如游戏菜单的加载调用前插入一个对话框MsgBox
public class NativeTest : MBSubModuleBase
{protected override void OnSubModuleLoad(){base.OnSubModuleLoad();Harmony patch = new Harmony("MyPatch");patch.PatchAll();PrefixbBox();}
}#实现对游戏菜单初始化的前置插桩
namespace CampaignMissionPatch
{[HarmonyPatch(typeof(EncounterGameMenuBehavior), "AddGameMenus")]public class CampaignMissionPatch {[DllImport("user32.dll", EntryPoint = "MessageBoxA")]public static extern int MsgBox(int hWnd, string msg, string caption, int type);public static bool Prefix(CampaignGameStarter gameSystemInitializer){MsgBox(0, "this is conversation mission", "msg box", 0x30);return true;}}
}
这篇关于骑砍2霸主MOD开发(6)-使用C#-Harmony修改本体游戏逻辑的文章就介绍到这儿,希望我们推荐的文章对编程师们有所帮助!


