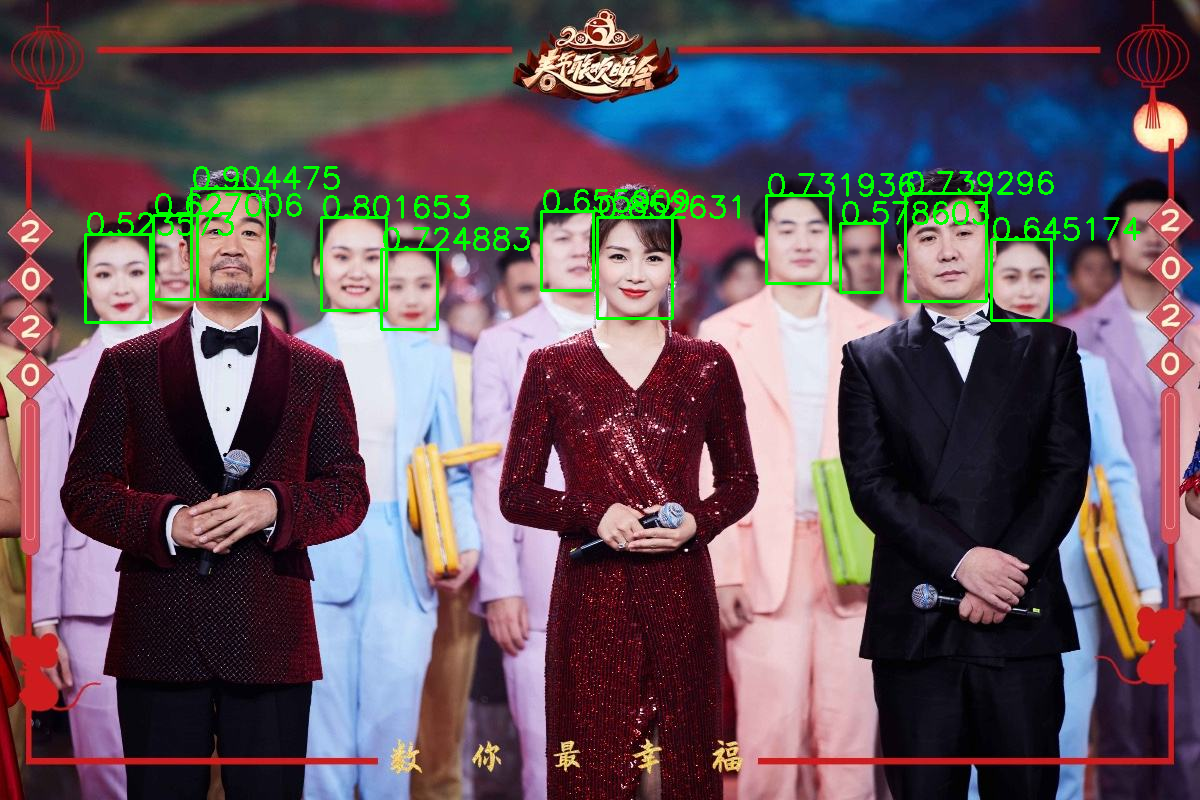
本文主要是介绍facenet人脸检测+人脸识别+性别识别+表情识别+年龄识别的C++部署,希望对大家解决编程问题提供一定的参考价值,需要的开发者们随着小编来一起学习吧!
文章目录
- 一. 人脸检测
- 二.人脸识别facenet
- 2.1 训练人脸识别模型
- 2.2 导出ONNX
- 2.3 测试
- 三.人脸属性(性别、年龄、表情、是否戴口罩)
- 3.1 训练
- 3.2 导出ONNX
- 3.3 测试
- 四. 集成应用
- 五、Jetson 部署
- 5.1 NX
- 5.2 NANO
一. 人脸检测
代码位置:
1.detect运行环境:TensorRT
NVIDIA TAO(training, adapting and optimizing)工具包是一款专门用于深度学习的工具包,它可以帮助用户轻松地训练和优化深度学习模型,使其能够在各种设备上进行推理操作。TAO工具包基于TensorFlow和PyTorch构建,采用了迁移学习的技术,可以将用户自己的模型或预训练模型与实际或合成数据进行适配,并针对目标平台进行推理吞吐量的优化,从而使整个训练过程变得更加简单、高效。TAO工具包的使用不需要专业的人工智能知识或大量的训练数据集,因此,它可以帮助更多的人轻松进入深度学习的领域,快速实现各种应用场景。
模型地址:https://catalog.ngc.nvidia.com/models
使用 TAO的预训练模型:FaceDetect:
- 这个模型接受736x416x3维度的输入张量,并输出46x26x4的bbox坐标张量和46x26x1的类别置信度张量。这些输出张量需要经过NMS或DBScan聚类算法进行后处理,以创建适当的边界框。
- 输入:通道顺序为NCHW,其中N = Batch Size,C = 通道数(3),H = 图像高度(416),W = 图像宽度(736)。输入比例尺度为1/255.0。均值减法:无。
- 输出:输入图像中每个检测到的人脸的类别标签和边界框坐标。
- 后处理参考代码:
- 来源一
- 来源二
# 启动docker
docker run --gpus all --name facenet_env -p 1936:1935 -p 8556:8554 -v `pwd`:/app  -it nvcr.io/nvidia/tensorrt:22.08-py3 bash# 下载检测模型
curl -LO 'https://api.ngc.nvidia.com/v2/models/nvidia/tao/facenet/versions/pruned_quantized_v2.0.1/files/model.etlt'
curl -LO 'https://api.ngc.nvidia.com/v2/models/nvidia/tao/facenet/versions/pruned_quantized_v2.0.1/files/int8_calibration.txt'# download tao-converter
curl -LO 'https://api.ngc.nvidia.com/v2/resources/nvidia/tao/tao-converter/versions/v3.22.05_trt8.4_x86/files/tao-converter'# 给运行权限
chmod +x ./TAO/tao-converter
#模型转换
./TAO/tao-converter -k nvidia_tlt -d 3,416,736 model/model.etlt -t int8 -c model/int8_calibration.txt#编译facedet_test 并运行
cmake -B build .
cmake --build build
./build/facedet_test --model saved.engine --img images/test_face.jpg
二.人脸识别facenet
2.1 训练人脸识别模型
代码位置:
2.facenet_train运行环境:Pytorch
对应视频课程教程来操作,注意解压文件可能出现中文乱码:
# 启动容器
docker run --gpus all -it --name env_pyt_1.12 -v $(pwd):/app nvcr.io/nvidia/pytorch:22.03-py3 # 解压zip
unzip -O cp936 压缩文件.zip -d ../
# 解压tar
tar -xvzf 压缩文件.tar.gz -C ../
2.2 导出ONNX
代码位置:
3.facenet_export运行环境:Pytorch
# 在Pytorch环境下生成ONNX文件
python export.py
2.3 测试
代码位置:
4.facenet运行环境:TensorRT
# 生成TensorRT engine
./build/build -onnx_file ./weights/facenet_sim.onnx --input_h 112 --input_w 112 # 生成人脸库图片列表
find ./crop -type f -printf "%p\n" > face_list.txt# 测试人脸
./build/facenet_test --img ./test1.jpg
三.人脸属性(性别、年龄、表情、是否戴口罩)
3.1 训练
代码位置:
5.attributes_train运行环境:Tensorflow
参考附件:5.attributes_train内容,分别训练年龄、表情、年龄、是否戴口罩。可以增加更多属性,或者选择更深网络。
3.2 导出ONNX
代码位置:
6.attributes_export运行环境:Tensorflow
# 安装转换工具:https://github.com/onnx/tensorflow-onnx
pip install tf2onnx# 性别
python -m tf2onnx.convert --saved-model model/model_gender  --output gender.onnx --opset 10
# 年龄
python -m tf2onnx.convert --saved-model model/model_age  --output age.onnx --opset 10
# 口罩
python -m tf2onnx.convert --saved-model model/model_mask --output mask.onnx --opset 10
# 表情
python -m tf2onnx.convert --saved-model model/model_emotion  --output emotion.onnx --opset 10# 简化
python simplify.py emotion.onnx
3.3 测试
代码位置:
7.attributes_test运行环境:TensorRT
# 转TRT engine(以表情分类模型为例)
./build/build --onnx_file weights/emotion_sim.onnx --input_h 48 --input_w 48 --input_c 1 --format nhwc# 性别测试
./build/attribute_test --model weights/gender_sim.engine --type gender --img images/1.gender/man.png./build/attribute_test --model weights/gender_sim.engine --type gender --img images/1.gender/woman.png# 年龄测试
./build/attribute_test --model weights/age_sim.engine --type age --img images/2.age/old.png./build/attribute_test --model weights/age_sim.engine --type age --img images/2.age/young.png# 口罩测试
./build/attribute_test --model weights/mask_sim.engine --type mask --img images/3.mask/unmask.jpg./build/attribute_test --model weights/mask_sim.engine --type mask --img images/3.mask/mask.png# 表情测试
./build/attribute_test --model weights/emotion_sim.engine --type emotion --img images/4.emotion/angry.jpg./build/attribute_test --model weights/emotion_sim.engine --type emotion --img images/4.emotion/sad.jpg
四. 集成应用
代码位置:
8.app运行环境:TensorRT
# 依次build 对应的engine# 编译运行stream, 其中很多默认参数已经配置好了,因此,不用传其他参数,如果有模型名不一致,可以查看flags定义传入对应的模型文件。# 生成人脸库图片列表
find ./crop -type f -printf "%p\n" > face_list.txt# 运行程序
./build/stream --vid rtsp://localhost:8554/live1.sdp# 查看推流数据, 在vlc中打开rtmp://localhost:1935/live查看推流数据
五、Jetson 部署
5.1 NX
# 检测模型
sudo apt install curl
curl -LO 'https://api.ngc.nvidia.com/v2/resources/nvidia/tao/tao-converter/versions/v3.22.05_trt8.4_aarch64/files/tao-converter'chmod +x tao-converter./TAO/tao-converter -k nvidia_tlt -d 3,416,736 model/model.etlt -t int8 -c model/int8_calibration.txt# facenet识别模型
./build/build -onnx_file ./backup_onnx/facenet_sim.onnx --input_h 112 --input_w 112 # 属性模型
./build/build --onnx_file ./backup_onnx/gender_sim.onnx --input_h 48 --input_w 48 --input_c 1 --format nhwc
./build/build --onnx_file ./backup_onnx/age_sim.onnx --input_h 48 --input_w 48 --input_c 1 --format nhwc
./build/build --onnx_file ./backup_onnx/emotion_sim.onnx --input_h 48 --input_w 48 --input_c 1 --format nhwc
./build/build --onnx_file ./backup_onnx/mask_sim.onnx --input_h 48 --input_w 48 --input_c 1 --format nhwc# 构建
export PATH=$PATH:/usr/local/cuda/bin# 测试
./build/stream --vid
5.2 NANO
# 编译运行,nano上删除 /usr/src/tensorrt/samples/common/sampleUtils.cpp的依赖,同时在build.cu上删除safeCommon.h的include, 以及setMemoryPoolLimit的调用# 以及CMakeLists.txt CUDA ARCH
vim CMakeLists.txt
:%s/61/72/g # 更改编译的cuda arch
这篇关于facenet人脸检测+人脸识别+性别识别+表情识别+年龄识别的C++部署的文章就介绍到这儿,希望我们推荐的文章对编程师们有所帮助!


