本文主要是介绍cifar2数据集:训练一个模型来对飞机airplane和机动车automobile两种图片进行分类,希望对大家解决编程问题提供一定的参考价值,需要的开发者们随着小编来一起学习吧!
1-2,图片数据建模流程范例
仅作示范,具体参数自己调
一,准备数据
训练集有airplane和automobile图片各5000张,测试集有airplane和automobile图片各1000张。
import tensorflow as tf
from tensorflow.keras import datasets,layers,modelsBATCH_SIZE = 100def load_image(img_path,size = (32,32)):label = tf.constant(1,tf.int8) if tf.strings.regex_full_match(img_path,".*/automobile/.*") \else tf.constant(0,tf.int8)img = tf.io.read_file(img_path)img = tf.image.decode_jpeg(img) img = tf.image.resize(img,size)/255.0return(img,label)
#使用并行化预处理num_parallel_calls 和预存数据prefetch来提升性能
ds_train = tf.data.Dataset.list_files("./data/cifar2/train/*/*.jpg") \.map(load_image, num_parallel_calls=tf.data.experimental.AUTOTUNE) \.shuffle(buffer_size = 1000).batch(BATCH_SIZE) \.prefetch(tf.data.experimental.AUTOTUNE) ds_test = tf.data.Dataset.list_files("./data/cifar2/test/*/*.jpg") \.map(load_image, num_parallel_calls=tf.data.experimental.AUTOTUNE) \.batch(BATCH_SIZE) \.prefetch(tf.data.experimental.AUTOTUNE) %matplotlib inline
%config InlineBackend.figure_format = 'svg'#查看部分样本
from matplotlib import pyplot as plt plt.figure(figsize=(8,8))
for i,(img,label) in enumerate(ds_train.unbatch().take(9)):ax=plt.subplot(3,3,i+1)ax.imshow(img.numpy())ax.set_title("label = %d"%label)ax.set_xticks([])ax.set_yticks([])
plt.show()
for x,y in ds_train.take(1):print(x.shape,y.shape)
(100, 32, 32, 3) (100,)
二,定义模型
使用Keras接口有以下3种方式构建模型:使用Sequential按层顺序构建模型,使用函数式API构建任意结构模型,继承Model基类构建自定义模型。
tf.keras.backend.clear_session() #清空会话inputs = layers.Input(shape=(32,32,3))
x = layers.Conv2D(32,kernel_size=(3,3))(inputs)
x = layers.MaxPool2D()(x)
x = layers.Conv2D(64,kernel_size=(5,5))(x)
x = layers.MaxPool2D()(x)
x = layers.Dropout(rate=0.1)(x)
x = layers.Flatten()(x)
x = layers.Dense(32,activation='relu')(x)
outputs = layers.Dense(1,activation = 'sigmoid')(x)model = models.Model(inputs = inputs,outputs = outputs)model.summary()

三,训练模型
import datetimelogdir = "./data/keras_model/" + datetime.datetime.now().strftime("%Y%m%d-%H%M%S")
tensorboard_callback = tf.keras.callbacks.TensorBoard(logdir, histogram_freq=1)model.compile(optimizer=tf.keras.optimizers.Adam(learning_rate=0.001),loss=tf.keras.losses.binary_crossentropy,metrics=["accuracy"])history = model.fit(ds_train,epochs= 10,validation_data=ds_test,callbacks = [tensorboard_callback],workers = 4)
四,评估模型
#%load_ext tensorboard
#%tensorboard --logdir ./data/keras_model
from tensorboard import notebook
notebook.list()
Known TensorBoard instances:- port 6006: logdir ./data/keras_model (started 0:12:09 ago; pid 4208)
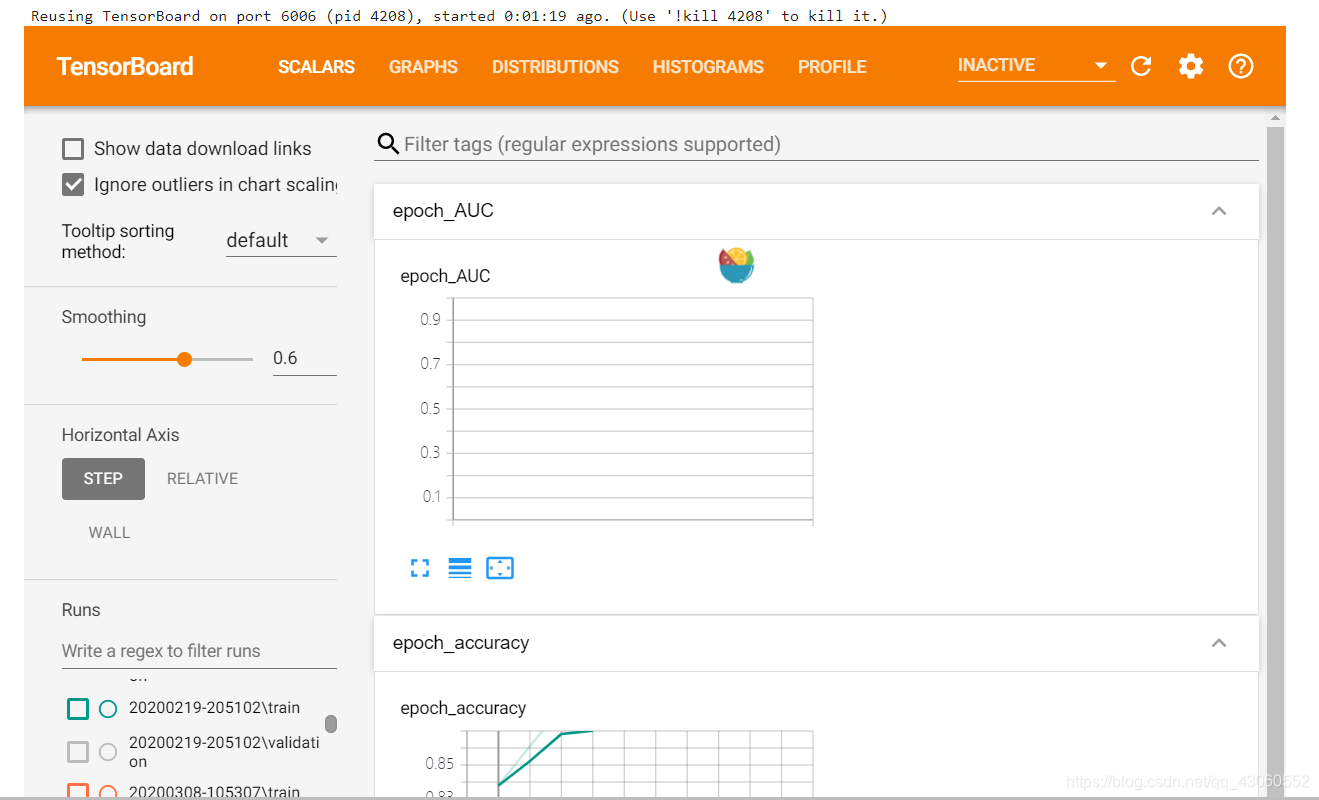
#在tensorboard中查看模型
notebook.start("--logdir ./data/keras_model")
import pandas as pd
dfhistory = pd.DataFrame(history.history)
dfhistory.index = range(1,len(dfhistory) + 1)
dfhistory.index.name = 'epoch'dfhistory

%matplotlib inline
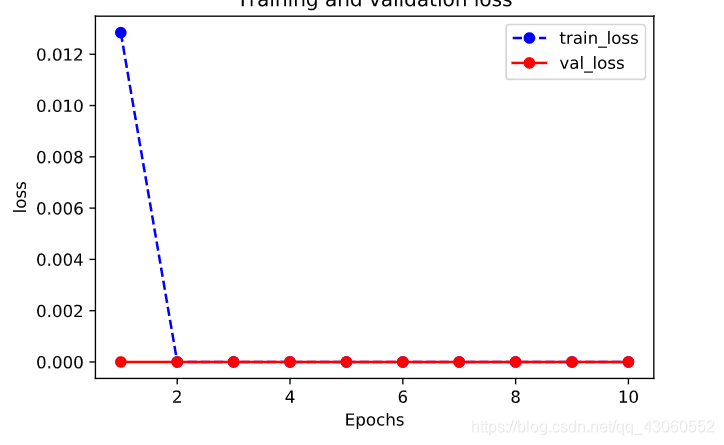
%config InlineBackend.figure_format = 'svg'import matplotlib.pyplot as pltdef plot_metric(history, metric):train_metrics = history.history[metric]val_metrics = history.history['val_'+metric]epochs = range(1, len(train_metrics) + 1)plt.plot(epochs, train_metrics, 'bo--')plt.plot(epochs, val_metrics, 'ro-')plt.title('Training and validation '+ metric)plt.xlabel("Epochs")plt.ylabel(metric)plt.legend(["train_"+metric, 'val_'+metric])plt.show()
plot_metric(history,"loss")
plot_metric(history,"accuracy")

#可以使用evaluate对数据进行评估
val_loss,val_accuracy = model.evaluate(ds_test,workers=4)
print(val_loss,val_accuracy)
20/20 [==============================] - 1s 40ms/step - loss: 1.9538e-11 - accuracy: 1.0000
1.9537624990086845e-11 1.0
五,使用模型
可以使用model.predict(ds_test)进行预测。
model.predict(ds_test)
array([[1.0360916e-19],[1.7873154e-16],[5.5106573e-23],...,[6.4991871e-23],[1.1000750e-31],[2.0341410e-26]], dtype=float32)
for x,y in ds_test.take(1):print(model.predict_on_batch(x[0:20]))
tf.Tensor(
[[5.2837010e-23][1.0252299e-24][5.8508803e-26][2.3309494e-22][2.2657999e-16][1.9107325e-17][1.8045347e-20][1.0879469e-17][5.7537389e-25][6.6131420e-19][1.0352329e-14][2.7486181e-20][4.4809946e-27][1.8120942e-21][9.1887365e-32][1.1202152e-24][2.5798152e-26][8.2470569e-21][1.3405049e-20][1.8362107e-15]], shape=(20, 1), dtype=float32)
六,保存模型
推荐使用TensorFlow原生方式保存模型。
# 保存权重,该方式仅仅保存权重张量
model.save_weights('./data/tf_model_weights.ckpt',save_format = "tf")
# 保存模型结构与模型参数到文件,该方式保存的模型具有跨平台性便于部署model.save('./data/tf_model_savedmodel', save_format="tf")
print('export saved model.')model_loaded = tf.keras.models.load_model('./data/tf_model_savedmodel')
model_loaded.evaluate(ds_test)
[0.0, 1.0]
这篇关于cifar2数据集:训练一个模型来对飞机airplane和机动车automobile两种图片进行分类的文章就介绍到这儿,希望我们推荐的文章对编程师们有所帮助!


