本文主要是介绍跟着cherno手搓游戏引擎【23】项目维护、2D引擎之前的一些准备,希望对大家解决编程问题提供一定的参考价值,需要的开发者们随着小编来一起学习吧!
项目维护:
修改文件结构:

头文件自己改改就好了
创建2DRendererLayer:
Sandbox2D.h:
#pragma once
#include "YOTO.h"
class Sandbox2D :public YOTO::Layer
{public:Sandbox2D();virtual ~Sandbox2D() = default;virtual void OnAttach()override;virtual void OnDetach()override;void OnUpdate(YOTO::Timestep ts)override;virtual void OnImGuiRender() override;void OnEvent(YOTO::Event& e)override;
private:YOTO::OrthographicCameraController m_CameraController;YOTO::Ref<YOTO::Shader> m_FlatColorShader;YOTO::Ref<YOTO::VertexArray> m_SquareVA;glm::vec4 m_SquareColor = { 0.2f,0.3f,0.7f,1.0f };
};
Sandbox2D.cpp:
#include "Sandbox2D.h"
#include <imgui/imgui.h>
#include <glm/gtc/matrix_transform.hpp>
#include <Platform/OpenGL/OpenGLShader.h>
#include <glm/gtc/type_ptr.hpp>
Sandbox2D::Sandbox2D()
:Layer("Sandbox2D"), m_CameraController(1280.0f / 720.0f, true)
{
}
void Sandbox2D::OnAttach()
{m_SquareVA = (YOTO::VertexArray::Create());float squareVertices[5 * 4] = {-0.5f,-0.5f,0.0f,0.5f,-0.5f,0.0f,0.5f,0.5f,0.0f,-0.5f,0.5f,0.0f,};YOTO::Ref<YOTO::VertexBuffer> squareVB;squareVB.reset(YOTO::VertexBuffer::Create(squareVertices, sizeof(squareVertices)));squareVB->SetLayout({{YOTO::ShaderDataType::Float3,"a_Position"}});m_SquareVA->AddVertexBuffer(squareVB);uint32_t squareIndices[6] = { 0,1,2,2,3,0 };YOTO::Ref<YOTO::IndexBuffer> squareIB;squareIB.reset((YOTO::IndexBuffer::Create(squareIndices, sizeof(squareIndices) / sizeof(uint32_t))));m_SquareVA->AddIndexBuffer(squareIB);m_FlatColorShader = YOTO::Shader::Create("assets/shaders/FlatColor.glsl");}
void Sandbox2D::OnDetach()
{
}void Sandbox2D::OnUpdate(YOTO::Timestep ts)
{	//updatem_CameraController.OnUpdate(ts);//RenderYOTO::RenderCommand::SetClearColor({ 0.2f, 0.2f, 0.2f, 1.0f });YOTO::RenderCommand::Clear();YOTO::Renderer::BeginScene(m_CameraController.GetCamera());{static glm::mat4 scale = glm::scale(glm::mat4(1.0f), glm::vec3(0.1f));glm::vec4  redColor(0.8f, 0.3f, 0.3f, 1.0f);glm::vec4  blueColor(0.2f, 0.3f, 0.8f, 1.0f);std::dynamic_pointer_cast<YOTO::OpenGLShader>(m_FlatColorShader)->Bind();std::dynamic_pointer_cast<YOTO::OpenGLShader>(m_FlatColorShader)->UploadUniformFloat4("u_Color", m_SquareColor);YOTO::Renderer::Submit(m_FlatColorShader, m_SquareVA, glm::scale(glm::mat4(1.0f), glm::vec3(1.5f)));}
}
void Sandbox2D::OnImGuiRender()
{ImGui::Begin("设置");ImGui::ColorEdit4("正方形颜色", glm::value_ptr(m_SquareColor));ImGui::End();
}void Sandbox2D::OnEvent(YOTO::Event& e)
{m_CameraController.OnEvent(e);
}
SandBoxApp.cpp:
class Sandbox:public YOTO::Application
{
public:Sandbox(){//PushLayer(new ExampleLayer());//PushLayer(new YOTO::ImGuiLayer());PushLayer(new Sandbox2D());}~Sandbox() {}private:};YOTO::Application* YOTO::CreateApplication() {printf("helloworld");return new Sandbox();
}
flatColor.glsl:
#type vertex#version 330 corelayout(location = 0) in vec3 a_Position;uniform mat4 u_ViewProjection;uniform mat4 u_Transform;void main(){gl_Position =u_ViewProjection*u_Transform*vec4( a_Position,1.0);}#type fragment#version 330 corelayout(location = 0) out vec4 color;uniform vec4 u_Color ;void main(){color =u_Color; }YOTO.h:注意,删掉了入口点,放到了SandboxApp中:
#pragma once//用于YOTO APP#include "YOTO/Core/Application.h"
#include"YOTO/Core/Layer.h"
#include "YOTO/Core/Log.h"#include"YOTO/Core/Timestep.h"#include"YOTO/Core/Input.h"
#include"YOTO/Core/KeyCode.h"
#include"YOTO/Core/MouseButtonCodes.h"
#include "YOTO/Renderer/OrthographicCameraController.h"#include"YOTO/ImGui/ImGuiLayer.h"//Renderer
#include"YOTO/Renderer/Renderer.h"
#include"YOTO/Renderer/RenderCommand.h"#include"YOTO/Renderer/Buffer.h"
#include"YOTO/Renderer/Shader.h"
#include"YOTO/Renderer/Texture.h"
#include"YOTO/Renderer/VertexArray.h"#include"YOTO/Renderer/OrthographicCamera.h"
测试:
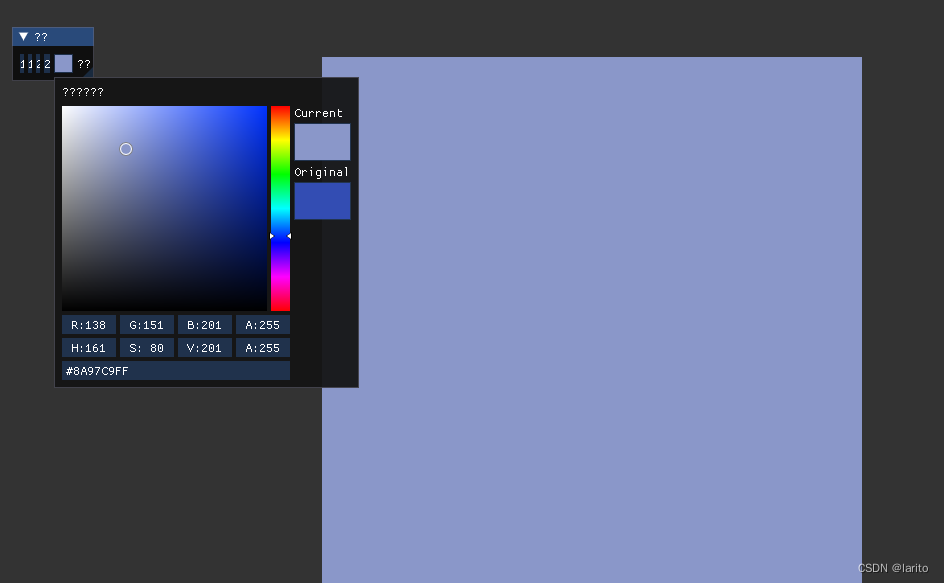
能跑就行!
这篇关于跟着cherno手搓游戏引擎【23】项目维护、2D引擎之前的一些准备的文章就介绍到这儿,希望我们推荐的文章对编程师们有所帮助!


