本文主要是介绍Unity_使用Shader实现玻璃和镜面效果,希望对大家解决编程问题提供一定的参考价值,需要的开发者们随着小编来一起学习吧!
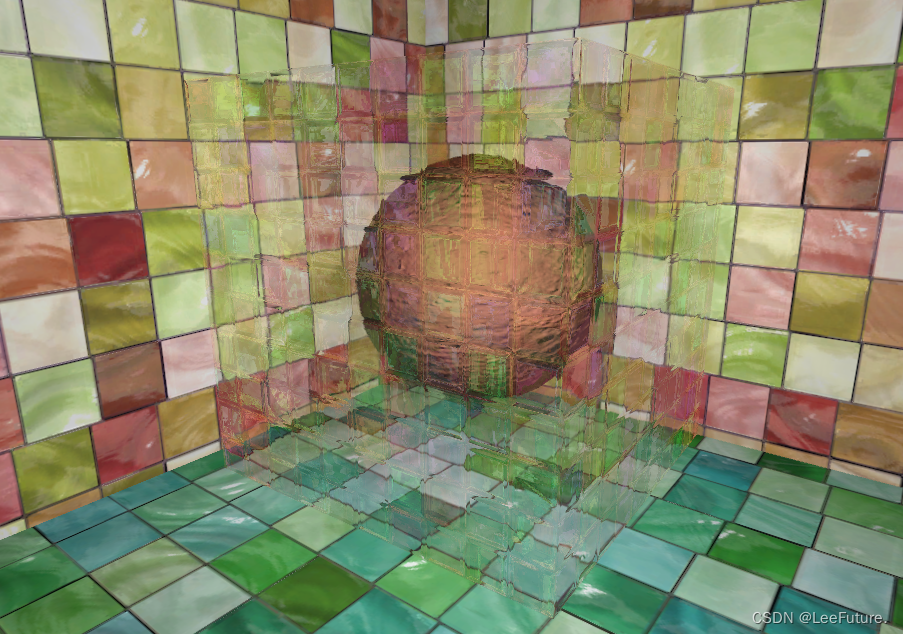
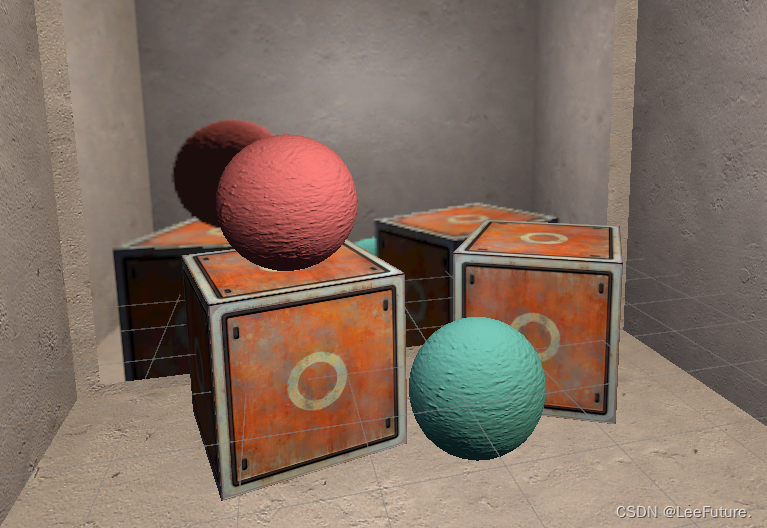
效果图如下:

玻璃效果图

镜面效果图
Step1
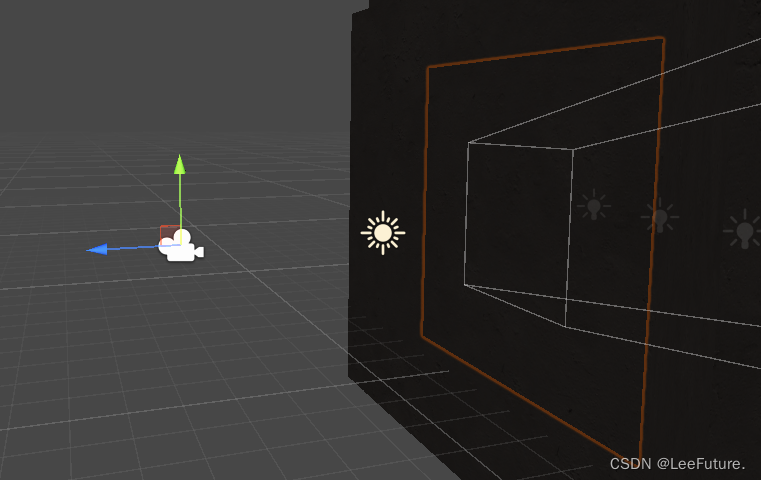
搭建场景→镜子使用Quad代替,放置在需要反射的墙面→创建新的材质和Shader
Step2
墙壁外创建Camera,用来渲染物体后方的视图→创建RenderTexture,赋于该相机
Step3
Shader的编写如下:
①:玻璃Shader
Shader "UnityShaderBook/Chapter10/Mirror"
{Properties {_MainTex ("Main Tex", 2D) = "white" {}}SubShader {Tags { "RenderType"="Opaque" "Queue"="Geometry"}Pass {CGPROGRAM#pragma vertex vert#pragma fragment fragsampler2D _MainTex;struct a2v {float4 vertex : POSITION;float3 texcoord : TEXCOORD0;};struct v2f {float4 pos : SV_POSITION;float2 uv : TEXCOORD0;};v2f vert(a2v v) {v2f o;o.pos = UnityObjectToClipPos(v.vertex);o.uv = v.texcoord;// Mirror needs to filp xo.uv.x = 1 - o.uv.x;return o;}fixed4 frag(v2f i) : SV_Target {return tex2D(_MainTex, i.uv);}ENDCG}} FallBack Off
}
②镜面Shader
Shader "Unity Shaders Book/Chapter 10/Glass Refraction" {Properties {_MainTex ("Main Tex", 2D) = "white" {}_BumpMap ("Normal Map", 2D) = "bump" {}_Cubemap ("Environment Cubemap", Cube) = "_Skybox" {}_Distortion ("Distortion", Range(0, 100)) = 10_RefractAmount ("Refract Amount", Range(0.0, 1.0)) = 1.0}SubShader {// We must be transparent, so other objects are drawn before this one.Tags { "Queue"="Transparent" "RenderType"="Opaque" }// This pass grabs the screen behind the object into a texture.// We can access the result in the next pass as _RefractionTexGrabPass { "_RefractionTex" }Pass {		CGPROGRAM#pragma vertex vert#pragma fragment frag#include "UnityCG.cginc"sampler2D _MainTex;float4 _MainTex_ST;sampler2D _BumpMap;float4 _BumpMap_ST;samplerCUBE _Cubemap;float _Distortion;fixed _RefractAmount;sampler2D _RefractionTex;float4 _RefractionTex_TexelSize;struct a2v {float4 vertex : POSITION;float3 normal : NORMAL;float4 tangent : TANGENT; float2 texcoord: TEXCOORD0;};struct v2f {float4 pos : SV_POSITION;float4 scrPos : TEXCOORD0;float4 uv : TEXCOORD1;float4 TtoW0 : TEXCOORD2;  float4 TtoW1 : TEXCOORD3;  float4 TtoW2 : TEXCOORD4; };v2f vert (a2v v) {v2f o;o.pos = UnityObjectToClipPos(v.vertex);o.scrPos = ComputeGrabScreenPos(o.pos);o.uv.xy = TRANSFORM_TEX(v.texcoord, _MainTex);o.uv.zw = TRANSFORM_TEX(v.texcoord, _BumpMap);float3 worldPos = mul(unity_ObjectToWorld, v.vertex).xyz;  fixed3 worldNormal = UnityObjectToWorldNormal(v.normal);  fixed3 worldTangent = UnityObjectToWorldDir(v.tangent.xyz);  fixed3 worldBinormal = cross(worldNormal, worldTangent) * v.tangent.w; o.TtoW0 = float4(worldTangent.x, worldBinormal.x, worldNormal.x, worldPos.x);  o.TtoW1 = float4(worldTangent.y, worldBinormal.y, worldNormal.y, worldPos.y);  o.TtoW2 = float4(worldTangent.z, worldBinormal.z, worldNormal.z, worldPos.z);  return o;}fixed4 frag (v2f i) : SV_Target {		float3 worldPos = float3(i.TtoW0.w, i.TtoW1.w, i.TtoW2.w);fixed3 worldViewDir = normalize(UnityWorldSpaceViewDir(worldPos));// Get the normal in tangent spacefixed3 bump = UnpackNormal(tex2D(_BumpMap, i.uv.zw));	// Compute the offset in tangent spacefloat2 offset = bump.xy * _Distortion * _RefractionTex_TexelSize.xy;i.scrPos.xy = offset * i.scrPos.z + i.scrPos.xy;fixed3 refrCol = tex2D(_RefractionTex, i.scrPos.xy/i.scrPos.w).rgb;// Convert the normal to world spacebump = normalize(half3(dot(i.TtoW0.xyz, bump), dot(i.TtoW1.xyz, bump), dot(i.TtoW2.xyz, bump)));fixed3 reflDir = reflect(-worldViewDir, bump);fixed4 texColor = tex2D(_MainTex, i.uv.xy);fixed3 reflCol = texCUBE(_Cubemap, reflDir).rgb * texColor.rgb;fixed3 finalColor = reflCol * (1 - _RefractAmount) + refrCol * _RefractAmount;return fixed4(finalColor, 1);}ENDCG}}FallBack "Diffuse"
}
Step4
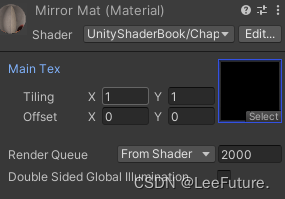
将RenderTexture赋于材质球

这篇关于Unity_使用Shader实现玻璃和镜面效果的文章就介绍到这儿,希望我们推荐的文章对编程师们有所帮助!


