本文主要是介绍【深度学习图像识别课程】毕业项目:狗狗种类识别(4)代码实现,希望对大家解决编程问题提供一定的参考价值,需要的开发者们随着小编来一起学习吧!
本博文涉及以下:六目录:Zero:导入数据集一、检测人脸二、检测狗狗三、从头实现CNN实现狗狗分类四、迁移VGG16实现狗狗分类五、迁移ResNet_50实现狗狗分类六、自己实现狗狗分类
六、自己实现狗狗分类整体流程
实现一个算法,它的输入为图像的路径,它能够区分图像是否包含一个人、狗或两者都不包含,然后:
- 如果从图像中检测到一只狗,返回被预测的品种。
- 如果从图像中检测到人,返回最相像的狗品种。
- 如果两者都不能在图像中检测到,输出错误提示。
可以自己编写检测图像中人类与狗的函数,可以随意使用已经完成的 face_detector 和 dog_detector 函数。使用在步骤5的CNN来预测狗品种。
下面提供了算法的示例输出,也可以自由地设计模型!

1、加载数据集
from sklearn.datasets import load_files
from keras.utils import np_utils
import numpy as np
from glob import glob# 定义函数来加载train,test和validation数据集
def load_dataset(path):data = load_files(path)dog_files = np.array(data['filenames'])dog_targets = np_utils.to_categorical(np.array(data['target']), 133)return dog_files, dog_targets# 加载train,test和validation数据集
train_files, train_targets = load_dataset('dogImages/train')
valid_files, valid_targets = load_dataset('dogImages/valid')
test_files, test_targets = load_dataset('dogImages/test')# 加载狗品种列表
dog_names = [item[20:-1] for item in sorted(glob("dogImages/train/*/"))]# 打印数据统计描述
print('There are %d total dog categories.' % len(dog_names))
print('There are %s total dog images.\n' % len(np.hstack([train_files, valid_files, test_files])))
print('There are %d training dog images.' % len(train_files))
print('There are %d validation dog images.' % len(valid_files))
print('There are %d test dog images.'% len(test_files))
2、检测是否有狗狗
from keras.applications.resnet50 import ResNet50# 定义ResNet50模型
ResNet50_model = ResNet50(weights='imagenet')from keras.preprocessing import image
from tqdm import tqdmdef path_to_tensor(img_path):# 用PIL加载RGB图像为PIL.Image.Image类型img = image.load_img(img_path, target_size=(224, 224))# 将PIL.Image.Image类型转化为格式为(224, 224, 3)的3维张量x = image.img_to_array(img)# 将3维张量转化为格式为(1, 224, 224, 3)的4维张量并返回return np.expand_dims(x, axis=0)def paths_to_tensor(img_paths):list_of_tensors = [path_to_tensor(img_path) for img_path in tqdm(img_paths)]return np.vstack(list_of_tensors)from keras.applications.resnet50 import preprocess_input, decode_predictions
def ResNet50_predict_labels(img_path):# 返回img_path路径的图像的预测向量img = preprocess_input(path_to_tensor(img_path))return np.argmax(ResNet50_model.predict(img))def dog_detector(img_path):prediction = ResNet50_predict_labels(img_path)return ((prediction <= 268) & (prediction >= 151))
3、检测是否有人
import cv2
import matplotlib.pyplot as plt
%matplotlib inline                               # 提取预训练的人脸检测模型
face_cascade = cv2.CascadeClassifier('haarcascades/haarcascade_frontalface_alt.xml')# 如果img_path路径表示的图像检测到了脸,返回"True"
def face_detector(img_path):img = cv2.imread(img_path)gray = cv2.cvtColor(img, cv2.COLOR_BGR2GRAY)faces = face_cascade.detectMultiScale(gray)return len(faces) > 0
4、得到bottleneck特征:ResNet50
bottleneck_features = np.load('bottleneck_features/DogResnet50Data.npz')
train_Resnet50 = bottleneck_features['train']
valid_Resnet50 = bottleneck_features['valid']
test_Resnet50 = bottleneck_features['test']
5、模型建立、编译、训练和测试
### TODO: 定义你的框架
from keras.layers import Conv2D, MaxPooling2D, GlobalAveragePooling2D
from keras.layers import Dropout, Flatten, Dense
from keras.models import SequentialResnet50_model = Sequential()
Resnet50_model.add(GlobalAveragePooling2D(input_shape=train_Resnet50.shape[1:]))
Resnet50_model.add(Dense(133, activation='softmax'))Resnet50_model.summary()
### TODO: 编译模型
Resnet50_model.compile(loss='categorical_crossentropy', optimizer='rmsprop', metrics=['accuracy'])
### TODO: 训练模型
from keras.callbacks import ModelCheckpoint checkpointer = ModelCheckpoint(filepath='saved_models/weights.best.Resnet50.hdf5', verbose=1, save_best_only=True)
Resnet50_model.fit(train_Resnet50, train_targets, validation_data=(valid_Resnet50, valid_targets),epochs=20, batch_size=20, callbacks=[checkpointer], verbose=1)### TODO: 加载具有最佳验证loss的模型权重
Resnet50_model.load_weights('saved_models/weights.best.Resnet50.hdf5')### TODO: 在测试集上计算分类准确率
Resnet50_predictions = [np.argmax(Resnet50_model.predict(np.expand_dims(feature, axis=0))) for feature in test_Resnet50]# 报告测试准确率
test_accuracy = 100*np.sum(np.array(Resnet50_predictions)==np.argmax(test_targets, axis=1))/len(Resnet50_predictions)
print('Test accuracy: %.4f%%' % test_accuracy)
6、测试新图片
### TODO: 写一个函数,该函数将图像的路径作为输入
### 然后返回此模型所预测的狗的品种
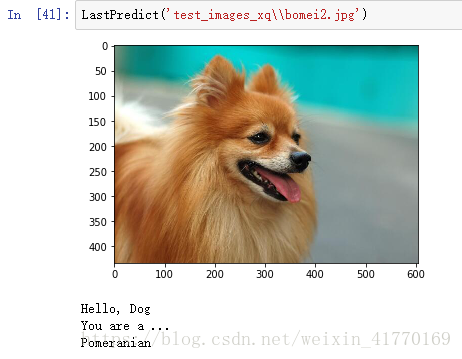
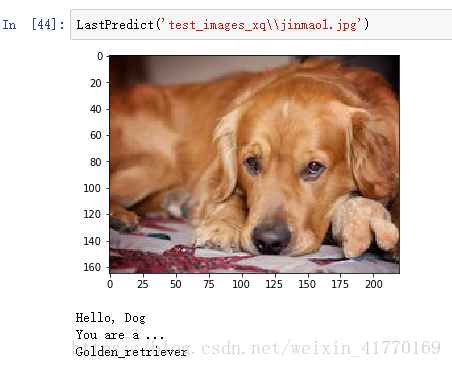
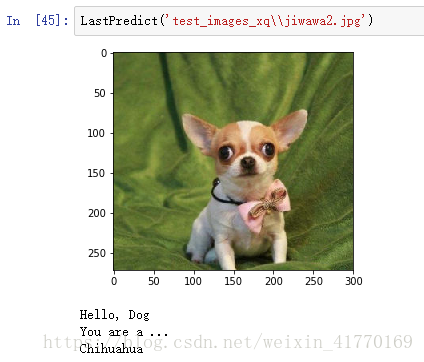
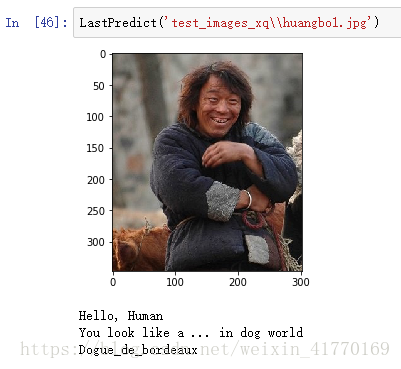
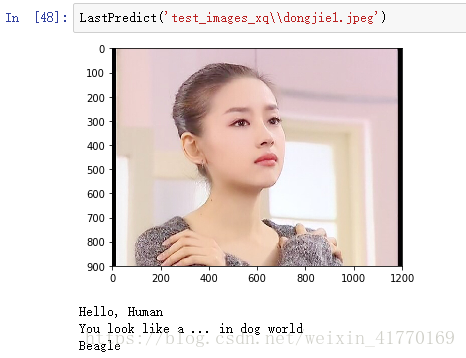
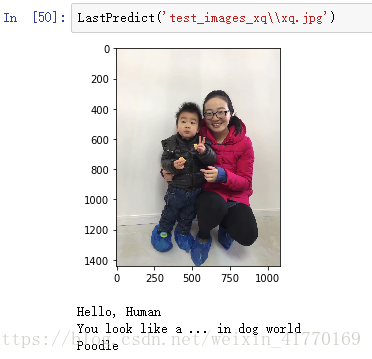
from extract_bottleneck_features import *def Resnet50_predict_breed(img_path):# 提取bottleneck特征bottleneck_feature = extract_Resnet50(path_to_tensor(img_path))# 获取预测向量predicted_vector = Resnet50_model.predict(bottleneck_feature)# 返回此模型预测的狗的品种return dog_names[np.argmax(predicted_vector)]def LastPredict(img_path):img = cv2.imread(img_path)# 将BGR图像转变为RGB图像以打印cv_rgb = cv2.cvtColor(img, cv2.COLOR_BGR2RGB)plt.imshow(cv_rgb)plt.show()if face_detector(img_path) > 0:print("Hello, Human")print("You look like a ... in dog world")print(Resnet50_predict_breed(img_path))elif dog_detector(img_path) == True:print("Hello, Dog")print("You are a ... ")print(Resnet50_predict_breed(img_path))else:print("Error Input")(1)6张狗狗:只有第一张被误判为人类,但是检测的相似狗狗对了。另外5张没有错误。


(2)5张人的图片:5张没有误判的。另外,我像Poodle。


(3)3张猫咪:第二张错误,被误判为人类。其他2张正确。


这篇关于【深度学习图像识别课程】毕业项目:狗狗种类识别(4)代码实现的文章就介绍到这儿,希望我们推荐的文章对编程师们有所帮助!


