本文主要是介绍【小工具】pixi-live2d-display,直接可用的live2d的交互网页/桌面应用,希望对大家解决编程问题提供一定的参考价值,需要的开发者们随着小编来一起学习吧!
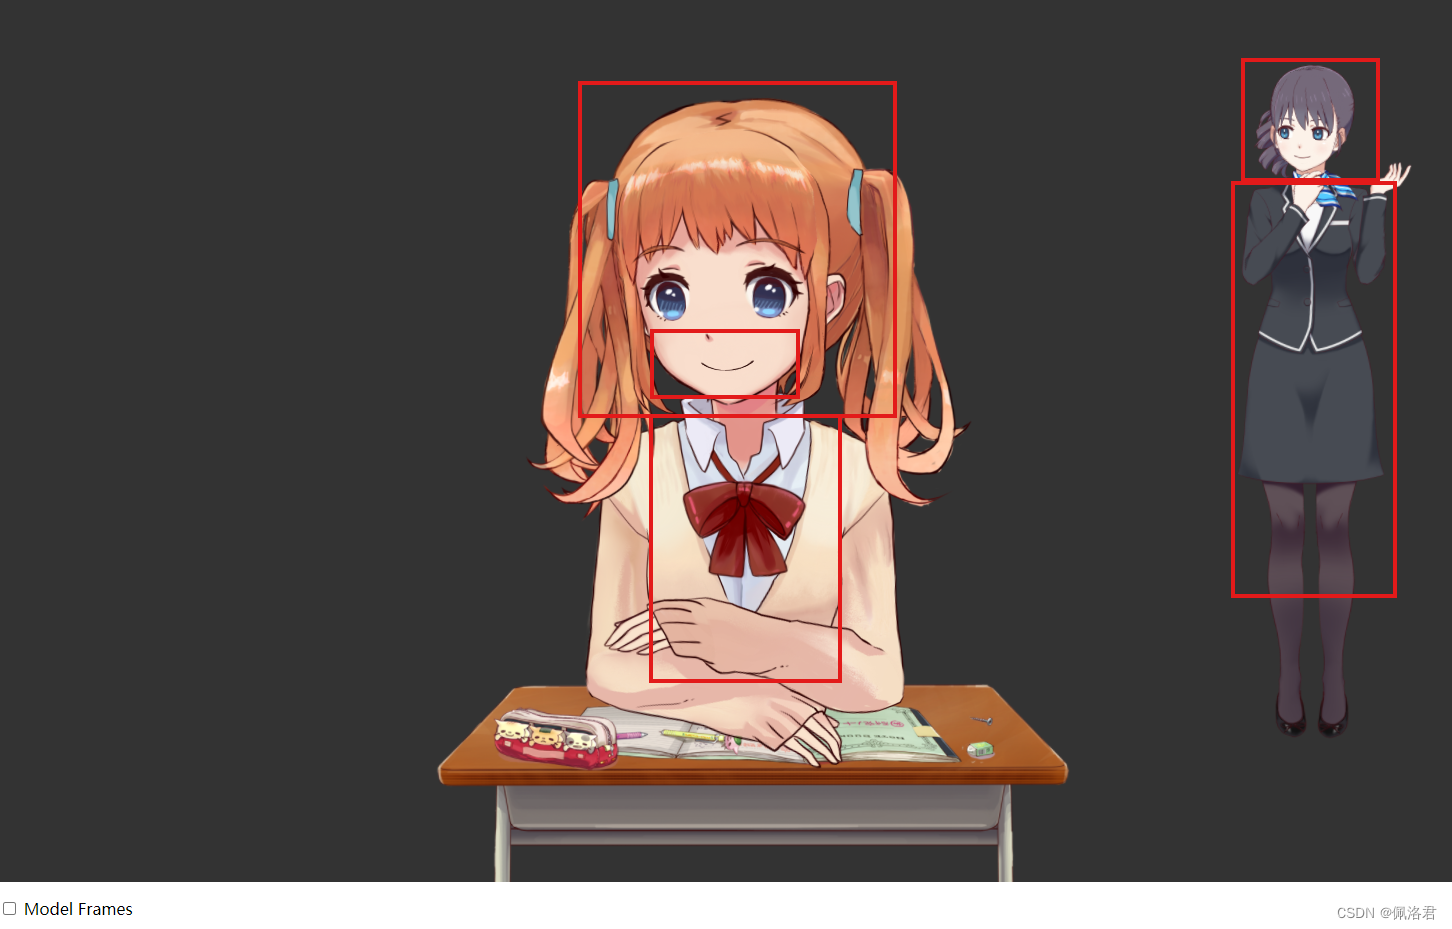
效果:

<script src="https://cubism.live2d.com/sdk-web/cubismcore/live2dcubismcore.min.js"></script>
<script src="https://cdn.jsdelivr.net/gh/dylanNew/live2d/webgl/Live2D/lib/live2d.min.js"></script>
<script src="https://cdn.jsdelivr.net/npm/pixi.js@6.5.2/dist/browser/pixi.min.js"></script>
<script src="https://cdn.jsdelivr.net/npm/pixi-live2d-display/dist/index.min.js"></script>
<script src="https://cdn.jsdelivr.net/npm/pixi-live2d-display/dist/extra.min.js"></script><canvas id=canvas></canvas><div id="control"></div><script type="text/javascript">const cubism2Model ="https://cdn.jsdelivr.net/gh/guansss/pixi-live2d-display/test/assets/shizuku/shizuku.model.json";
const cubism4Model ="https://cdn.jsdelivr.net/gh/guansss/pixi-live2d-display/test/assets/haru/haru_greeter_t03.model3.json";const live2d = PIXI.live2d;(async function main() {const app = new PIXI.Application({view: document.getElementById("canvas"),autoStart: true,resizeTo: window,backgroundColor: 0x333333});const models = await Promise.all([live2d.Live2DModel.from(cubism2Model),live2d.Live2DModel.from(cubism4Model)]);models.forEach((model) => {app.stage.addChild(model);const scaleX = (innerWidth * 0.4) / model.width;const scaleY = (innerHeight * 0.8) / model.height;// fit the windowmodel.scale.set(Math.min(scaleX, scaleY));model.y = innerHeight * 0.1;draggable(model);addFrame(model);addHitAreaFrames(model);});const model2 = models[0];const model4 = models[1];model2.x = (innerWidth - model2.width - model4.width) / 2;model4.x = model2.x + model2.width;// handle tappingmodel2.on("hit", (hitAreas) => {if (hitAreas.includes("body")) {model2.motion("tap_body");}if (hitAreas.includes("head")) {model2.expression();}});model4.on("hit", (hitAreas) => {if (hitAreas.includes("Body")) {model4.motion("Tap");}if (hitAreas.includes("Head")) {model4.expression();}});
})();function draggable(model) {model.buttonMode = true;model.on("pointerdown", (e) => {model.dragging = true;model._pointerX = e.data.global.x - model.x;model._pointerY = e.data.global.y - model.y;});model.on("pointermove", (e) => {if (model.dragging) {model.position.x = e.data.global.x - model._pointerX;model.position.y = e.data.global.y - model._pointerY;}});model.on("pointerupoutside", () => (model.dragging = false));model.on("pointerup", () => (model.dragging = false));
}function addFrame(model) {const foreground = PIXI.Sprite.from(PIXI.Texture.WHITE);foreground.width = model.internalModel.width;foreground.height = model.internalModel.height;foreground.alpha = 0.2;model.addChild(foreground);checkbox("Model Frames", (checked) => (foreground.visible = checked));
}function addHitAreaFrames(model) {const hitAreaFrames = new live2d.HitAreaFrames();hitAreaFrames.visible = true;model.addChild(hitAreaFrames);//checkbox("Hit Area Frames", (checked) => (hitAreaFrames.visible = checked));
}function checkbox(name, onChange) {const id = name.replace(/\W/g, "").toLowerCase();let checkbox = document.getElementById(id);if (!checkbox) {const p = document.createElement("p");p.innerHTML = `<input type="checkbox" id="${id}"> <label for="${id}">${name}</label>`;document.getElementById("control").appendChild(p);checkbox = p.firstChild;}checkbox.addEventListener("change", () => {onChange(checkbox.checked);});onChange(checkbox.checked);
}</script><style>
#controlposition: absolutetop: 8pxleft: 24pxcolor: whitefont-size: 18px
</style>
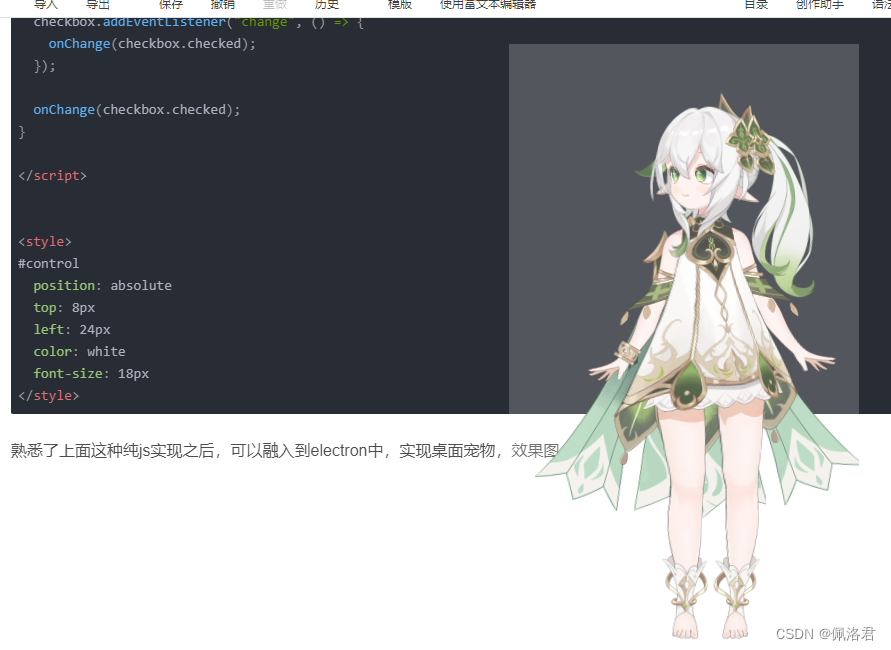
熟悉了上面这种纯js实现之后,可以融入到electron中,实现桌面宠物,效果图:

还有更多交互相关的请参考
开源项目pixi-live2d-display:https://github.com/guansss/pixi-live2d-display
中文文档:https://github.com/guansss/pixi-live2d-display/blob/master/README.zh.md
API手册:https://guansss.github.io/pixi-live2d-display/api/index.html
这篇关于【小工具】pixi-live2d-display,直接可用的live2d的交互网页/桌面应用的文章就介绍到这儿,希望我们推荐的文章对编程师们有所帮助!


