本文主要是介绍MATLAB 图片三角风格化(low poly),希望对大家解决编程问题提供一定的参考价值,需要的开发者们随着小编来一起学习吧!
该篇博
客内容已上传至Github
链接:https://github.com/slandarer/low_poly_poisson
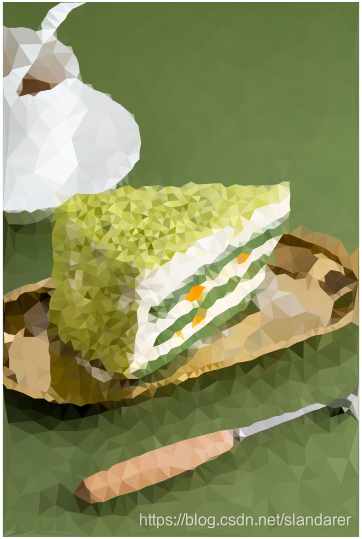
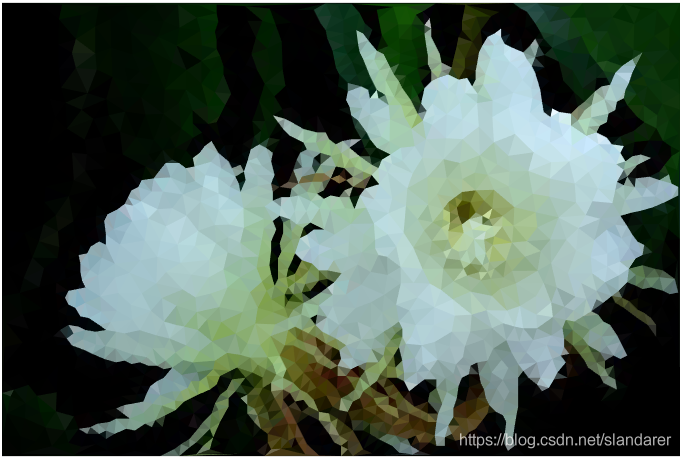
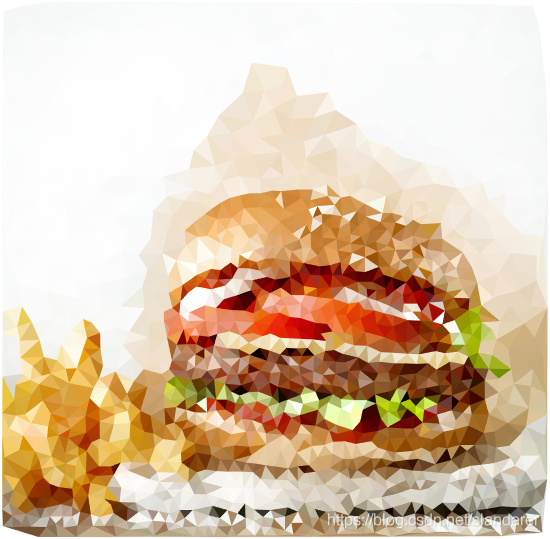
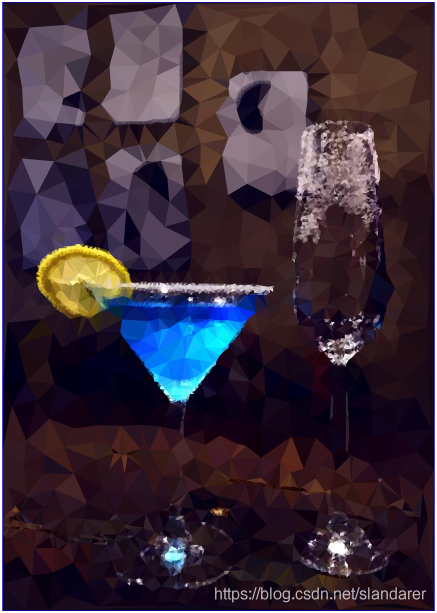
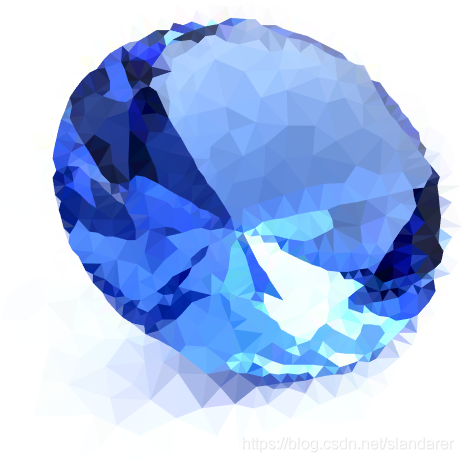
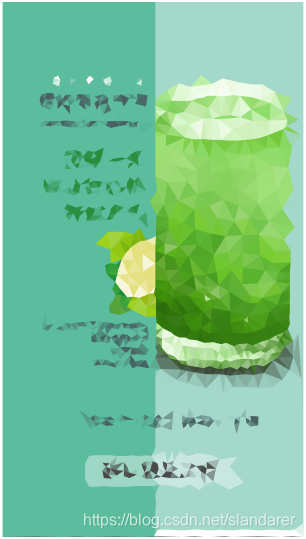
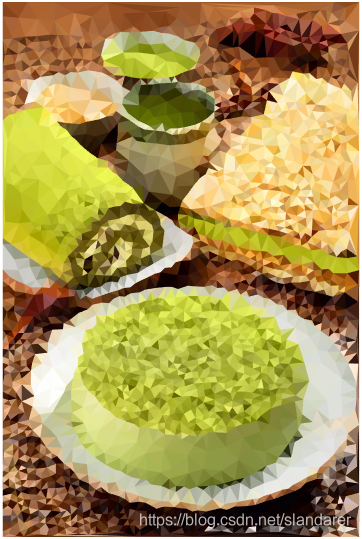
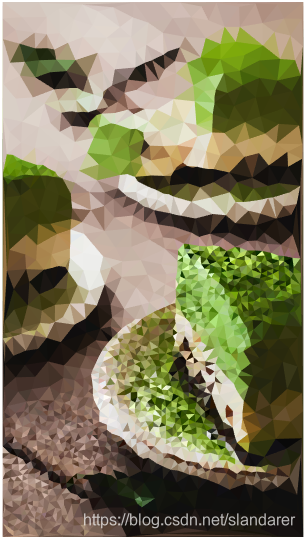
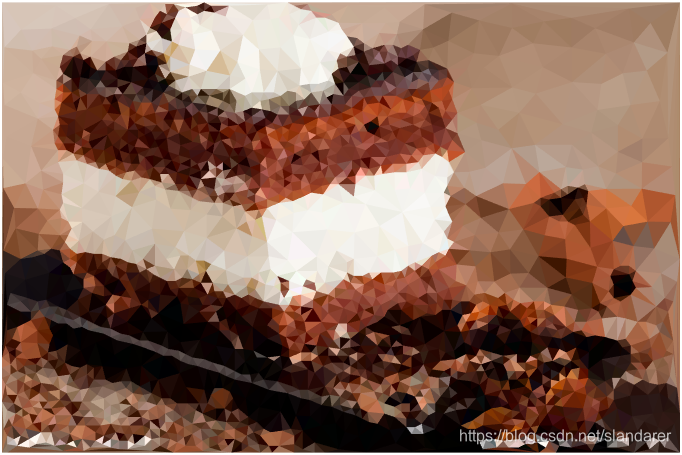
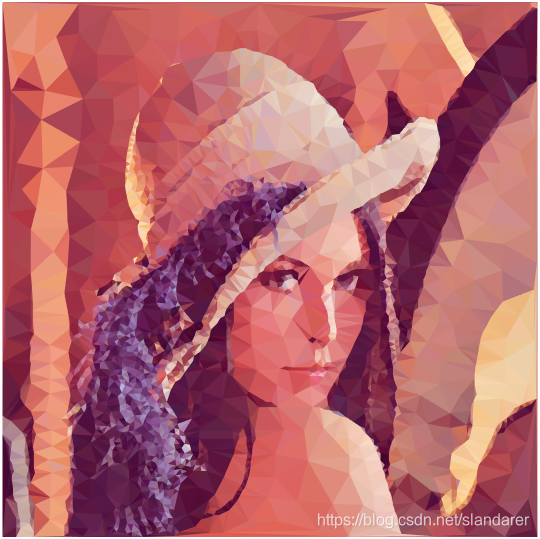
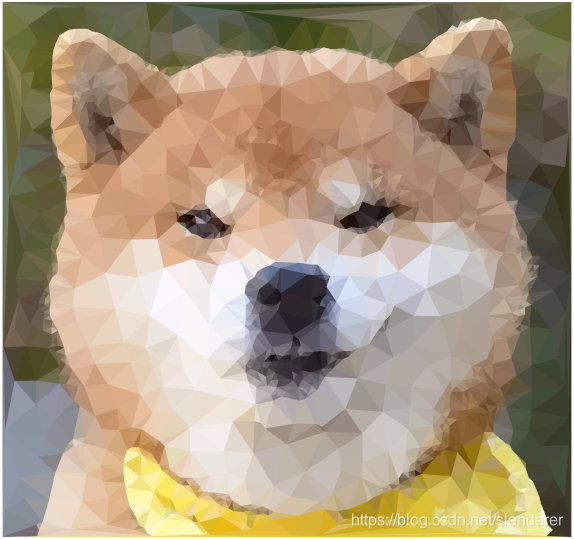
三角化效果:
步骤
1.图片灰度化后进行sobel卷积检测边缘
oriPic=imread('test.jpg');% use sobel algorithm to detect image edges
if size(oriPic,3)==3grayPic=rgb2gray(oriPic);
elsegrayPic=oriPic;
end
sobelPic=sobelConv2_gray(grayPic);
sobel边缘检测函数:
使用矩阵运算加快运行速度
function sobelPic=sobelConv2_gray(oriPic)Hx=[-1 0 1;-2 0 2;-1 0 1];Hy=[1 2 1;0 0 0;-1 -2 -1];[rows,cols]=size(oriPic);exPic=uint8(zeros([rows+2,cols+2]));exPic(2:rows+1,2:cols+1)=oriPic;exPic(2:rows+1,1)=oriPic(:,1);exPic(2:rows+1,cols+2)=oriPic(:,cols);exPic(1,2:cols+1)=oriPic(1,:);exPic(rows+2,2:cols+1)=oriPic(rows,:);exPic(1,1)=oriPic(1,1);exPic(rows+2,1)=oriPic(rows,1);exPic(1,cols+2)=oriPic(1,cols);exPic(rows+2,cols+2)=oriPic(rows,cols);Gx=zeros([rows,cols]);Gy=Gx;for ii=1:3for jj=1:3tempPic=double(exPic(ii:rows+ii-1,jj:cols+jj-1));Gx=Gx+tempPic.*Hx(ii,jj);Gy=Gy+tempPic.*Hy(ii,jj);endendsobelPic=uint8(sqrt(Gx.^2+Gy.^2));end
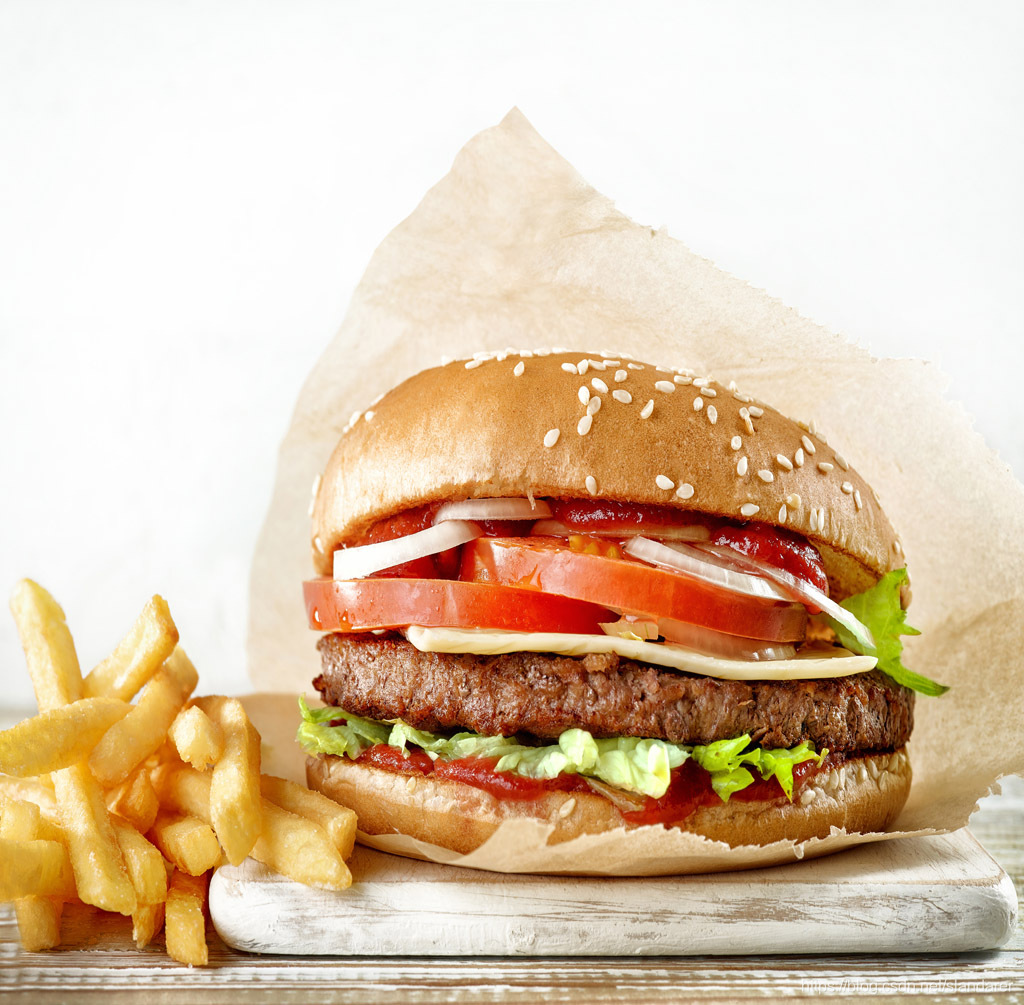
原图:
卷积结果:

2.泊松圆盘采样
该算法的详解可以看看这一篇:
http://devmag.org.za/2009/05/03/poisson-disk-sampling/
使用泊松圆盘取样可以产生更加均匀的随机点:
左:随机取点
中:先构建网格,在网格交错点附近添加扰动
右:泊松圆盘取样

我们对泊松圆盘采样算法进行两次改写,分别应用于边缘处,及其他部分的采点,改写分别为:
- 边缘采点所采集点位置只能是sobel边缘检测较亮位置
- 其他部分采点密度不同时两点之间最小距离会随之改变,且其他部分采点以边缘点为初始集
edgePic=sobelPic;
edgePic(edgePic<max(max(edgePic)).*0.4)=0;
[edgeX,edgeY]=find(edgePic>0);
edgePntList=[edgeY,edgeX];% set the triangle density
redge=min(size(sobelPic))/80;
rmax=min(size(sobelPic))/20;
rmin=min(size(sobelPic))/40;% use poisson disc sampling to select points
edgePntList=poissonEdge(edgePntList,redge);
pntList=poissonDisk(sobelPic,[rmin,rmax],30,edgePntList);
其中
redge :边缘上两个取样点最近距离
rmax :边缘外 亮度最低时两个采样点最近距离
rmin :边缘外 亮度最高时两个采样点最近距离
当希望使边缘更加细致时,可以将redge后面的除数变大以获得更加密集的采样,例如:
redge=min(size(sobelPic))/120;
边缘采样函数
function resultSet=poissonEdge(edgeList,R)preSet=edgeList;resultSet=[0 0];resultSet(1,:)=[];times=0;while times<150tempPos=randi([1,size(preSet,1)],1);selectedPnt=preSet(tempPos,:);dis=sqrt(sum((edgeList-selectedPnt).^2,2));candidate=find(dis>=R&dis<=2*R);if length(candidate)>30pntSet=edgeList(candidate(1:30),:);elsepntSet=edgeList(candidate,:);endflag=0;for j=1:size(pntSet,1)pnt=pntSet(j,:);if size(resultSet,1)==0resultSet=[resultSet;pnt];preSet=[preSet;pnt];flag=1;elsedis=sqrt(sum((resultSet-pnt).^2,2));if all(dis>=R)resultSet=[resultSet;pnt];preSet=[preSet;pnt];flag=1;endendendif flag==1preSet(tempPos,:)=[];times=0;elsetimes=times+1;end disp(['edge pnt num:',num2str(size(resultSet,1))]);endend
其他区域采样函数
function resultSet=poissonDisk(grayPic,R,K,edgePntList)[m,n]=size(grayPic);preSet=edgePntList;resultSet=[edgePntList;1,1;n,m;1,m;n,1];grayPic=double(255-grayPic);cmin=min(min(grayPic));cmax=max(max(grayPic));rMap=grayPic-cmin;rMap=rMap./(cmax-cmin).*(R(2)-R(1))+R(1);times=0;while times<500tempPos=randi([1,size(preSet,1)],1);selectedPnt=preSet(tempPos,:);r=rMap(round(selectedPnt(2)),round(selectedPnt(1)));theta=rand(K,1).*2*pi;radius=rand(K,1).*r+r;x=radius.*cos(theta)+selectedPnt(1);y=radius.*sin(theta)+selectedPnt(2);flag=0;for j=1:Kpnt=[x(j),y(j)];if pnt(1)>=1&&pnt(2)>=1&&pnt(1)<=n&&pnt(2)<=mif size(resultSet,1)==0resultSet=[resultSet;pnt];preSet=[preSet;pnt];flag=1;elsedis=sqrt(sum((resultSet-pnt).^2,2));if all(dis>=r)resultSet=[resultSet;pnt];preSet=[preSet;pnt];flag=1; endend endendif flag==1preSet(tempPos,:)=[];times=0;elsetimes=times+1;enddisp(['pnt num:',num2str(size(resultSet,1))]);end end
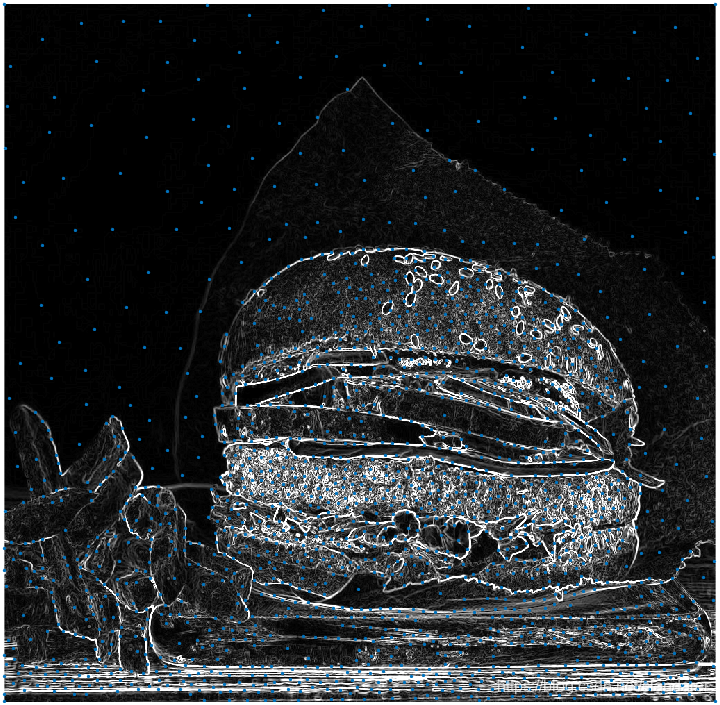
边缘采样效果:
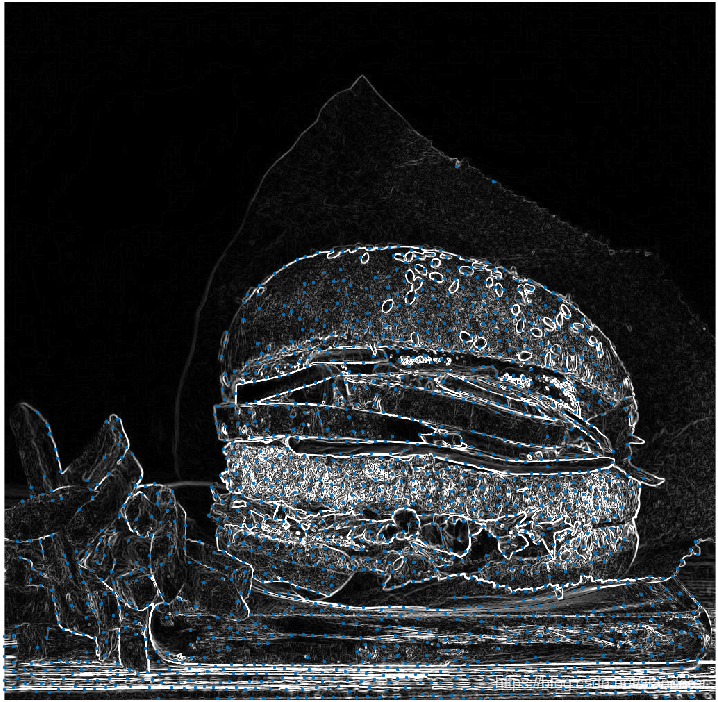
其他区域采样效果:
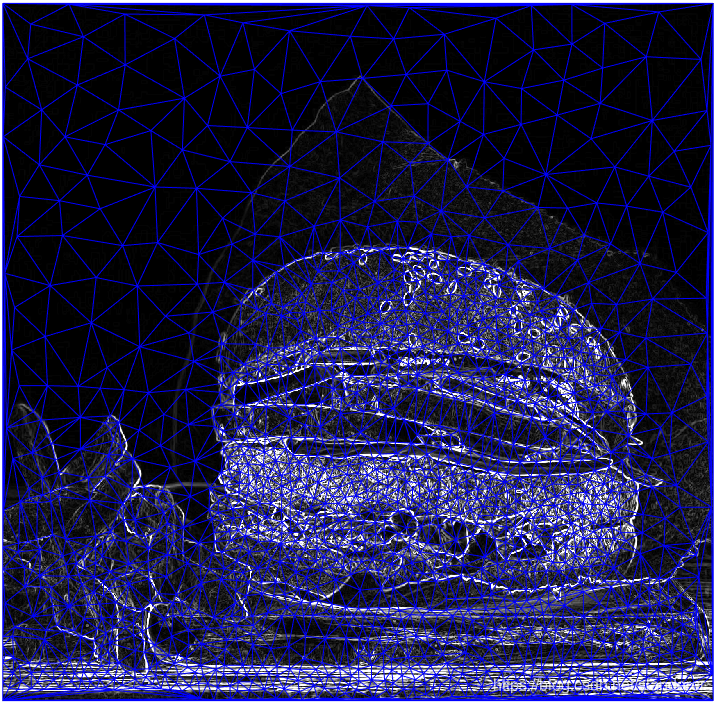
3.Delaunay三角剖分
% construct the delaunay triangle
DT=delaunay(pntList(:,1),pntList(:,2));
4.重心法取色
我们要为每个三角形设置一个颜色,最简单的方法是取每个三角形重心处的颜色,即((x1,y1)+(x2,y2)+(x3,y3))/3处的颜色:
% calculate the pixel value at the center of gravity of the triangle
vset1=pntList(DT(:,1),:);
vset2=pntList(DT(:,2),:);
vset3=pntList(DT(:,3),:);
barycenter=round((vset1+vset2+vset3)./3);
tempList=barycenter(:,2)+(barycenter(:,1)-1)*size(oriPic,1);
if size(oriPic,3)==3   Rchannel=oriPic(:,:,1);Gchannel=oriPic(:,:,2);Bchannel=oriPic(:,:,3);colorList(:,:,1)=Rchannel(tempList);colorList(:,:,2)=Gchannel(tempList);colorList(:,:,3)=Bchannel(tempList);
elsecolorList(:,:,1)=oriPic(tempList);colorList(:,:,2)=oriPic(tempList);colorList(:,:,3)=oriPic(tempList);
end
5.图片展示
% show picture
z=zeros([size(pntList,1),1]);
trisurf(DT,pntList(:,1),pntList(:,2),z,'CData',colorList,'EdgeColor','none')
ax=gca;
hold(ax,'on')
set(ax,'XTick',[],'YTick',[],'XColor','none','YColor','none')
axis equal
set(ax,'YDir','reverse','View',[0,90])
6.完整代码
function lowPoly()
oriPic=imread('test.jpg');% use sobel algorithm to detect image edges
if size(oriPic,3)==3grayPic=rgb2gray(oriPic);
elsegrayPic=oriPic;
end
sobelPic=sobelConv2_gray(grayPic);edgePic=sobelPic;
edgePic(edgePic<max(max(edgePic)).*0.4)=0;
[edgeX,edgeY]=find(edgePic>0);
edgePntList=[edgeY,edgeX];% set the triangle density
redge=min(size(sobelPic))/80;
rmax=min(size(sobelPic))/20;
rmin=min(size(sobelPic))/40;% use poisson disc sampling to select points
edgePntList=poissonEdge(edgePntList,redge);
pntList=poissonDisk(sobelPic,[rmin,rmax],30,edgePntList);
% imshow(sobelPic)
% hold on
% scatter(pntList(:,1),pntList(:,2),3,'filled')% construct the delone triangle
DT=delaunay(pntList(:,1),pntList(:,2));
%triplot(DT,pntList(:,1),pntList(:,2));% calculate the pixel value at the center of gravity of the triangle
vset1=pntList(DT(:,1),:);
vset2=pntList(DT(:,2),:);
vset3=pntList(DT(:,3),:);
barycenter=round((vset1+vset2+vset3)./3);
tempList=barycenter(:,2)+(barycenter(:,1)-1)*size(oriPic,1);
if size(oriPic,3)==3   Rchannel=oriPic(:,:,1);Gchannel=oriPic(:,:,2);Bchannel=oriPic(:,:,3);colorList(:,:,1)=Rchannel(tempList);colorList(:,:,2)=Gchannel(tempList);colorList(:,:,3)=Bchannel(tempList);
elsecolorList(:,:,1)=oriPic(tempList);colorList(:,:,2)=oriPic(tempList);colorList(:,:,3)=oriPic(tempList);
end% show picture
z=zeros([size(pntList,1),1]);
trisurf(DT,pntList(:,1),pntList(:,2),z,'CData',colorList,'EdgeColor','none')
ax=gca;
hold(ax,'on')
set(ax,'XTick',[],'YTick',[],'XColor','none','YColor','none')
axis equal
set(ax,'YDir','reverse','View',[0,90])%% Correlation Functions============================================function resultSet=poissonEdge(edgeList,R)preSet=edgeList;resultSet=[0 0];resultSet(1,:)=[];times=0;while times<150tempPos=randi([1,size(preSet,1)],1);selectedPnt=preSet(tempPos,:);dis=sqrt(sum((edgeList-selectedPnt).^2,2));candidate=find(dis>=R&dis<=2*R);if length(candidate)>30pntSet=edgeList(candidate(1:30),:);elsepntSet=edgeList(candidate,:);endflag=0;for j=1:size(pntSet,1)pnt=pntSet(j,:);if size(resultSet,1)==0resultSet=[resultSet;pnt];preSet=[preSet;pnt];flag=1;elsedis=sqrt(sum((resultSet-pnt).^2,2));if all(dis>=R)resultSet=[resultSet;pnt];preSet=[preSet;pnt];flag=1;endendendif flag==1preSet(tempPos,:)=[];times=0;elsetimes=times+1;end disp(['edge pnt num:',num2str(size(resultSet,1))]);endendfunction resultSet=poissonDisk(grayPic,R,K,edgePntList)[m,n]=size(grayPic);preSet=edgePntList;resultSet=[edgePntList;1,1;n,m;1,m;n,1];grayPic=double(255-grayPic);cmin=min(min(grayPic));cmax=max(max(grayPic));rMap=grayPic-cmin;rMap=rMap./(cmax-cmin).*(R(2)-R(1))+R(1);times=0;while times<500tempPos=randi([1,size(preSet,1)],1);selectedPnt=preSet(tempPos,:);r=rMap(round(selectedPnt(2)),round(selectedPnt(1)));theta=rand(K,1).*2*pi;radius=rand(K,1).*r+r;x=radius.*cos(theta)+selectedPnt(1);y=radius.*sin(theta)+selectedPnt(2);flag=0;for j=1:Kpnt=[x(j),y(j)];if pnt(1)>=1&&pnt(2)>=1&&pnt(1)<=n&&pnt(2)<=mif size(resultSet,1)==0resultSet=[resultSet;pnt];preSet=[preSet;pnt];flag=1;elsedis=sqrt(sum((resultSet-pnt).^2,2));if all(dis>=r)resultSet=[resultSet;pnt];preSet=[preSet;pnt];flag=1;   endend endendif flag==1preSet(tempPos,:)=[];times=0;elsetimes=times+1;enddisp(['pnt num:',num2str(size(resultSet,1))]);end    endfunction sobelPic=sobelConv2_gray(oriPic)Hx=[-1 0 1;-2 0 2;-1 0 1];Hy=[1 2 1;0 0 0;-1 -2 -1];[rows,cols]=size(oriPic);exPic=uint8(zeros([rows+2,cols+2]));exPic(2:rows+1,2:cols+1)=oriPic;exPic(2:rows+1,1)=oriPic(:,1);exPic(2:rows+1,cols+2)=oriPic(:,cols);exPic(1,2:cols+1)=oriPic(1,:);exPic(rows+2,2:cols+1)=oriPic(rows,:);exPic(1,1)=oriPic(1,1);exPic(rows+2,1)=oriPic(rows,1);exPic(1,cols+2)=oriPic(1,cols);exPic(rows+2,cols+2)=oriPic(rows,cols);Gx=zeros([rows,cols]);Gy=Gx;for ii=1:3for jj=1:3tempPic=double(exPic(ii:rows+ii-1,jj:cols+jj-1));Gx=Gx+tempPic.*Hx(ii,jj);Gy=Gy+tempPic.*Hy(ii,jj);endendsobelPic=uint8(sqrt(Gx.^2+Gy.^2));end
end
7.成品展示
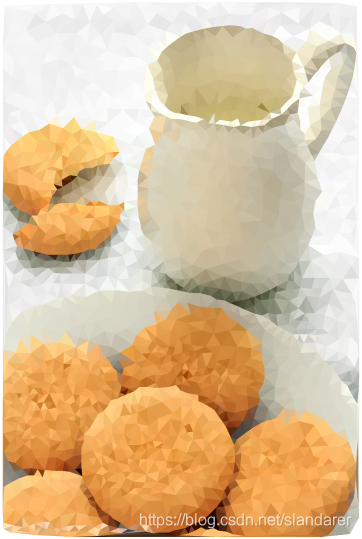
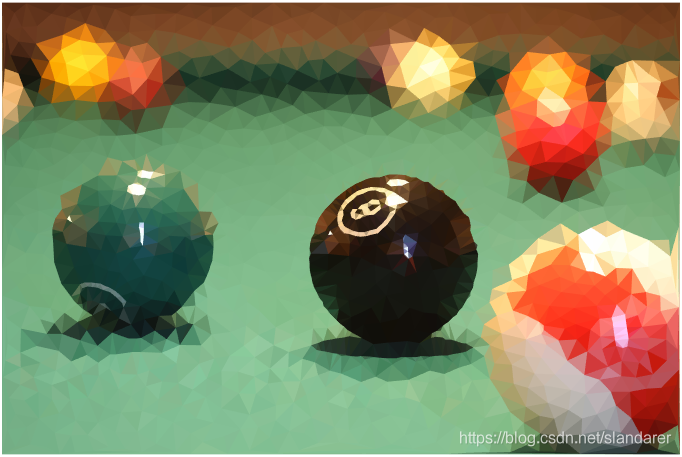
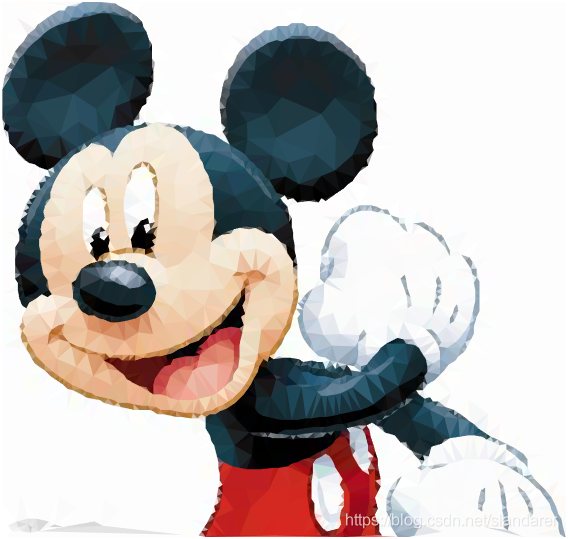
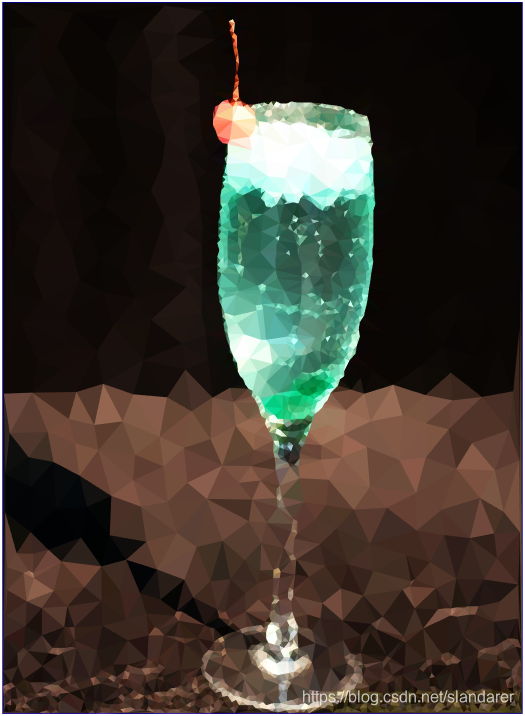
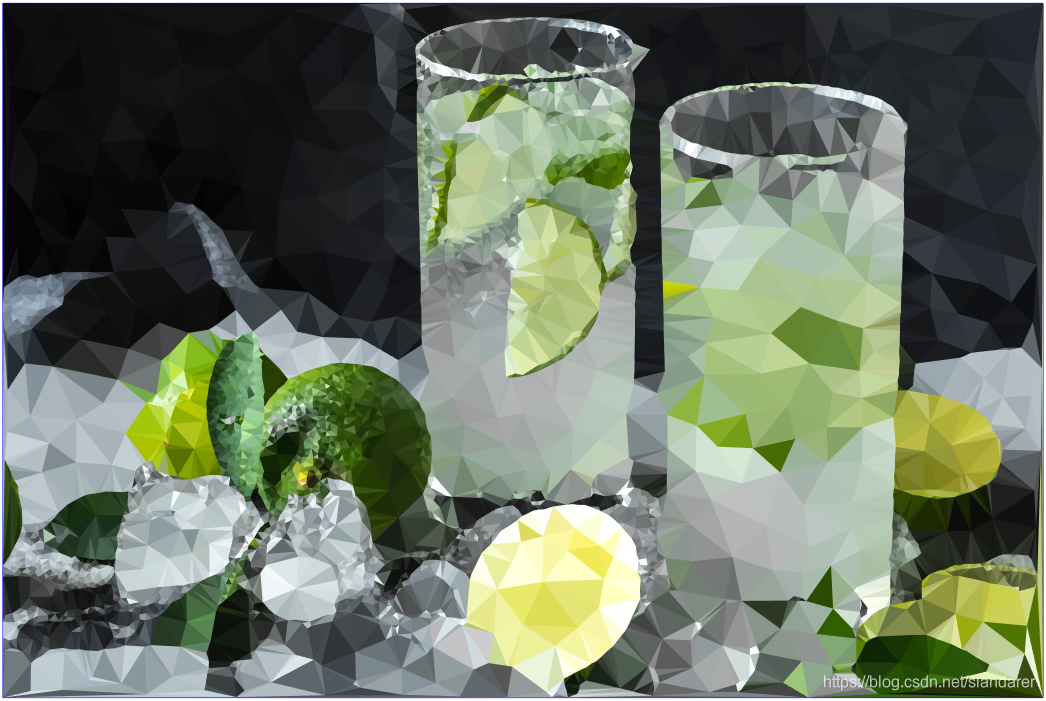


这篇关于MATLAB 图片三角风格化(low poly)的文章就介绍到这儿,希望我们推荐的文章对编程师们有所帮助!


