本文主要是介绍爬虫项目实战十三:爬取zol桌面壁纸,希望对大家解决编程问题提供一定的参考价值,需要的开发者们随着小编来一起学习吧!
爬取zol桌面壁纸
- 目标
- 项目准备
- 项目分析
- 页码分析
- 反爬分析
- 代码实现
- 效果显示
目标
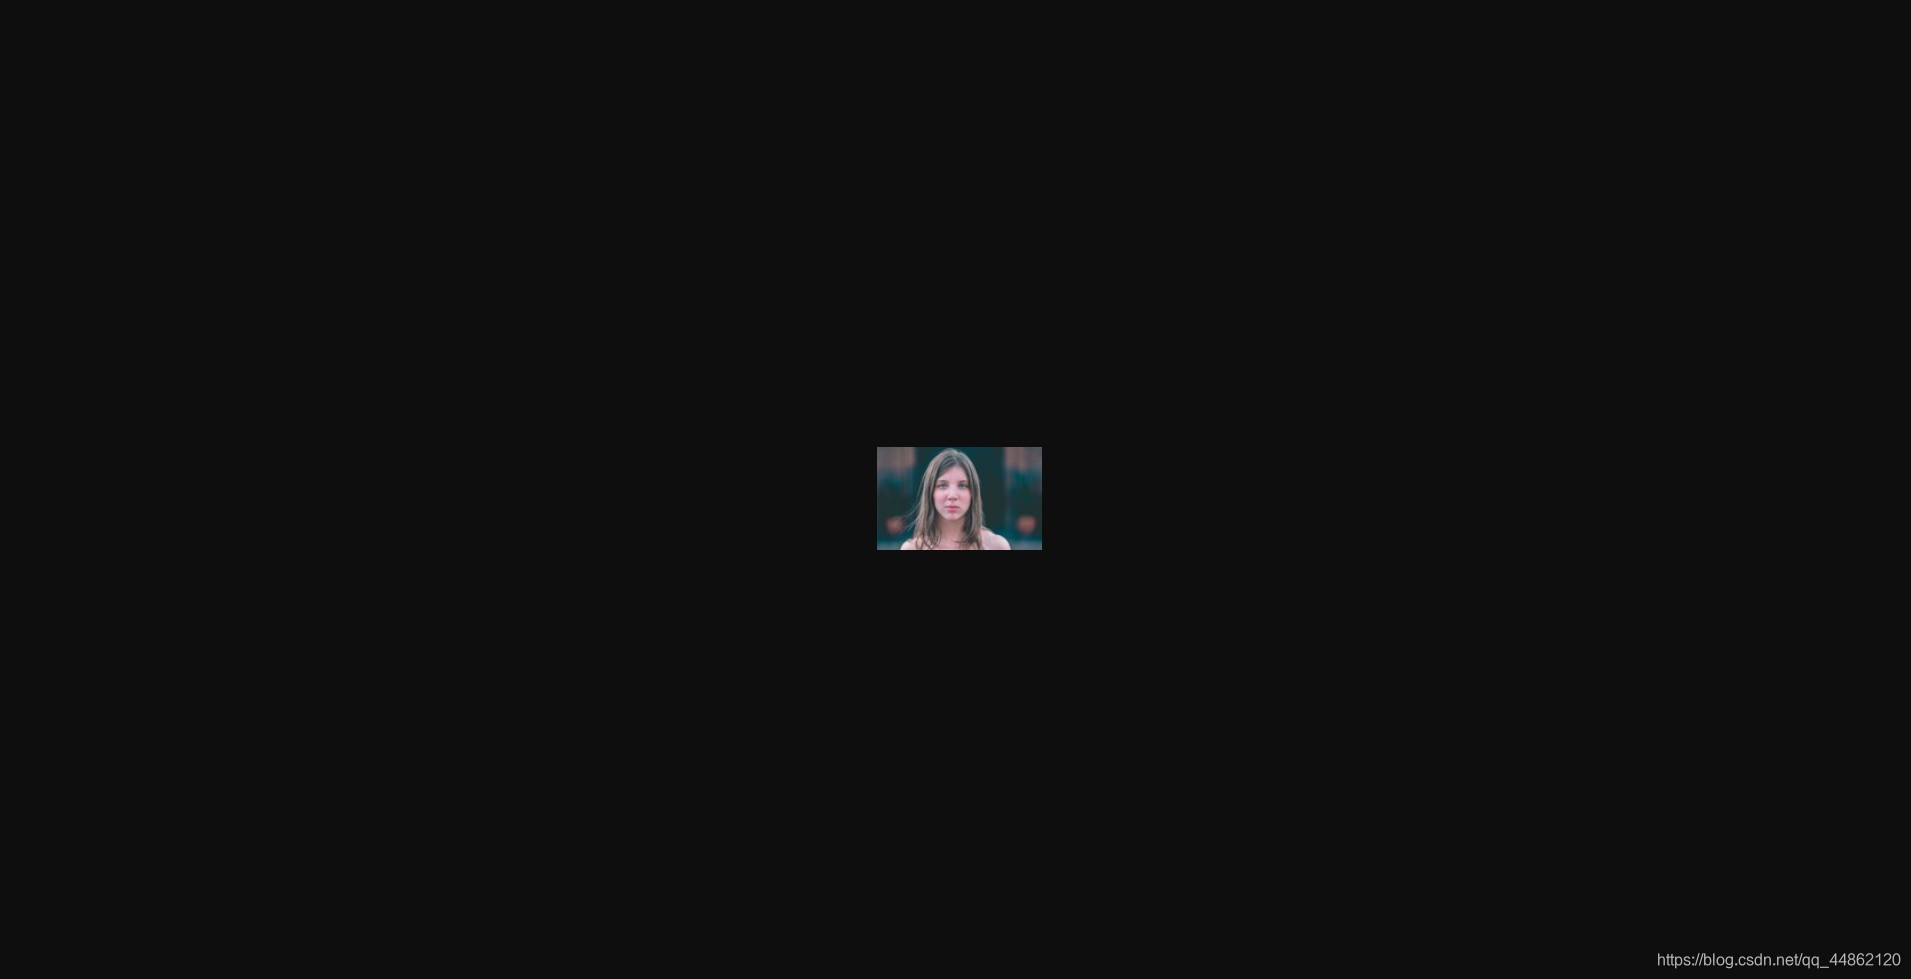
爬取zol桌面壁纸,批量下载图片。
项目准备
软件:Pycharm
第三方库:requests,fake_useragent,re,lxml
网站地址:http://desk.zol.com.cn/1920x1080/
项目分析
打开网站看一下。


每一个都是一个图集。
点开
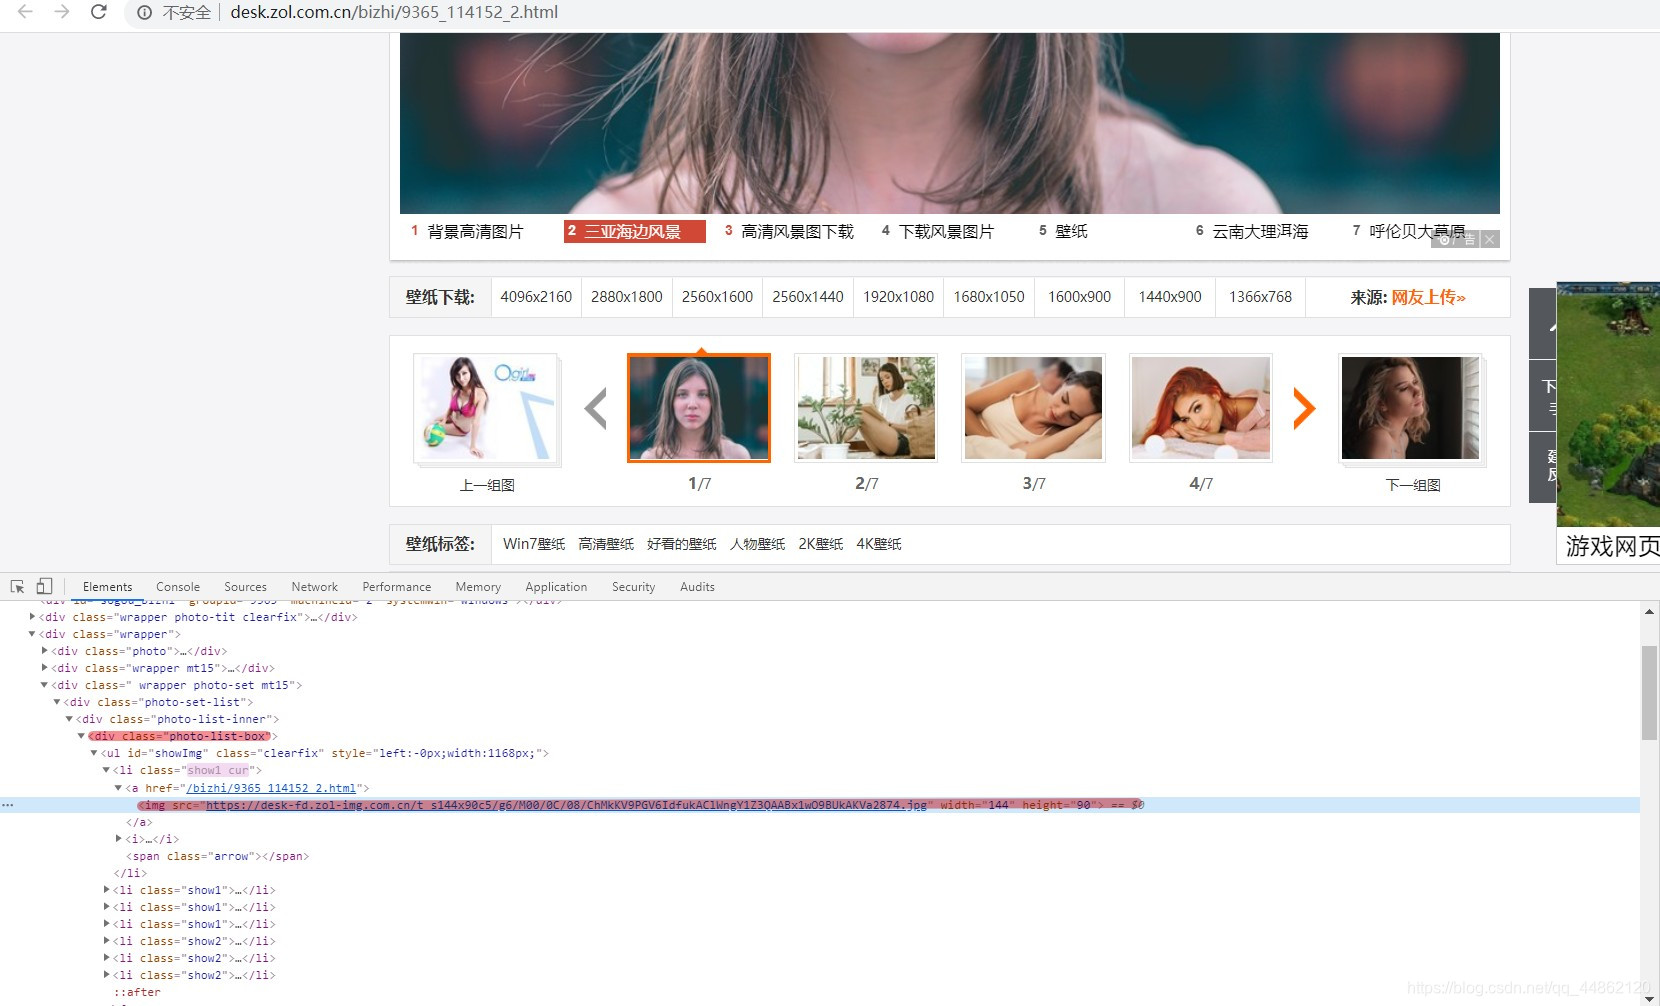
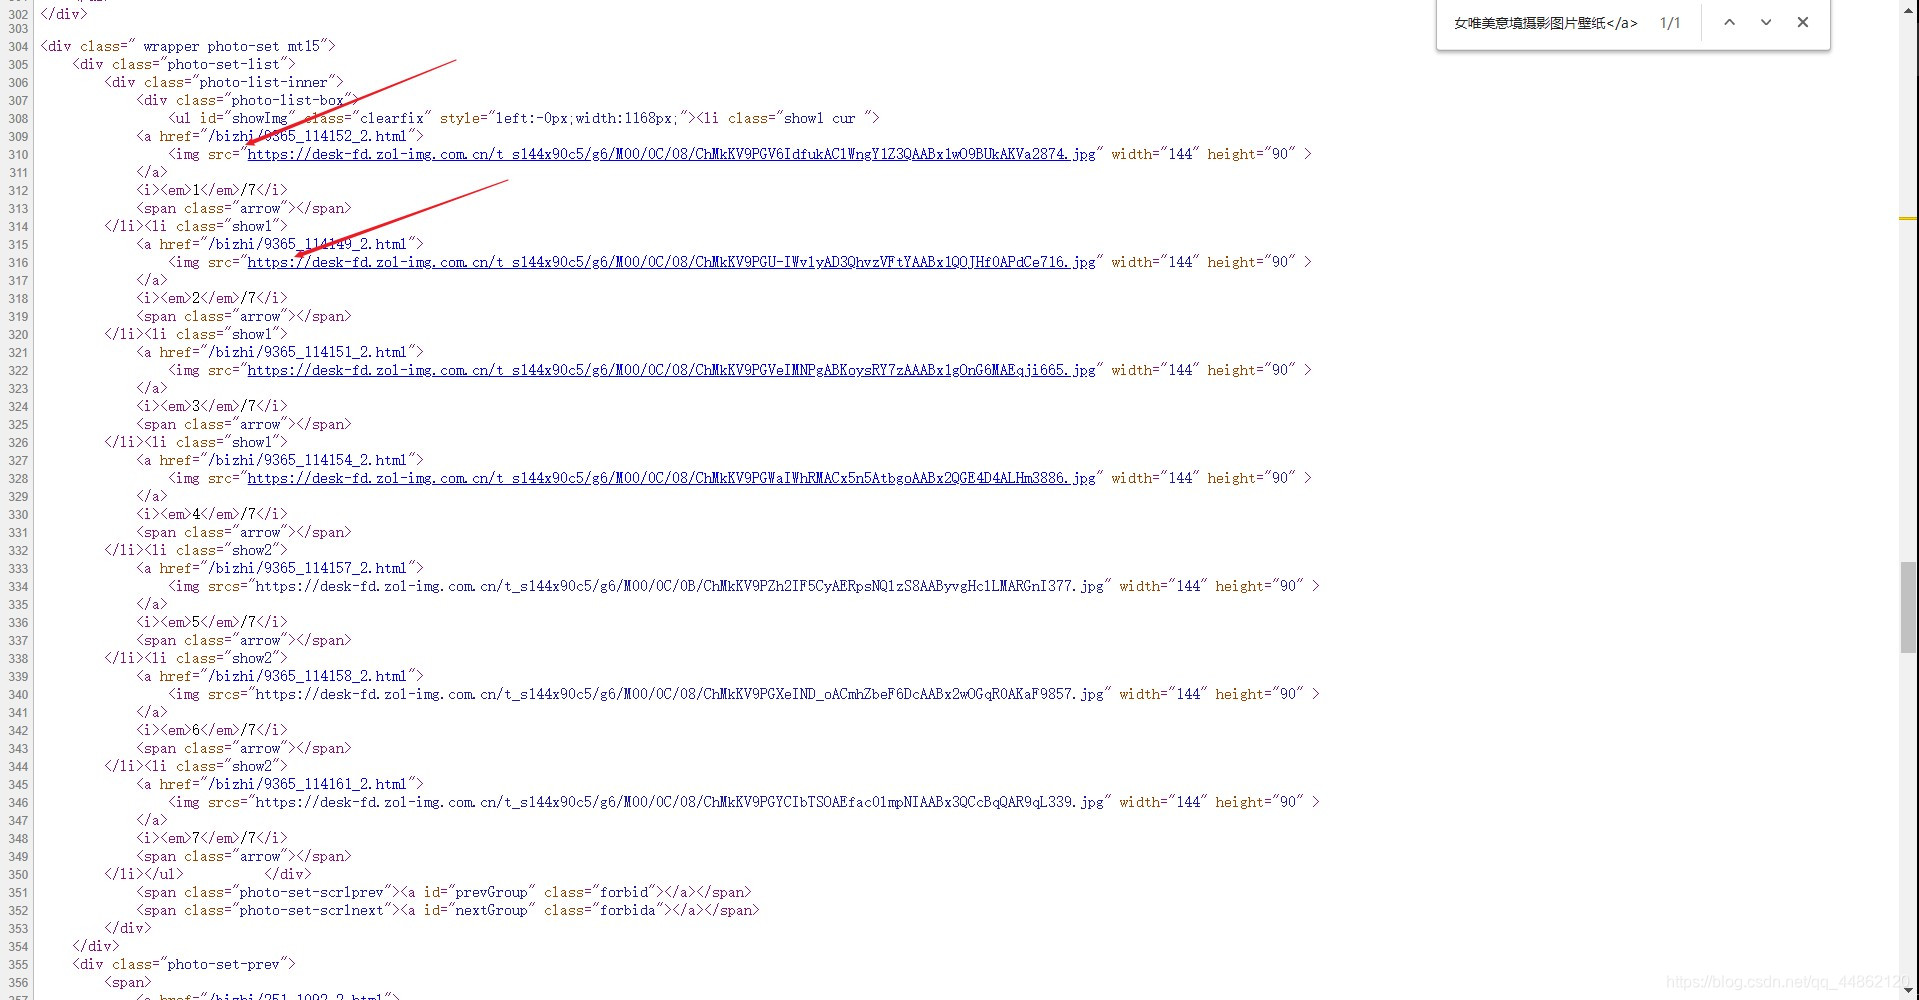
查看源代码
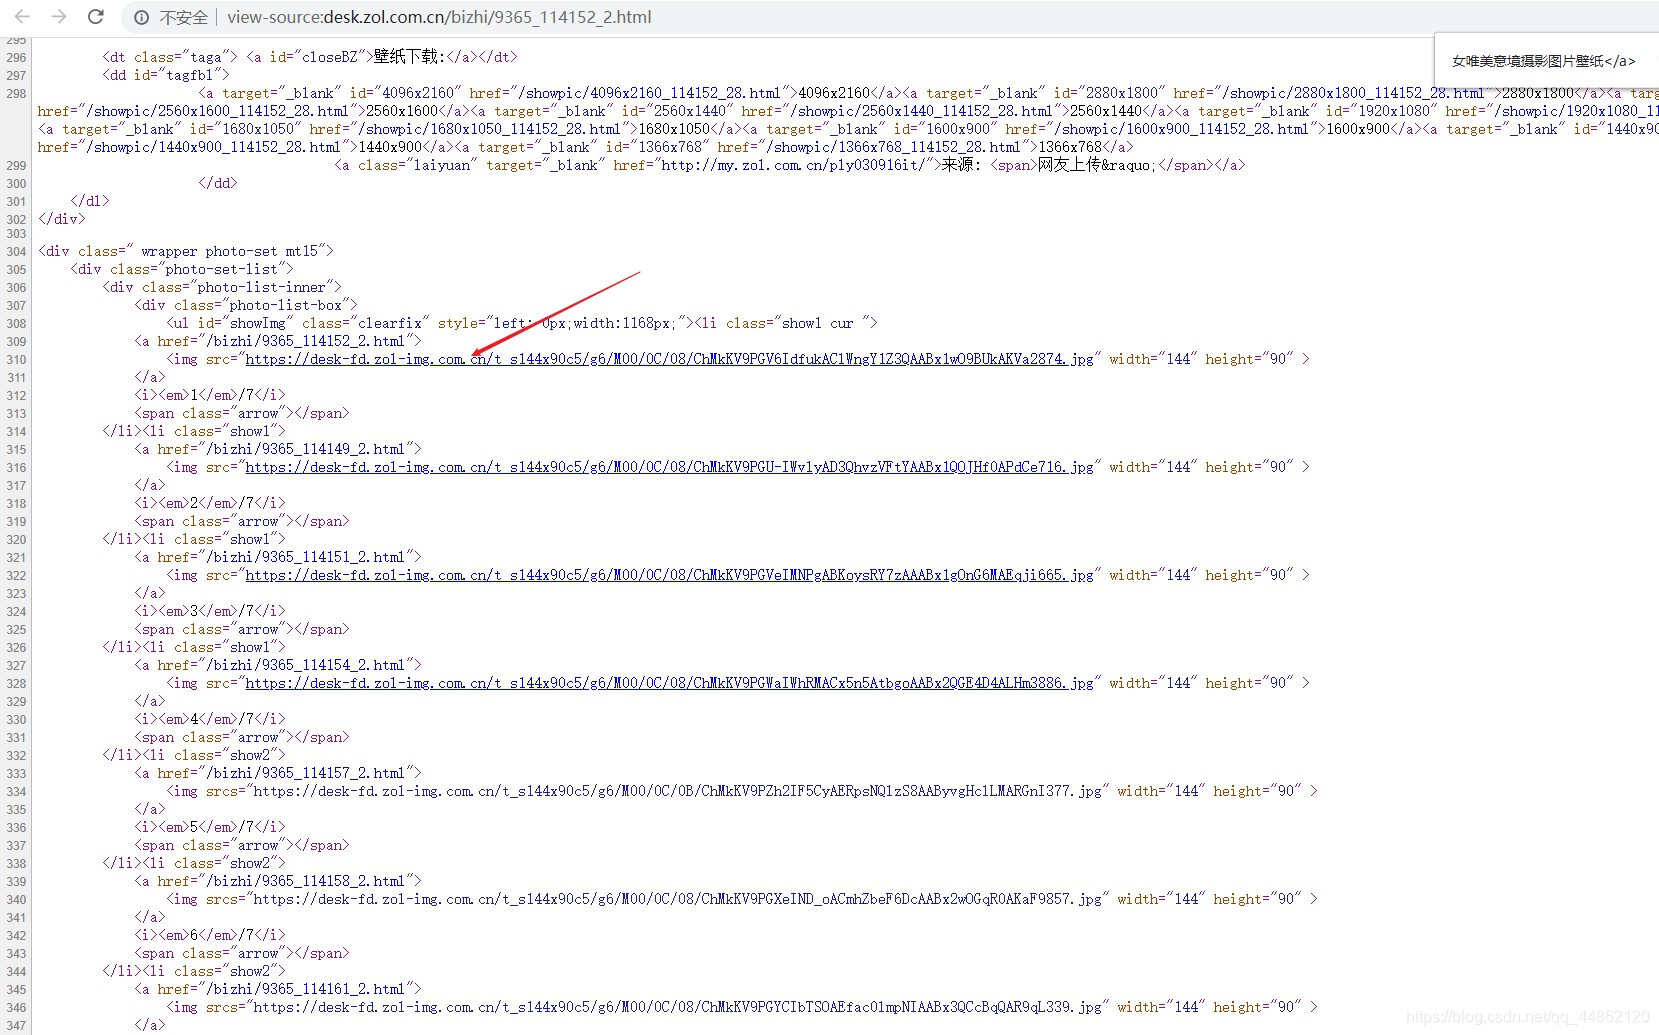
可以看出每一个都可以在源代码中找到。判定为静态网页。
页码分析
第一页url链接:http://desk.zol.com.cn/1920x1080/1.html
第二页url链接:http://desk.zol.com.cn/1920x1080/2.html
第三页url链接:http://desk.zol.com.cn/1920x1080/3.html
可以发现每一页随着后面的数字而变化。

反爬分析
同一个ip地址去多次访问会面临被封掉的风险,这里采用fake_useragent,产生随机的User-Agent请求头进行访问。
代码实现
1.导入相对应的第三方库,定义一个class类继承object,定义init方法继承self,主函数main继承self。
import requests
from fake_useragent import UserAgent
import re
from lxml import etree
class bizhi(object):def __init__(self):self.url = 'http://desk.zol.com.cn/1920x1080/hot_{}.html'ua = UserAgent(verify_ssl=False)for i in range(1, 100):self.headers = {'User-Agent': ua.random}def main(self):pass
if __name__ == '__main__':spider = bizhi()spider.main()
2.发送请求,获取网页。
def get_html(self,url):response = requests.get(url, headers=self.headers)html = response.content.decode('gb2312')return html
注:html = response.content.decode(‘gb2312’)

3.获取每个图集的url
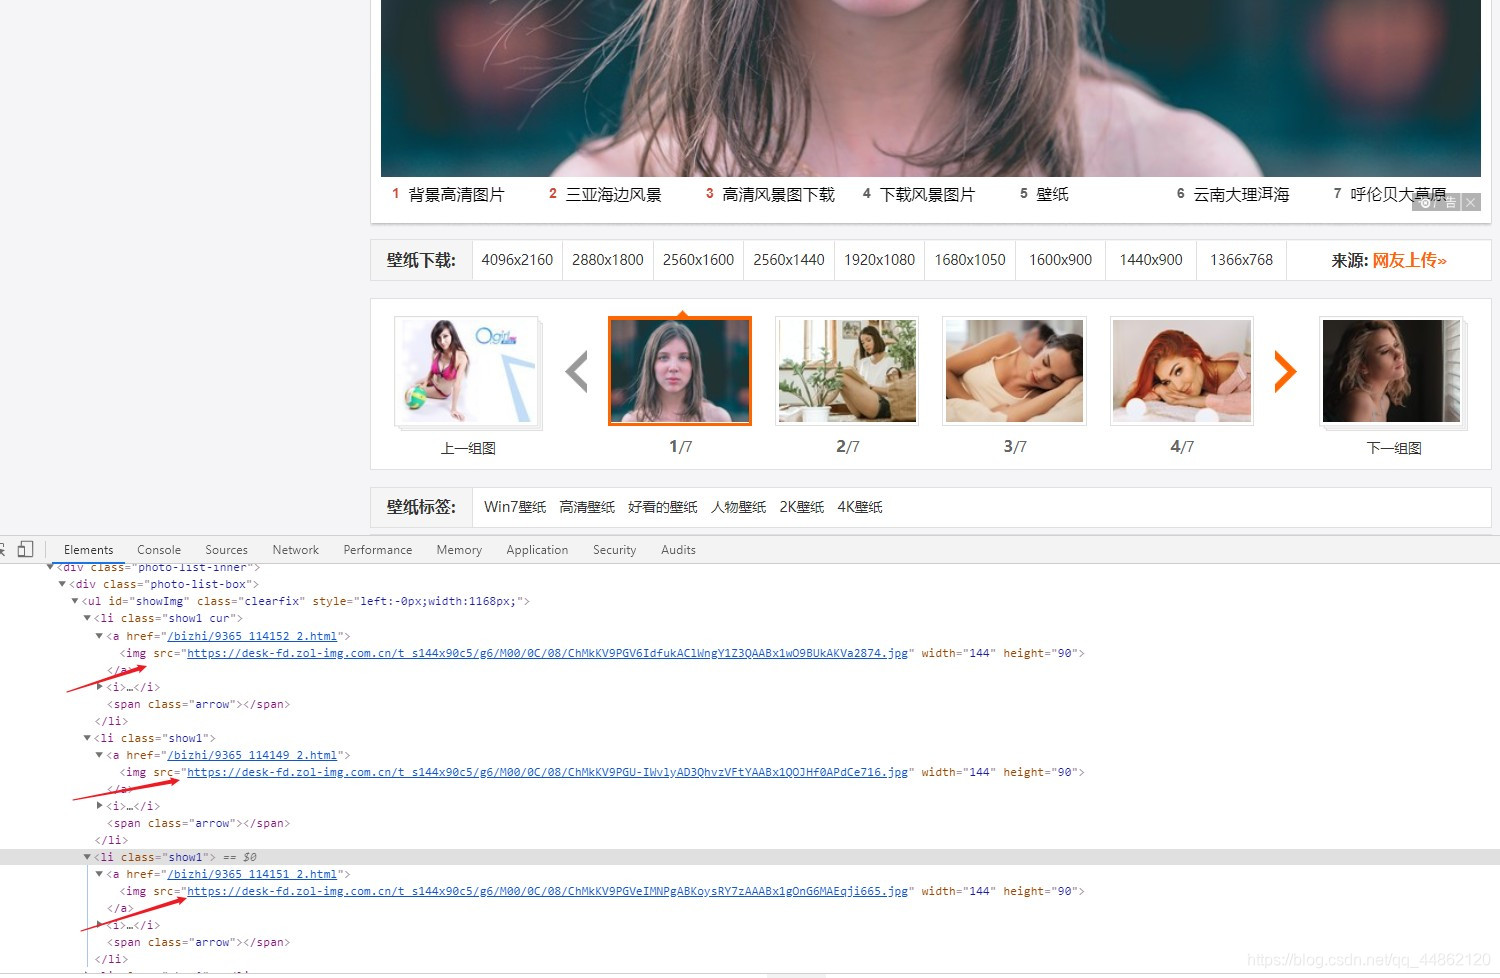
def get_link(self,html):target=etree.HTML(html)links=target.xpath('//li[@class="photo-list-padding"]/a/@href')for link in links:print('http://desk.zol.com.cn'+link)
4.获取每个图集中每个图片的链接

host='http://desk.zol.com.cn'+link
res = requests.get(host, headers=self.headers)
htm=res.text
images=re.compile('<img src="(.*?)" width="144" height="90" >').findall(htm)for image in images:print(image)
但是这样获取的图片太小了。
https://desk-fd.zol-img.com.cn/t_s144x90c5/g6/M00/0C/08/ChMkKV9PGV6IdfukAClWngY1Z3QAABx1wO9BUkAKVa2874.jpg
只有144x90的大小。
尝试一下修改:https://desk-fd.zol-img.com.cn/t_s1920x1080c5/g6/M00/0C/08/ChMkKV9PGV6IdfukAClWngY1Z3QAABx1wO9BUkAKVa2874.jpg

打开看一下

OK没问题。
5.批量下载到本地。
def get_link(self,html):global filenametarget=etree.HTML(html)links=target.xpath('//li[@class="photo-list-padding"]/a/@href')for link in links:#print('http://desk.zol.com.cn'+link)host='http://desk.zol.com.cn'+linkres = requests.get(host, headers=self.headers)htm=res.text#t=etree.HTML(htm)#images=t.xpath('//div[@class="photo-list-box"]/ul/li/a/img/@src')images=re.compile('<img src="(.*?)144x90(.*?)" width="144" height="90" >').findall(htm)for image in images:print(image[0]+'1920x1080'+image[1])result_url=image[0]+'1920x1080'+image[1]r=requests.get(result_url,headers=self.headers)with open('F:/pycharm文件/photo/' + str(filename) + '.jpg', 'wb') as f:f.write(r.content)filename+=1
6.主函数及函数调用。
def main(self):end_page = int(input("要爬多少页:"))for page in range(1, end_page + 1):url = self.url.format(page)print("第%s页。。。。" % page)html=self.get_html(url)self.get_link(html)
效果显示
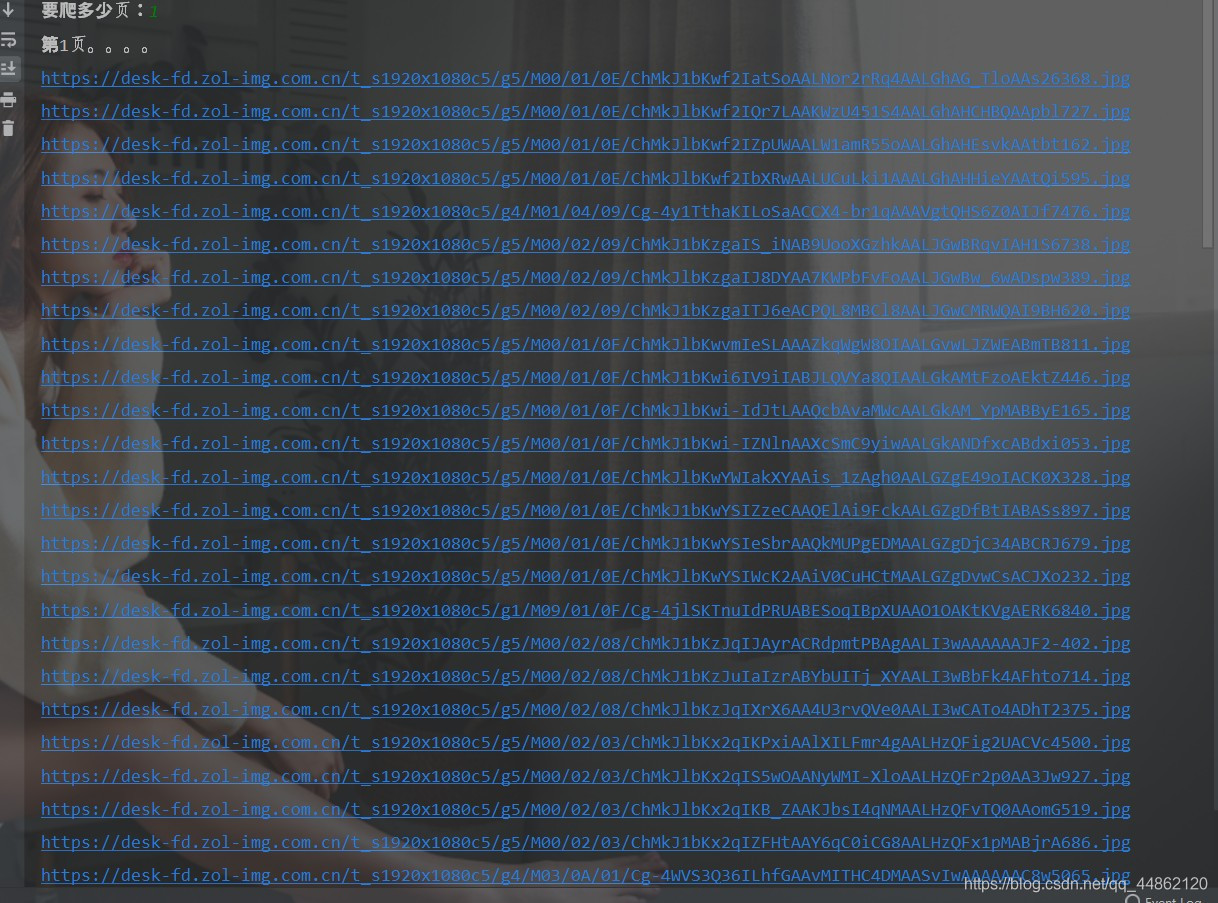
看一下本地目录。

完整代码如下:
import requests
from fake_useragent import UserAgent
import re
from lxml import etree
filename=0
class bizhi(object):def __init__(self):self.url = 'http://desk.zol.com.cn/1920x1080/hot_{}.html'ua = UserAgent(verify_ssl=False)for i in range(1, 100):self.headers = {'User-Agent': ua.random}def get_html(self,url):response = requests.get(url, headers=self.headers)html = response.content.decode('gb2312')return htmldef get_link(self,html):global filenametarget=etree.HTML(html)links=target.xpath('//li[@class="photo-list-padding"]/a/@href')for link in links:#print('http://desk.zol.com.cn'+link)host='http://desk.zol.com.cn'+linkres = requests.get(host, headers=self.headers)htm=res.text#t=etree.HTML(htm)#images=t.xpath('//div[@class="photo-list-box"]/ul/li/a/img/@src')images=re.compile('<img src="(.*?)144x90(.*?)" width="144" height="90" >').findall(htm)for image in images:print(image[0]+'1920x1080'+image[1])result_url=image[0]+'1920x1080'+image[1]r=requests.get(result_url,headers=self.headers)with open('F:/pycharm文件/photo/' + str(filename) + '.jpg', 'wb') as f:f.write(r.content)filename+=1def main(self):end_page = int(input("要爬多少页:"))for page in range(1, end_page + 1):url = self.url.format(page)print("第%s页。。。。" % page)html=self.get_html(url)self.get_link(html)
if __name__ == '__main__':spider = bizhi()spider.main()
声明:仅作为自己学习参考使用。
这篇关于爬虫项目实战十三:爬取zol桌面壁纸的文章就介绍到这儿,希望我们推荐的文章对编程师们有所帮助!


