本文主要是介绍ansible-Role角色批量按照node_export节点,并追加信息到Prometheus文件中,希望对大家解决编程问题提供一定的参考价值,需要的开发者们随着小编来一起学习吧!
文章目录
- 剧本功能
- inventory.yaml文件定义
- deploy.yaml角色定义
- node_exporter_lock角色定义
- 任务角色main.yaml
- node_exporter_tasks.yml角色
- 触发任务notify
- extra_tasks.yml角色
- prometheus_node_config.j2模板文件
- 执行命令
- 查看变量
剧本功能
功能1: 批量执行node_export节点,并判断操作系统,有俩份文件
功能2: 获取当前组并追加到ROle角色通用变量里面提供全部角色使用
功能3: 任务角色里面又分任务执行一个安装一个收集信息
功能:其他功能懒得总结了,大家看文章吧
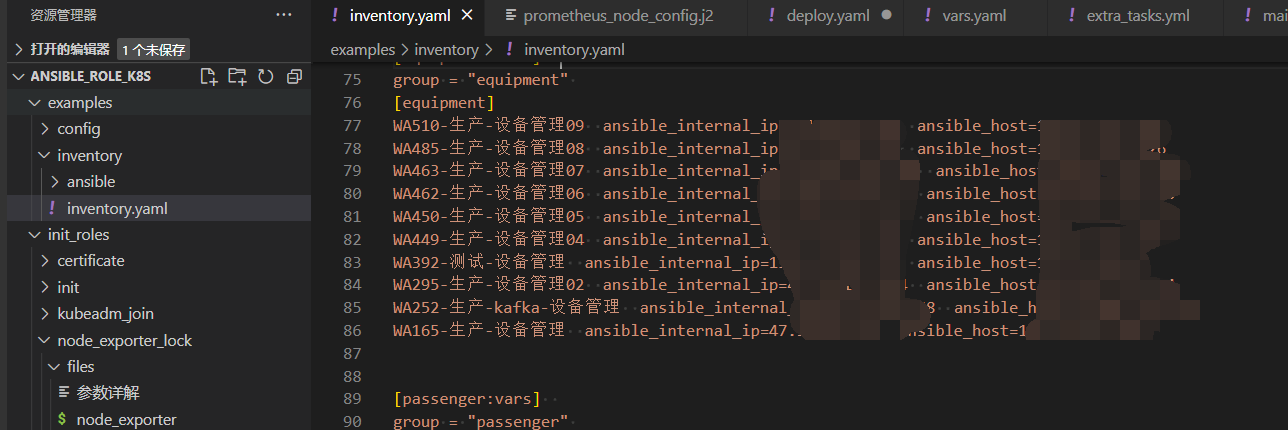
inventory.yaml文件定义
[equipment:vars]
group = "equipment"
[equipment]
WA510-生产-设备管理09  ansible_internal_ip=xxxx  ansible_host=xxxx
WA485-生产-设备管理08  ansible_internal_ip=xxxx  ansible_host=xxxx
deploy.yaml角色定义
- name: 任务总线become: truegather_facts: yeshosts: oa tasks:- name: 加载变量include_vars:file: ./vars/vars.yaml- name: 获取当前组名set_fact:group_name: "{{ group_names[0] }}"run_once: true- name: 生成 main.yml 文件lineinfile:path: "/root/ansible_role_k8s/init_roles/defaults/main.yml"regexp: '^group:'line: "group: {{ group_name }}"delegate_to: localhost # 指定任务在本地执行run_once: true- name: 加载更新后的默认变量include_vars:file: "/root/ansible_role_k8s/init_roles/defaults/main.yml" # 使用绝对路径delegate_to: localhost # 指定任务在本地执行run_once: true- name: 执行 node_exporter 角色include_role:name: init_roles/node_exporter_lockwhen: "'node' in ansible_run_tags"tags: ['node']- name: 执行 init 角色include_role:name: init_roles/initwhen: "'ls' in ansible_run_tags"tags: ['ls']
/root/ansible_role_k8s/init_roles/defaults/main.yml文件如下
root@iZbp1bh3oeew2pt9bwrs4rZ:~/ansible_role_k8s/init_roles# cat ./defaults/main.yml
group: oa
node_exporter_lock角色定义
root@iZbp1bh3oeew2pt9bwrs4rZ:~/ansible_role_k8s/init_roles/node_exporter_lock# tree
.
├── files
│   ├── node_exporter
│   ├── node_exporter-1.8.1.linux-amd64.tar.gz
│   ├── node_exporter.service
│   └── 参数详解
├── handlers
│   └── main.yaml
├── tasks
│   ├── extra_tasks.yml
│   ├── main.6.5.yaml
│   ├── main.yaml
│   ├── main.yaml.bak
│   └── node_exporter_tasks.yml
└── templates├── main.yml.j2└── prometheus_node_config.j24 directories, 12 files
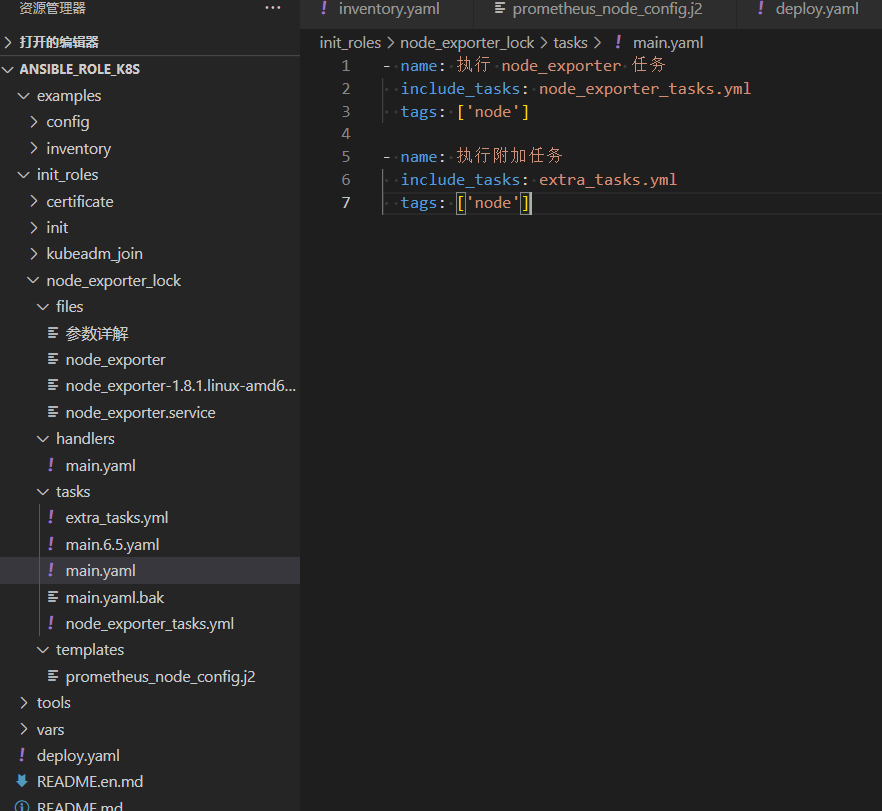
任务角色main.yaml
- name: 执行 node_exporter 任务include_tasks: node_exporter_tasks.ymltags: ['node']- name: 执行附加任务include_tasks: extra_tasks.ymltags: ['node']
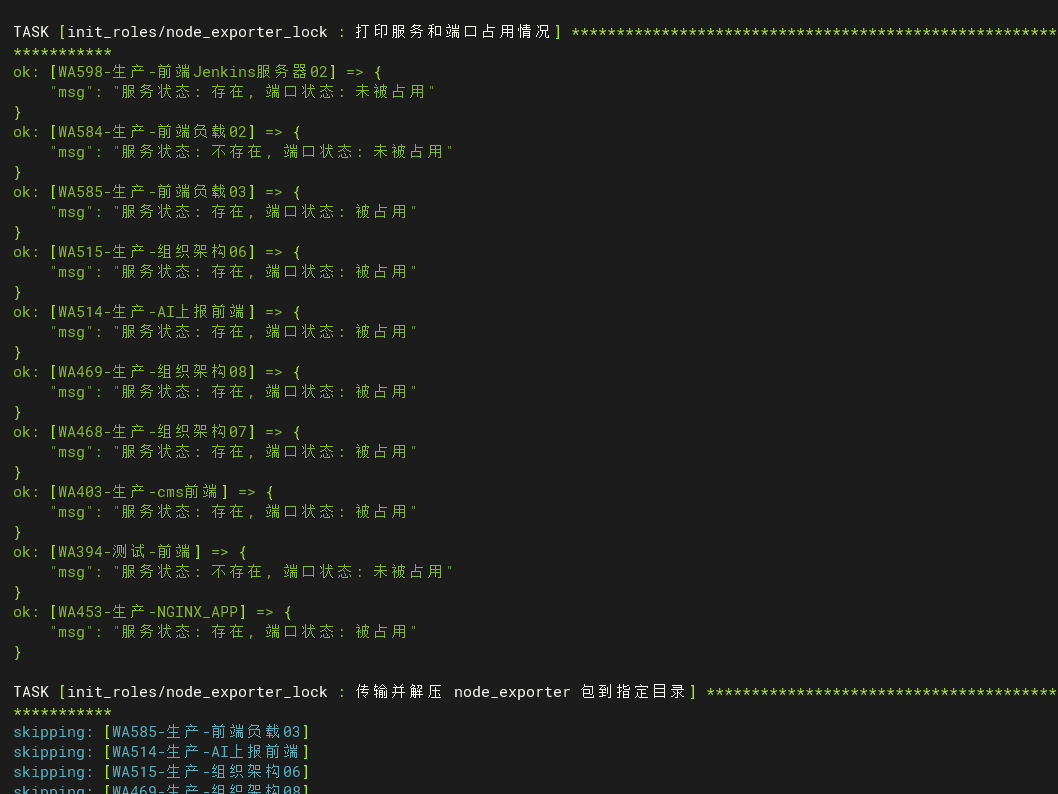
node_exporter_tasks.yml角色
- name: 判断远程服务器有没有安装 node_exporter 服务shell: "pgrep -f 'node_exporter'"register: node_exporter_statusignore_errors: truetags: ['node']- name: 判断远程服务器 9100 端口有没有被占用shell: "ss -lntp | grep ':9100'"register: port_statusignore_errors: truetags: ['node']- name: 打印服务和端口占用情况debug:msg: "服务状态: {{ '存在' if node_exporter_status.rc == 0 else '不存在' }}, 端口状态: {{ '被占用' if port_status.rc == 0 else '未被占用' }}"tags: ['node']- block:- name: 传输并解压 node_exporter 包到指定目录unarchive:src: /root/ansible_role_k8s/init_roles/node_exporter_lock/files/node_exporter-1.8.1.linux-amd64.tar.gzdest: /usr/local/bin/mode: '0755'remote_src: no- name: 判断操作系统是 CentOS 6、CentOS 7,或者 Ubuntuset_fact:os_version: "{{ ansible_distribution }} {{ ansible_distribution_major_version }}"- name: 传输并配置 node_exporter 服务文件(适用于 CentOS 6)copy:src: /root/ansible_role_k8s/init_roles/node_exporter_lock/files/node_exporterdest: /etc/init.d/node_exportermode: '0755'when: os_version == 'CentOS 6'notify: - Reload systemd- Enable and start node_exporter (CentOS 6)- name: 传输并配置 node_exporter systemd 服务文件(适用于 CentOS 7 和 Ubuntu)copy:src: /root/ansible_role_k8s/init_roles/node_exporter_lock/files/node_exporter.servicedest: /etc/systemd/system/node_exporter.servicemode: '0755'when: os_version != 'CentOS 6'notify: - Reload systemd- Enable and start node_exporterwhen: port_status.rc == 1 # 仅当 9100 端口未被占用时执行整个 blocktags: ['node']- name: 记录未执行 block 任务的节点信息lineinfile:path: /var/log/ansible_node_exporter.logline: "Host {{ inventory_hostname }}: 服务状态: {{ '存在' if node_exporter_status.rc == 0 else '不存在' }}, 端口状态: {{ '被占用' if port_status.rc == 0 else '未被占用' }}"when: port_status.rc != 1 # 仅当 9100 端口被占用时执行delegate_to: localhost # 在控制节点上执行,以便集中记录日志tags: ['node']- name: 打印任务执行完成信息debug:msg: "任务执行完成"tags: ['node']触发任务notify
main.yaml
- name: Reload systemdcommand: systemctl daemon-reloadwhen: os_version != 'CentOS 6'- name: Enable and start node_exportersystemd:name: node_exporter.serviceenabled: yesstate: startedwhen: os_version != 'CentOS 6'- name: Enable and start node_exporter (CentOS 6)shell: chkconfig node_exporter on && service node_exporter startwhen: os_version == 'CentOS 6'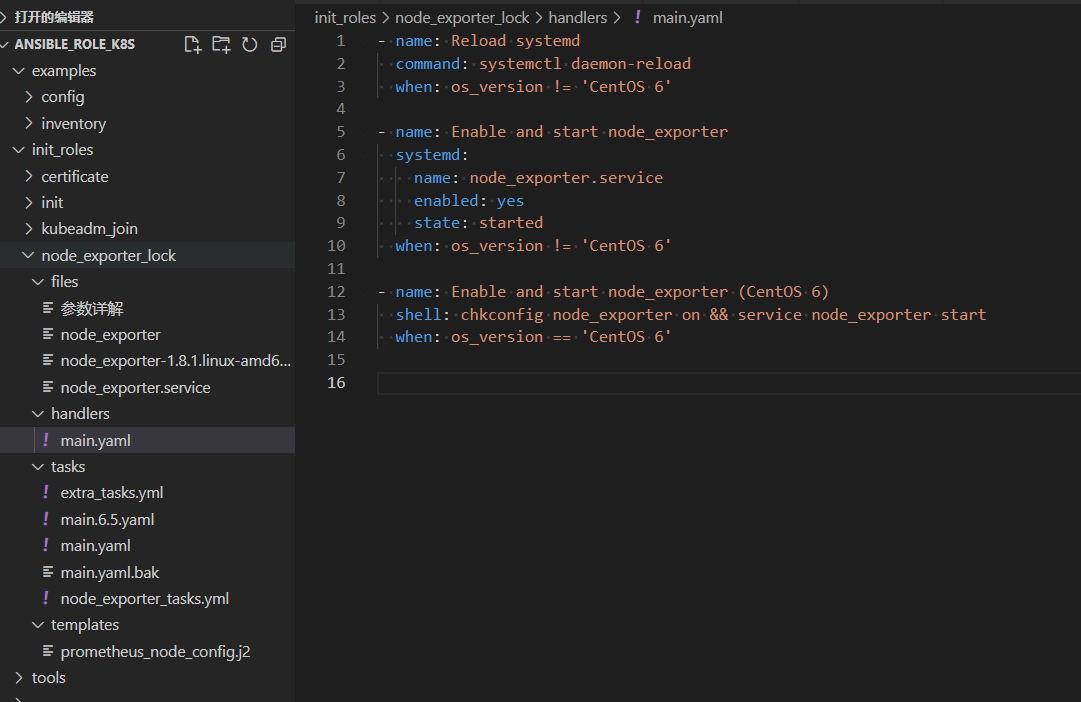
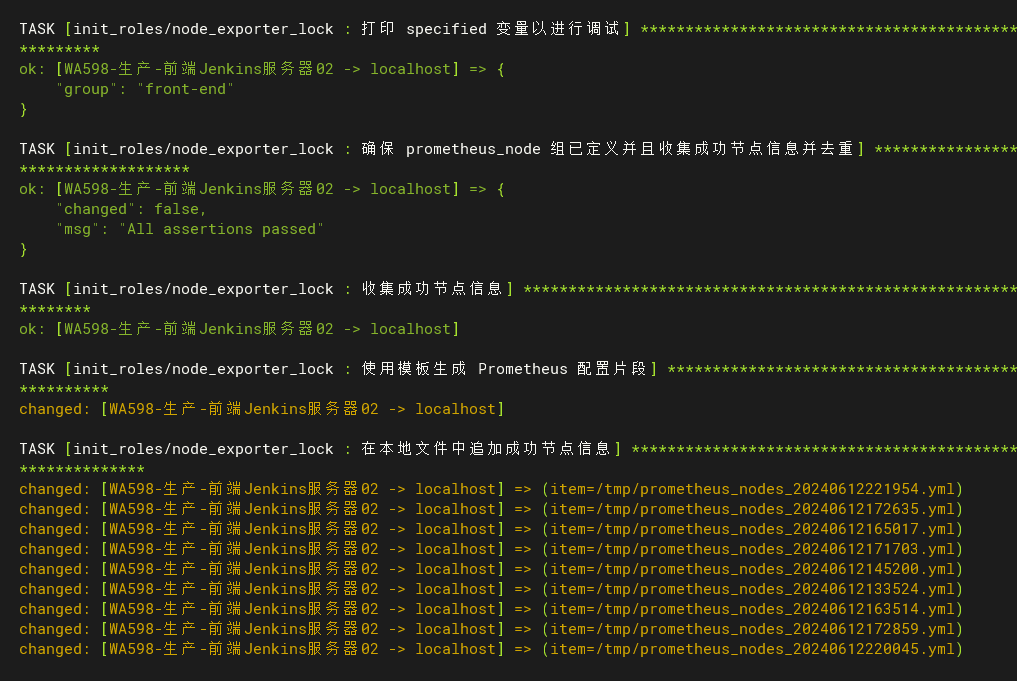
extra_tasks.yml角色
- name: 确保 prometheus_node 组已定义并且收集成功节点信息并去重assert:that: groups['prometheus_node'] is definedfail_msg: "The prometheus_node group is not defined in the inventory."run_once: truedelegate_to: localhosttags: ['node']- name: 收集成功节点信息set_fact:successful_nodes: "{{ groups['prometheus_node'] | map('extract', hostvars) }}"run_once: truedelegate_to: localhosttags: ['node']- name: 使用模板生成 Prometheus 配置片段template:src: prometheus_node_config.j2dest: "/tmp/prometheus_nodes_{{ lookup('pipe', 'date +%Y%m%d%H%M%S') }}.yml"delegate_to: localhostrun_once: truetags: ['node']- name: 在本地文件中追加成功节点信息shell: "cat {{ item }} >> /opt/prometheus/prometheus1.yml"with_fileglob:- "/tmp/prometheus_nodes_*.yml"delegate_to: localhostrun_once: truetags: ['node']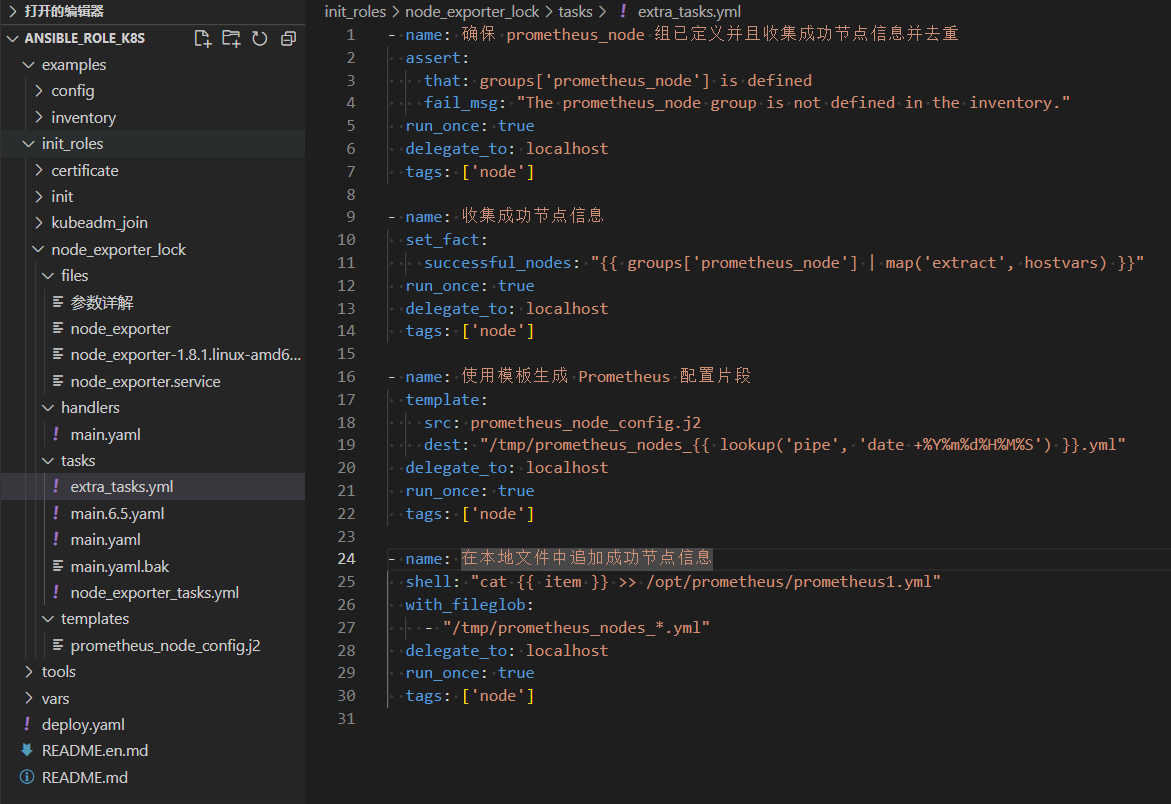
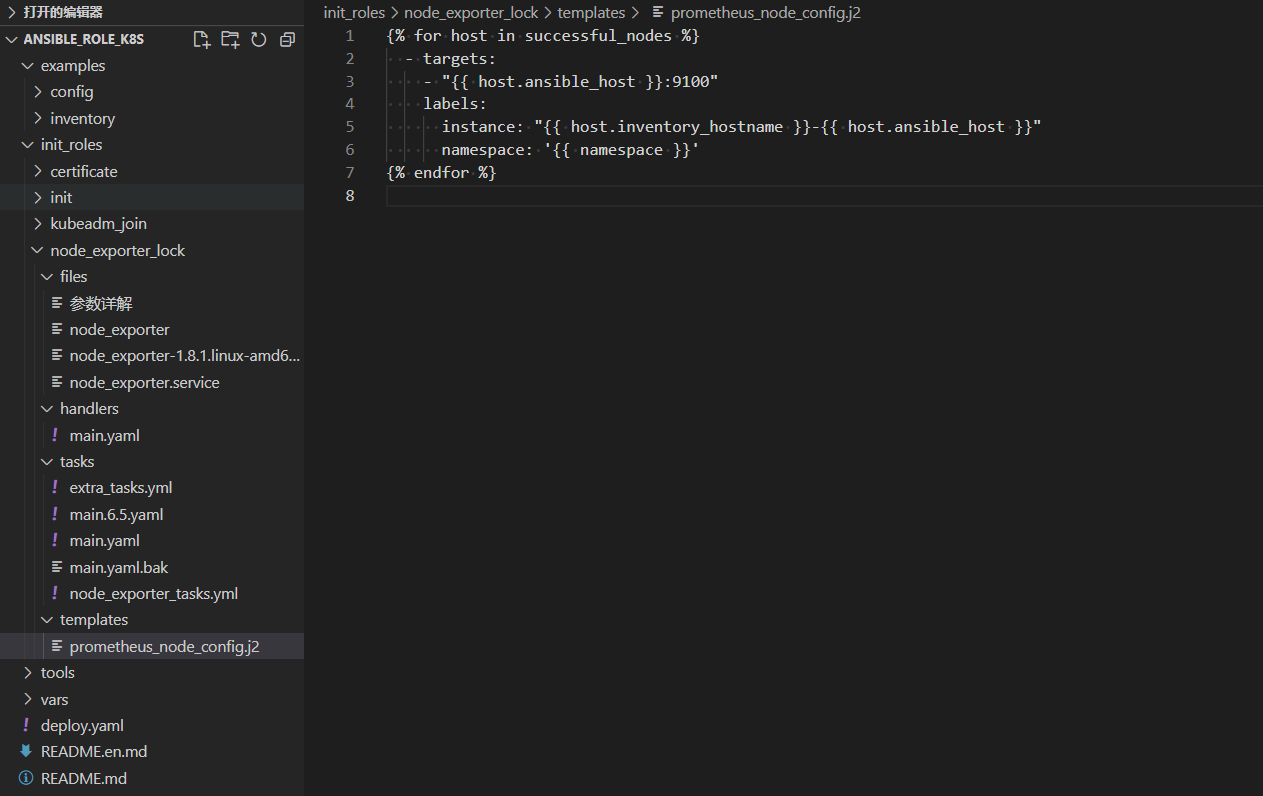
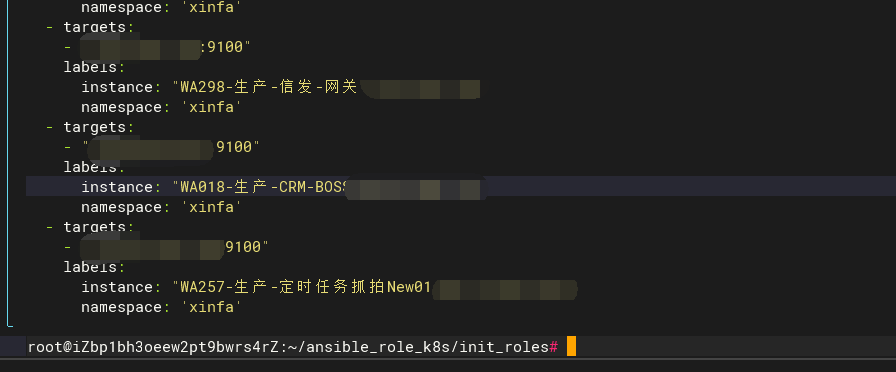
prometheus_node_config.j2模板文件
{% for host in successful_nodes %}- targets:- "{{ host.ansible_host }}:9100"labels:instance: "{{ host.inventory_hostname }}-{{ host.ansible_host }}"namespace: '{{ namespace }}'
{% endfor %}
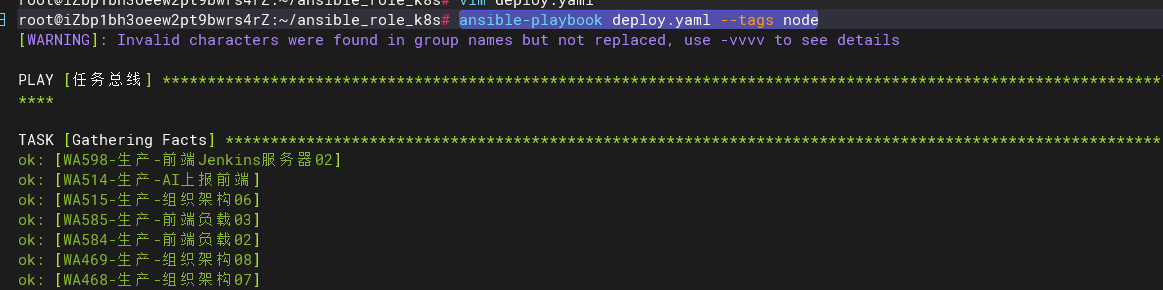
执行命令
ansible-playbook deploy.yaml --tags node
查看变量
root@iZbp1bh3oeew2pt9bwrs4rZ:~/ansible_role_k8s/init_roles# cat ./defaults/main.yml
group: oa
查看 追加node节点信息
cat /opt/prometheus/prometheus1.yml
大概思路就是这样,需要完整Role角色的请私聊我

这篇关于ansible-Role角色批量按照node_export节点,并追加信息到Prometheus文件中的文章就介绍到这儿,希望我们推荐的文章对编程师们有所帮助!


