本文主要是介绍心链6----开发主页以及后端数据插入(多线程并发)定时任务,希望对大家解决编程问题提供一定的参考价值,需要的开发者们随着小编来一起学习吧!
心链 — 伙伴匹配系统
开发主页
信息搜索页修改
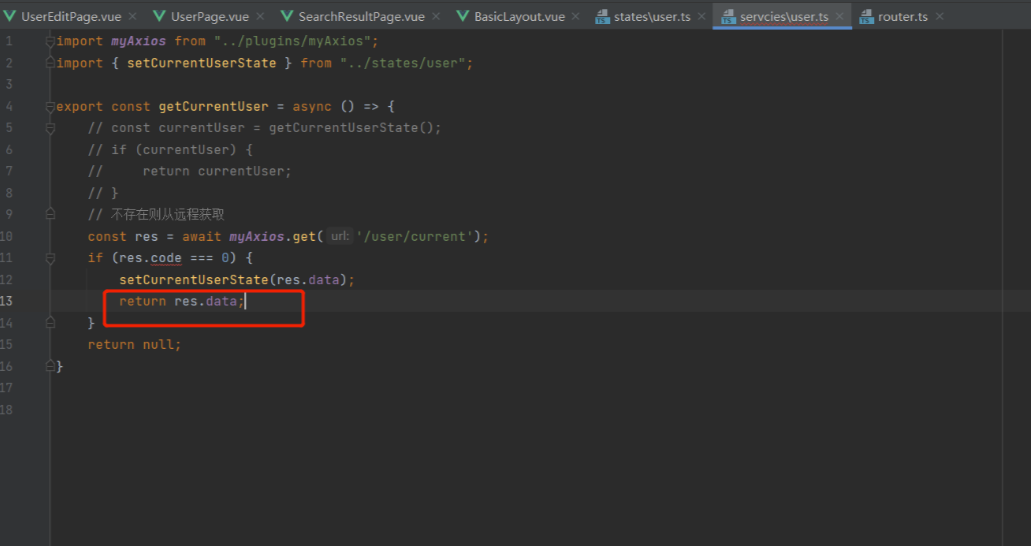
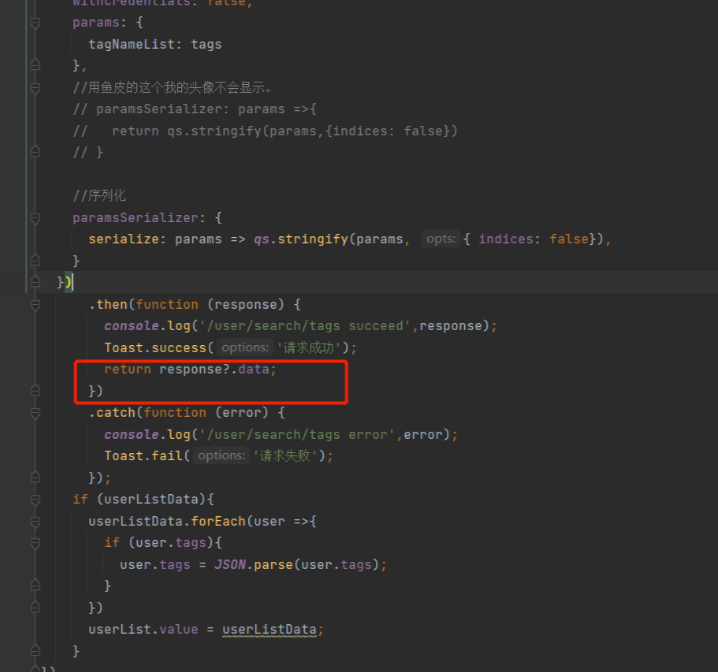
主页开发(直接list用户)
在后端controller层编写接口去实现显示推荐页面的功能
/*** 推荐页面* @param request* @return*/@GetMapping("/recommend")public BaseResponse<List<User>> recommendUsers(HttpServletRequest request){QueryWrapper<User> queryWrapper = new QueryWrapper<>();List<User> userList = userService.list(queryWrapper);List<User> list = userList.stream().map(user -> userService.getSafetyUser(user)).collect(Collectors.toList());return ResultUtils.success(list);}前端就先复制搜索结果的代码,在修改一个一些不需要的即可
<!--
User:Shier
CreateTime:14:47
-->
<template><van-cardv-for="user in userList":desc="user.profile":title="`${user.username} (${user.planetCode})`":thumb="user.avatarUrl"><template #tags><van-tag plain type="danger" v-for="tag in tags" style="margin-right: 8px; margin-top: 8px">{{ tag }}</van-tag></template><template #footer><van-button size="mini">联系我</van-button></template></van-card><van-empty v-if="!userList || userList.length < 1" image="search" description="数据为空"/>
</template><script setup>import {onMounted, ref} from "vue";import {useRoute} from "vue-router";import {showFailToast, showSuccessToast} from "vant/lib/vant.es";import myAxios from "../plugins/myAxios.ts";import qs from 'qs'const route = useRoute();const {tags} = route.query;const userList = ref([]); //用户列表onMounted(async () => {// 为给定 ID 的 user 创建请求const userListData = await myAxios.get('/user/recommend', {withCredentials: false,params: {},}).then(function (response) {console.log('/user/recommend succeed', response);showSuccessToast('请求成功');return response?.data;}).catch(function (error) {console.log('/user/recommend error', error);showFailToast('请求失败')});if (userListData) {userListData.forEach(user => {if (user.tags) {user.tags = JSON.parse(user.tags);}})userList.value = userListData;}})</script><style scoped></style>
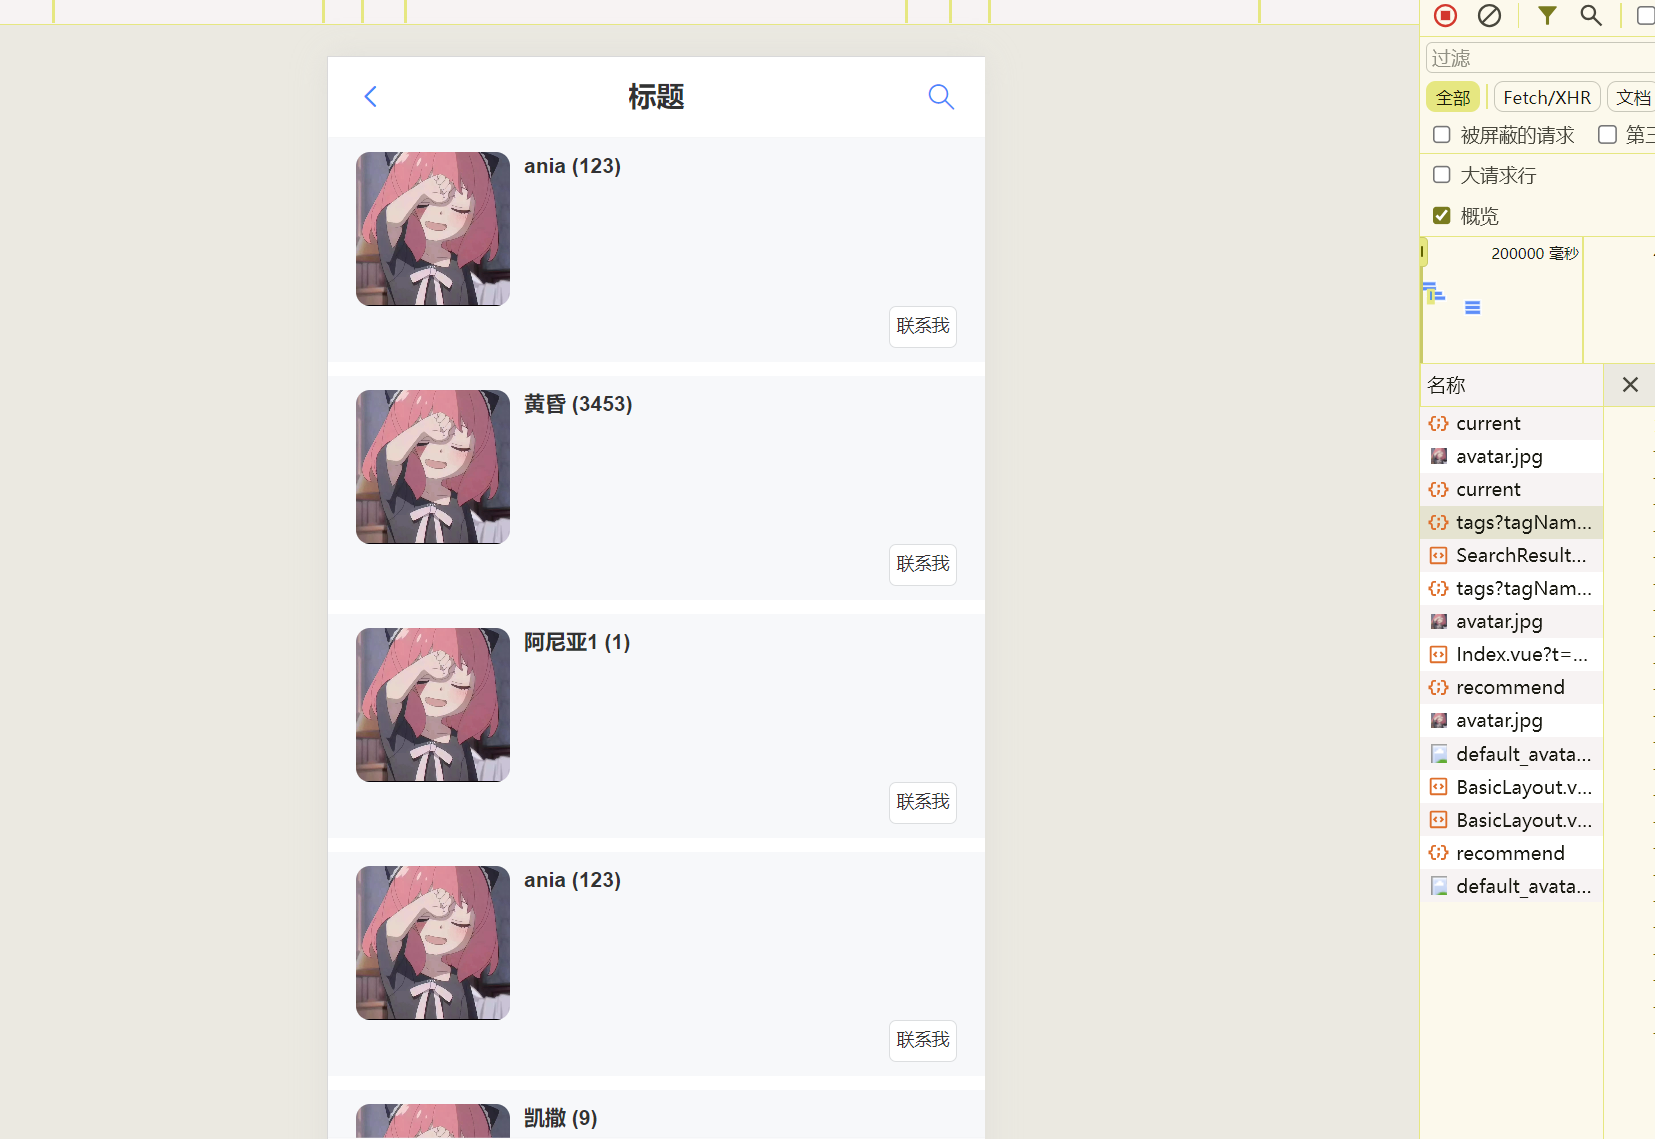
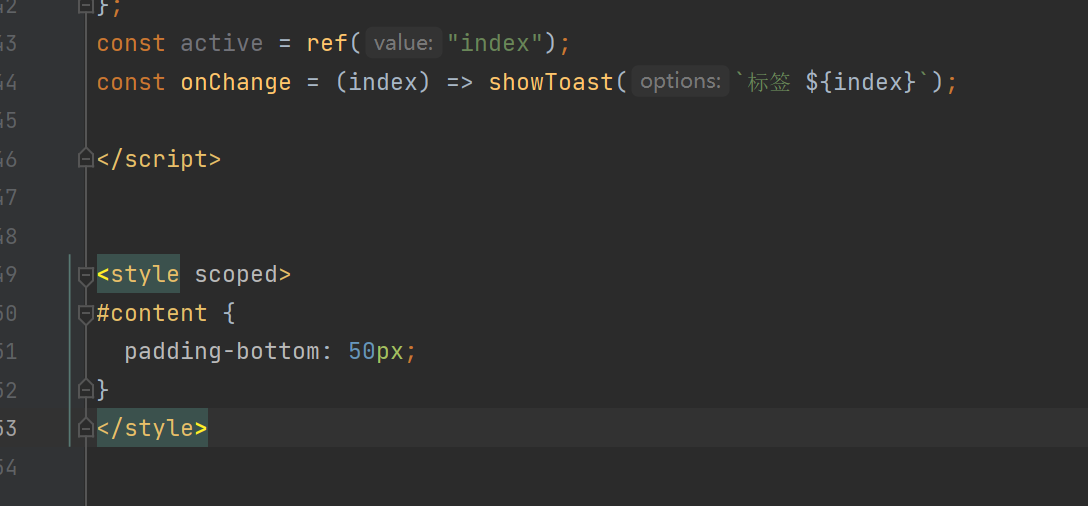
修改一下页面边距
提取用户信息信息卡片
新建文件夹components和文件UserCardList.vue,将主页用户信息卡片提取出来。主页和用户信息搜索页进行引用。
<template><van-cardv-for="user in userList":desc="user.profile":title="`${user.username} (${user.planetCode})`":thumb="user.avatarUrl"><template #tags><van-tag plain type="danger" v-for="tag in user.tags" style="margin-right: 8px; margin-top: 8px" >{{ tag }}</van-tag></template><template #footer><van-button size="mini">联系我</van-button></template></van-card>
</template><script setup lang="ts">
import {UserType} from "../models/user";interface UserCardListProps{userList: UserType[];
}
// 给父组件设置默认值,保证数据不为空
const props= withDefaults(defineProps<UserCardListProps>(),{//@ts-ignoreuserList: [] as UserType[]
});</script>
<style scoped>/* 标签颜色*/.van-tag--danger.van-tag--plain {color: #002fff;}
</style>
然后在Index、SearchResultPage引入UserCardList

导入数据
模拟 1000 万个用户,再去查询
- 用可视化界面:适合一次性导入、数据量可控
- 写程序:for 循环,建议分批,不要一把梭哈(可以用接口来控制)要保证可
控、幂等,注意线上环境和测试环境是有区别的导入 1000 万条,for i 1000w
- 执行 SQL 语句:适用于小数据量
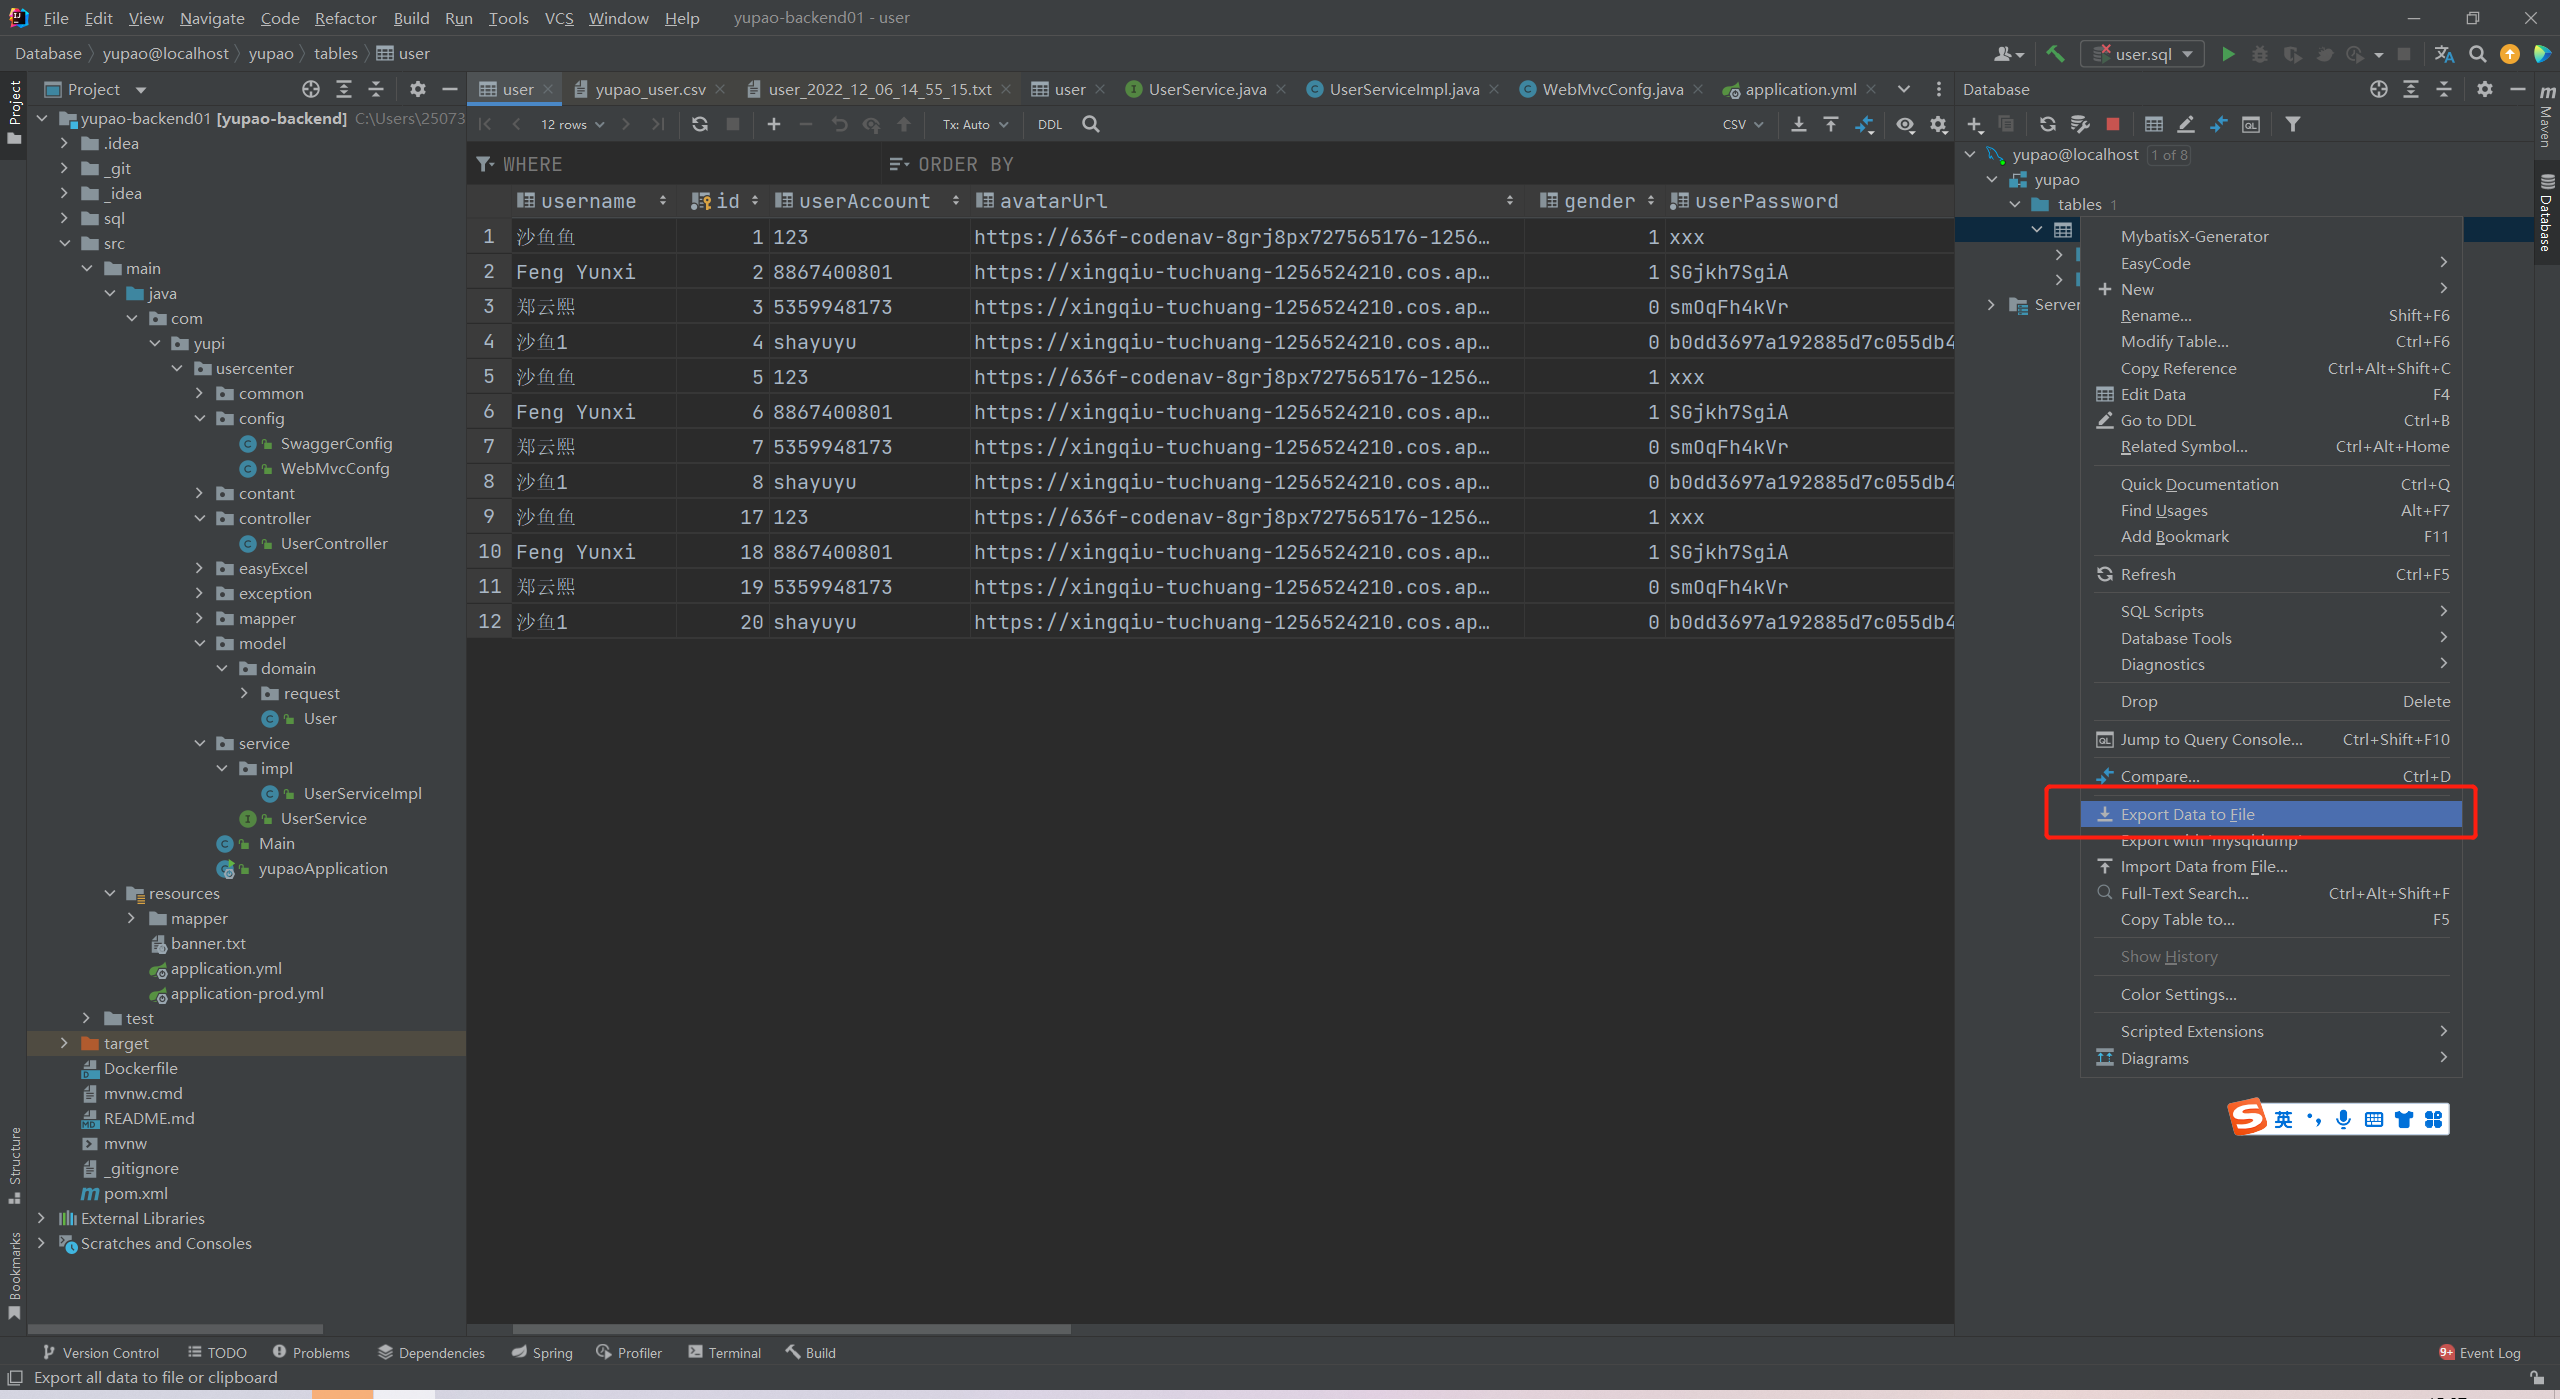
导入导出
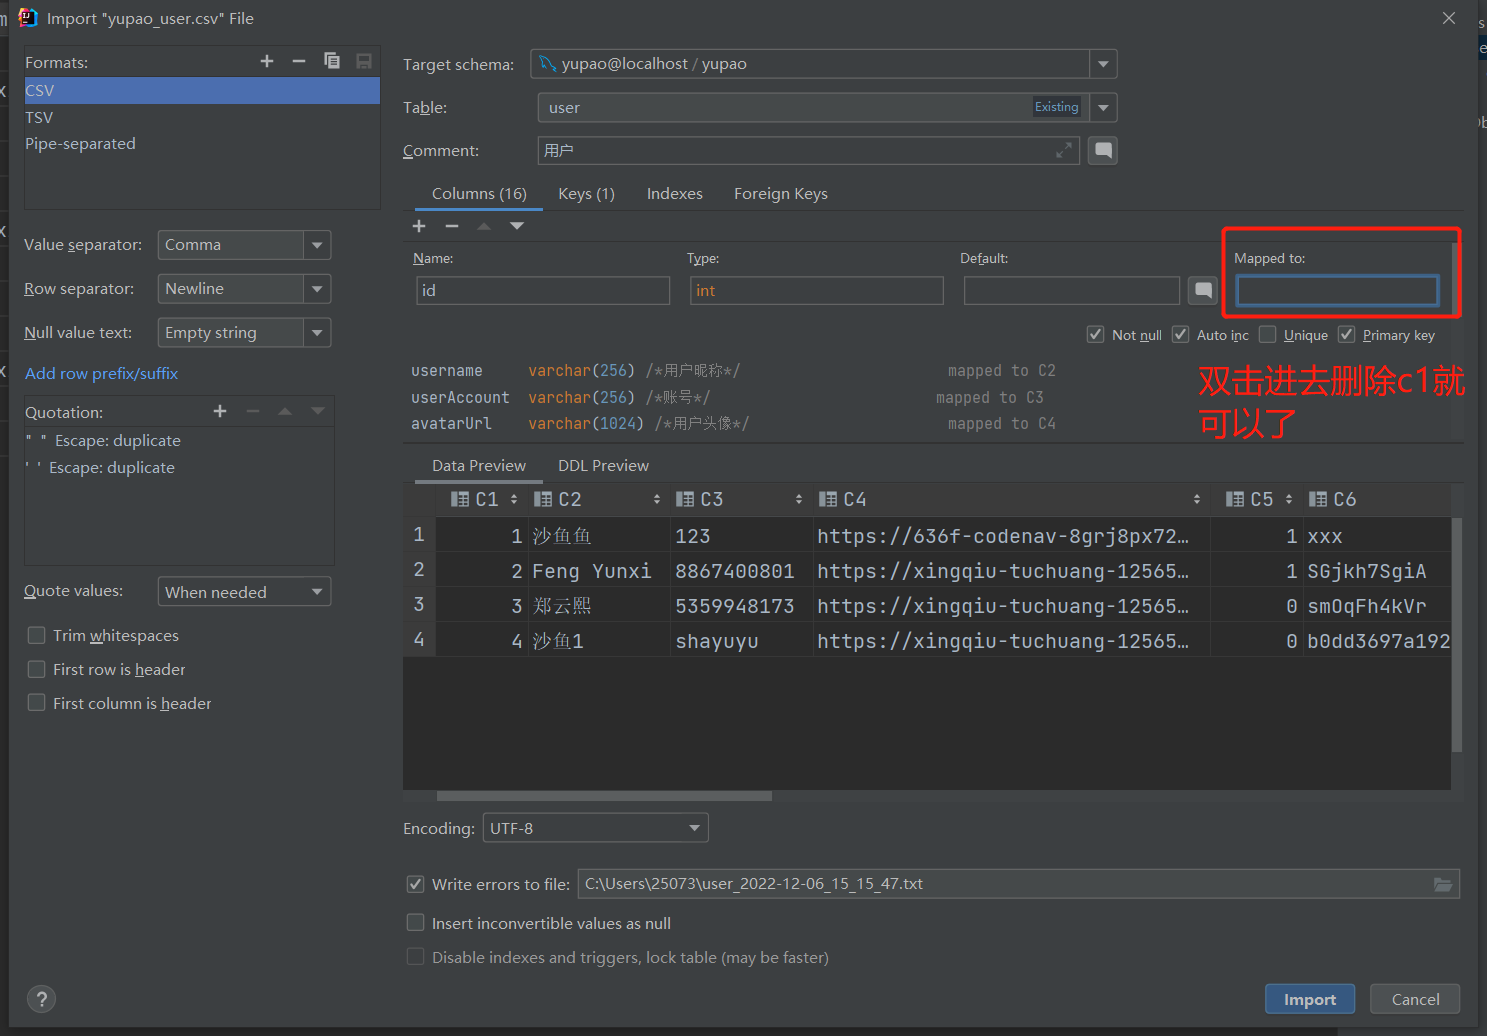
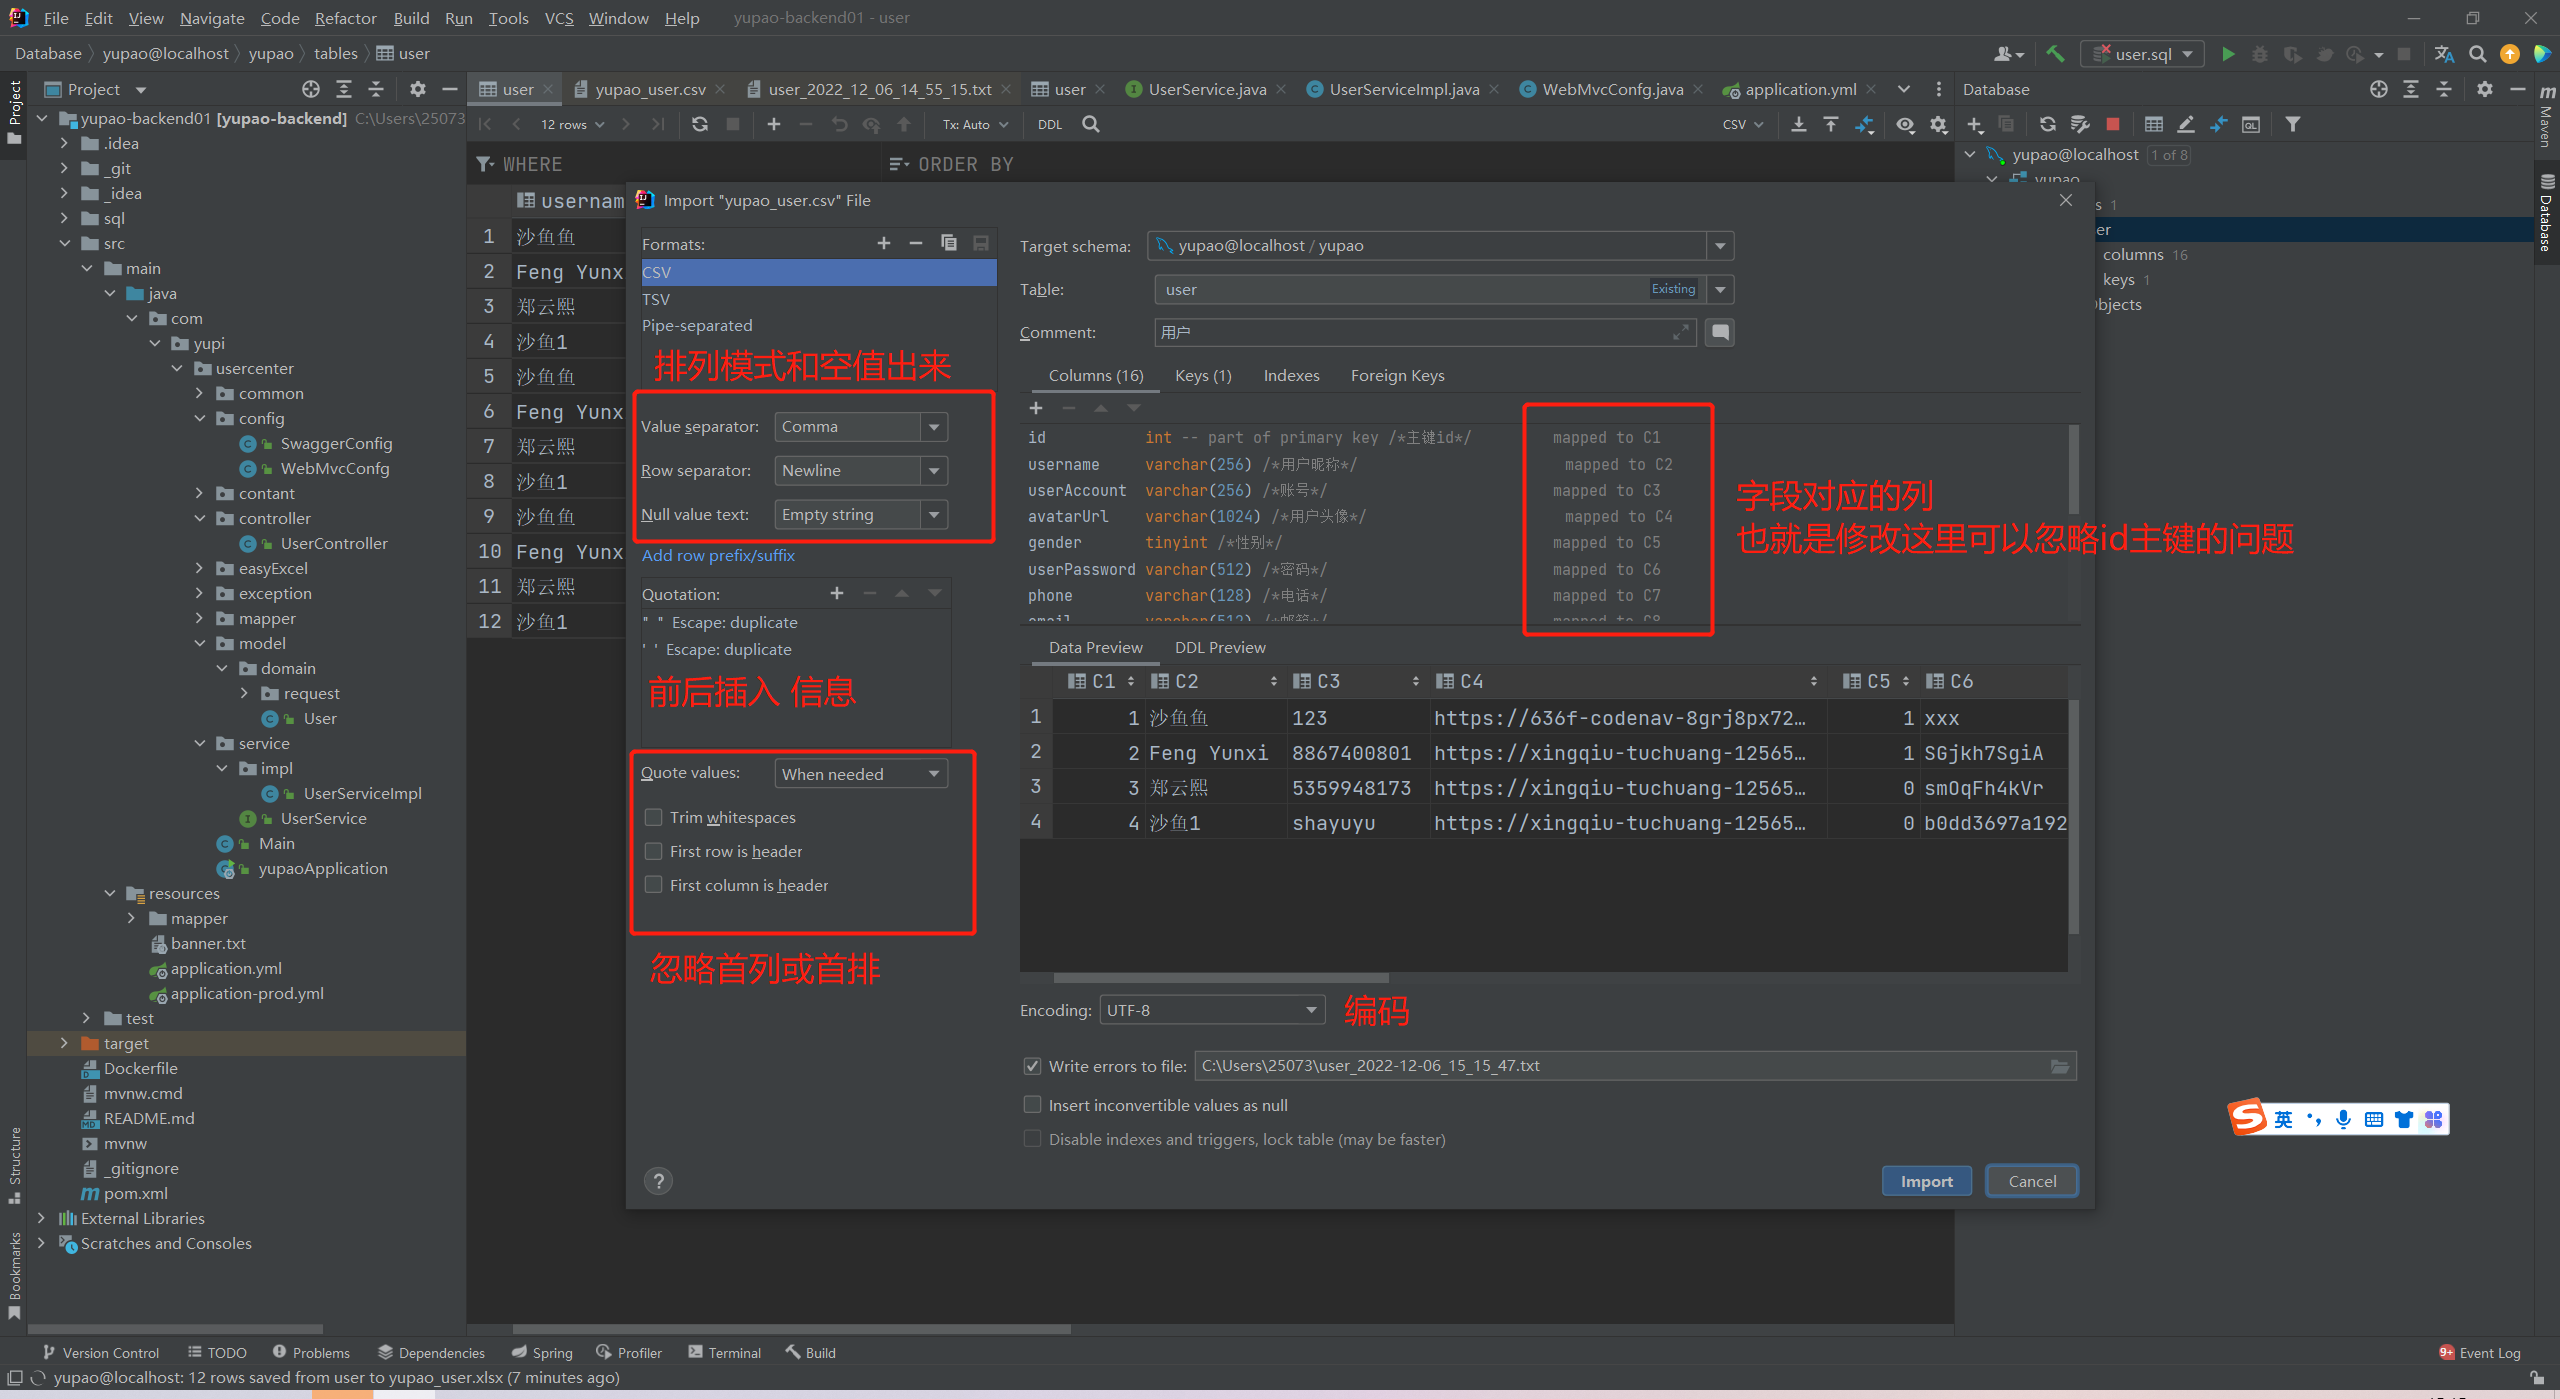
(鱼皮这里应该是屏幕没有放大没有看见字段对应的列信息,idea是可以实现的。)
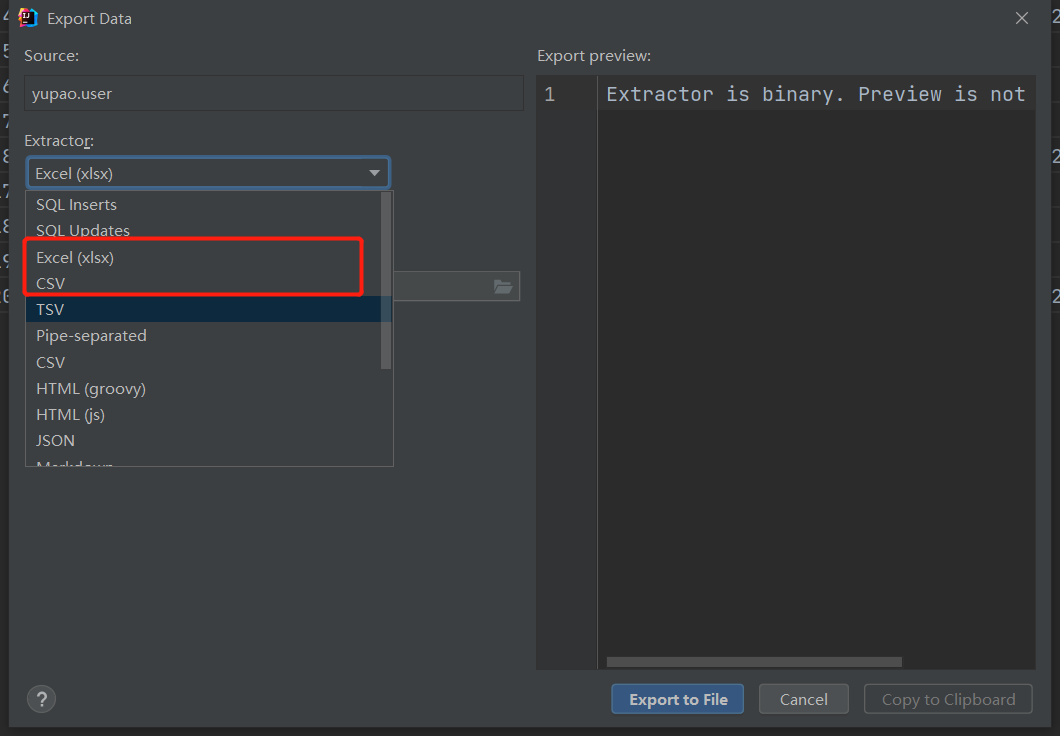
**导出 **
这里自己选择导出的文件类型和导出的地方路径。(尽量用CSV,exsl格式的话因为编码因为会乱码。)
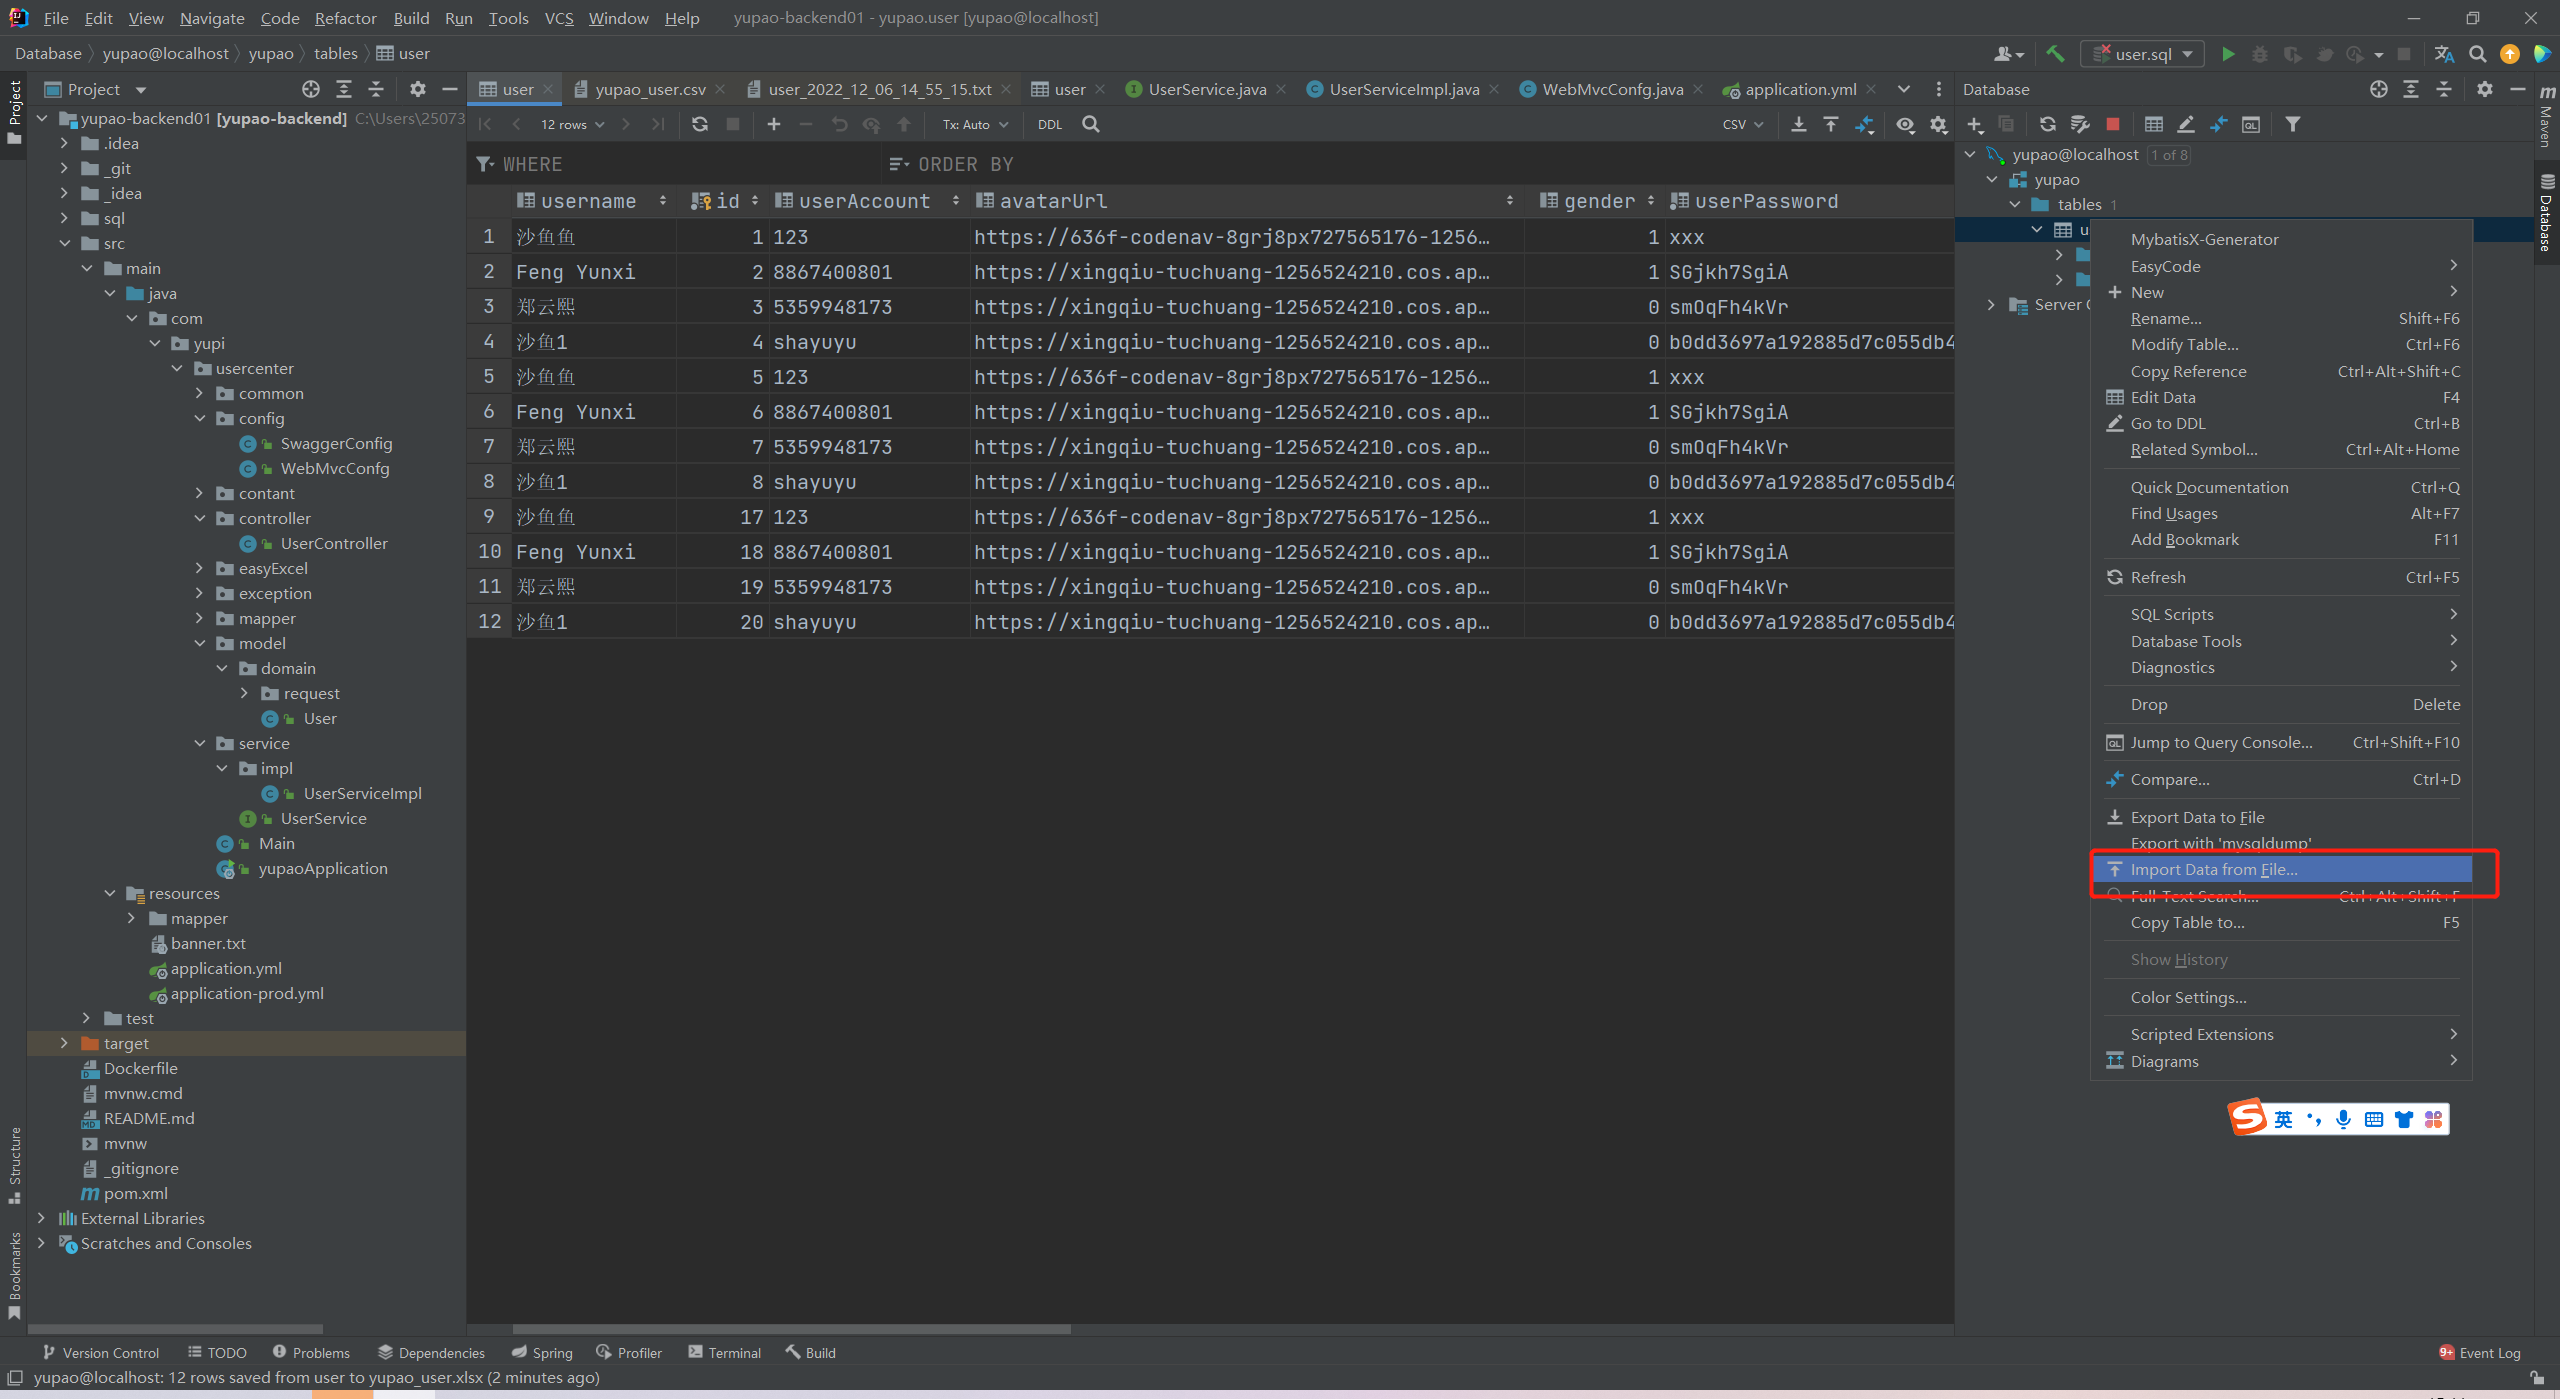
导入
选择要导入的文件
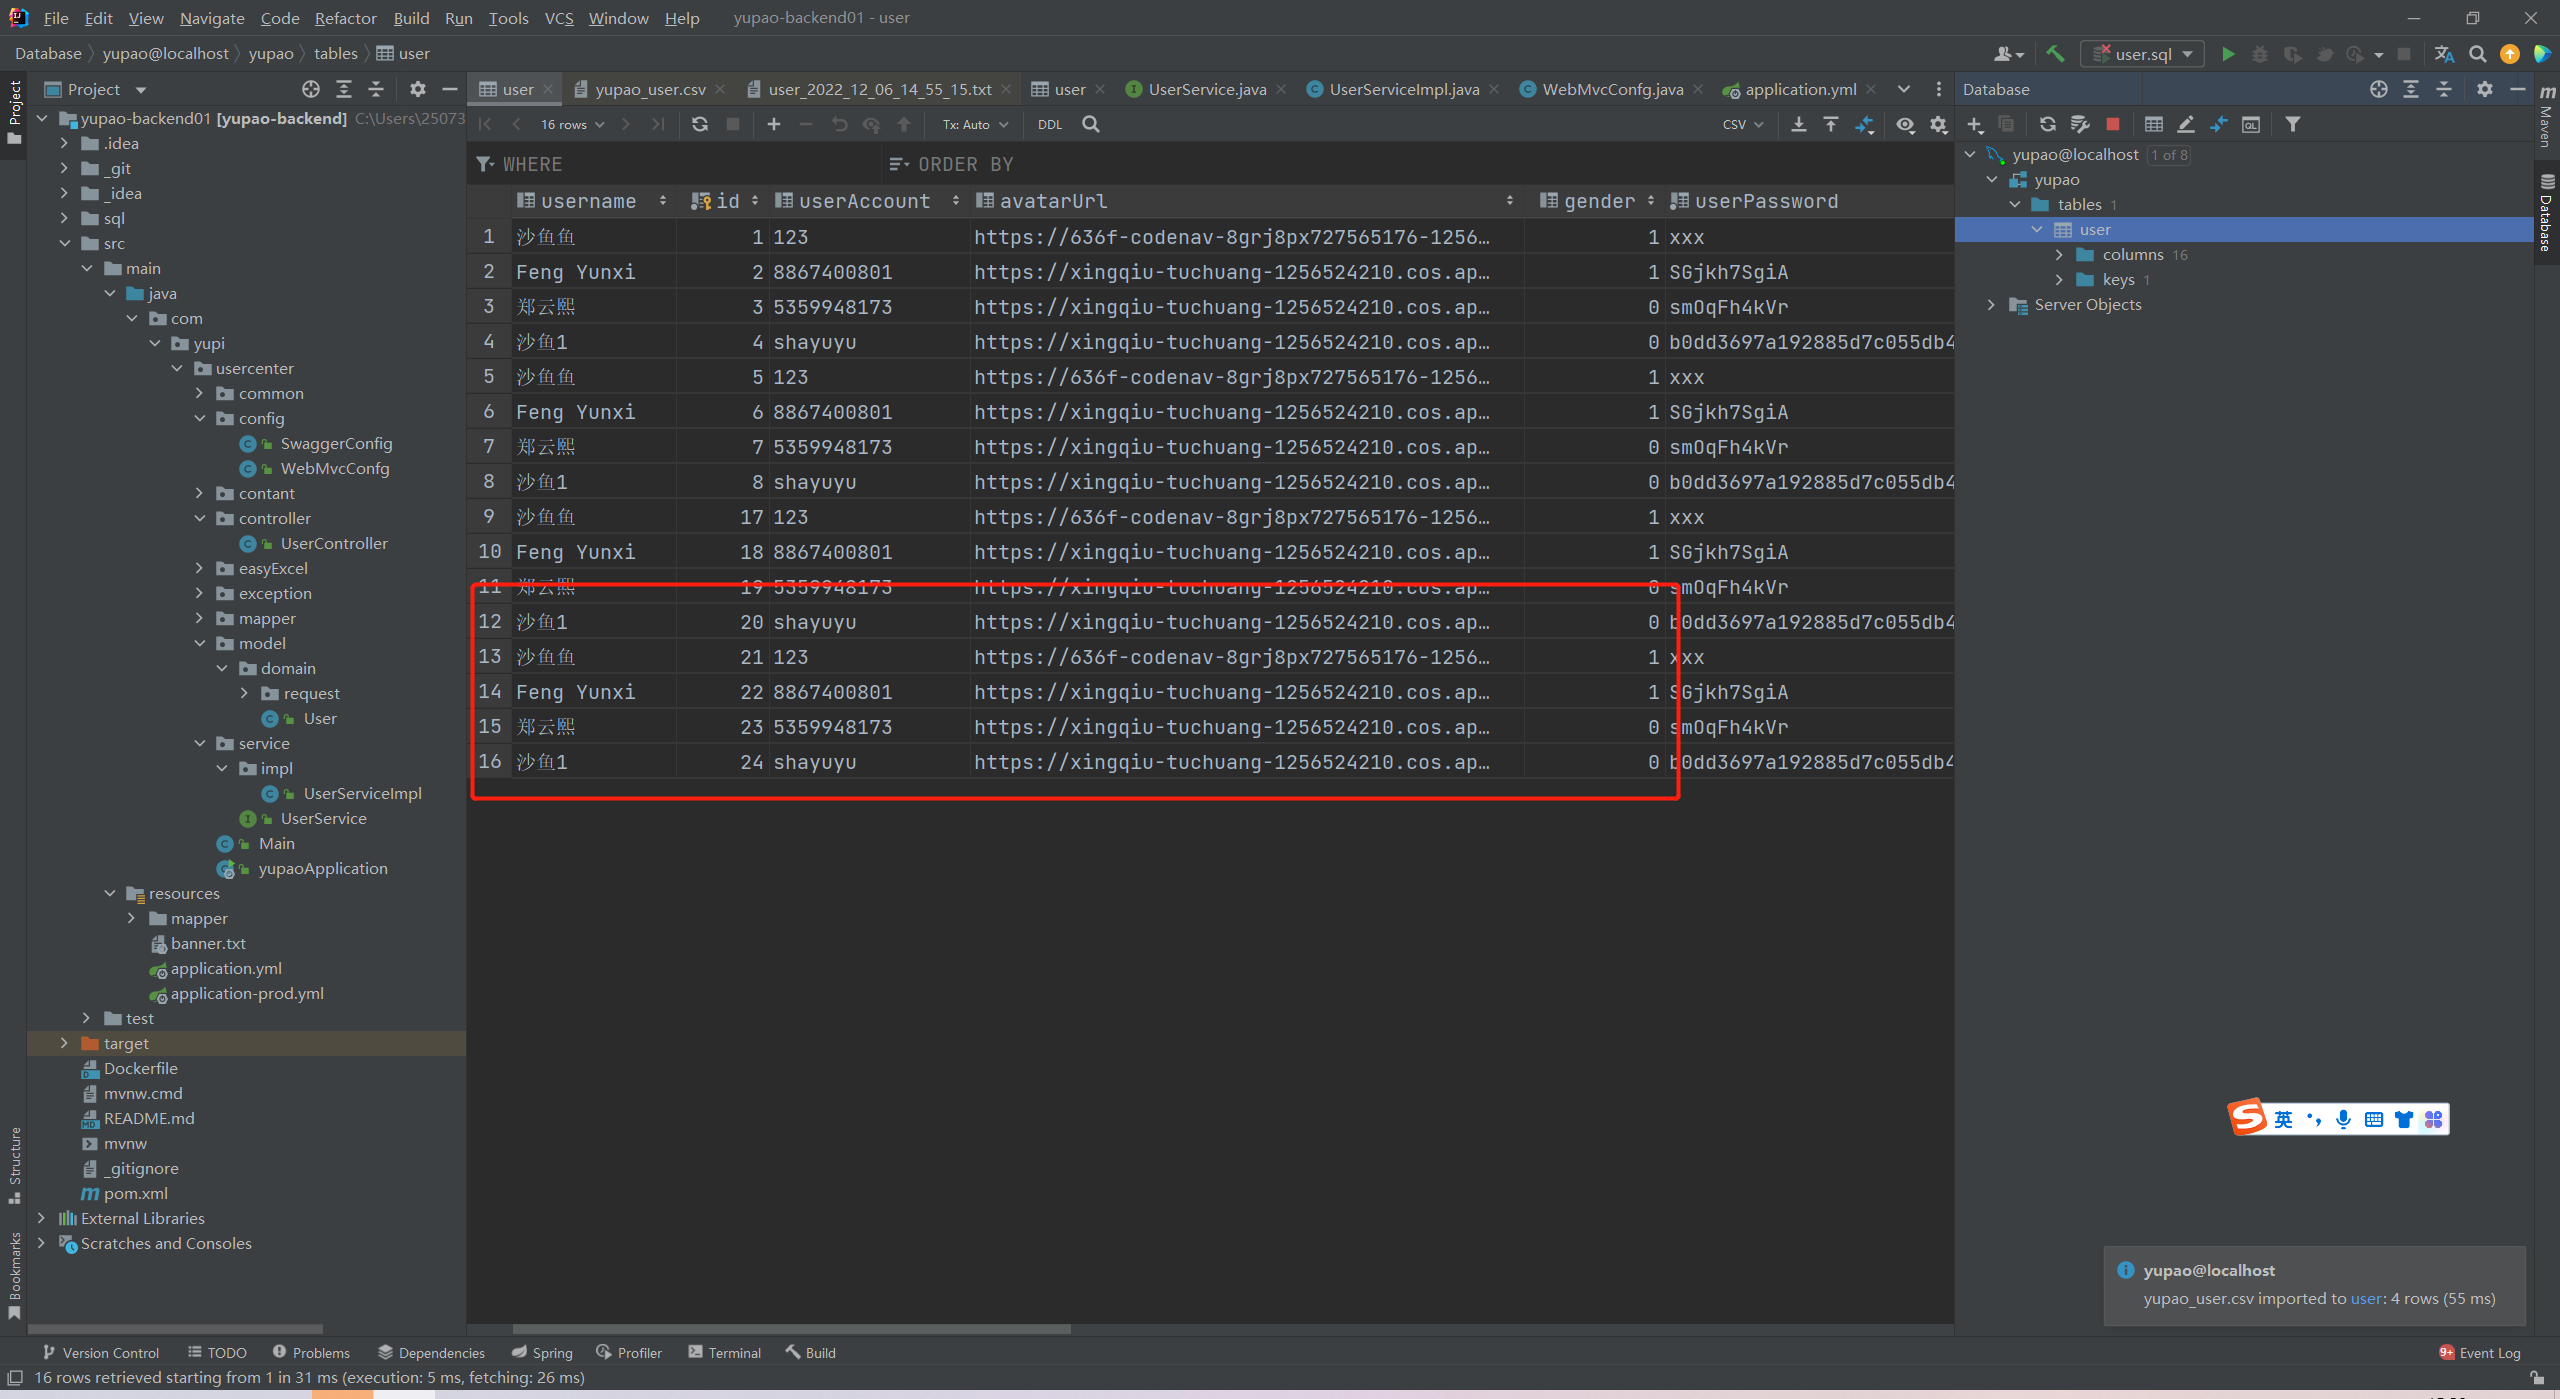
(导入有风险,自己要想清楚用何种方式导入数据。鱼皮在视频里也重点说过的。)
定时任务
:::info
开启定时任务;注解。
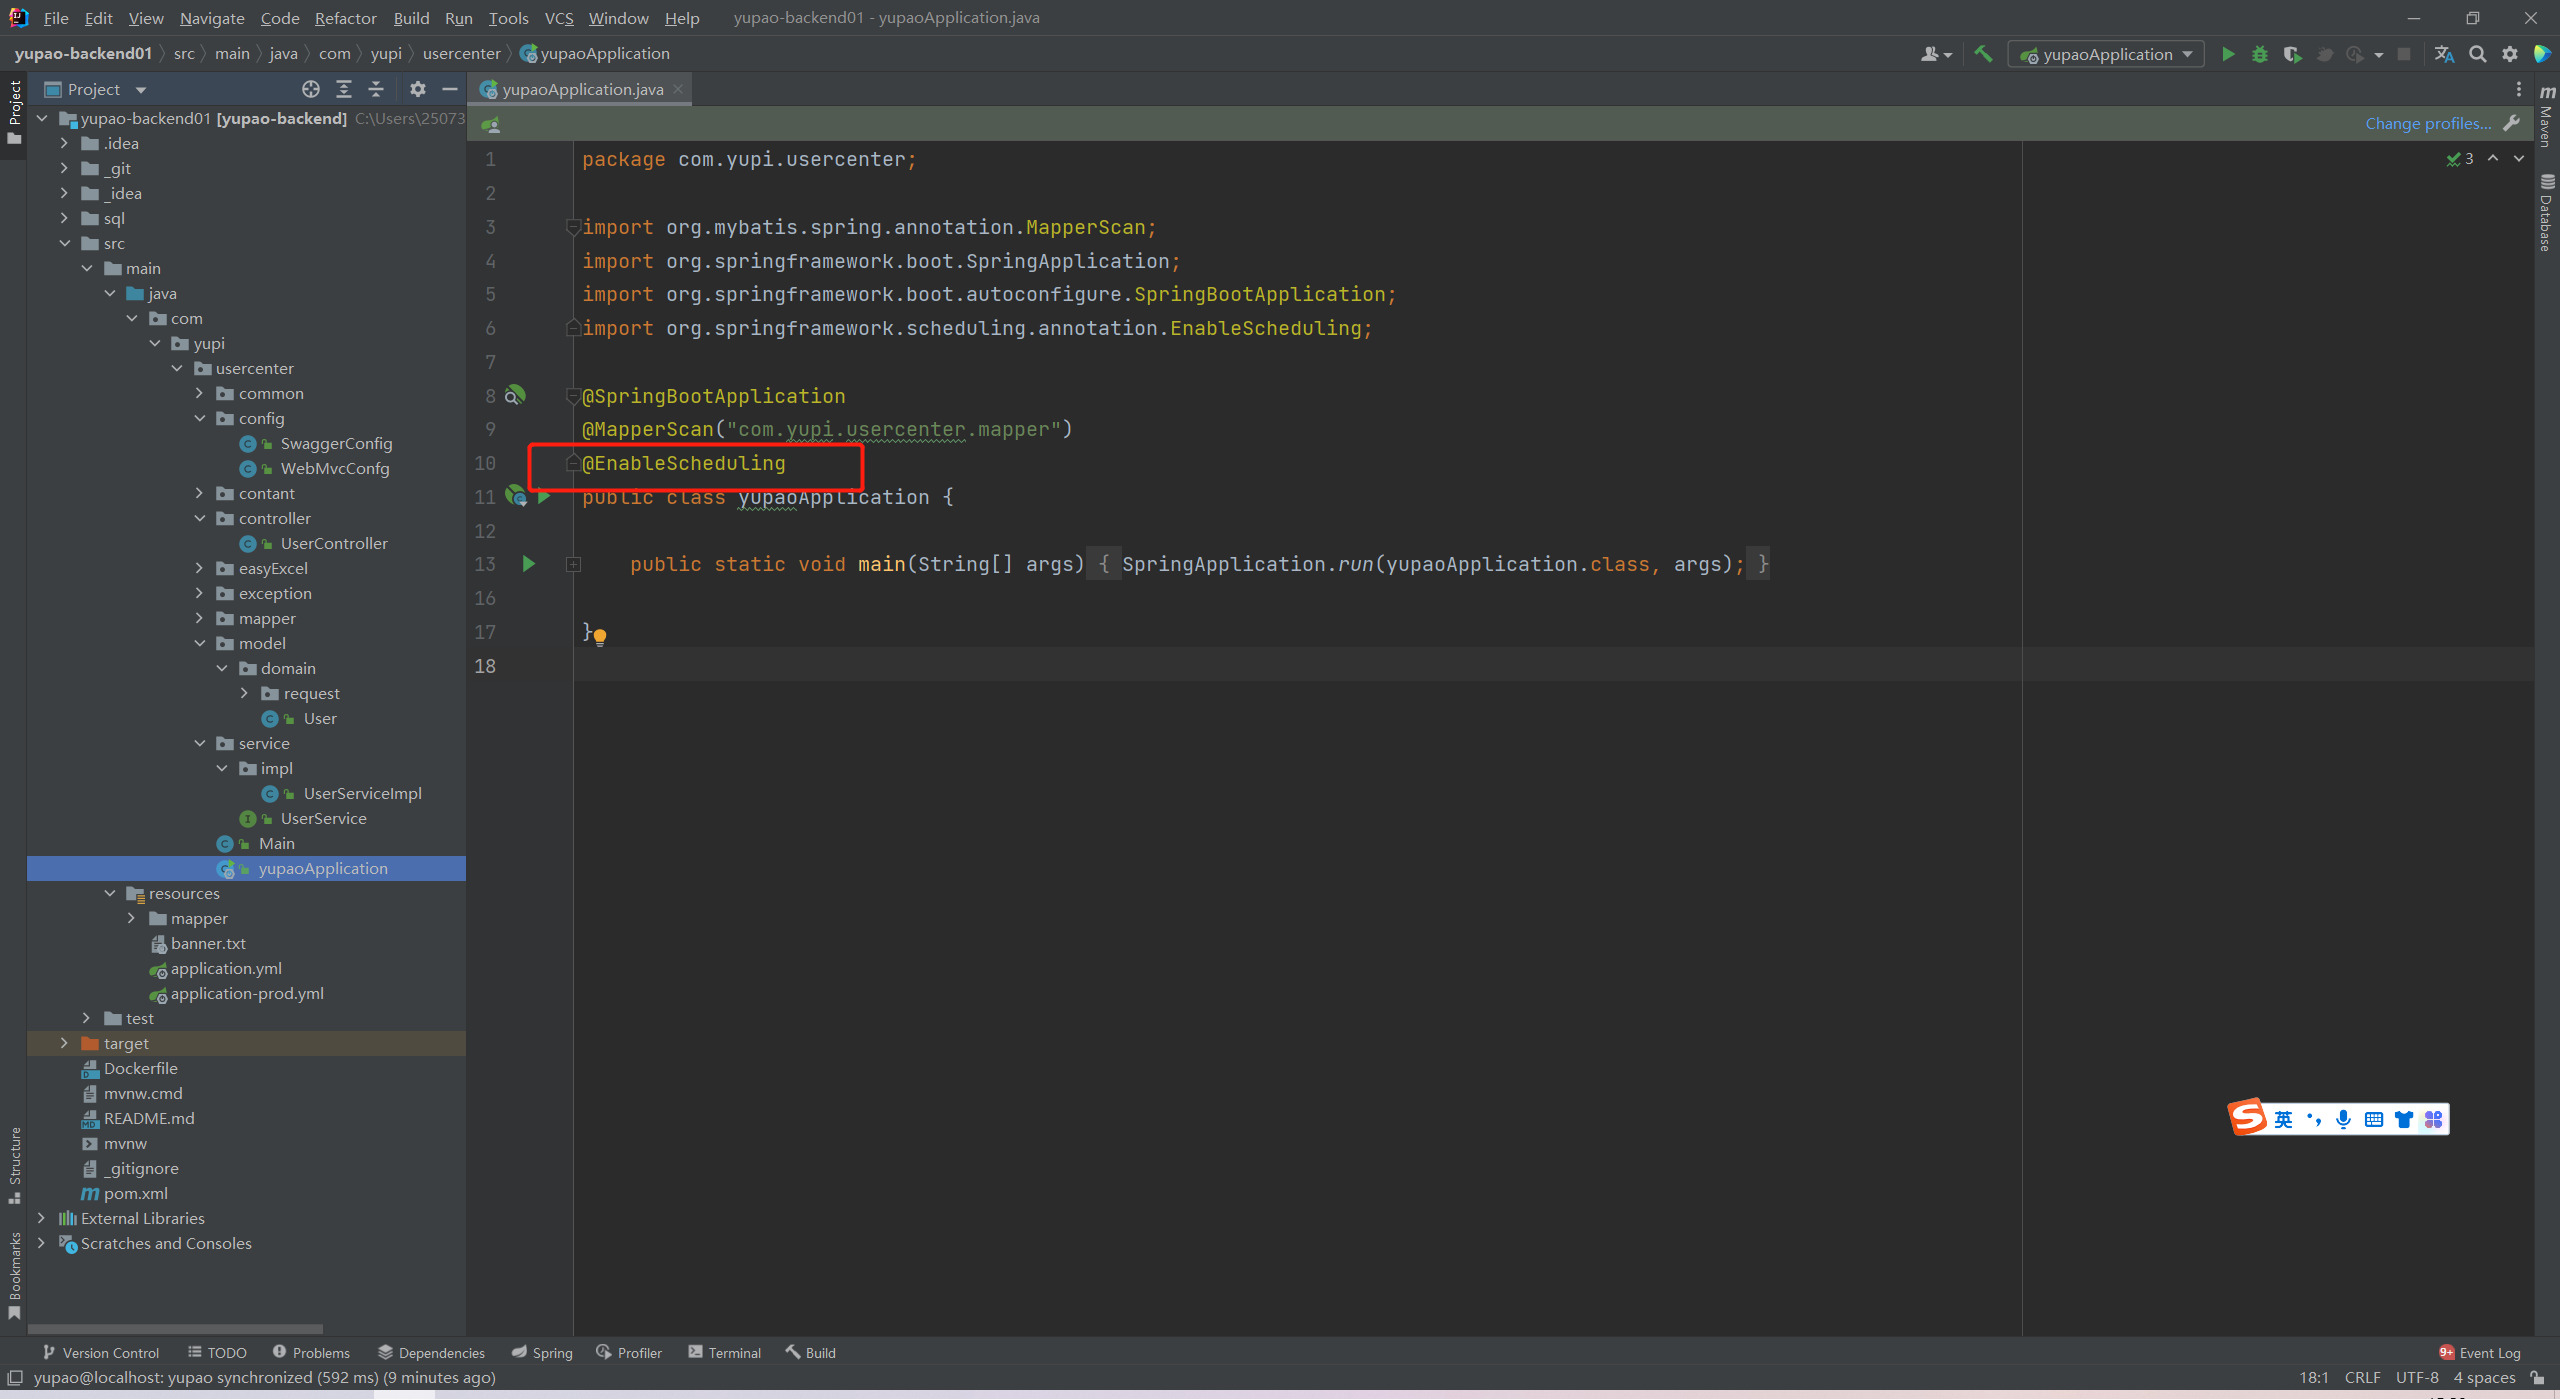
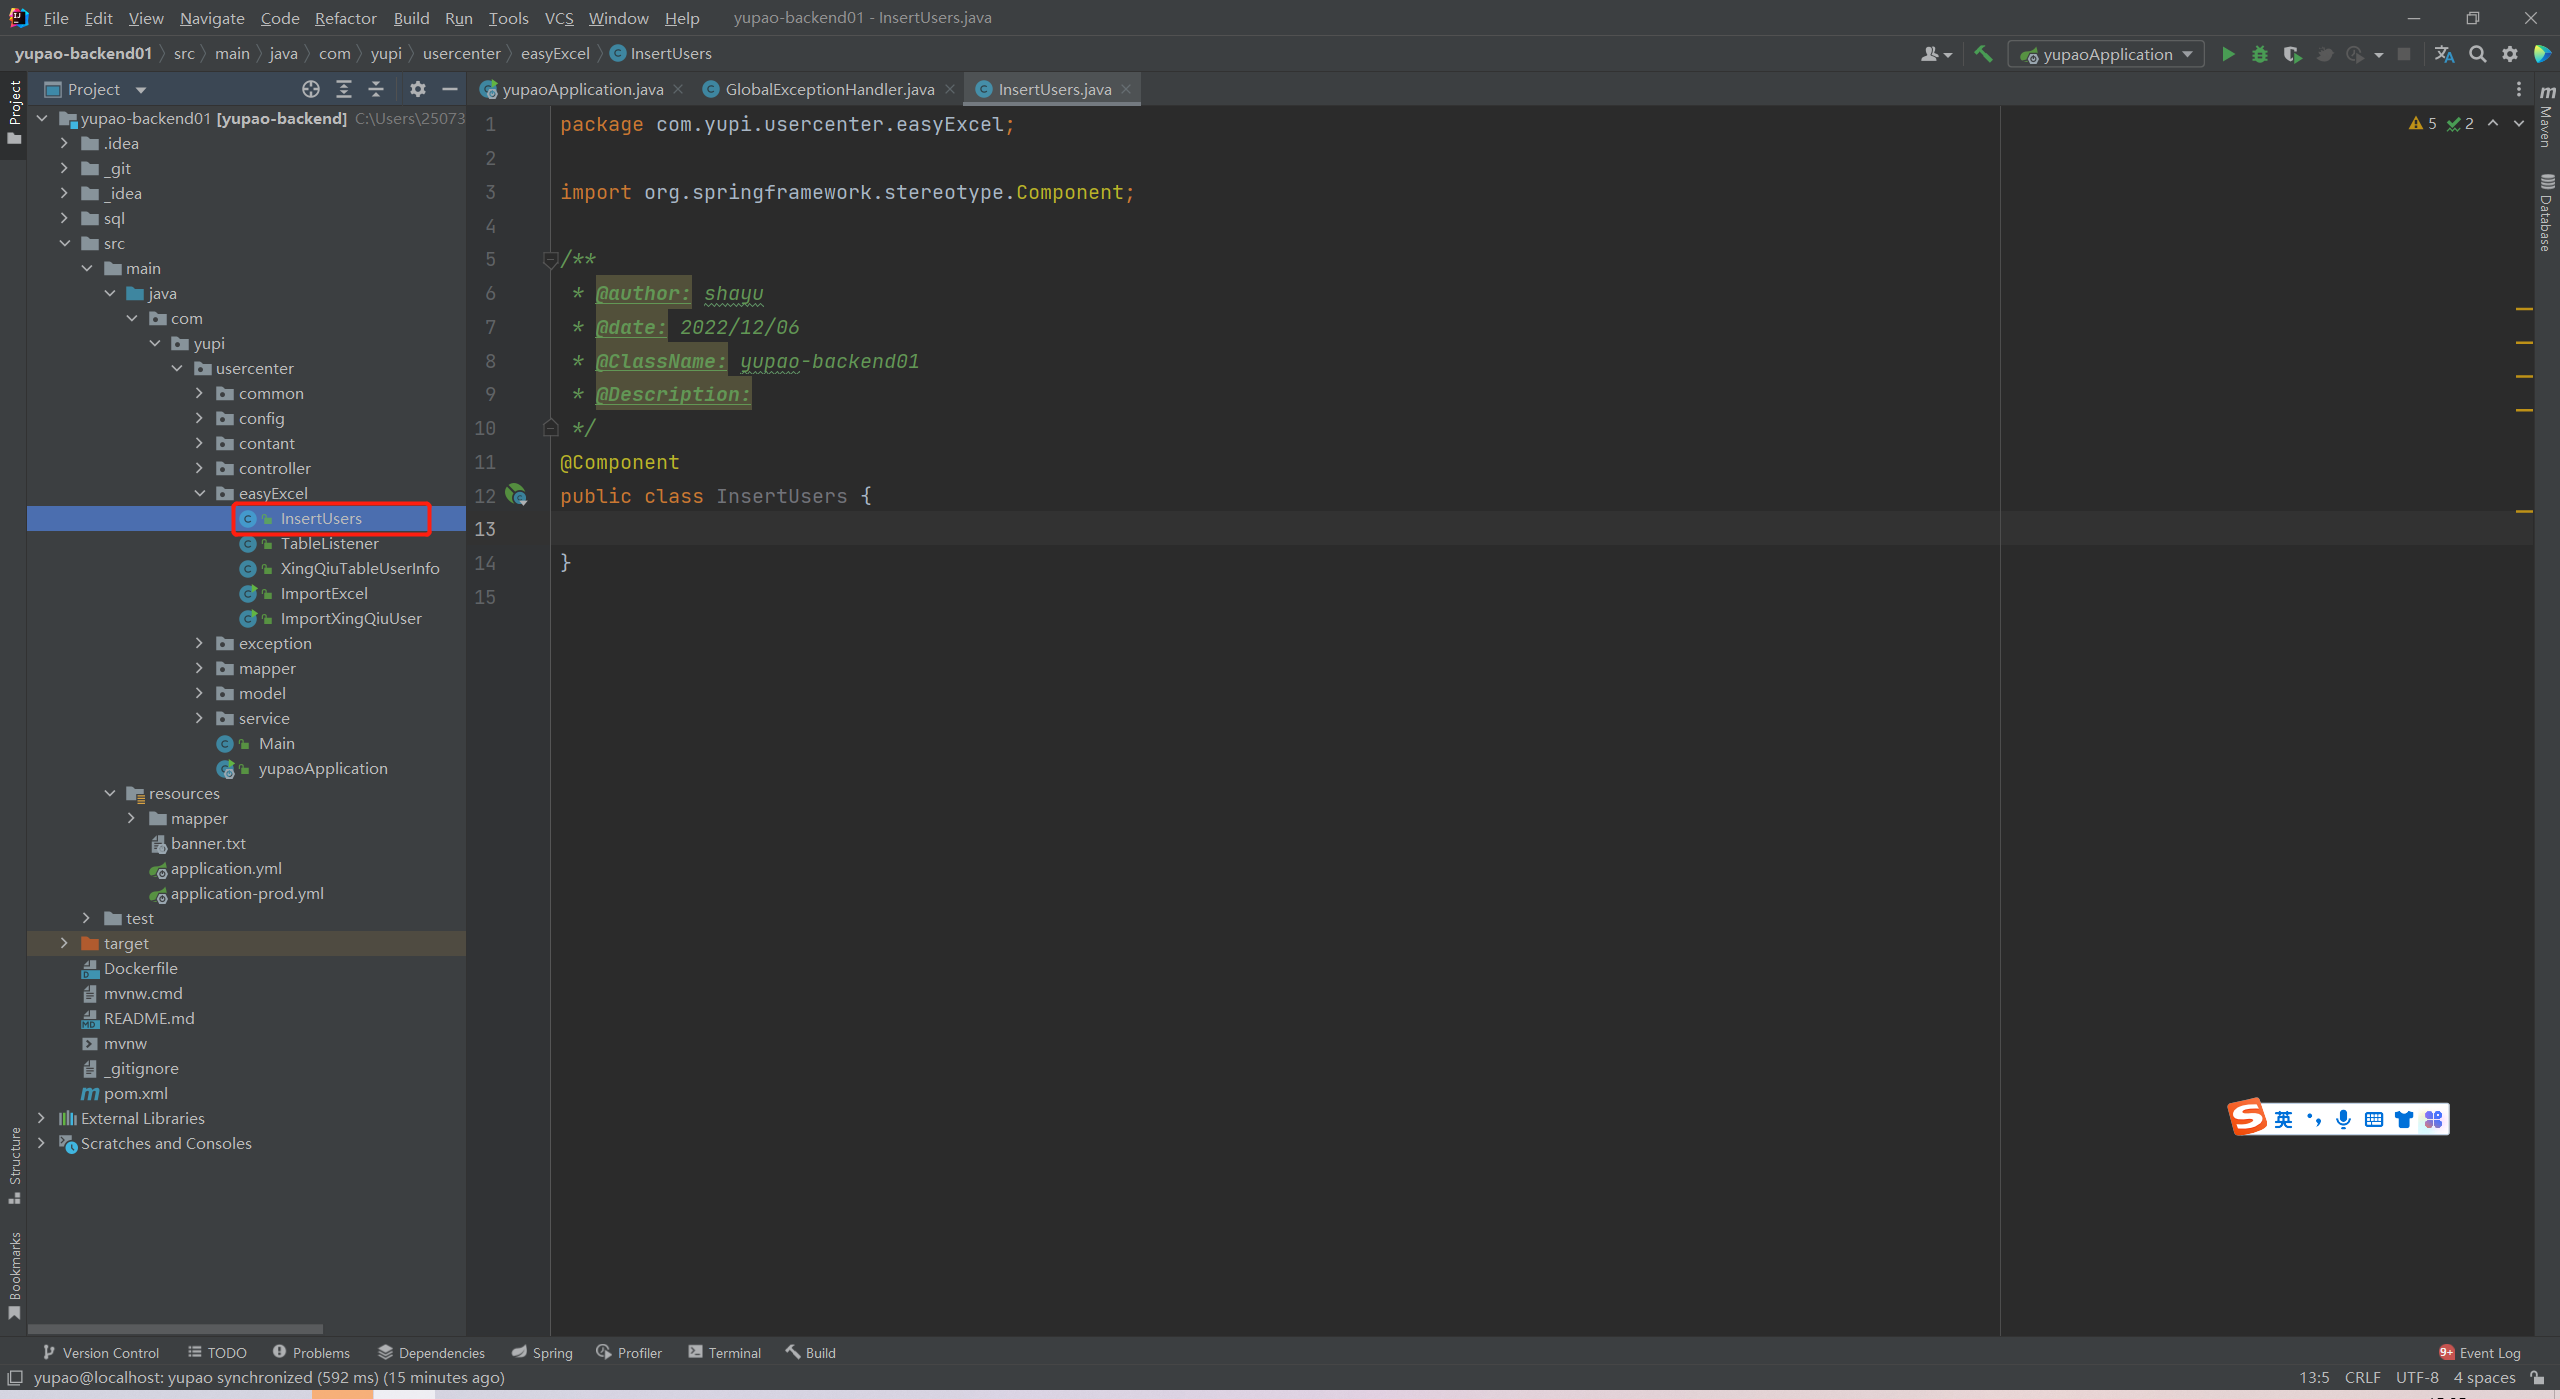
新建InsertUser.java(鱼皮是在once文件夹,我这个是之前命名是起的,都可以无所谓的,自己记得就好。)
插件(idea里搜的)
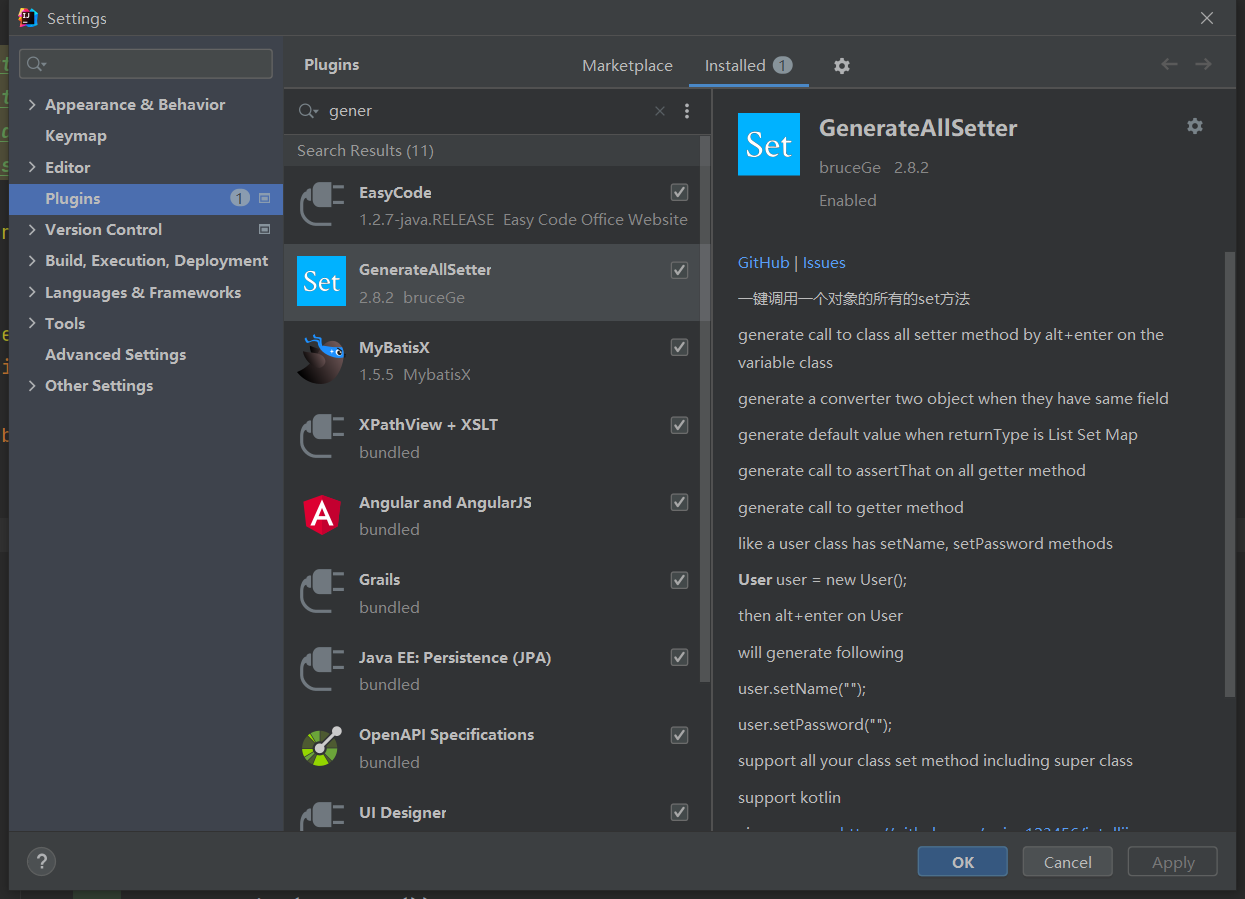
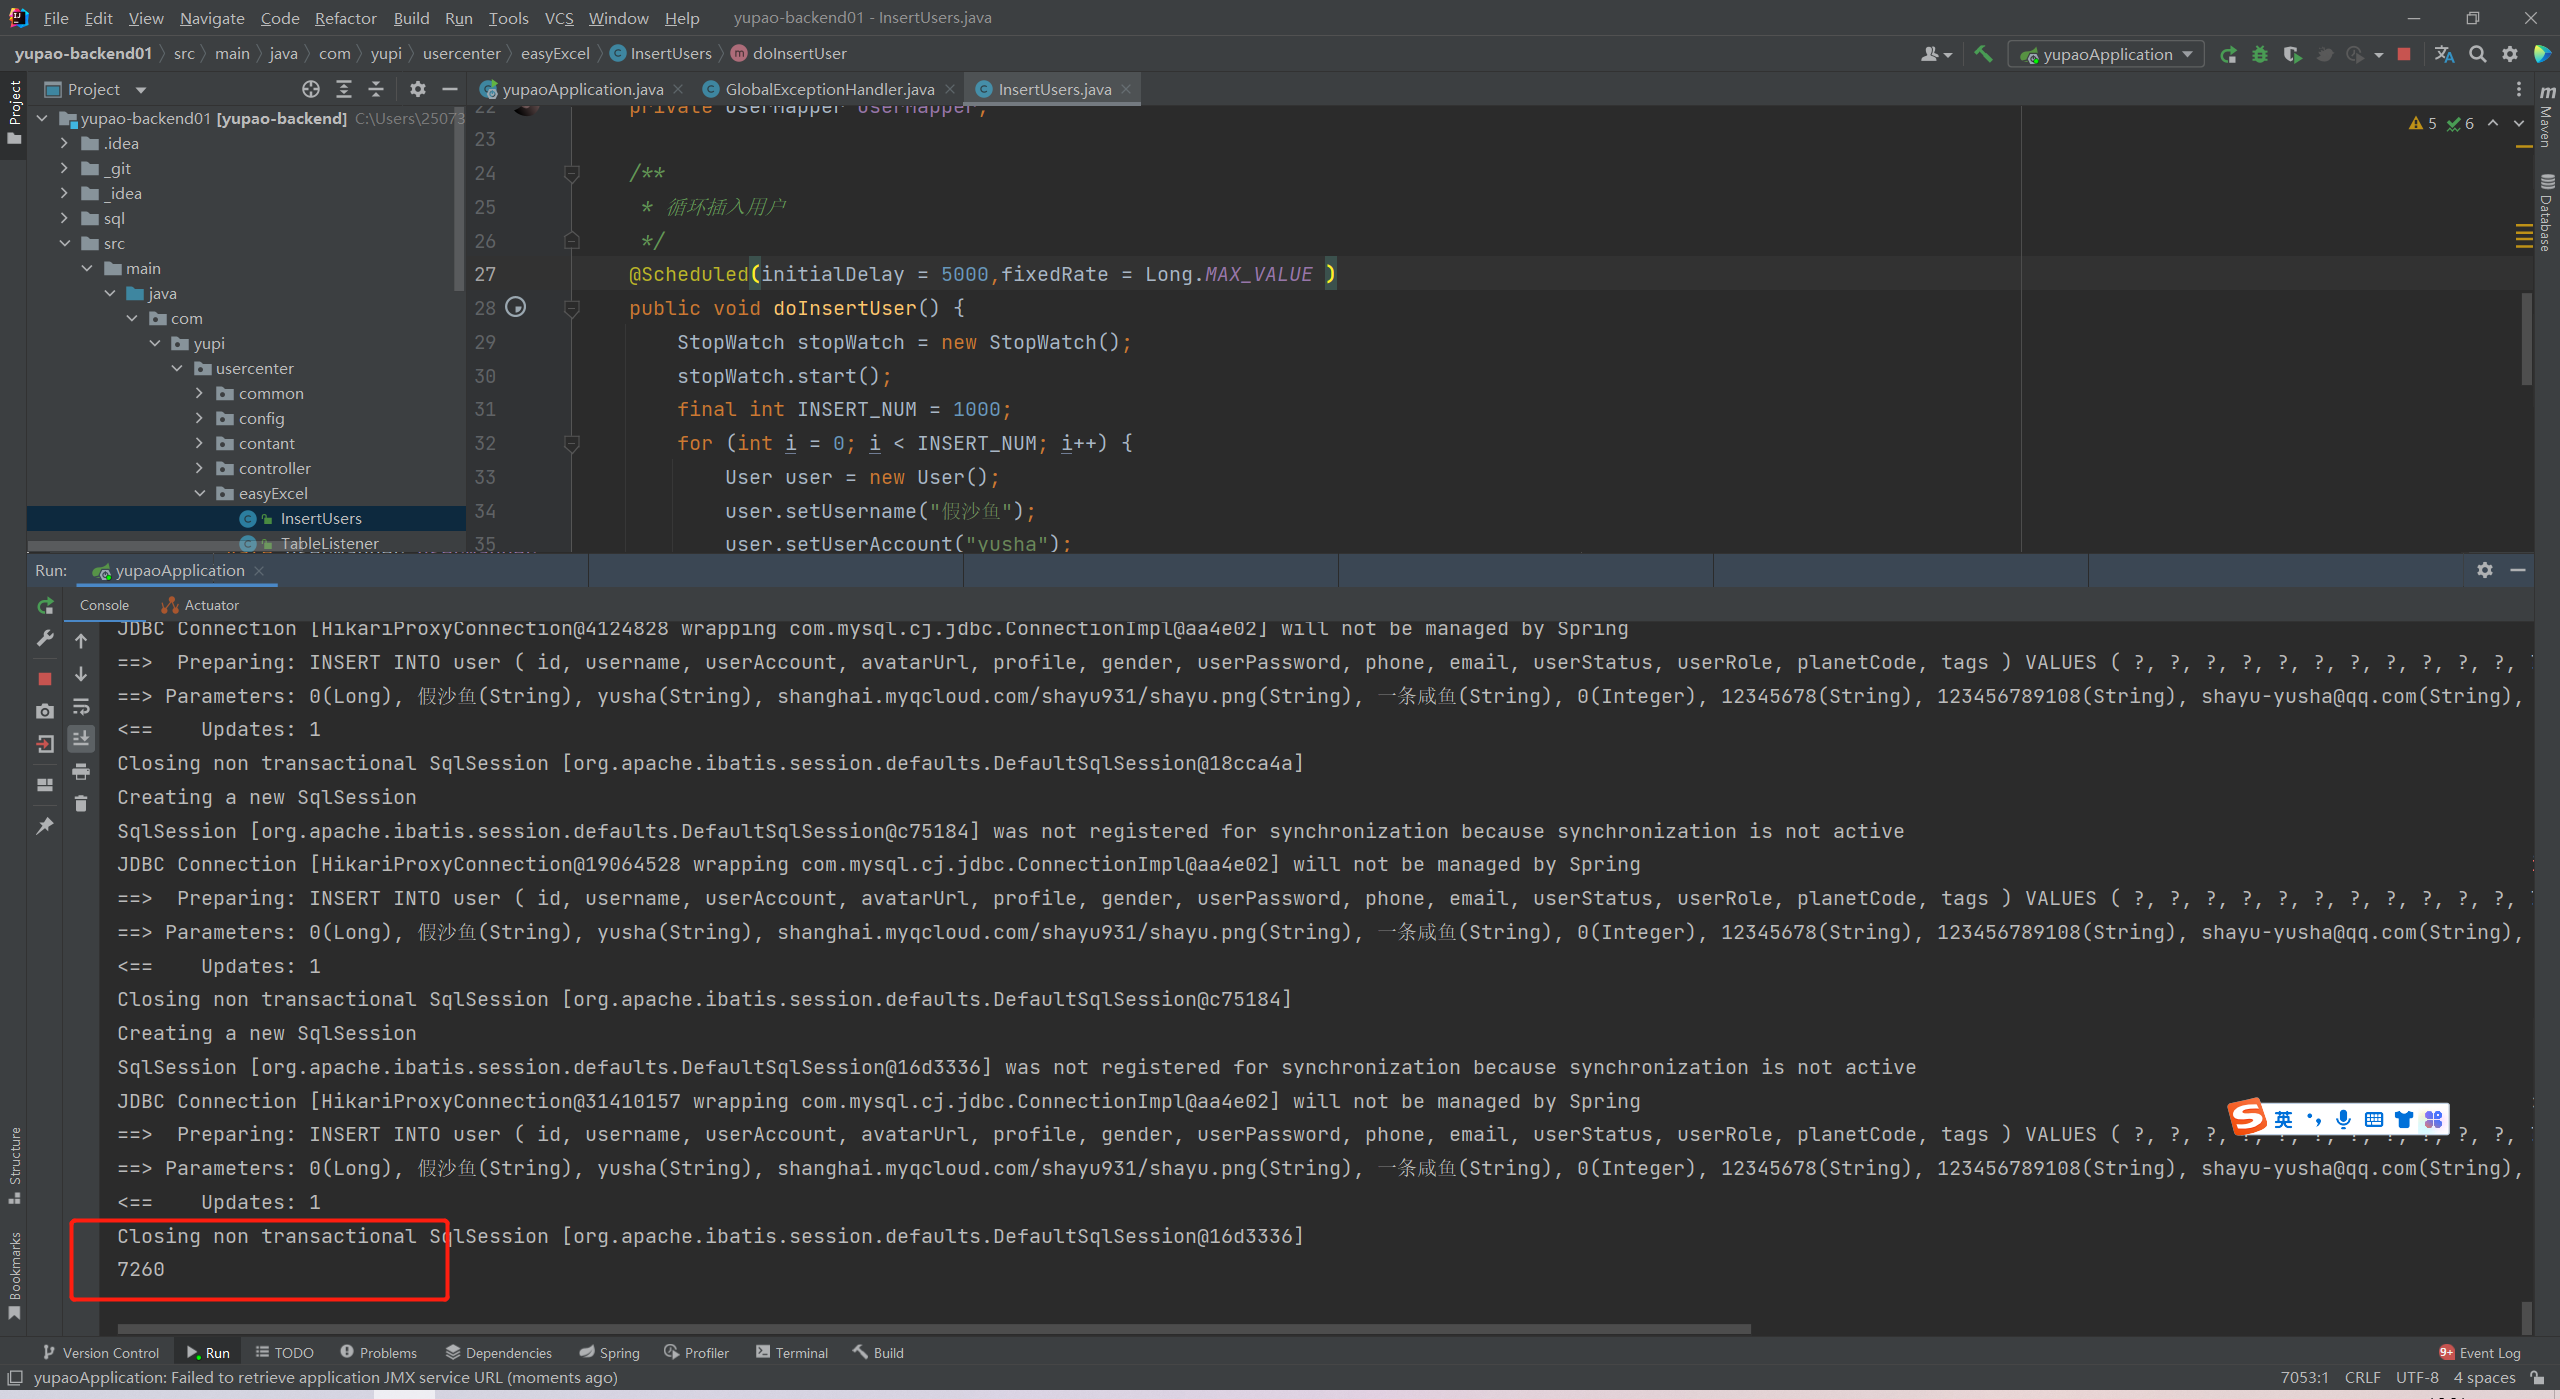
编写定时任务代码并进行测试(这里的定时取巧,尽量别用,注释掉。)
:::
package com.yupi.usercenter.easyExcel;
import java.util.Date;import com.yupi.usercenter.mapper.UserMapper;
import com.yupi.usercenter.model.domain.User;
import org.springframework.scheduling.annotation.Scheduled;
import org.springframework.stereotype.Component;
import org.springframework.util.StopWatch;import javax.annotation.Resource;@Component
public class InsertUsers {@Resourceprivate UserMapper userMapper;/*** 循环插入用户*/
//    @Scheduled(initialDelay = 5000,fixedRate = Long.MAX_VALUE )public void doInsertUser() {StopWatch stopWatch = new StopWatch();stopWatch.start();final int INSERT_NUM = 1000;for (int i = 0; i < INSERT_NUM; i++) {User user = new User();user.setUsername("假用户");user.setUserAccount("sifsf");user.setAvatarUrl("https://raw.githubusercontent.com/RockIvy/images/master/img/avatar54.jpg");user.setProfile("阿尼亚");user.setGender(0);user.setUserPassword("12345678");user.setPhone("123456789108");user.setEmail("123861283@qq.com");user.setUserStatus(0);user.setUserRole(0);user.setPlanetCode("931");user.setTags("[]");userMapper.insert(user);}stopWatch.stop();System.out.println( stopWatch.getLastTaskTimeMillis());}
}
数据插入/并发插入
我们需要插入数据: 1.用可视化界面:适合一次性导入、数据量可控 由于编码,主键以及某些字段的问题
(id,createtime等),演示插入失败,这里不推荐 2.写程序:for 循环,建议分批,不要一把梭哈,这里
演示了两种插入数据的方法 首先创建测试方法文件InsertUsersTest,编写批量查询解决
并发执行,这里的线程可自定义或者用idea默认的,两种方法的区别是,自定义可以跑满线程,而默认的
只能跑CPU核数-1,代码区别:就是在异步执行处加上自定义的线程名
并发插入(这里数据量是100000)
并发要注意执行的先后顺序无所谓,不要用到非并发类的集合private ExecutorService executorService = new ThreadPoolExecutor(16, 1000, 10000, TimeUnit.MINUTES, new ArrayBlockingQueue<>(10000));// CPU 密集型:分配的核心线程数 = CPU - 1
// IO 密集型:分配的核心线程数可以大于 CPU 核数
:::info
用户插入单元测试,注意打包时要删掉或忽略,不然打一次包就插入一次
:::
package com.ivy.usercenter.service;import com.ivy.usercenter.mapper.UserMapper;
import com.ivy.usercenter.model.domain.User;
import org.junit.jupiter.api.Test;
import org.springframework.boot.test.context.SpringBootTest;
import org.springframework.util.StopWatch;import javax.annotation.Resource;
import java.util.ArrayList;
import java.util.List;
import java.util.concurrent.*;/*** @author ivy* @date 2024/5/30 17:00*/
@SpringBootTest
public class InsertUsersTest {@Resourceprivate UserMapper userMapper;@Resourceprivate UserService userService;//线程设置private ExecutorService executorService = new ThreadPoolExecutor(16, 1000, 10000, TimeUnit.MINUTES, new ArrayBlockingQueue<>(10000));/*** 循环插入用户 10000 条耗时20000ms*/@Testpublic void doInsertUser1() {StopWatch stopWatch = new StopWatch();stopWatch.start();final int INSERT_NUM = 10000;for (int i = 0; i < INSERT_NUM; i++) {User user = new User();user.setUsername("假用户");user.setUserAccount("sifsf");user.setAvatarUrl("https://raw.githubusercontent.com/RockIvy/images/master/img/avatar54.jpg");user.setProfile("阿尼亚");user.setGender(0);user.setUserPassword("12345678");user.setPhone("123456789108");user.setEmail("123861283@qq.com");user.setUserStatus(0);user.setUserRole(0);user.setPlanetCode("931");user.setTags("[]");userMapper.insert(user);}stopWatch.stop();System.out.println(stopWatch.getLastTaskTimeMillis());}/*** 循环插入用户  耗时:20000ms* 批量插入用户   10000  耗时: 1817ms*/@Testpublic void doInsertUser2() {StopWatch stopWatch = new StopWatch();stopWatch.start();final int INSERT_NUM = 10000;List<User> userList = new ArrayList<>();for (int i = 0; i < INSERT_NUM; i++) {User user = new User();user.setUsername("假数据");user.setUserAccount("fakeaccount");user.setAvatarUrl("https://img0.baidu.com/it/u=3514514443,3153875602&fm=253&fmt=auto&app=138&f=JPEG?w=500&h=500");user.setGender(0);user.setUserPassword("231313123");user.setPhone("1231312");user.setEmail("12331234@qq.com");user.setUserStatus(0);user.setUserRole(0);user.setPlanetCode("213123");user.setTags("[]");userList.add(user);}userService.saveBatch(userList, 1000);stopWatch.stop();System.out.println(stopWatch.getLastTaskTimeMillis());}/*** 并发批量插入用户   100000  耗时: 4769ms*/@Testpublic void doConcurrencyInsertUser() {StopWatch stopWatch = new StopWatch();stopWatch.start();final int INSERT_NUM = 100000;// 分十组int j = 0;//批量插入数据的大小int batchSize = 5000;List<CompletableFuture<Void>> futureList = new ArrayList<>();// i 要根据数据量和插入批量来计算需要循环的次数。(鱼皮这里直接取了个值,会有问题,我这里随便写的)for (int i = 0; i < INSERT_NUM / batchSize; i++) {List<User> userList = new ArrayList<>();while (true) {j++;User user = new User();user.setUsername("假shier");user.setUserAccount("shier");user.setAvatarUrl("https://c-ssl.dtstatic.com/uploads/blog/202101/11/20210111220519_7da89.thumb.1000_0.jpeg");user.setProfile("fat cat");user.setGender(1);user.setUserPassword("12345678");user.setPhone("123456789108");user.setEmail("22288999@qq.com");user.setUserStatus(0);user.setUserRole(0);user.setPlanetCode("33322");user.setTags("[]");userList.add(user);if (j % batchSize == 0) {break;}}//异步执行 使用CompletableFuture开启异步任务CompletableFuture<Void> future = CompletableFuture.runAsync(() -> {System.out.println("ThreadName:" + Thread.currentThread().getName());userService.saveBatch(userList, batchSize);}, executorService);futureList.add(future);}CompletableFuture.allOf(futureList.toArray(new CompletableFuture[]{})).join();stopWatch.stop();System.out.println(stopWatch.getLastTaskTimeMillis());}}
若使用默认线程池,删去

分页查询
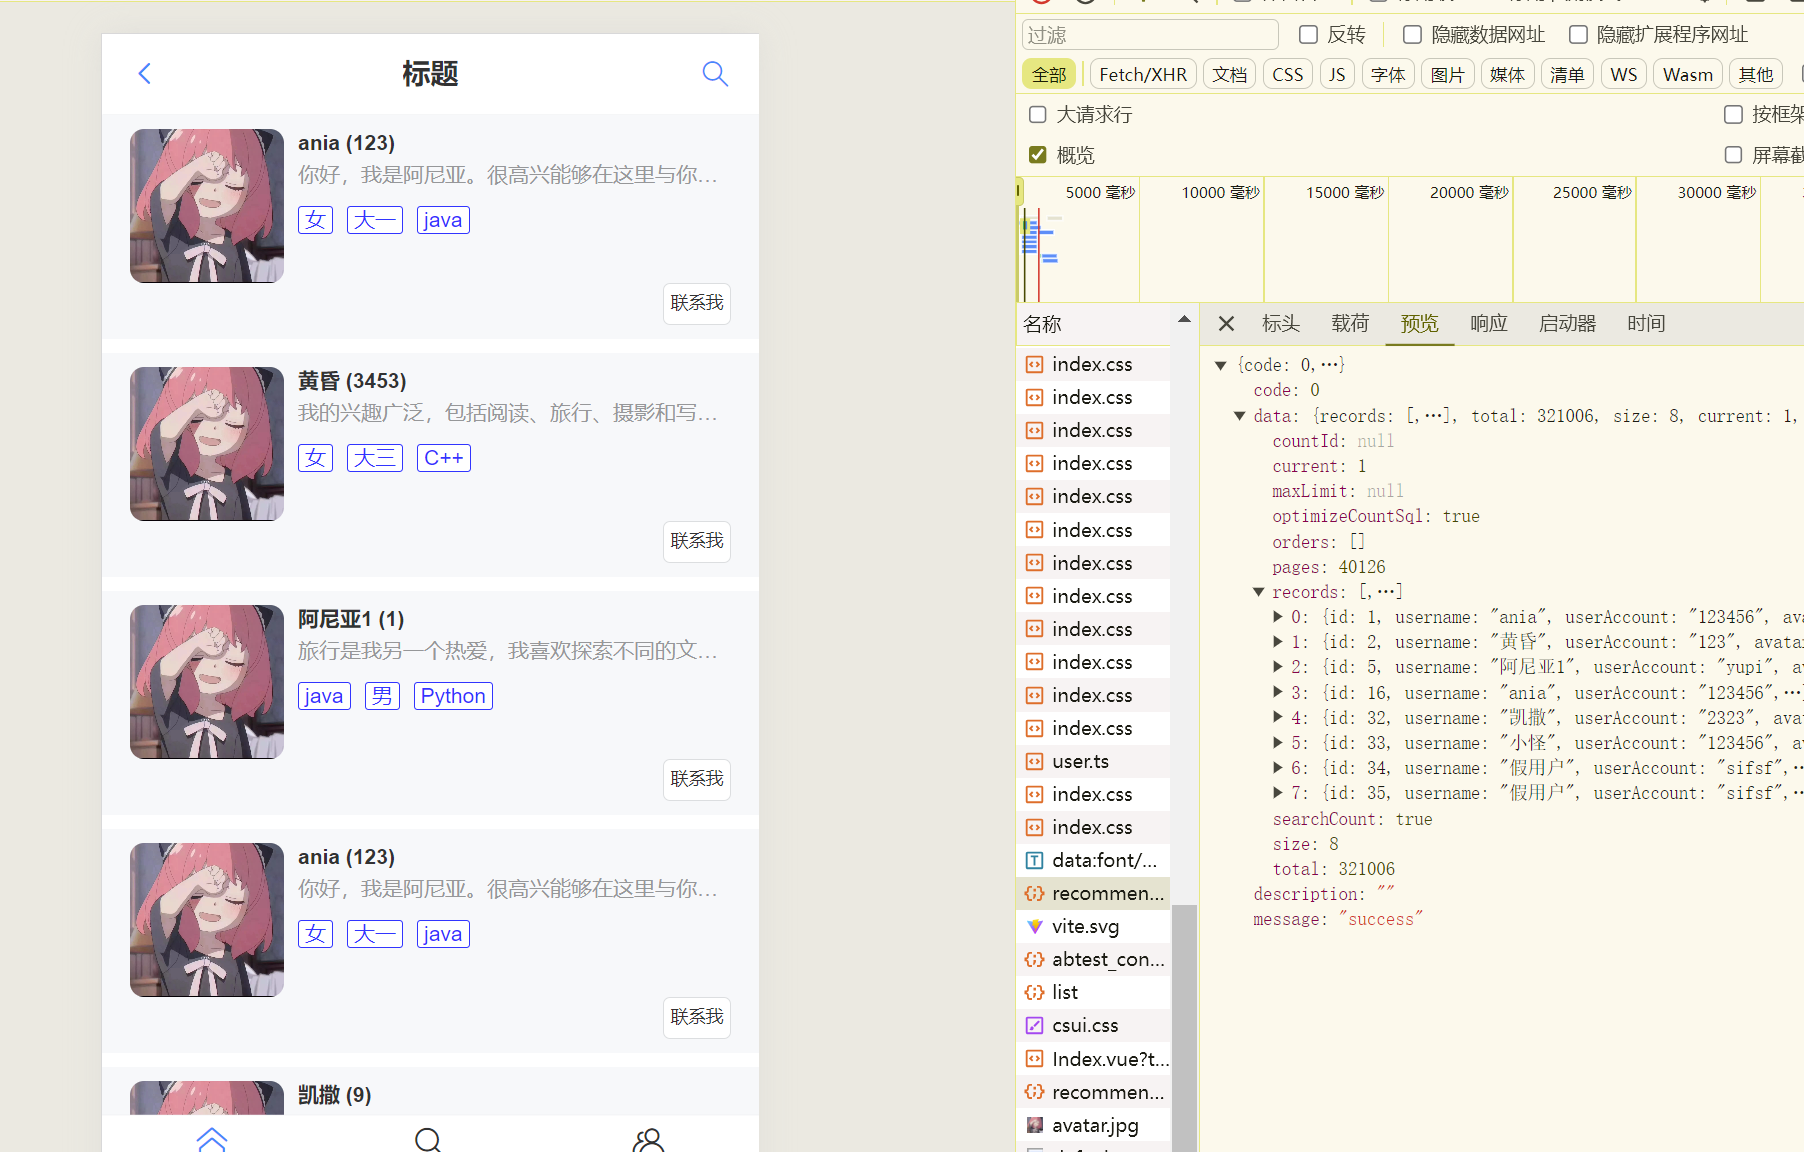
现在启动前后端,查看主页,发现搜查不出,这是因为数据太多需要分页,修改后端接口方法
/*** 推荐页面* @param request* @return*/@GetMapping("/recommend")public BaseResponse<Page<User>> recommendUsers(long pageSize,long pageNum, HttpServletRequest request){QueryWrapper<User> queryWrapper = new QueryWrapper<>();Page<User> userList = userService.page(new Page<>(pageNum, pageSize), queryWrapper);return ResultUtils.success(userList);}
同时还要引入mybatis的分页插件配置,直接复制文档到config目录
主要不要忘了把扫包的路径改为自己的
package com.yupi.usercenter.config;import com.baomidou.mybatisplus.annotation.DbType;
import com.baomidou.mybatisplus.extension.plugins.MybatisPlusInterceptor;
import com.baomidou.mybatisplus.extension.plugins.inner.PaginationInnerInterceptor;
import org.mybatis.spring.annotation.MapperScan;
import org.springframework.context.annotation.Bean;
import org.springframework.context.annotation.Configuration;@Configuration
@MapperScan("com.yupi.usercenter.mapper")
public class MybatisPlusConfig {/*** 新的分页插件,一缓和二缓遵循mybatis的规则,需要设置 MybatisConfiguration#useDeprecatedExecutor = false 避免缓存出现问题(该属性会在旧插件移除后一同移除)*/@Beanpublic MybatisPlusInterceptor mybatisPlusInterceptor() {MybatisPlusInterceptor interceptor = new MybatisPlusInterceptor();interceptor.addInnerInterceptor(new PaginationInnerInterceptor(DbType.H2));return interceptor;}
}
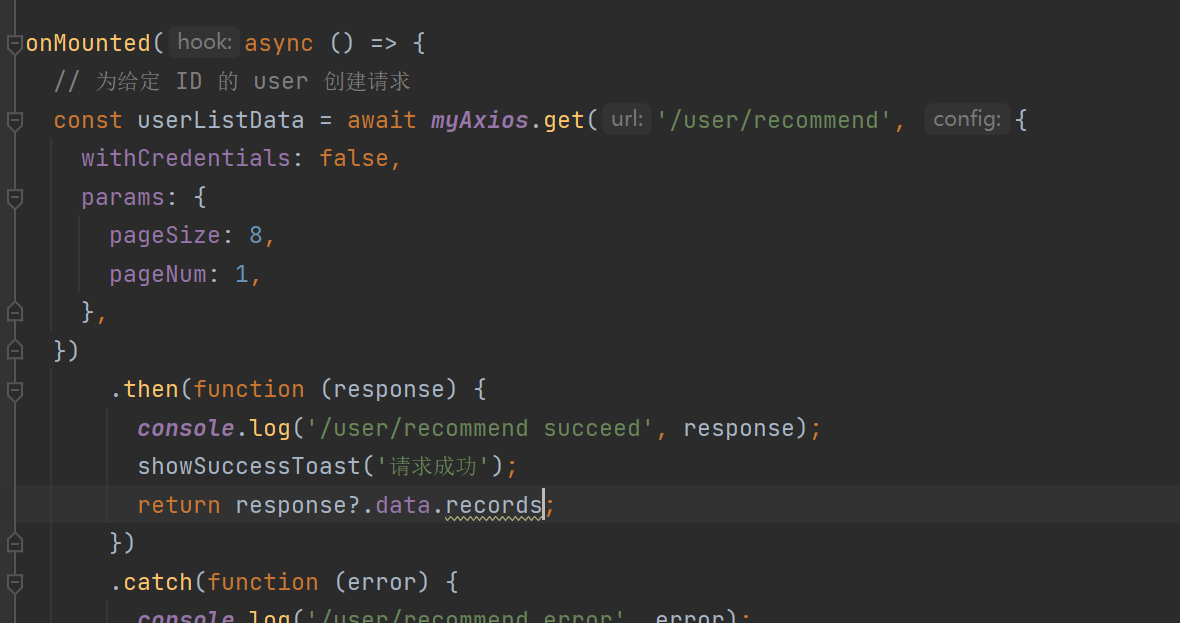
现在去修改前端主页
这篇关于心链6----开发主页以及后端数据插入(多线程并发)定时任务的文章就介绍到这儿,希望我们推荐的文章对编程师们有所帮助!
