本文主要是介绍【前端Vue】Vue3+Pinia小兔鲜电商项目第5篇:整体认识和路由配置,本资源由 收集整理【附代码文档】,希望对大家解决编程问题提供一定的参考价值,需要的开发者们随着小编来一起学习吧!

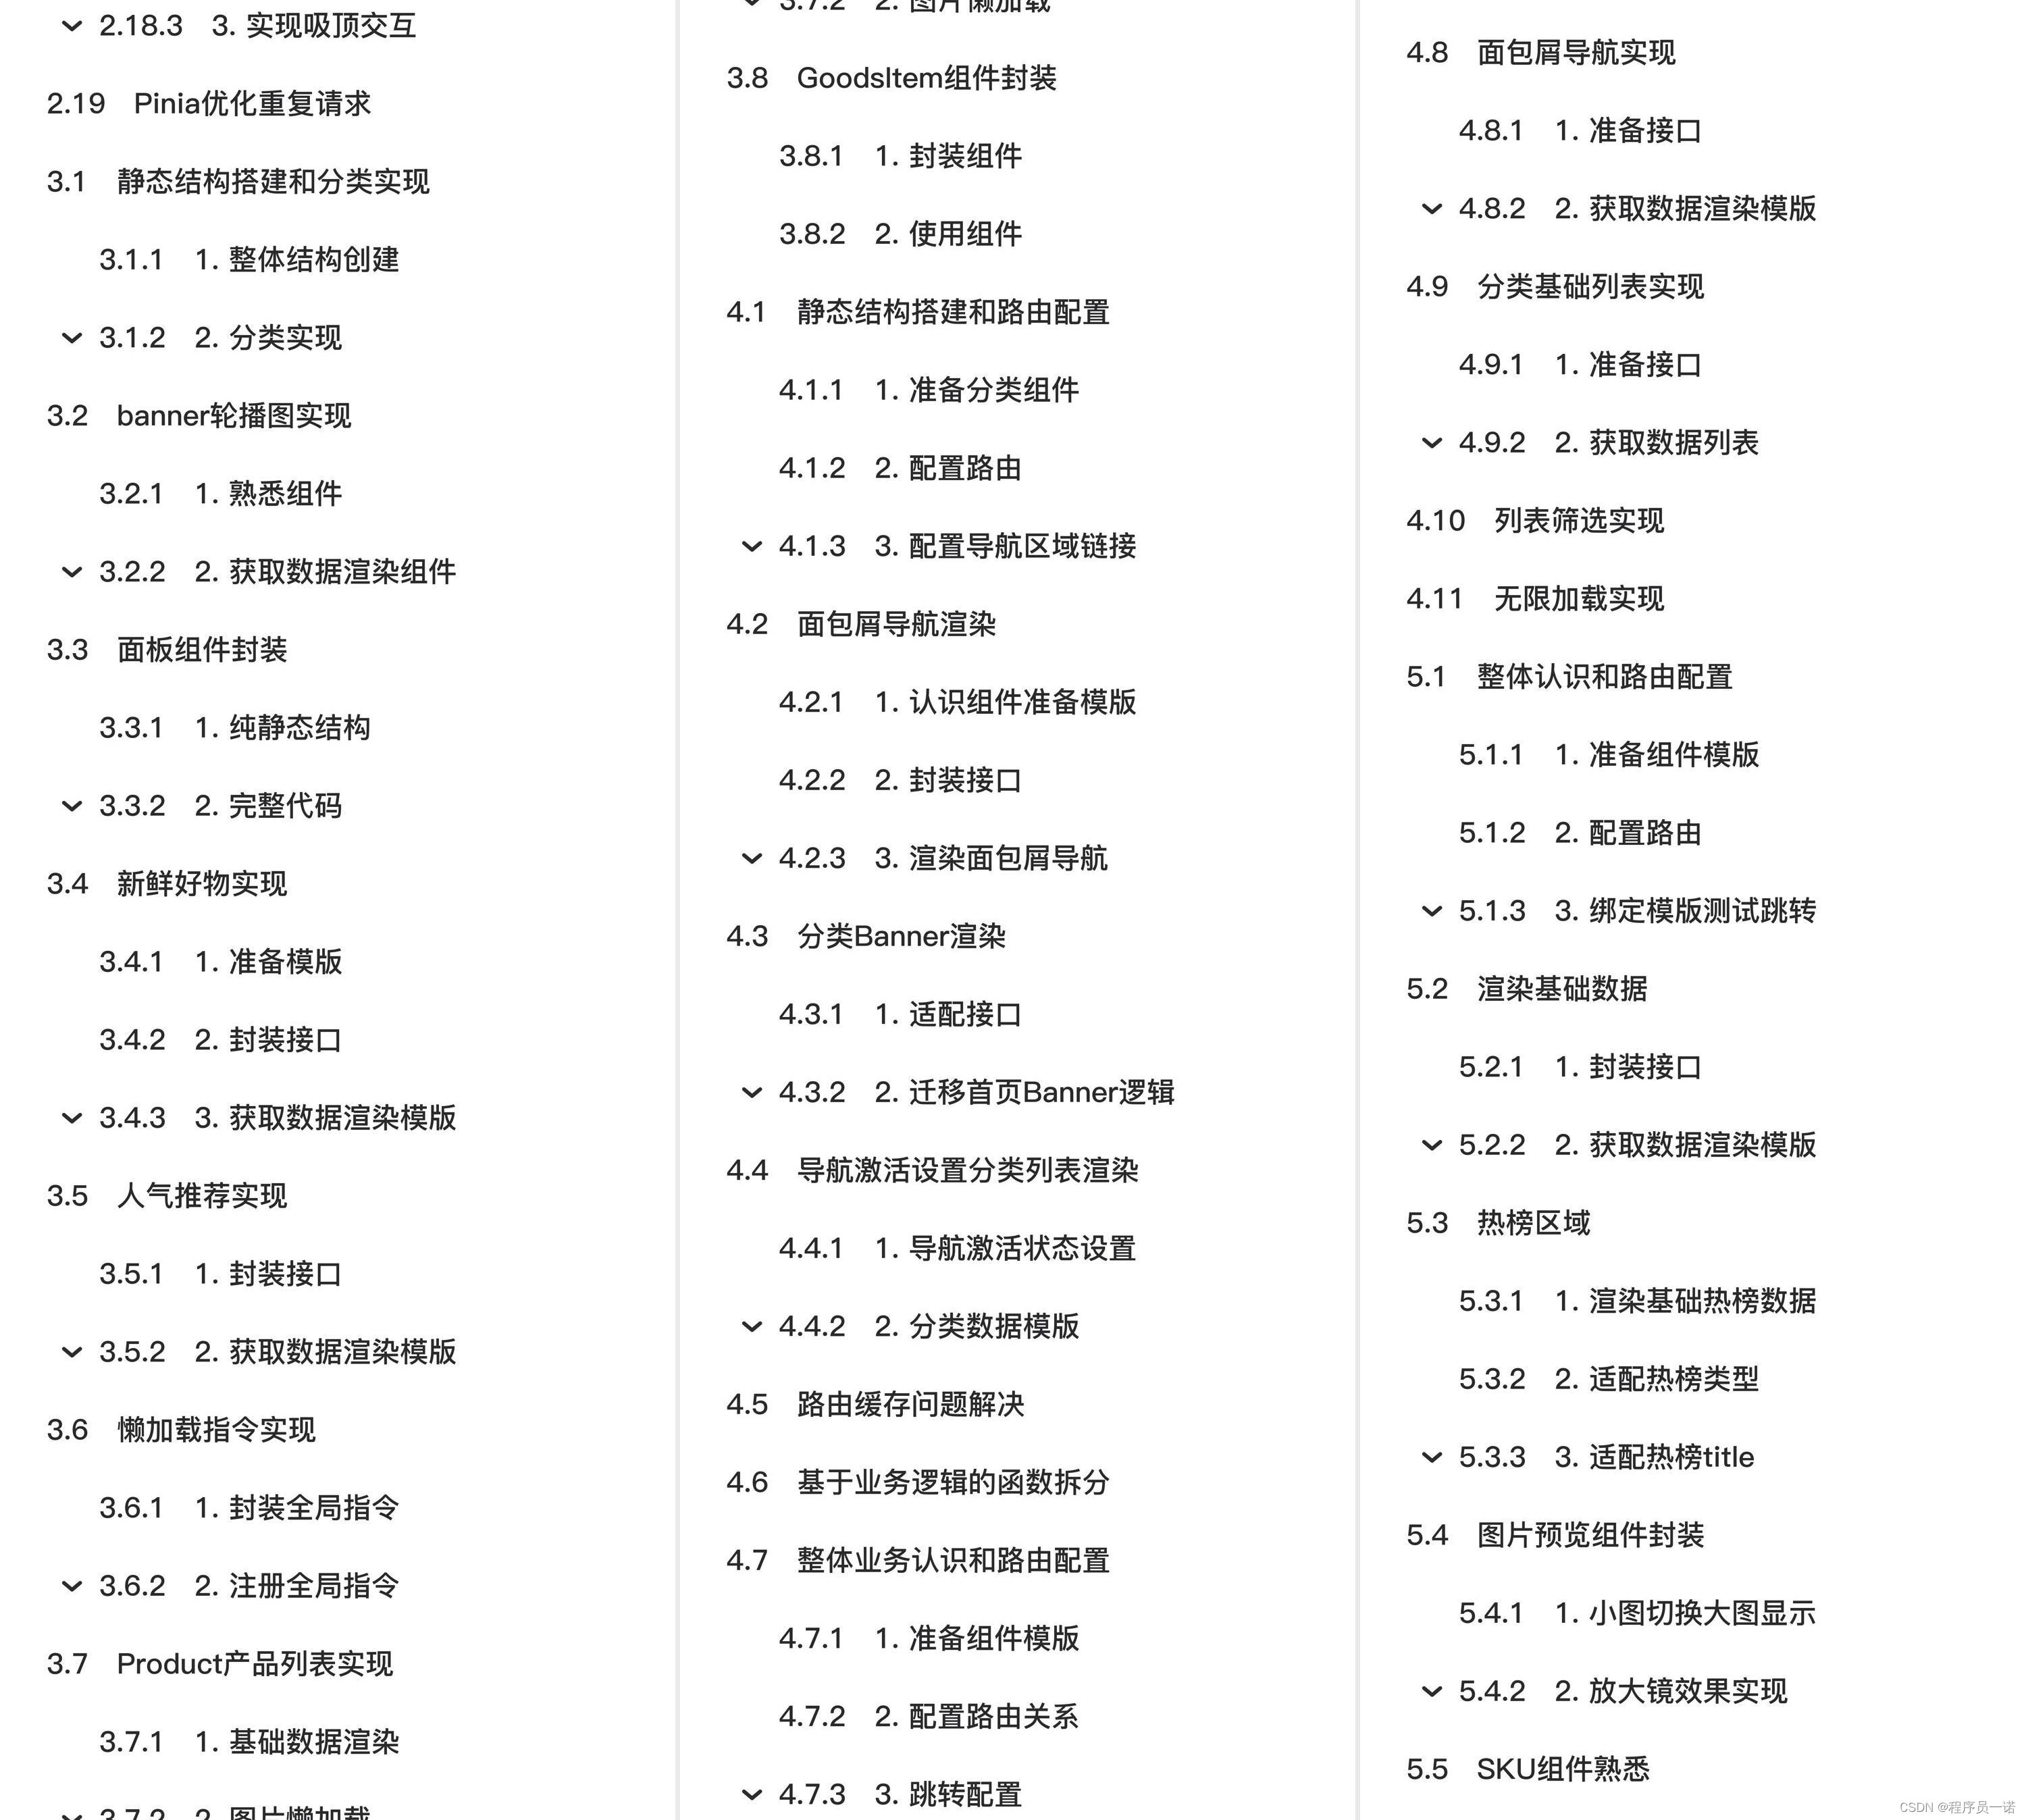
Vue3+ElementPlus+Pinia开发小兔鲜电商项目完整教程(附代码资料)主要内容讲述:认识Vue3,使用create-vue搭建Vue3项目1. Vue3组合式API体验,2. Vue3更多的优势,1. 认识create-vue,2. 使用create-vue创建项目,1. setup选项的写法和执行时机,2. setup中写代码的特点。什么是pinia,创建空Vue项目并安装Pinia1. 安装elementPlus和自动导入插件,2. 配置自动按需导入,3. 测试组件,1. 安装sass,2. 准备定制化的样式文件,3. 自动导入配置。静态结构搭建和分类实现,banner轮播图实现1. 整体结构创建,2. 分类实现,1. 熟悉组件,2. 获取数据渲染组件,1. 纯静态结构,2. 完整代码。静态结构搭建和路由配置,面包屑导航渲染1. 准备分类组件,2. 配置路由,3. 配置导航区域链接,1. 认识组件准备模版,2. 封装接口,3. 渲染面包屑导航。整体认识和路由配置,渲染基础数据1. 准备组件模版,2. 配置路由,3. 绑定模版测试跳转,1. 封装接口,2. 获取数据渲染模版,1. 渲染基础热榜数据。整体认识和路由配置,表单校验实现1. 准备模版,2. 配置路由跳转,1. 校验要求,2. 代码实现。本地购物车,接口购物车1. 添加购物车,2. 头部购物车,3. 列表购物车-基础内容渲染,4. 列表购物车-单选功能实现,5. 列表购物车-全选功能实现,6. 列表购物车-统计数据功能实现。路由配置和基础数据渲染,切换地址-打开弹框交互1. 准备组件模版,2. 配置路由,3. 封装接口,4. 渲染数据,1. 准备弹框模版,2. 控制弹框打开。
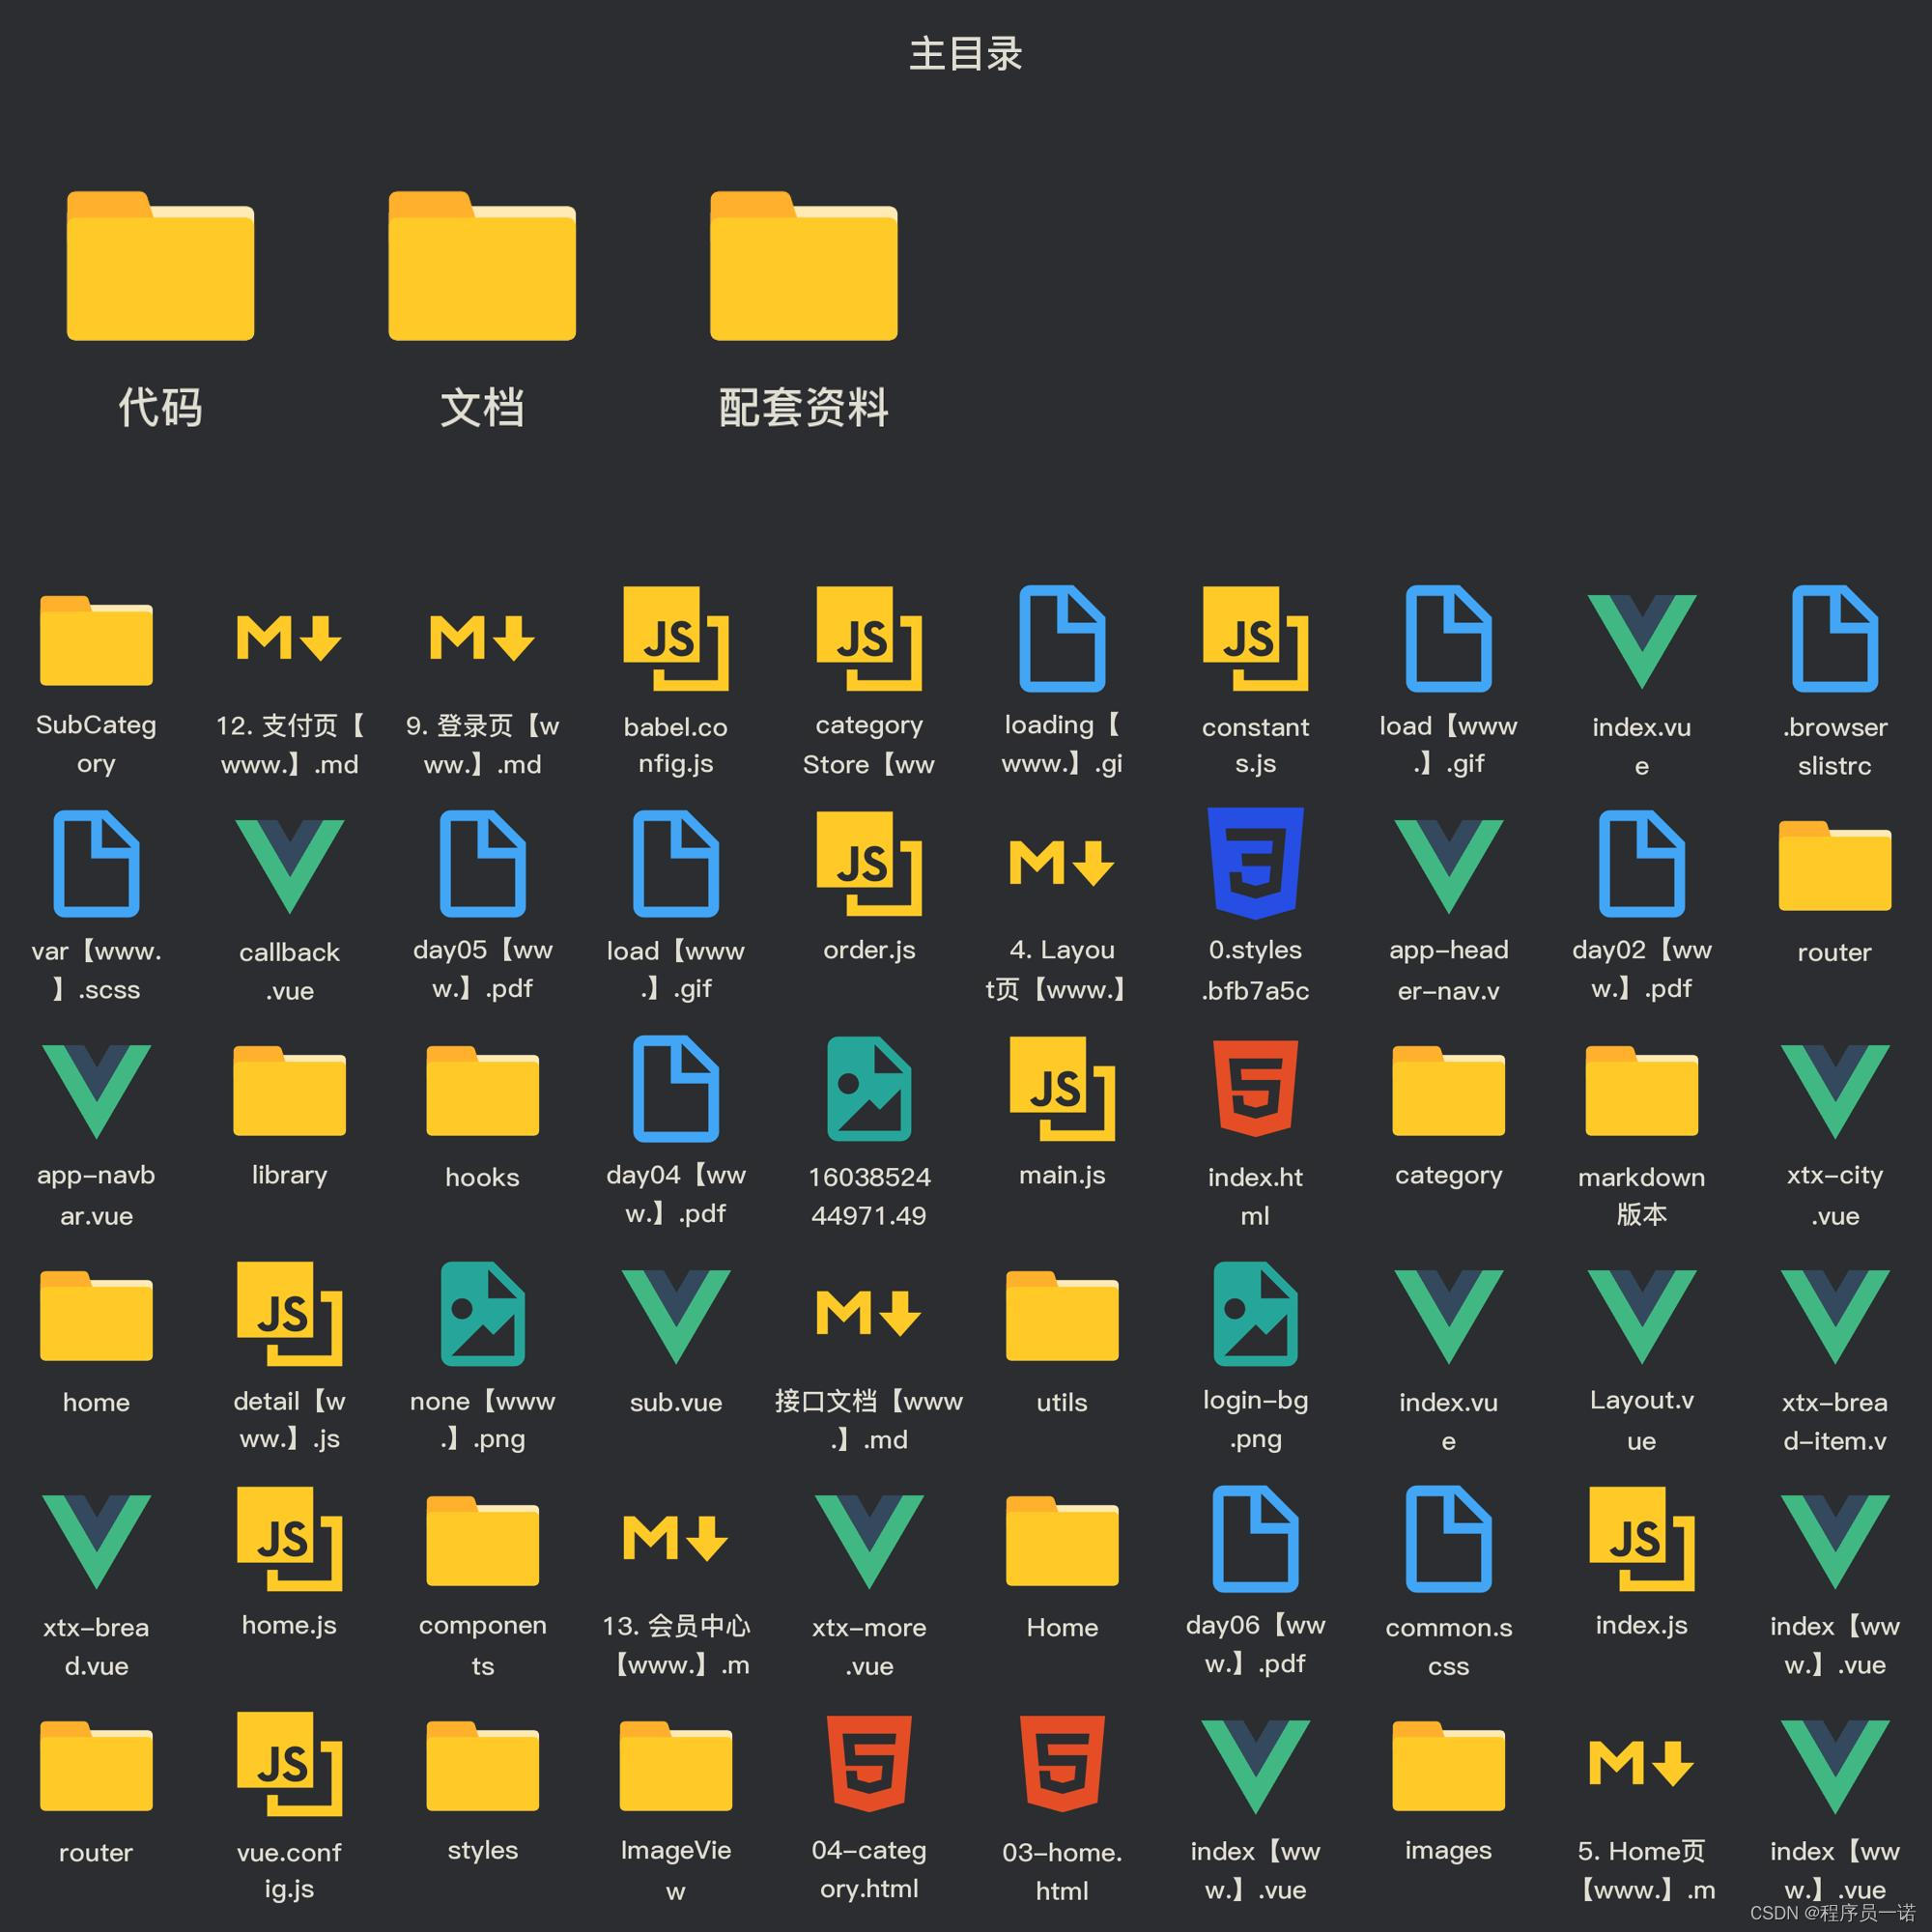
部分文件图片:
本资源由 收集整理
整体认识和路由配置
1. 准备组件模版
<script setup></script><template><div class="xtx-goods-page"><div class="container"><div class="bread-container"><el-breadcrumb separator=">"><el-breadcrumb-item :to="{ path: '/' }">首页</el-breadcrumb-item><el-breadcrumb-item :to="{ path: '/' }">母婴</el-breadcrumb-item><el-breadcrumb-item :to="{ path: '/' }">跑步鞋</el-breadcrumb-item><el-breadcrumb-item>抓绒保暖,毛毛虫子儿童运动鞋</el-breadcrumb-item></el-breadcrumb></div><!-- 商品信息 --><div class="info-container"><div><div class="goods-info"><div class="media"><!-- 图片预览区 --><!-- 统计数量 --><ul class="goods-sales"><li><p>销量人气</p><p> 100+ </p><p><i class="iconfont icon-task-filling"></i>销量人气</p></li><li><p>商品评价</p><p>200+</p><p><i class="iconfont icon-comment-filling"></i>查看评价</p></li><li><p>收藏人气</p><p>300+</p><p><i class="iconfont icon-favorite-filling"></i>收藏商品</p></li><li><p>品牌信息</p><p>400+</p><p><i class="iconfont icon-dynamic-filling"></i>品牌主页</p></li></ul></div><div class="spec"><!-- 商品信息区 --><p class="g-name"> 抓绒保暖,毛毛虫儿童鞋 </p><p class="g-desc">好穿 </p><p class="g-price"><span>200</span><span> 100</span></p><div class="g-service"><dl><dt>促销</dt><dd>12月好物放送,App领券购买直降120元</dd></dl><dl><dt>服务</dt><dd><span>无忧退货</span><span>快速退款</span><span>免费包邮</span><a href="javascript:;">了解详情</a></dd></dl></div><!-- sku组件 --><!-- 数据组件 --><!-- 按钮组件 --><div><el-button size="large" class="btn">加入购物车</el-button></div></div></div><div class="goods-footer"><div class="goods-article"><!-- 商品详情 --><div class="goods-tabs"><nav><a>商品详情</a></nav><div class="goods-detail"><!-- 属性 --><ul class="attrs"><li v-for="item in 3" :key="item.value"><span class="dt">白色</span><span class="dd">纯棉</span></li></ul><!-- 图片 --></div></div></div><!-- 24热榜+专题推荐 --><div class="goods-aside"></div></div></div></div></div></div>
</template><style scoped lang='scss'>
.xtx-goods-page {.goods-info {min-height: 600px;background: #fff;display: flex;.media {width: 580px;height: 600px;padding: 30px 50px;}.spec {flex: 1;padding: 30px 30px 30px 0;}}.goods-footer {display: flex;margin-top: 20px;.goods-article {width: 940px;margin-right: 20px;}.goods-aside {width: 280px;min-height: 1000px;}}.goods-tabs {min-height: 600px;background: #fff;}.goods-warn {min-height: 600px;background: #fff;margin-top: 20px;}.number-box {display: flex;align-items: center;.label {width: 60px;color: #999;padding-left: 10px;}}.g-name {font-size: 22px;}.g-desc {color: #999;margin-top: 10px;}.g-price {margin-top: 10px;span {&::before {content: "¥";font-size: 14px;}&:first-child {color: $priceColor;margin-right: 10px;font-size: 22px;}&:last-child {color: #999;text-decoration: line-through;font-size: 16px;}}}.g-service {background: #f5f5f5;width: 500px;padding: 20px 10px 0 10px;margin-top: 10px;dl {padding-bottom: 20px;display: flex;align-items: center;dt {width: 50px;color: #999;}dd {color: #666;&:last-child {span {margin-right: 10px;&::before {content: "•";color: $xtxColor;margin-right: 2px;}}a {color: $xtxColor;}}}}}.goods-sales {display: flex;width: 400px;align-items: center;text-align: center;height: 140px;li {flex: 1;position: relative;~li::after {position: absolute;top: 10px;left: 0;height: 60px;border-left: 1px solid #e4e4e4;content: "";}p {&:first-child {color: #999;}&:nth-child(2) {color: $priceColor;margin-top: 10px;}&:last-child {color: #666;margin-top: 10px;i {color: $xtxColor;font-size: 14px;margin-right: 2px;}&:hover {color: $xtxColor;cursor: pointer;}}}}}
}.goods-tabs {min-height: 600px;background: #fff;nav {height: 70px;line-height: 70px;display: flex;border-bottom: 1px solid #f5f5f5;a {padding: 0 40px;font-size: 18px;position: relative;>span {color: $priceColor;font-size: 16px;margin-left: 10px;}}}
}.goods-detail {padding: 40px;.attrs {display: flex;flex-wrap: wrap;margin-bottom: 30px;li {display: flex;margin-bottom: 10px;width: 50%;.dt {width: 100px;color: #999;}.dd {flex: 1;color: #666;}}}>img {width: 100%;}
}.btn {margin-top: 20px;}.bread-container {padding: 25px 0;
}
</style>
2. 配置路由
const router = createRouter({history: createWebHistory(import.meta.env.BASE_URL),// path和component对应关系的位置routes: [{path: '/',component: Layout,children: [{path: '',component: Home},{path: 'category/:id',component: Category},{path: 'category/sub/:id',component: SubCategory},{path: 'detail/:id',component: Detail}]},{path: '/login',component: Login}],// 路由滚动行为定制scrollBehavior () {return {top: 0}}
})
3. 绑定模版测试跳转
<RouterLink :to="`/detail/${item.id}`"><img :src="item.picture" alt="" /><p class="name">{{ item.name }}</p><p class="price">¥{{ item.price }}</p>
</RouterLink>
渲染基础数据
1. 封装接口
import request from '@/utils/http'export const getDetail = (id) => {return request({url: '/goods',params: {id}})
}
2. 获取数据渲染模版
<script setup>
import { getDetail } from '@/apis/detail'
import { onMounted, ref } from 'vue'
import { useRoute } from 'vue-router'
const goods = ref({})
const route = useRoute()
const getGoods = async () => {const res = await getDetail(route.params.id)goods.value = res.result
}
onMounted(() => getGoods())
</script><template><div class="xtx-goods-page"><div class="container" v-if="goods.details"><div class="bread-container"><el-breadcrumb separator=">"><el-breadcrumb-item :to="{ path: '/' }">首页</el-breadcrumb-item><!-- 错误原因:goods一开始{}  {}.categories -> undefined  -> undefined[1]1. 可选链的语法?. 2. v-if手动控制渲染时机 保证只有数据存在才渲染--><el-breadcrumb-item :to="{ path: `/category/${goods.categories[1].id}` }">{{ goods.categories[1].name }}</el-breadcrumb-item><el-breadcrumb-item :to="{ path: `/category/sub/${goods.categories[0].id}` }">{{goods.categories[0].name}}</el-breadcrumb-item><el-breadcrumb-item>抓绒保暖,毛毛虫子儿童运动鞋</el-breadcrumb-item></el-breadcrumb></div><!-- 商品信息 --><div class="info-container"><div><div class="goods-info"><div class="media"><!-- 图片预览区 --><!-- 统计数量 --><ul class="goods-sales"><li><p>销量人气</p><p> {{ goods.salesCount }}+ </p><p><i class="iconfont icon-task-filling"></i>销量人气</p></li><li><p>商品评价</p><p>{{ goods.commentCount }}+</p><p><i class="iconfont icon-comment-filling"></i>查看评价</p></li><li><p>收藏人气</p><p>{{ goods.collectCount }}+</p><p><i class="iconfont icon-favorite-filling"></i>收藏商品</p></li><li><p>品牌信息</p><p>{{ goods.brand.name }}</p><p><i class="iconfont icon-dynamic-filling"></i>品牌主页</p></li></ul></div><div class="spec"><!-- 商品信息区 --><p class="g-name"> {{ goods.name }} </p><p class="g-desc">{{ goods.desc }} </p><p class="g-price"><span>{{ goods.oldPrice }}</span><span> {{ goods.price }}</span></p><div class="g-service"><dl><dt>促销</dt><dd>12月好物放送,App领券购买直降120元</dd></dl><dl><dt>服务</dt><dd><span>无忧退货</span><span>快速退款</span><span>免费包邮</span><a href="javascript:;">了解详情</a></dd></dl></div><!-- sku组件 --><!-- 数据组件 --><!-- 按钮组件 --><div><el-button size="large" class="btn">加入购物车</el-button></div></div></div><div class="goods-footer"><div class="goods-article"><!-- 商品详情 --><div class="goods-tabs"><nav><a>商品详情</a></nav><div class="goods-detail"><!-- 属性 --><ul class="attrs"><li v-for="item in goods.details.properties" :key="item.value"><span class="dt">{{ item.name }}</span><span class="dd">{{ item.value }}</span></li></ul><!-- 图片 --><img v-for="img in goods.details.pictures" :src="img" :key="img" alt=""></div></div></div><!-- 24热榜+专题推荐 --><div class="goods-aside"></div></div></div></div></div></div>
</template>
热榜区域
1. 渲染基础热榜数据
1- 准备模版
<script setup></script><template><div class="goods-hot"><h3>周日榜单</h3><!-- 商品区块 --><RouterLink to="/" class="goods-item" v-for="item in 3" :key="item.id"><img :src="item.picture" alt="" /><p class="name ellipsis">一双男鞋</p><p class="desc ellipsis">一双好穿的男鞋</p><p class="price">¥200.00</p></RouterLink></div>
</template><style scoped lang="scss">
.goods-hot {h3 {height: 70px;background: $helpColor;color: #fff;font-size: 18px;line-height: 70px;padding-left: 25px;margin-bottom: 10px;font-weight: normal;}.goods-item {display: block;padding: 20px 30px;text-align: center;background: #fff;img {width: 160px;height: 160px;}p {padding-top: 10px;}.name {font-size: 16px;}.desc {color: #999;height: 29px;}.price {color: $priceColor;font-size: 20px;}}
}
</style>
2- 封装接口
/*** 获取热榜商品* @param {Number} id - 商品id* @param {Number} type - 1代表24小时热销榜 2代表周热销榜* @param {Number} limit - 获取个数*/
export const fetchHotGoodsAPI = ({ id, type, limit = 3 }) => {return request({url:'/goods/hot',params:{id, type, limit}})
}
3- 获取基础数据渲染模版
<script setup>
import { ref } from 'vue'
import { getHotGoodsAPI } from '@/apis/detail'
import { useRoute } from 'vue-router'const goodList = ref([])
const route = useRoute()
const getHotList = async () => {const res = await getHotGoodsAPI({id: route.params.id,type: 1})goodList.value = res.result
}
getHotList()</script><template><div class="goods-hot"><h3> 24小时热榜 </h3><!-- 商品区块 --><RouterLink :to="`/detail/${item.id}`" class="goods-item" v-for="item in goodList" :key="item.id"><img :src="item.picture" alt="" /><p class="name ellipsis">{{ item.name }}</p><p class="desc ellipsis">{{ item.desc }}</p><p class="price">¥{{ item.price }}</p></RouterLink></div>
</template>
2. 适配热榜类型
1- 设计props参数type
// type适配不同类型热榜数据
const props = defineProps({type: {type: Number, // 1代表24小时热销榜 2代表周热销榜 3代表总热销榜 可以使用type去适配title和数据列表default: 1}
})const res = await fetchHotGoodsAPI({id: route.params.id,type: props.type
})
2- 使用组件传入不同的type
<!-- 24小时热榜 -->
<GoodHot :type="1" />
<!-- 周热榜 -->
<GoodHot :type="2" />
3. 适配热榜title
const TITLEMAP = {1: '24小时热榜',2: '周热榜',
}
const title = computed(() => TITLEMAP[props.type])<h3>{{ title }}</h3>
图片预览组件封装
1. 小图切换大图显示
1- 准备模版
<script setup>
// 图片列表
const imageList = ["""""
]
</script><template><div class="goods-image"><!-- 左侧大图--><div class="middle" ref="target"><img :src="imageList[0]" alt="" /><!-- 蒙层小滑块 --><div class="layer" :style="{ left: `0px`, top: `0px` }"></div></div><!-- 小图列表 --><ul class="small"><li v-for="(img, i) in imageList" :key="i"><img :src="img" alt="" /></li></ul><!-- 放大镜大图 --><div class="large" :style="[{backgroundImage: `url(${imageList[0]})`,backgroundPositionX: `0px`,backgroundPositionY: `0px`,},]" v-show="false"></div></div>
</template><style scoped lang="scss">
.goods-image {width: 480px;height: 400px;position: relative;display: flex;.middle {width: 400px;height: 400px;background: #f5f5f5;}.large {position: absolute;top: 0;left: 412px;width: 400px;height: 400px;z-index: 500;box-shadow: 0 0 10px rgba(0, 0, 0, 0.1);background-repeat: no-repeat;// 背景图:盒子的大小 = 2:1  将来控制背景图的移动来实现放大的效果查看 background-positionbackground-size: 800px 800px;background-color: #f8f8f8;}.layer {width: 200px;height: 200px;background: rgba(0, 0, 0, 0.2);// 绝对定位 然后跟随咱们鼠标控制left和top属性就可以让滑块移动起来left: 0;top: 0;position: absolute;}.small {width: 80px;li {width: 68px;height: 68px;margin-left: 12px;margin-bottom: 15px;cursor: pointer;&:hover,&.active {border: 2px solid $xtxColor;}}}
}
</style>
2- 实现逻辑
<script setup>
import { ref } from 'vue'// 实现鼠标移入交互
const curIndex = ref(0)
const mouseEnterFn = (i) => curIndex.value = i</script><template><div class="goods-image"><!-- 小图列表 --><ul class="small"><li v-for="(img, i) in imageList" :key="i" @mouseenter="mouseEnterFn(i)" :class="{ active: i === curIndex }"><img :src="img" alt="" /></li></ul></div>
</template>
2. 放大镜效果实现
<script setup>
import { ref, watch } from 'vue'
import { useMouseInElement } from '@vueuse/core'// 图片列表
const imageList = ["""""
]// 1.小图切换大图显示
const activeIndex = ref(0)const enterhandler = (i) => {activeIndex.value = i
}// 2. 获取鼠标相对位置
const target = ref(null)
const { elementX, elementY, isOutside } = useMouseInElement(target)// 3. 控制滑块跟随鼠标移动(监听elementX/Y变化,一旦变化 重新设置left/top)
const left = ref(0)
const top = ref(0)const positionX = ref(0)
const positionY = ref(0)
watch([elementX, elementY, isOutside], () => {console.log('xy变化了')// 如果鼠标没有移入到盒子里面 直接不执行后面的逻辑if (isOutside.value) returnconsole.log('后续逻辑执行了')// 有效范围内控制滑块距离// 横向if (elementX.value > 100 && elementX.value < 300) {left.value = elementX.value - 100}// 纵向if (elementY.value > 100 && elementY.value < 300) {top.value = elementY.value - 100}// 处理边界if (elementX.value > 300) { left.value = 200 }if (elementX.value < 100) { left.value = 0 }if (elementY.value > 300) { top.value = 200 }if (elementY.value < 100) { top.value = 0 }// 控制大图的显示positionX.value = -left.value * 2positionY.value = -top.value * 2})</script><template><div class="goods-image"><!-- 左侧大图--><div class="middle" ref="target"><img :src="imageList[activeIndex]" alt="" /><!-- 蒙层小滑块 --><div class="layer" v-show="!isOutside" :style="{ left: `${left}px`, top: `${top}px` }"></div></div><!-- 小图列表 --><ul class="small"><li v-for="(img, i) in imageList" :key="i" @mouseenter="enterhandler(i)" :class="{ active: i === activeIndex }"><img :src="img" alt="" /></li></ul><!-- 放大镜大图 --><div class="large" :style="[{backgroundImage: `url(${imageList[0]})`,backgroundPositionX: `${positionX}px`,backgroundPositionY: `${positionY}px`,},]" v-show="!isOutside"></div></div>
</template><style scoped lang="scss">
.goods-image {width: 480px;height: 400px;position: relative;display: flex;.middle {width: 400px;height: 400px;background: #f5f5f5;}.large {position: absolute;top: 0;left: 412px;width: 400px;height: 400px;z-index: 500;box-shadow: 0 0 10px rgba(0, 0, 0, 0.1);background-repeat: no-repeat;// 背景图:盒子的大小 = 2:1  将来控制背景图的移动来实现放大的效果查看 background-positionbackground-size: 800px 800px;background-color: #f8f8f8;}.layer {width: 200px;height: 200px;background: rgba(0, 0, 0, 0.2);// 绝对定位 然后跟随咱们鼠标控制left和top属性就可以让滑块移动起来left: 0;top: 0;position: absolute;}.small {width: 80px;li {width: 68px;height: 68px;margin-left: 12px;margin-bottom: 15px;cursor: pointer;&:hover,&.active {border: 2px solid $xtxColor;}}}
}
</style>
SKU组件熟悉
全局组件统一插件化
1. 插件化开发
// 把components中的所组件都进行全局化注册
// 通过插件的方式
import ImageView from './ImageView/index.vue'
import Sku from './XtxSku/index.vue'
export const componentPlugin = {install (app) {// app.component('组件名字',组件配置对象)app.component('XtxImageView', ImageView)app.component('XtxSku', Sku)}
}
2. 插件注册
// 引入全局组件插件
import { componentPlugin } from '@/components'app.use(componentPlugin)
未完待续, 同学们请等待下一期
全套笔记资料代码移步: 前往gitee仓库查看
感兴趣的小伙伴可以自取哦,欢迎大家点赞转发~
这篇关于【前端Vue】Vue3+Pinia小兔鲜电商项目第5篇:整体认识和路由配置,本资源由 收集整理【附代码文档】的文章就介绍到这儿,希望我们推荐的文章对编程师们有所帮助!


