本文主要是介绍Chrome 插件各模块之间的消息传递,希望对大家解决编程问题提供一定的参考价值,需要的开发者们随着小编来一起学习吧!
Chrome 插件各模块之间的消息传递
一、消息传递
1. 消息传递分类
Chrome插件的Action、Background和content_script三个模块之间的信息传输- 插件和插件之间的信息传输
- 网页向插件进行信息传输
- 与原生应用进行消息传递
2. 消息传递 API
runtime APIruntime.sendMessage()runtime.onMessage.addListener()runtime.connect()runtime.onConnect.addListener()runtime.onMessageExternalruntime.onConnectExternal- …
tabs APItabs.sendMessage()tabs.connect()- …
3. 消息传递 API 类别
- 一次性请求
sendMessage
- 长期连接(允许发送多条消息)
connect
二、chrome 字段展示
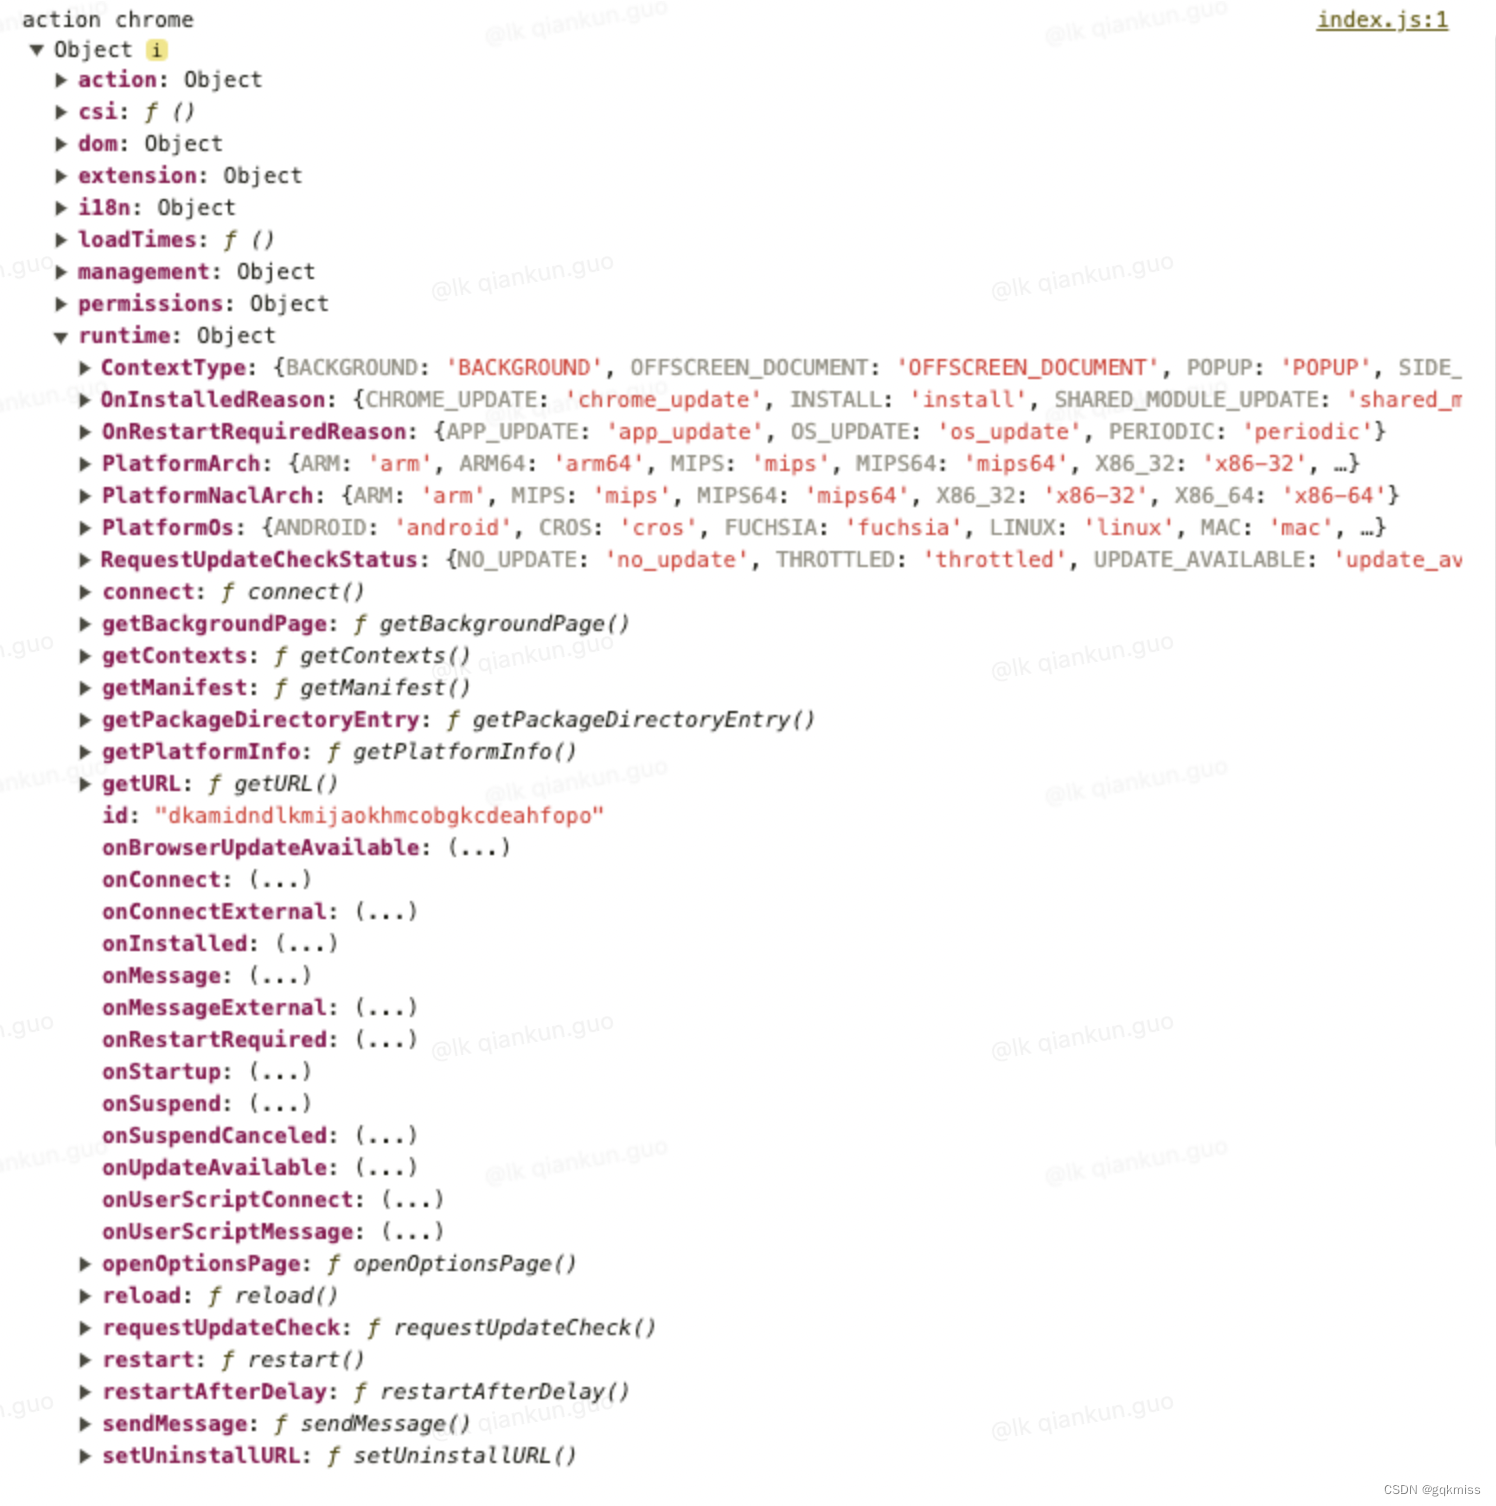
1. Action chrome 字段包含内容
Action chrome内容
共 13 个
'loadTimes', 'csi', 'action', 'dom', 'extension', 'i18n', 'management', 'permissions', 'runtime', 'scripting', 'storage', 'tabs', 'windows'

Chrome.runtime内容
共 35 个:
'id','onRestartRequired','onUserScriptMessage','onMessageExternal','onMessage','onUserScriptConnect','onConnectExternal','onConnect','onBrowserUpdateAvailable','onUpdateAvailable','onSuspendCanceled','onSuspend','onInstalled','onStartup','connect','getBackgroundPage','getContexts','getManifest','getPackageDirectoryEntry','getPlatformInfo','getURL','openOptionsPage','reload','requestUpdateCheck','restart','restartAfterDelay','sendMessage','setUninstallURL','ContextType','OnInstalledReason','OnRestartRequiredReason','PlatformArch','PlatformNaclArch','PlatformOs','RequestUpdateCheckStatus'
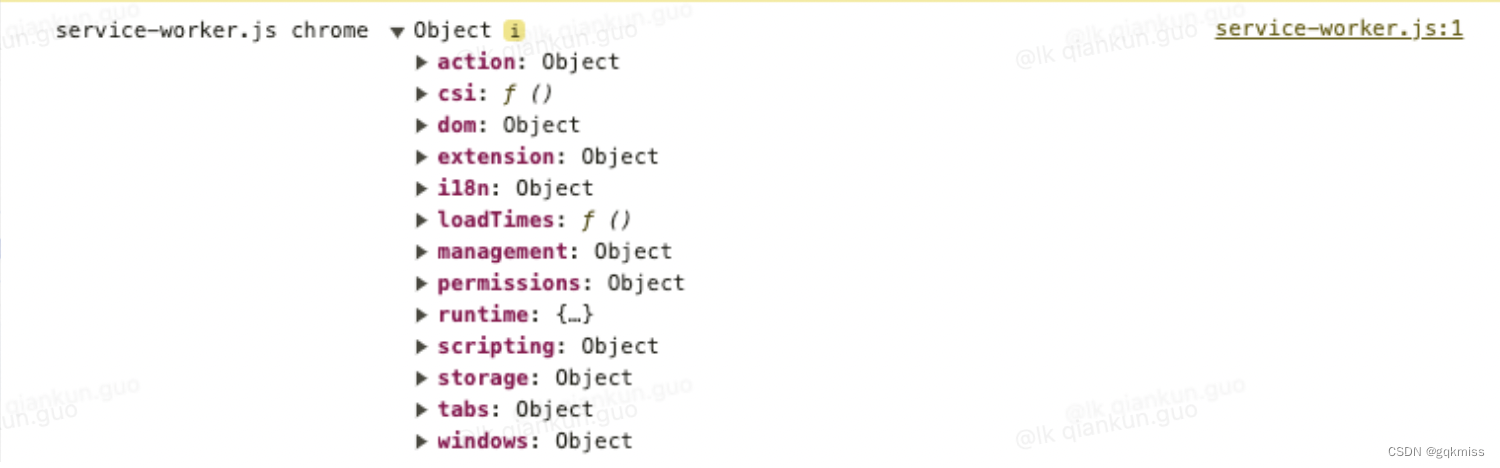
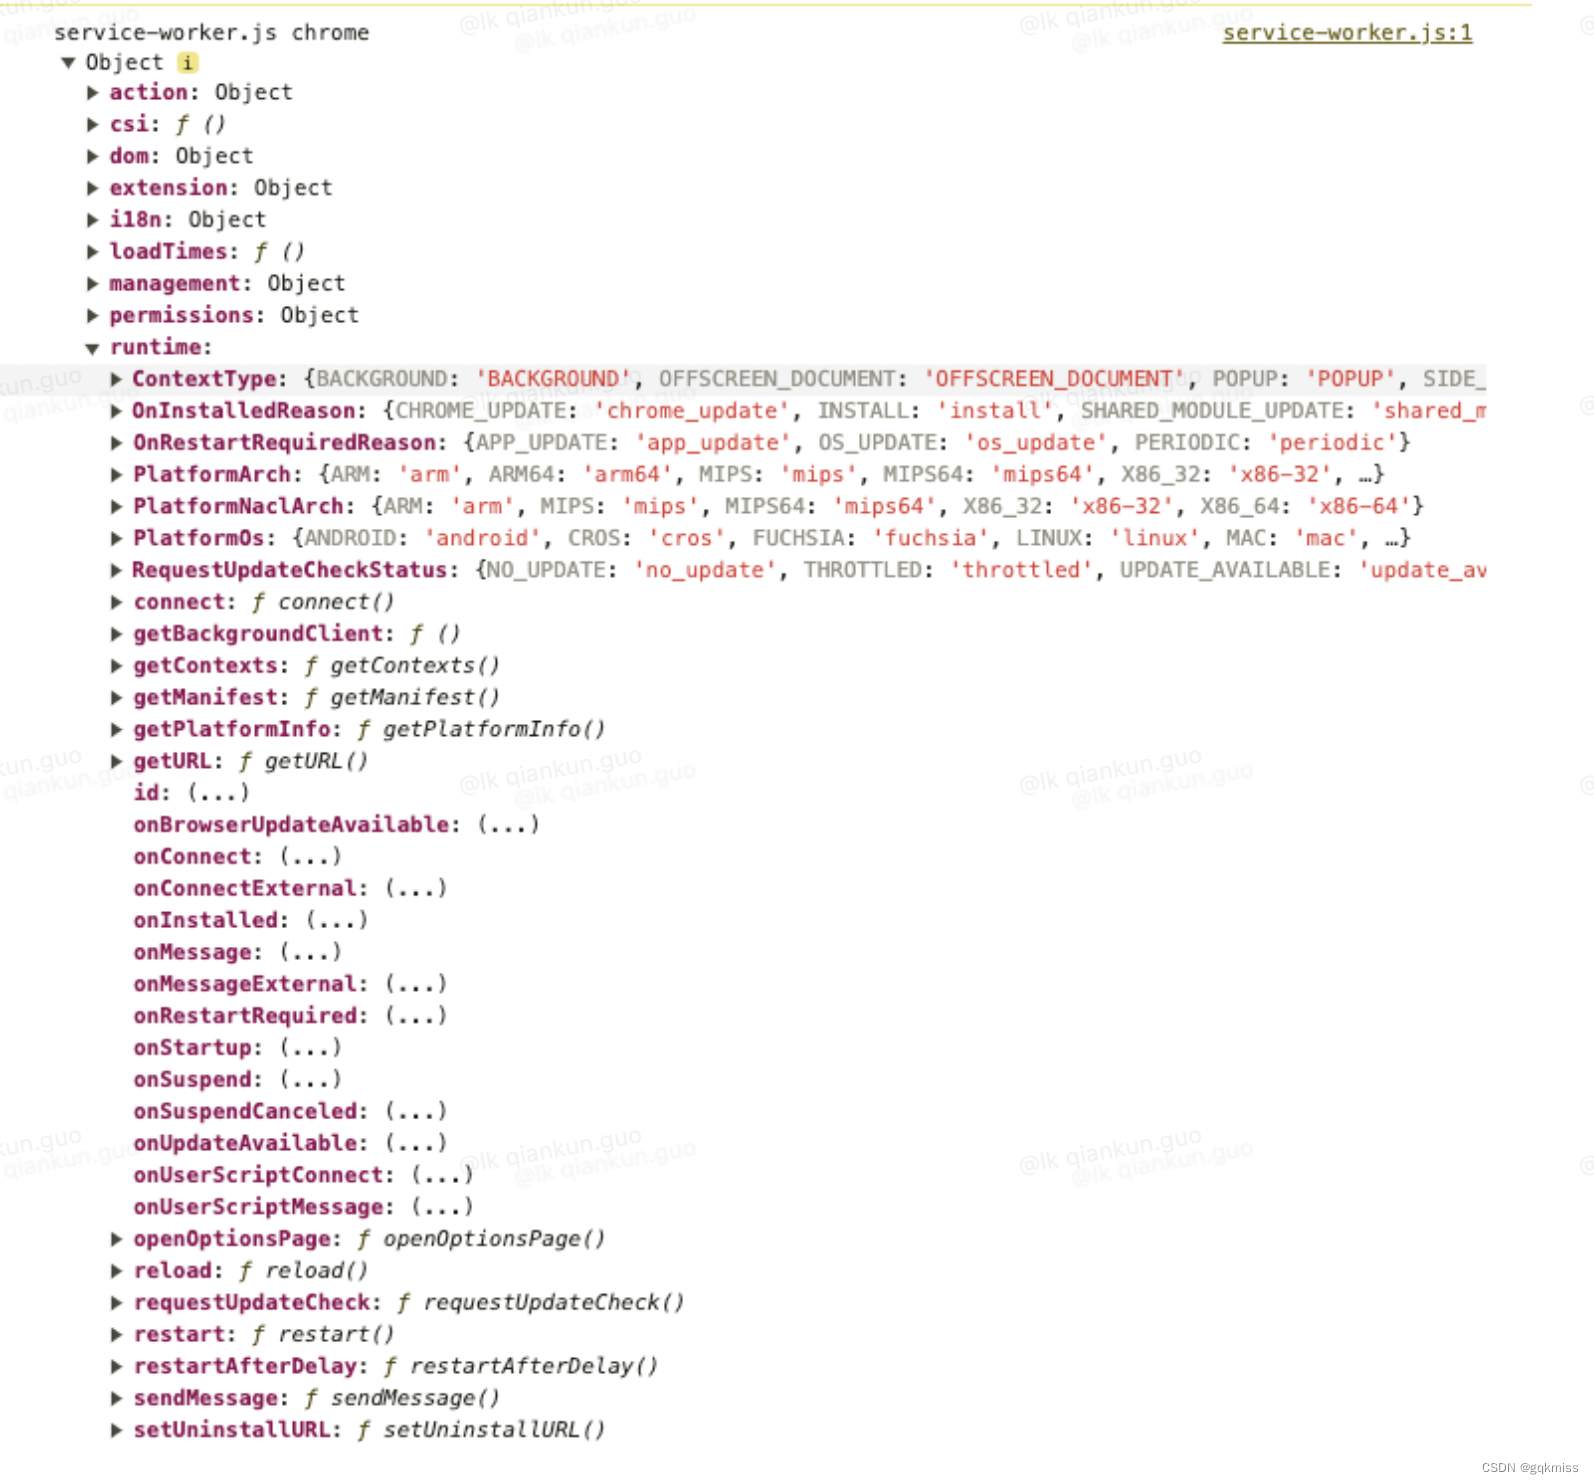
2. Background chrome 字段包含内容
Background chrome内容
共 13 个
'loadTimes', 'csi', 'action', 'dom', 'extension', 'i18n', 'management', 'permissions', 'runtime', 'scripting', 'storage', 'tabs', 'windows'
Chrome.runtime内容
共 34 个
'id', 'onRestartRequired', 'onUserScriptMessage', 'onMessageExternal', 'onMessage', 'onUserScriptConnect', 'onConnectExternal', 'onConnect', 'onBrowserUpdateAvailable', 'onUpdateAvailable', 'onSuspendCanceled', 'onSuspend', 'onInstalled', 'onStartup', 'connect', 'getContexts', 'getManifest', 'getPlatformInfo', 'getURL', 'openOptionsPage', 'reload', 'requestUpdateCheck', 'restart', 'restartAfterDelay', 'sendMessage', 'setUninstallURL', 'ContextType', 'OnInstalledReason', 'OnRestartRequiredReason', 'PlatformArch', 'PlatformNaclArch', 'PlatformOs', 'RequestUpdateCheckStatus', 'getBackgroundClient'
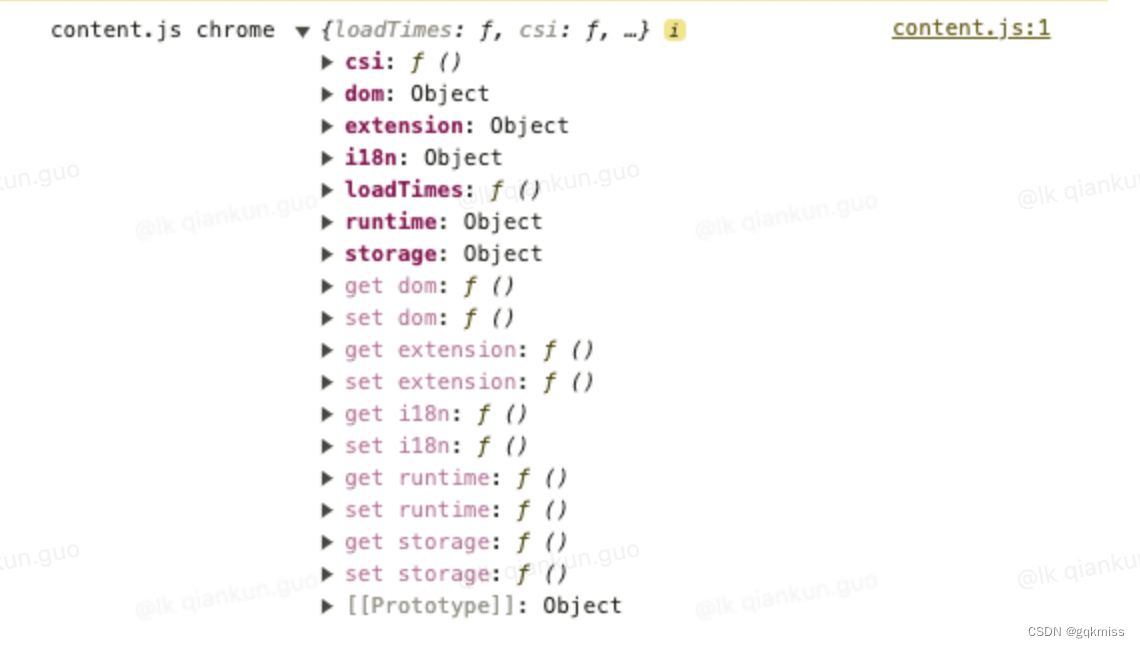
3. Content script chrome 内容
Content script chrome内容
共 7 个
'csi','dom','extension','i18n','loadTimes','runtime','storage'
Chrome.runtime内容
共 14 个
'id', 'onMessage', 'onConnect', 'ContextType', 'OnInstalledReason', 'OnRestartRequiredReason', 'PlatformArch', 'PlatformNaclArch', 'PlatformOs', 'RequestUpdateCheckStatus','connect','getManifest','getURL','sendMessage'

通过上图可以看出不同的模块中的 chrome 字段包含的内容不一样,不同的 runtime 字段包含的内容也不一样,但是都有 sendMessage 可以进行消息发送
三、消息传递示例
1. Action(popup) 和 background(service worker) 之间的通信
1.1. 在 popup 中的 index.js 中添加点击事件,进行消息发送
popup中使用chrome.runtime.sendMessage进行消息发送
plugin_search_but.onclick = function () {chrome.runtime.sendMessage({action: 'fromPopup',message: 'Hello from Popup!'});
}
1.2. 在 service_worker.js 中接收消息
service_worker中使用chrome.runtime.onMessage.addListener进行消息监听,通过.action来判断来源
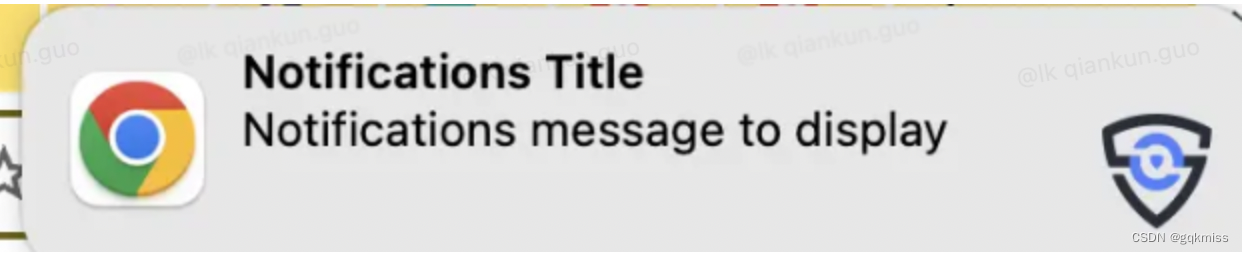
chrome.runtime.onMessage.addListener(async (message, sender, sendResponse) => {if (message.action === 'fromPopup') {chrome.notifications.create({type: "basic",title: "Notifications Title",message: "Notifications message to display",iconUrl: "../icons/icon.png"},(notificationId) => {console.log('notificationId-->', notificationId)});}
});
1.3. 消息中心消息弹出
2. Content script 和 background(Service Worker) 通信
2.1. 在 content_scripts 中添加点击事件进行消息发送
content_scripts中使用chrome.runtime.sendMessage进行消息发送
$('#contentBut').click(async (e) => {// 发送消息chrome.runtime.sendMessage({action: "fromContent"});
})
2.2. 在 Service_worker.js 里面进行消息接收
service_worker中使用chrome.runtime.onMessage.addListener进行消息监听,通过.action来判断来源
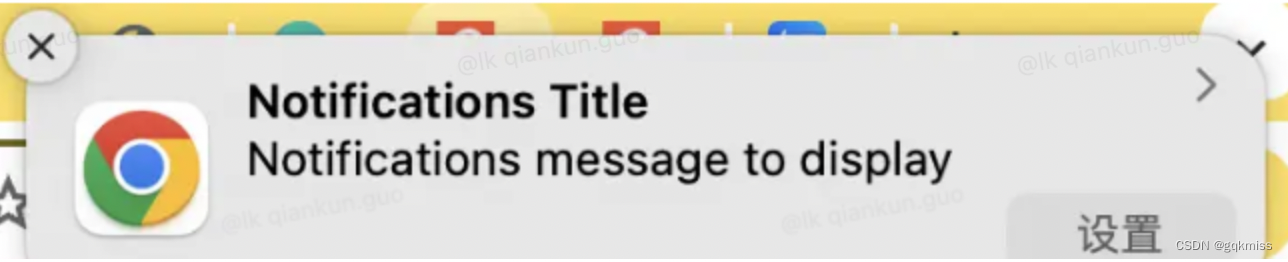
chrome.runtime.onMessage.addListener(async (message, sender, sendResponse) => {if (message.action === 'fromContent') {chrome.notifications.create({type: "basic",title: "Notifications Title",message: "Notifications message to display",iconUrl: "../icons/icon.png"},(notificationId) => {console.log('notificationId-->', notificationId)});}
});
2.3. 消息中心弹出
3. Action(popup) 和 content 通信
因为 content 是注入页面的脚本,所以和 content 通信,需要获取当前 tab 信息
1. 获取当前 tab 信息
// 以豆瓣举例
const [tab] = await chrome.tabs.query({url: ["https://movie.douban.com/*"],active: true,currentWindow: true
});
console.log('tab', tab)
2. popup 向 content 发送消息,content 接收消息
2.1 popup 中使用 chrome.tabs.sendMessage 发送消息,content 中使用 chrome.runtime.onMessage.addListener 接收消息
popup代码
plugin_search_but.onclick = async function () {const [tab] = await chrome.tabs.query({url: ["https://movie.douban.com/*"],active: true,currentWindow: true});console.log('tab', tab)if (tab) {// 使用 chrome.tabs.sendMessage 发送消息chrome.tabs.sendMessage(tab.id, {action: 'fromPopup2Content'})}
}
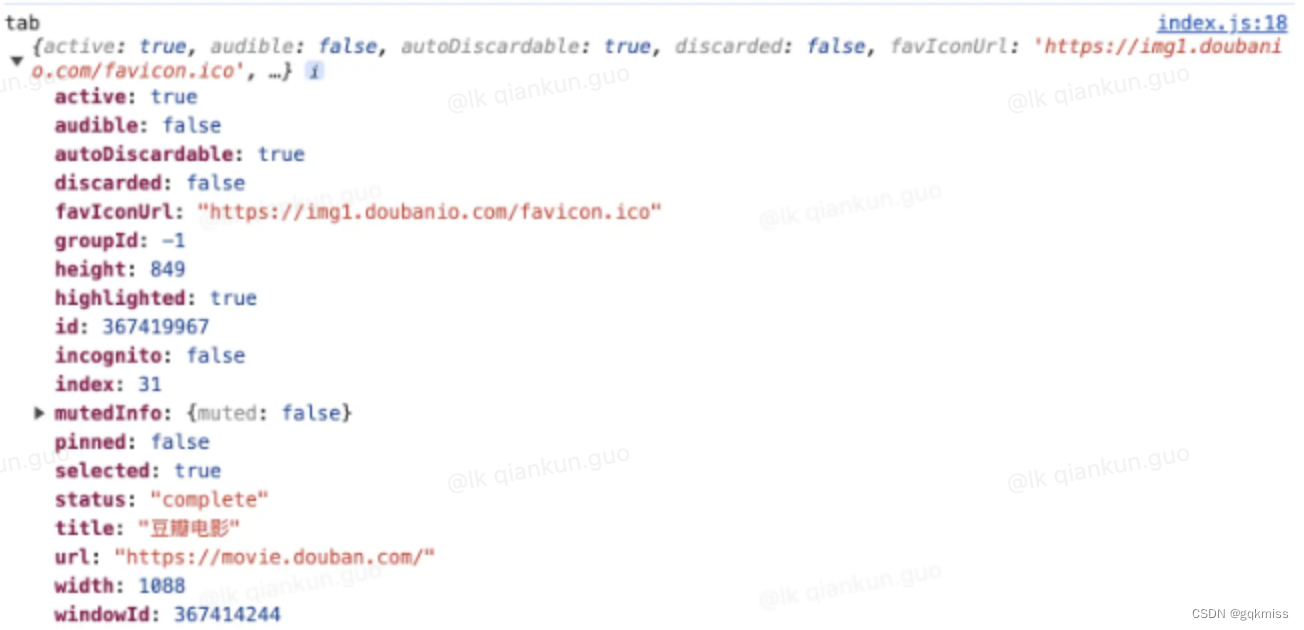
content使用chrome.runtime.onMessage.addListener进行消息监听
chrome.runtime.onMessage.addListener((e) => {console.log('e', e)
})
- 控制台输出

2.2 popup 中使用 chrome.tabs.connect 发送消息,content 使用 chrome.runtime.onConnect.addListener 来接收消息
popup代码
plugin_search_but.onclick = async function () {const [tab] = await chrome.tabs.query({url: ["https://movie.douban.com/*"],active: true,currentWindow: true});console.log('tab', tab)if (tab) {const connect = chrome.tabs.connect(tab.id, {name: 'fromPopup2Content'});console.log('connect', connect)connect.postMessage('这里是弹出框页面,你是谁?')connect.onMessage.addListener((mess) => {console.log(mess)})}
}
content中使用chrome.runtime.onConnect.addListener进行消息监听
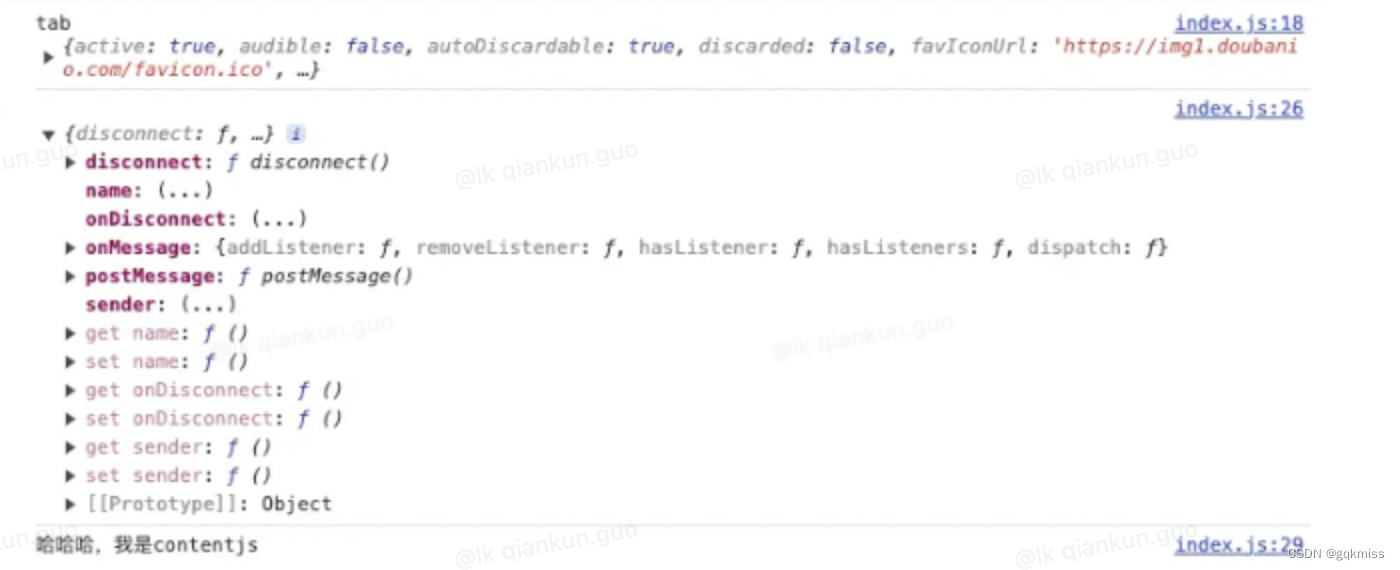
chrome.runtime.onConnect.addListener((res) => {console.log('contentjs中的 chrome.runtime.onConnect:',res)if (res.name === 'fromPopup2Content') {res.onMessage.addListener(mess => {console.log('contentjs中的 res.onMessage.addListener:', mess)res.postMessage('哈哈哈,我是contentjs')})}
})
- 日志输出
content 页面日志输出

popup 页面日志输出
4. 与其他插件进行通信
4.1. 如需监听传入请求和来自其他插件的连接,需使用 runtime.onMessageExternal 或 runtime.onConnectExternal 方法
// 一次性请求
chrome.runtime.onMessageExternal.addListener(
function(request, sender, sendResponse) {if (sender.id === blocklistedExtension)return;  // don't allow this extension accesselse if (request.getTargetData)sendResponse({targetData: targetData});else if (request.activateLasers) {var success = activateLasers();sendResponse({activateLasers: success});}
});
// 长期连接
chrome.runtime.onConnectExternal.addListener(function(port) {port.onMessage.addListener(function(msg) {// See other examples for sample onMessage handlers.});
});
4.2. 要向其他插件发送消息,需要其他插件的 ID
// 插件 ID
var laserExtensionId = "abcdefghijklmnoabcdefhijklmnoabc";// 一次性请求
chrome.runtime.sendMessage(laserExtensionId, {getTargetData: true},function(response) {if (targetInRange(response.targetData))chrome.runtime.sendMessage(laserExtensionId, {activateLasers: true});}
);// 长期请求
var port = chrome.runtime.connect(laserExtensionId);
port.postMessage(...);
5. 网页给插件发送消息
插件也可以接收和响应来自其他网页的消息,但无法向网页发送消息
5.1. 插件配置
- 如需从网页向插件发送消息,需要在
manifest.json中使用"externally_connectable"指定要与哪些网站通信 - 这会将
Messaging API公开给指定的网址格式匹配的任何页面 - 网址格式必须包含至少一个“二级网域”;也就是说,不支持 *、*.com、*.co.uk 和 *.appspot.com 等主机名格式
- 也可以使用
<all_urls>访问所有网域
{"externally_connectable": {"matches": ["https://*.douban.com/*"]}
}
5.2. 网页向插件发送消息
- 使用
runtime.sendMessage()或runtime.connect() API向特定应用或插件发送消息 - 需要指定插件 ID
5.2.1 Web 页面
- 使用
runtime.sendMessage()或runtime.connect() API向特定应用或插件发送消息
var editorExtensionId = "abcdefghijklmnoabcdefhijklmnoabc";chrome.runtime.sendMessage(editorExtensionId, {openUrlInEditor: url},
function(response) {if (!response.success)handleError(url);
});
5.2.2 service-worker.js 页面
- 使用
runtime.onMessageExternal或runtime.onConnectExternal API监听网页中的消息
chrome.runtime.onMessageExternal.addListener(
function(request, sender, sendResponse) {if (sender.url === blocklistedWebsite) // 当 URL 等于设置的 blocklistedWebsite 时return;if (request.openUrlInEditor)openUrl(request.openUrlInEditor);
});
6. 原生消息传递
插件可以使用与其他消息传递
API类似的API与原生应用交换消息,支持此功能的原生应用必须注册可与插件进行通信的原生消息传递主机。Chrome会在单独的进程中启动主机,并使用标准输入和标准输出流与其进行通信
6.1. 原生消息传递主机配置文件
如需注册原生消息传递主机,应用必须保存一个定义原生消息传递主机配置的文件,示例如下:
{"name": "com.my_company.my_application","description": "My Application","path": "C:\\Program Files\\My Application\\chrome_native_messaging_host.exe","type": "stdio","allowed_origins": ["chrome-extension://knldjmfmopnpolahpmmgbagdohdnhkik/"]
}
JSON 文件必需包含以下字段
name:原生消息传递主机的名称,客户端将此字符串传递给runtime.connectNative()或runtime.sendNativeMessage()- 此名称只能包含小写字母数字字符下划线和英文句号
description:应用说明path:二进制文件的路径type:接口类型stdiostdinstdout
allowed_origins:插件 ID 列表
6.2. 连接到原生应用
向原生应用收发消息与跨插件消息传递非常相似。主要区别在于,使用的是 runtime.connectNative() 而非 runtime.connect(),使用的是 runtime.sendNativeMessage() 而不是 runtime.sendMessage()
需要在权限中声明 nativeMessaging 权限
service_worker.js 中进行消息监听和消息发送
- 使用
connectNative
var port = chrome.runtime.connectNative('com.my_company.my_application');
port.onMessage.addListener(function (msg) {console.log('Received' + msg);
});
port.onDisconnect.addListener(function () {console.log('Disconnected');
});
port.postMessage({text: 'Hello, my_application'});
- 使用
sendNativeMessage
chrome.runtime.sendNativeMessage('com.my_company.my_application',{text: 'Hello'},function (response) {console.log('Received ' + response);}
);
这篇关于Chrome 插件各模块之间的消息传递的文章就介绍到这儿,希望我们推荐的文章对编程师们有所帮助!


