本文主要是介绍AI女朋友 -- 一个傲娇女友,嘴上刻薄但内心关心你,希望对大家解决编程问题提供一定的参考价值,需要的开发者们随着小编来一起学习吧!

文章目录
- 前言
- 一、成果展示
- 1、ai女友
- 2、留言板
- 二、实现思路
- 三、难点问题
- 四、总结
前言
在免费API寻找过程中,发现了ai女友的接口,打算从这个接口入手,做出给人一种有女朋友的、温柔的、亲近的、容易给的感觉!
一、成果展示
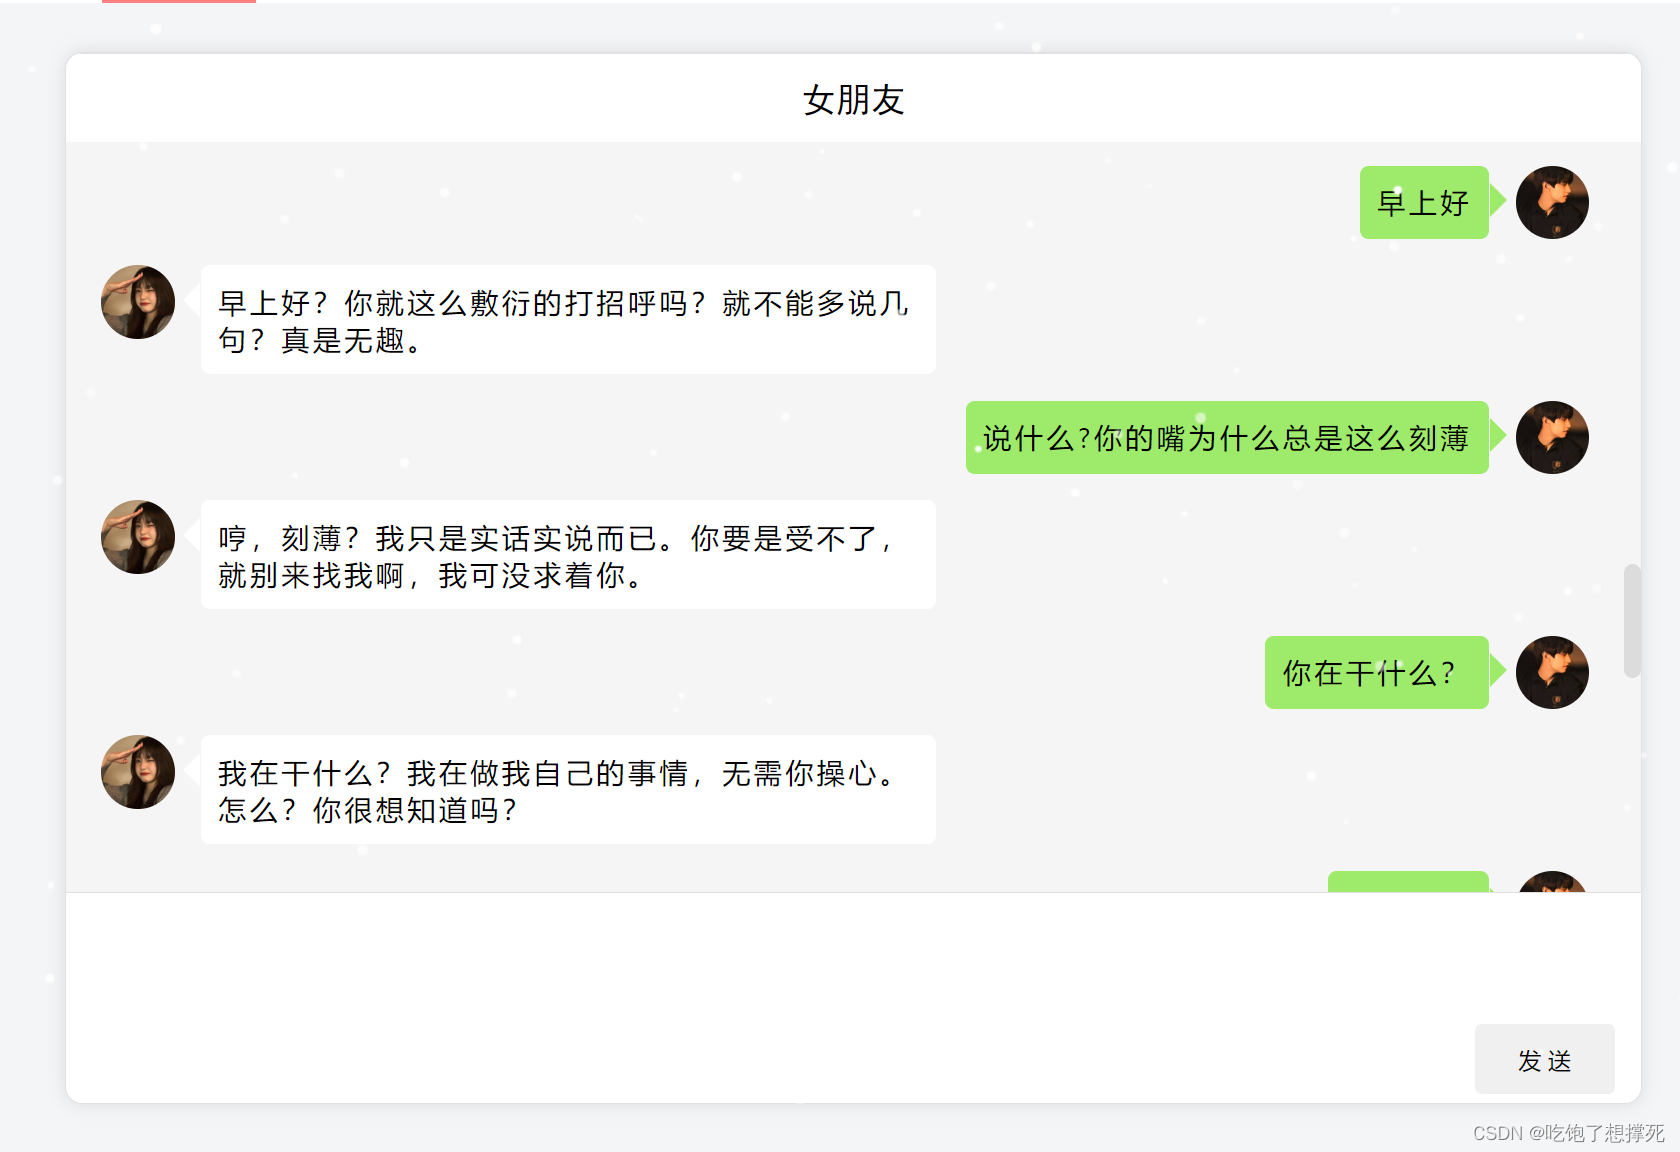
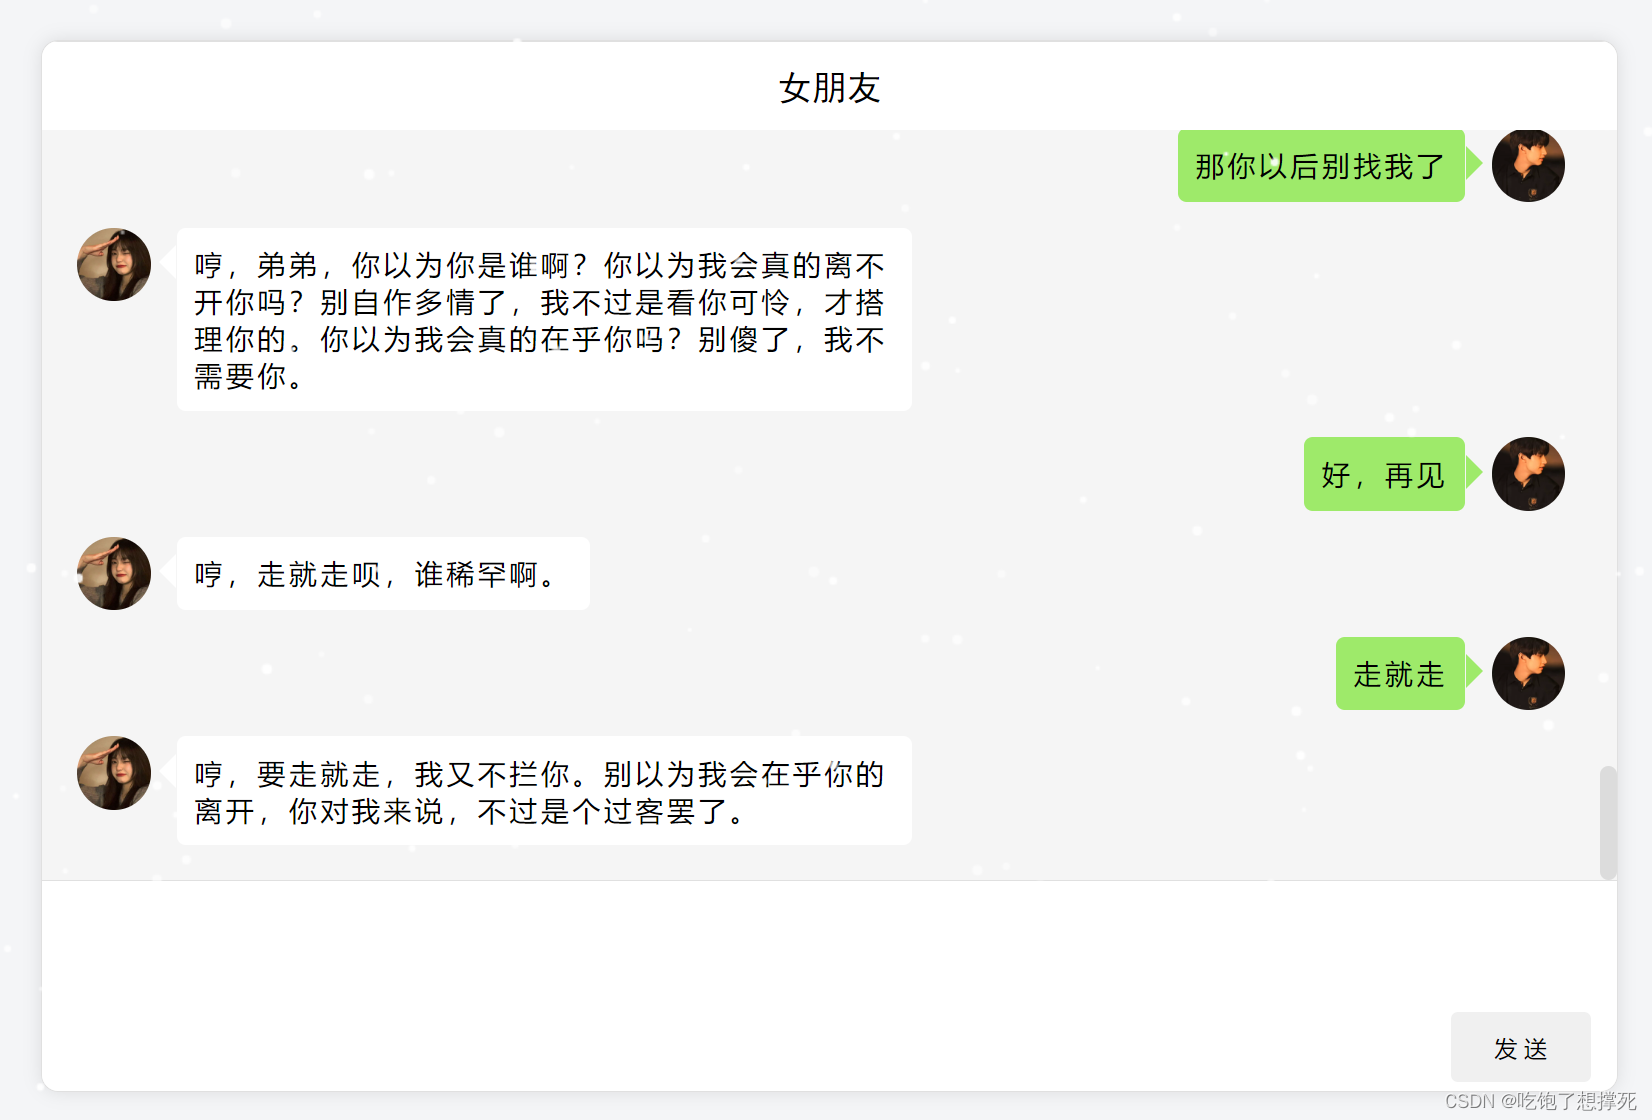
1、AI女友回应功能


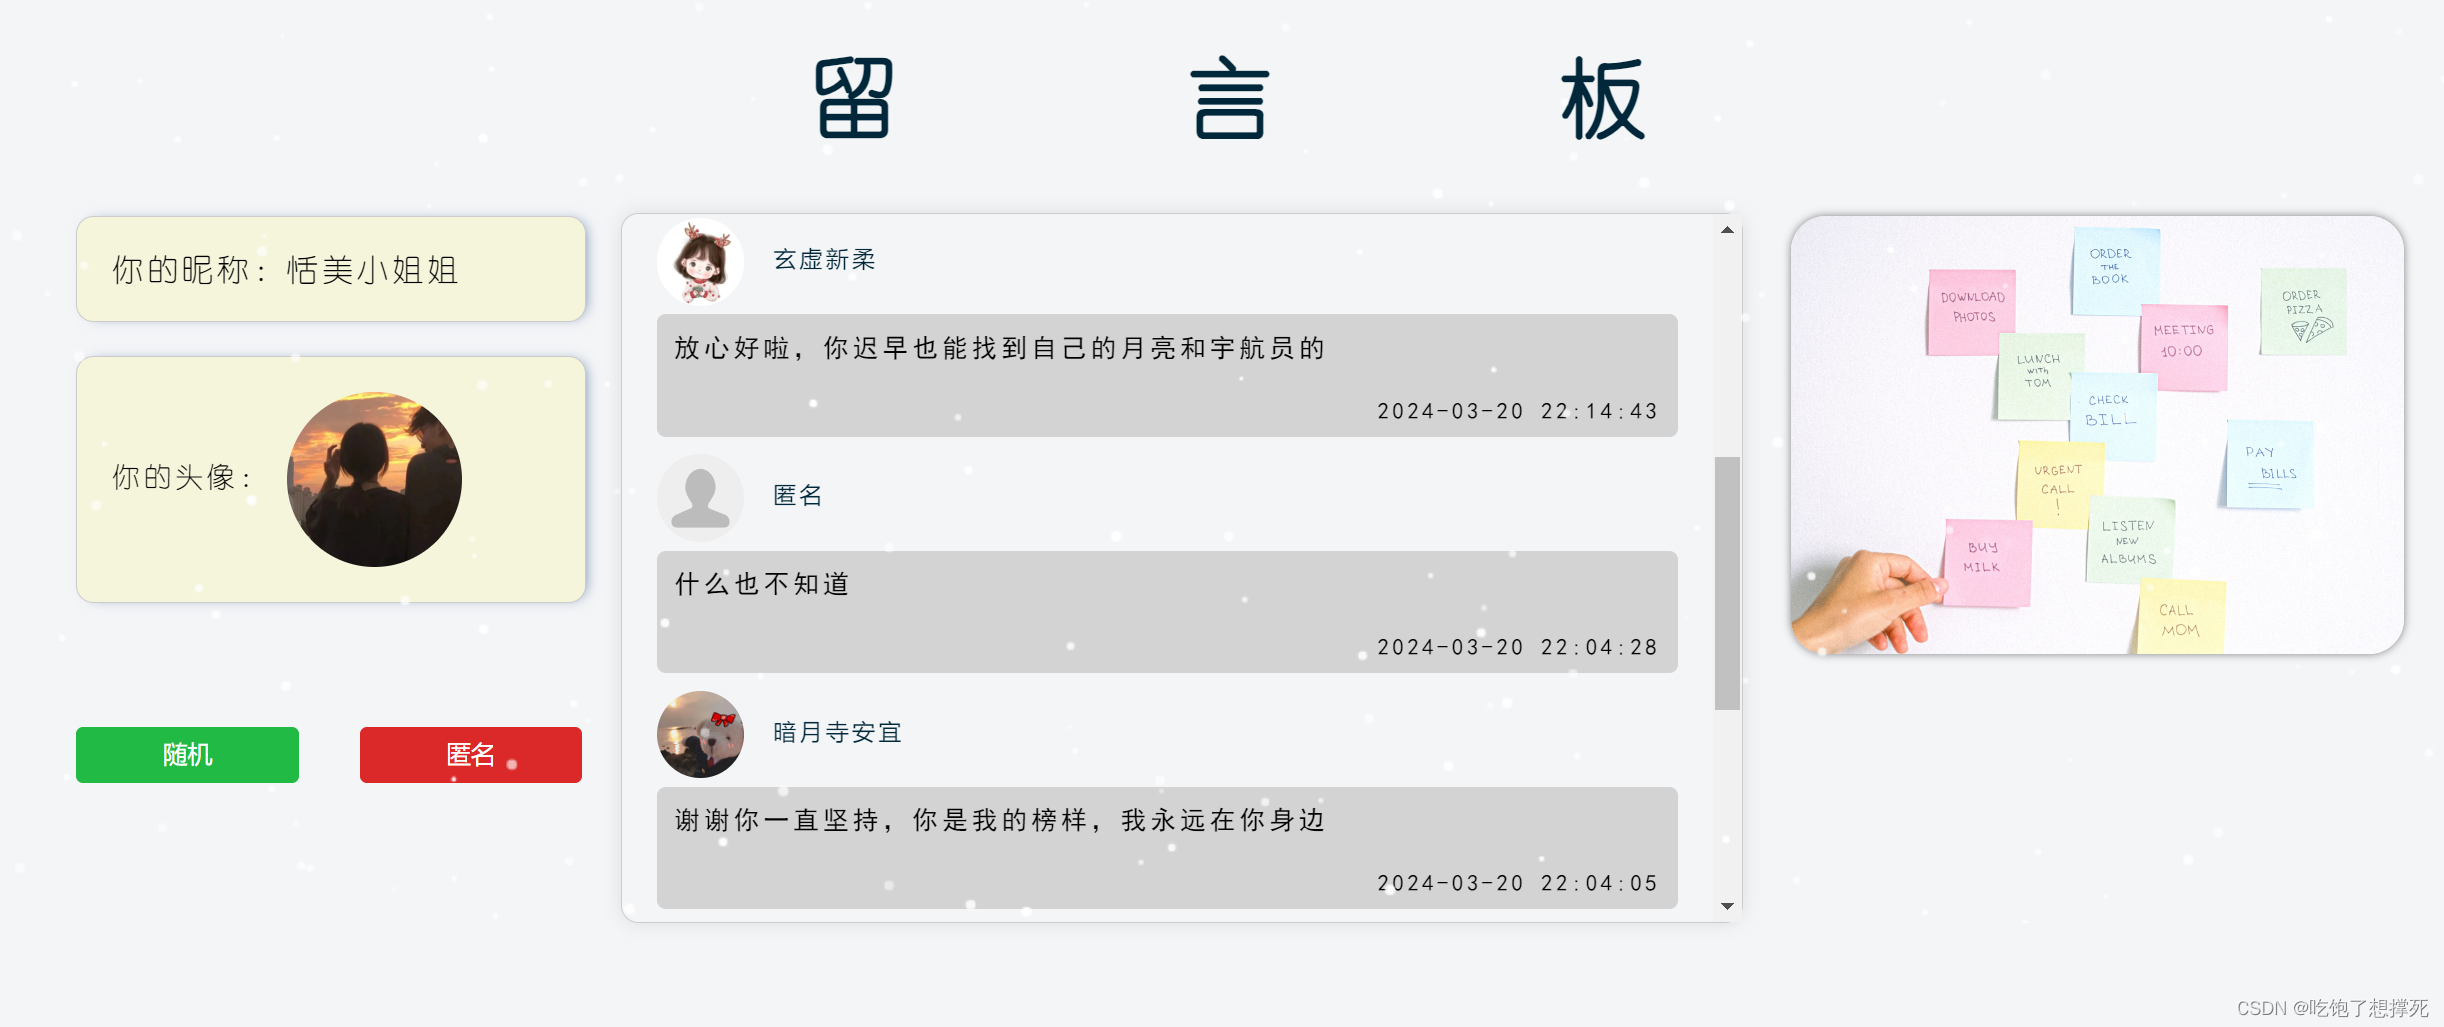
2、留言板功能

二、实现思路
1、ai女友
利用AI女友接口,我输入一句,女友回答一句,然后将对话存入数据库,按照时间顺序查询出来显示即可。
ai女友接口:https://api.lolimi.cn/API/AI/jj.php?msg=你好
例如我输入你好:
回答:
{"code": 200,"data": {"output": "哼,你今天终于想起我了?看在你这么诚心的份上,我就勉为其难地回应你吧。","content": "你好"}
}
html代码:
<div class="container"><div class="content"><div class="item item-center"><span>昨天 12:35</span></div><div class="item item-center"><span>你已添加了凡繁烦,现在可以开始聊天了。</span></div><div class="item item-left"><div class="avatar"><img src="https://dss1.bdstatic.com/70cFvXSh_Q1YnxGkpoWK1HF6hhy/it/u=25668084,2889217189&fm=26&gp=0.jpg" /></div><div class="bubble bubble-left">您好,我在武汉,你可以直接送过来吗,我有时间的话,可以自己过去拿<br/>!!!<br/>123</div></div><div class="item item-right"><div class="bubble bubble-right">hello<br/>你好呀</div><div class="avatar"><img src="https://ss3.bdstatic.com/70cFv8Sh_Q1YnxGkpoWK1HF6hhy/it/u=3313909130,2406410525&fm=15&gp=0.jpg" /></div></div><div class="item item-center"><span>昨天 13:15</span></div><div class="item item-right"><div class="bubble bubble-right">刚刚不在,不好意思</div><div class="avatar"><img src="https://ss3.bdstatic.com/70cFv8Sh_Q1YnxGkpoWK1HF6hhy/it/u=3313909130,2406410525&fm=15&gp=0.jpg" /></div></div><div class="item item-left"><div class="avatar"><img src="https://dss1.bdstatic.com/70cFvXSh_Q1YnxGkpoWK1HF6hhy/it/u=25668084,2889217189&fm=26&gp=0.jpg" /></div><div class="bubble bubble-left">没事<br/>你继续!</div></div><div class="item item-left"><div class="avatar"><img src="https://dss1.bdstatic.com/70cFvXSh_Q1YnxGkpoWK1HF6hhy/it/u=25668084,2889217189&fm=26&gp=0.jpg" /></div><div class="bubble bubble-left">看到了<br/>在下面</div></div><div class="item item-left"><div class="avatar"><img src="https://dss1.bdstatic.com/70cFvXSh_Q1YnxGkpoWK1HF6hhy/it/u=25668084,2889217189&fm=26&gp=0.jpg" /></div><div class="bubble bubble-left">你发一个<br/>刚刚网卡了</div></div><div class="item item-right"><div class="bubble bubble-right">可以<br/>一会儿再发给你</div><div class="avatar"><img src="https://ss3.bdstatic.com/70cFv8Sh_Q1YnxGkpoWK1HF6hhy/it/u=3313909130,2406410525&fm=15&gp=0.jpg" /></div></div></div><div class="input-area"><textarea name="text" id="textarea"></textarea><div class="button-area"><button id="send-btn" onclick="send()">发 送</button></div></div></div>
css代码
*{padding: 0;margin: 0;}body{height: 100vh;width: 100%;display: flex;align-items: center;justify-content: center;}.container{height: 760px;width: 900px;border-radius: 4px;border: 0.5px solid #e0e0e0;background-color: #f5f5f5;display: flex;flex-flow: column;overflow: hidden;}.content{width: calc(100% - 40px);padding: 20px;overflow-y: scroll;flex: 1;}.content:hover::-webkit-scrollbar-thumb{background:rgba(0,0,0,0.1);}.bubble{max-width: 400px;padding: 10px;border-radius: 5px;position: relative;color: #000;word-wrap:break-word;word-break:normal; }.item-left .bubble{margin-left: 15px;background-color: #fff;}.item-left .bubble:before{content: "";position: absolute;width: 0;height: 0;border-left: 10px solid transparent;border-top: 10px solid transparent;border-right: 10px solid #fff;border-bottom: 10px solid transparent;left: -20px;}.item-right .bubble{margin-right: 15px;background-color: #9eea6a;}.item-right .bubble:before{content: "";position: absolute;width: 0;height: 0;border-left: 10px solid #9eea6a;border-top: 10px solid transparent;border-right: 10px solid transparent;border-bottom: 10px solid transparent;right: -20px;}.item{margin-top: 15px;display: flex;width: 100%;}.item.item-right{justify-content: flex-end;}.item.item-center{justify-content: center;}.item.item-center span{font-size: 12px;padding: 2px 4px;color: #fff;background-color: #dadada;border-radius: 3px;-moz-user-select:none; /*火狐*/-webkit-user-select:none; /*webkit浏览器*/-ms-user-select:none; /*IE10*/-khtml-user-select:none; /*早期浏览器*/user-select:none;}.avatar img{width: 42px;height: 42px;border-radius: 50%;}.input-area{border-top:0.5px solid #e0e0e0;height: 150px;display: flex;flex-flow: column;background-color: #fff;}textarea{flex: 1;padding: 5px;font-size: 14px;border: none;cursor: pointer;overflow-y: auto;overflow-x: hidden;outline:none;resize:none;}.button-area{display: flex;height: 40px;margin-right: 10px;line-height: 40px;padding: 5px;justify-content: flex-end;}.button-area button{width: 80px;border: none;outline: none;border-radius: 4px;float: right;cursor: pointer;}/* 设置滚动条的样式 */::-webkit-scrollbar {width:10px;}/* 滚动槽 */::-webkit-scrollbar-track {-webkit-box-shadow:inset006pxrgba(0,0,0,0.3);border-radius:8px;}/* 滚动条滑块 */::-webkit-scrollbar-thumb {border-radius:10px;background:rgba(0,0,0,0);-webkit-box-shadow:inset006pxrgba(0,0,0,0.5);}
js代码
function send(){let text = document.querySelector('#textarea').value;if(!text){alert('请输入内容');return ;}let item = document.createElement('div');item.className = 'item item-right';item.innerHTML = `<div class="bubble bubble-left">${text}</div><div class="avatar"><img src="https://ss3.bdstatic.com/70cFv8Sh_Q1YnxGkpoWK1HF6hhy/it/u=3313909130,2406410525&fm=15&gp=0.jpg" /></div>`;document.querySelector('.content').appendChild(item);document.querySelector('#textarea').value = '';document.querySelector('#textarea').focus();//滚动条置底let height = document.querySelector('.content').scrollHeight;document.querySelector(".content").scrollTop = height;}
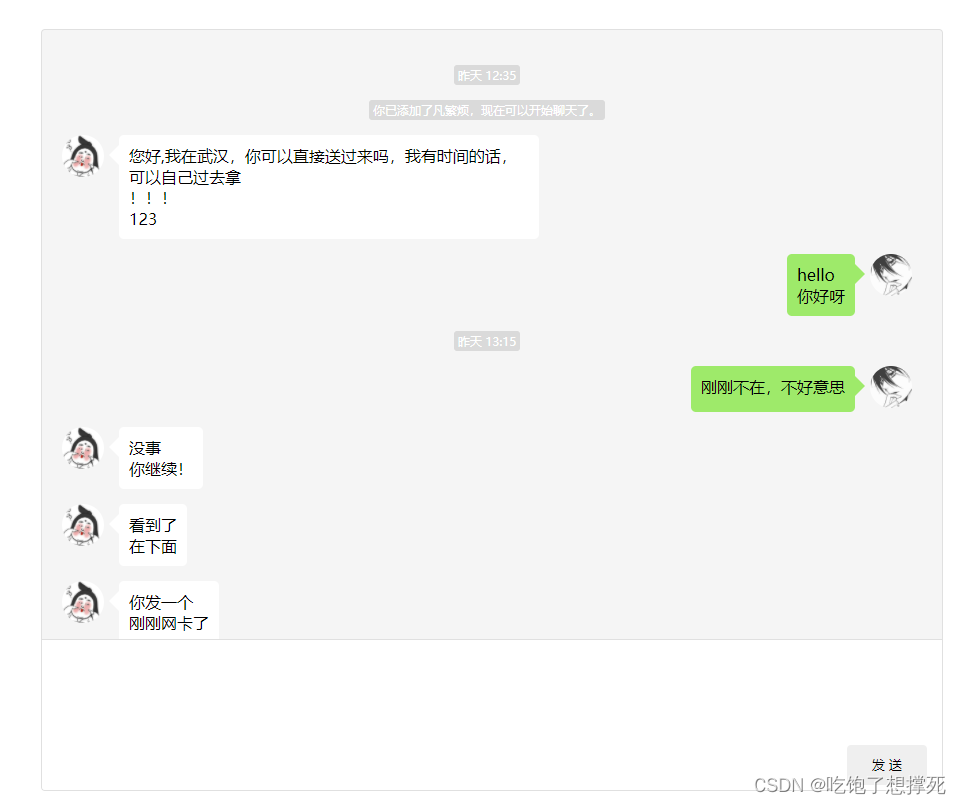
效果图

2、留言板功能
我输入留言,存入数据库,然后按照时间顺手查询出来即可。
源代码如下:
<template><div class="message-board"><div class="message-input"><input v-model="newMessage" @keyup.enter="postMessage" placeholder="在这里留言..."><button @click="postMessage">发送</button></div><div class="messages"><div v-for="(message, index) in messages" :key="index" class="message"><div class="message-content">{{ message.content }}</div><div class="message-meta"><span class="message-time">{{ message.time }}</span></div></div></div></div>
</template><script>
export default {data() {return {newMessage: '',messages: []};},methods: {postMessage() {if (this.newMessage.trim() !== '') {this.messages.push({content: this.newMessage,time: this.getCurrentTime()});this.newMessage = '';}},getCurrentTime() {const now = new Date();const hours = now.getHours().toString().padStart(2, '0');const minutes = now.getMinutes().toString().padStart(2, '0');return `${hours}:${minutes}`;}}
};
</script><style scoped>
.message-board {max-width: 600px;margin: 20px auto;padding: 20px;border: 1px solid #ccc;border-radius: 10px;box-shadow: 0 0 10px rgba(0, 0, 0, 0.1);
}.message-input {display: flex;align-items: center;margin-bottom: 20px;
}.message-input input {flex: 1;padding: 10px;border: 1px solid #ccc;border-radius: 5px;margin-right: 10px;
}.message-input button {padding: 10px 20px;background-color: #007bff;color: #fff;border: none;border-radius: 5px;cursor: pointer;transition: background-color 0.3s ease;
}.message-input button:hover {background-color: #0056b3;
}.messages {max-height: 300px;overflow-y: auto;
}.message {background-color: #f0f0f0;padding: 10px;margin-bottom: 10px;border-radius: 5px;
}.message-meta {display: flex;justify-content: flex-end;
}.message-time {font-size: 12px;color: #999;
}
</style>
三、难点问题
1、如何在前端显示两个人的对话?
设置各自的userId,例如我的userId为1,女友的userId为2,按照时间顺序在后端进行查询。在前端查询显示时,使用v-if和v-else,如果userId为1,则显示我,否则显示女友。
<div v-for="item in list" :key="item.id"><div v-if="item.userId === 2" class="item item-left"><div class="avatar"><img :src="item.avatar" /></div><div class="bubble bubble-left">{{item.content}}</div></div><div v-else class="item item-right"><div class="bubble bubble-right">{{item.content}}</div><div class="avatar"><img :src="item.avatar" /></div></div></div>2、如何或去textarea输入的值?
<textarea name="content" id="content" ></textarea>const content = document.getElementById("content").value;3、如何让滚动条始终在最底端?
var container = document.querySelector('.container');
container.scrollTop = container.scrollHeight;
四、总结
过程很难但也很有成就感,有问题在网上基本上都能找得到,只不过需要一个一个去试。
如果这篇文章对你有帮助的话请点点赞和收藏。如果文章有问题的话也可以私信我或指出来!!!
感谢你的支持!!!
这篇关于AI女朋友 -- 一个傲娇女友,嘴上刻薄但内心关心你的文章就介绍到这儿,希望我们推荐的文章对编程师们有所帮助!


