本文主要是介绍微信小程序调取相机实现拍照/录屏(带demo),希望对大家解决编程问题提供一定的参考价值,需要的开发者们随着小编来一起学习吧!
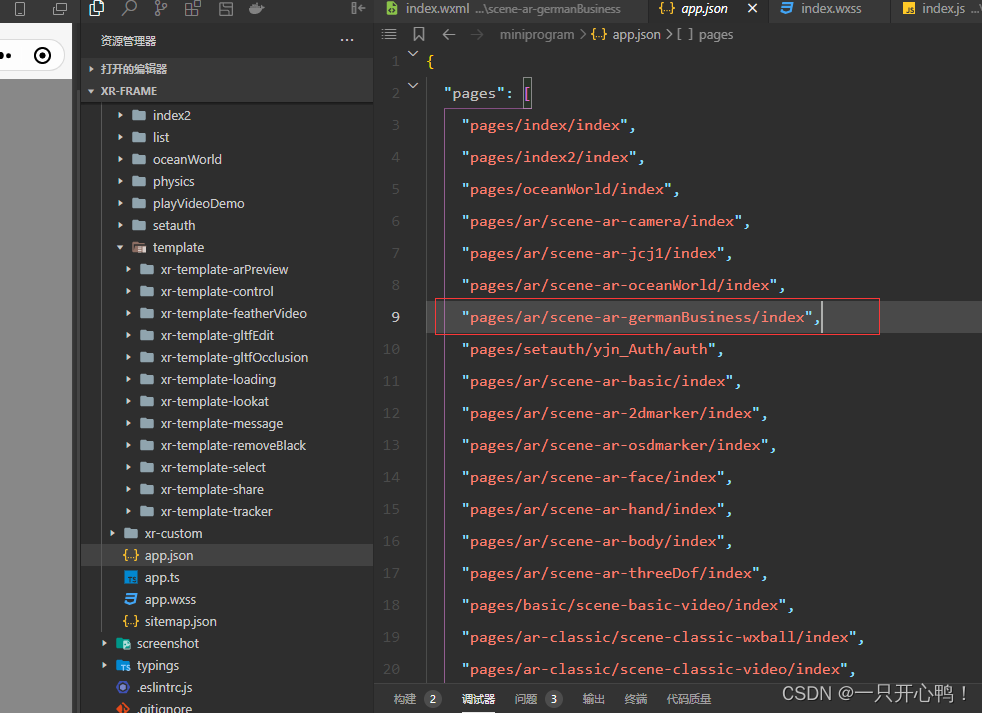
我已上传demo案例,有需要的童鞋自行下载,项目直接用微信开发者工具打开,主要修改成自己的appid;运行需要编译到pages/ar/scene-ar-germanBusiness1/index 页面后手机预览打开。可能刚打开是白屏,需要等一会,模型加载需要时间。
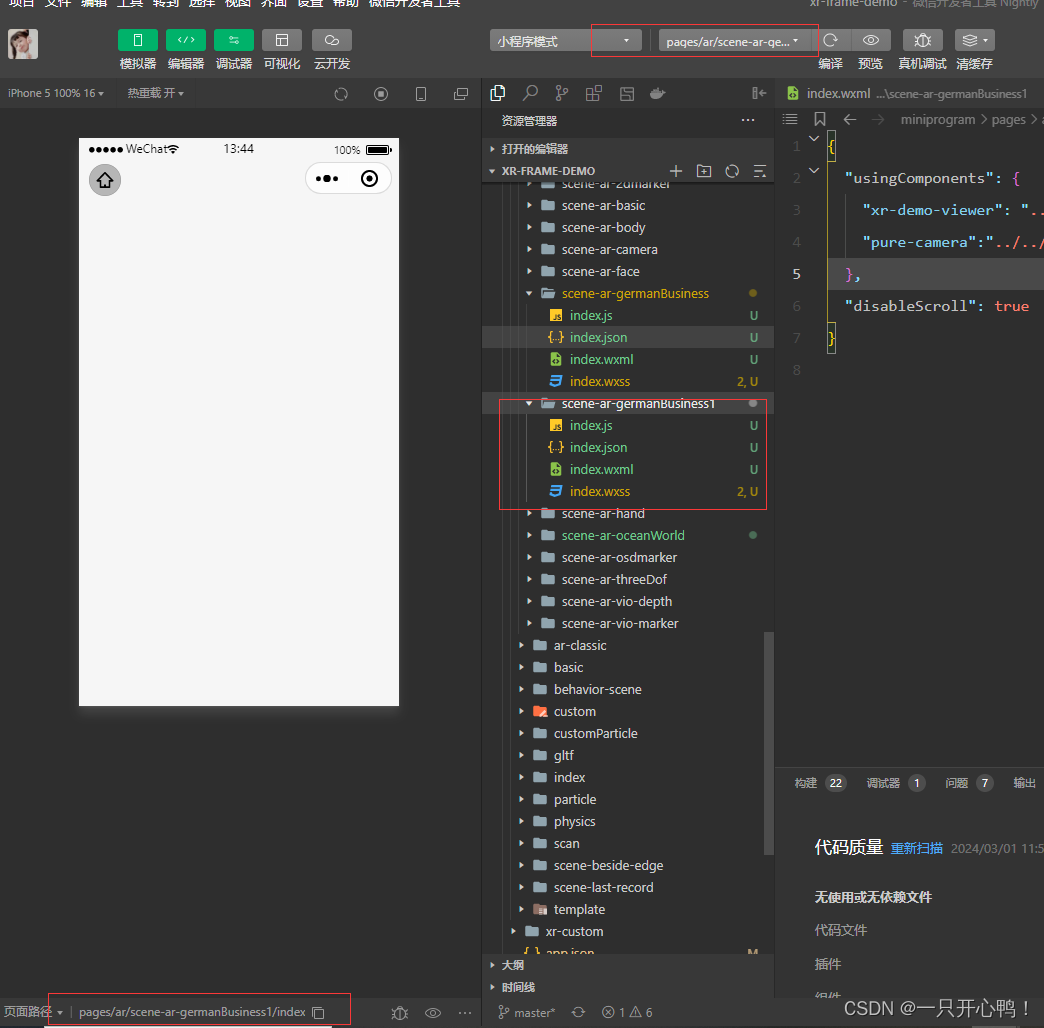
1.效果

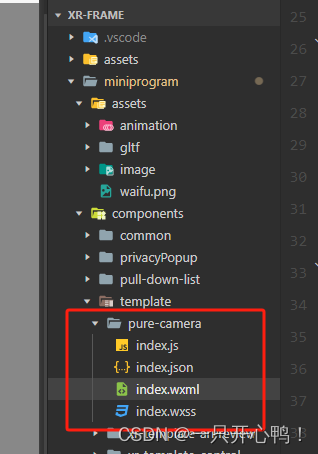
2.创建子组件
index.wxml代码
<xr-scene id="xr-scenecameraglb" ar-system bind:ready="handleReady" bind:ar-ready="handleARReady" >
<!-- 初始化模型 --><xr-assets bind:loaded="handleAssetsLoaded"><!-- 最后一帧模型 --><xr-asset-load type="gltf" asset-id="gltf-table2" src="https://cyvideo.i-oranges.com/ar/ds2024/zd.glb" /></xr-assets><xr-env env-data="xr-frame-team-workspace-day"/><xr-node><xr-node node-id="camera-target" position="0 0 0"></xr-node><xr-node node-id="table-wrap" position="0 0 0"><!-- <xr-gltf  id="wxball-3"node-id="mesh-gltf-table" position="0 -4 -9"  scale="0.02 0.02 0.02" rotation="360 0 0"model="gltf-table2" animation="animation-key"anim-autoplay  /> --><!-- 挪位置 --><!-- <xr-gltf  id="wxball-3"node-id="mesh-gltf-table" position="-7 -8 -9"  scale="0.018 0.018 0.018" rotation="360 50 0"model="gltf-table2" animation="animation-key"anim-autoplay  /> --></xr-node><!-- 跟着挪位置 --><!-- <xr-cameraposition="1 1 1" target="gltf-table" clear-color="0.925 0.925 0.925 1"background="ar" far="2000"  target="camera-target" /> --><!-- 不跟着挪位置 --><!-- is-ar-camera --><xr-cameraposition="1 1 1" target="gltf-table2" clear-color="0.925 0.925 0.925 1"background="ar" far="2000"  is-ar-camera/></xr-node><xr-node node-id="lights">
<!-- 第一帧最后一秒模型 --><xr-light   type="ambient" color="1 1 1" intensity="1" /><xr-light   type="directional" rotation="40 170 0" color="1 1 1" intensity="12" /><xr-light   type="directional" rotation="0 60 0" color="1 1 1" intensity="12" /><xr-light   type="directional" rotation="180 180 180" color="1 1 1" intensity="12" /><xr-light   type="directional" rotation="360 360 360" color="1 1 1" intensity="12" /><xr-light   type="point" position="0 0 0" color="1 0 0" range="3" intensity="12" /></xr-node>
</xr-scene>
index.js代码
const STATE = {NONE: -1,MOVE: 0,ZOOM_OR_PAN: 1
}Component({behaviors: [require('../../common/share-behavior').default],properties: {isTouchstart: {type: Boolean // 判断是否需要关闭子组件的触碰事件},a: {type: Number}},markerGlb: {type: String},position: {type: Object},rotation: {type: Object},scale: {type: Object},data: {grandeShow: true, //默认引导图标显示loaded: false,arReady: false,placedFlag: true, //是否允许模型再次移动识别展示在地平线},lifetimes: {async attached() {console.log('data', this.data)}},methods: {handleReady({detail}) {const xrScene = this.scene = detail.value;// 显示加载中提示wx.showLoading({title: '加载中',mask: true // 是否显示透明蒙层,防止用户点击其他区域})console.log('xr-scene', xrScene);},handleAssetsProgress: function ({detail}) {console.log('assets progress', detail.value);},handleAssetsLoaded: function ({detail}) {console.log('assets loaded', detail.value);// 隐藏加载中提示wx.hideLoading()this.setData({loaded: true});},handleARReady: function ({detail}) {console.log('ar-ready', this.scene.ar.arModes, this.scene.ar.arVersion);},handleARError: function ({detail}) {console.log('ar-error', detail);},handleLog: function ({detail}) {const {el,value} = detail;console.log('log', detail.value);},}
})```
index.json代码```html
{"component": true,"usingComponents": {},"renderer": "xr-frame"
}
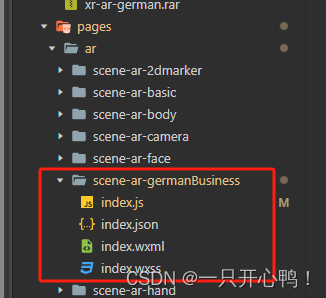
3.创建页面
index.wxml代码
<view><!-- 微信小程序调取相机实现拍照/录屏 --><view  style="color: white;"><pure-camera id="pure-camera" width="100vw" height="100vh" style="width:100vw;height:100vh;top:{{top}}px;left:{{left}}px;display:block;"></pure-camera><view style="position:fixed;left: 0;z-index: 99999;bottom: 5vw;width: 100vw;height: 100px;display: flex;justify-content: space-evenly;align-items: center;"><button bind:tap="captureScreen" style="width: 250rpx;height: 91rpx;">拍照</button><button bind:tap="screen" style="width: 250rpx;height: 91rpx;">录屏</button></view>
</view>
</view>
index.js代码
var sceneReadyBehavior = require('../../behavior-scene/scene-ready');//微信官方文档demo里有
var handleDecodedXML = require('../../behavior-scene/util').handleDecodedXML;//微信官方文档demo里有
Page({data: {flag: false, //录屏默认关闭},onUnload() {this.musicbg.stop();// 清除video定时器// clearTimeout(this.data.time3);},onShow() {/** 设置页面常亮*/wx.setKeepScreenOn({keepScreenOn: true,fail() {//如果失败 再进行调用wx.setKeepScreenOn({keepScreenOn: true});}});},onHide() {this.musicbg.stop();this.setData({video2: false})},onLoad(options) {wx.setNavigationBarTitle({title: "标题"})// 背景音乐this.musicbg = wx.createInnerAudioContext()this.musicbg.src = "音乐线上地址";this.musicbg.volume = 0.6;this.musicbg.loop = true;//初始化如果是视频则显示背景音乐;模型则注释该代码// this.musicbg.play();// 关闭主页按钮wx.hideHomeButton();},//拍照captureScreen: function () {// this.openMusic.play();let that = this;//获取手势识别场景let xrScene = this.selectComponent('#pure-camera').scene;this.setData({isTouchstart: true})//分享好友、保存本地图片xrScene.scene.share.captureToFriends({fileType: "jpg",quality: 0.8}).then(res => { });},//录屏screen: function () {this.setData({flag: !this.data.flag})//获取手势识别场景let xrScene = this.selectComponent('#pure-camera').scene;if (!this.data.flag) { //关闭录屏xrScene.scene.share.recordFinishToAlbum();} else { //开启录屏xrScene.scene.share.recordStart();}},
})
index.json文件代码
{"usingComponents": {"xr-demo-viewer": "../../../components/xr-demo-viewer/index","pure-camera":"../../../components/template/pure-camera/index"},"disableScroll": true
}
这篇关于微信小程序调取相机实现拍照/录屏(带demo)的文章就介绍到这儿,希望我们推荐的文章对编程师们有所帮助!


