本文主要是介绍STM32+亚博K210手写数字识别,希望对大家解决编程问题提供一定的参考价值,需要的开发者们随着小编来一起学习吧!
本文以STM32C8T6为例
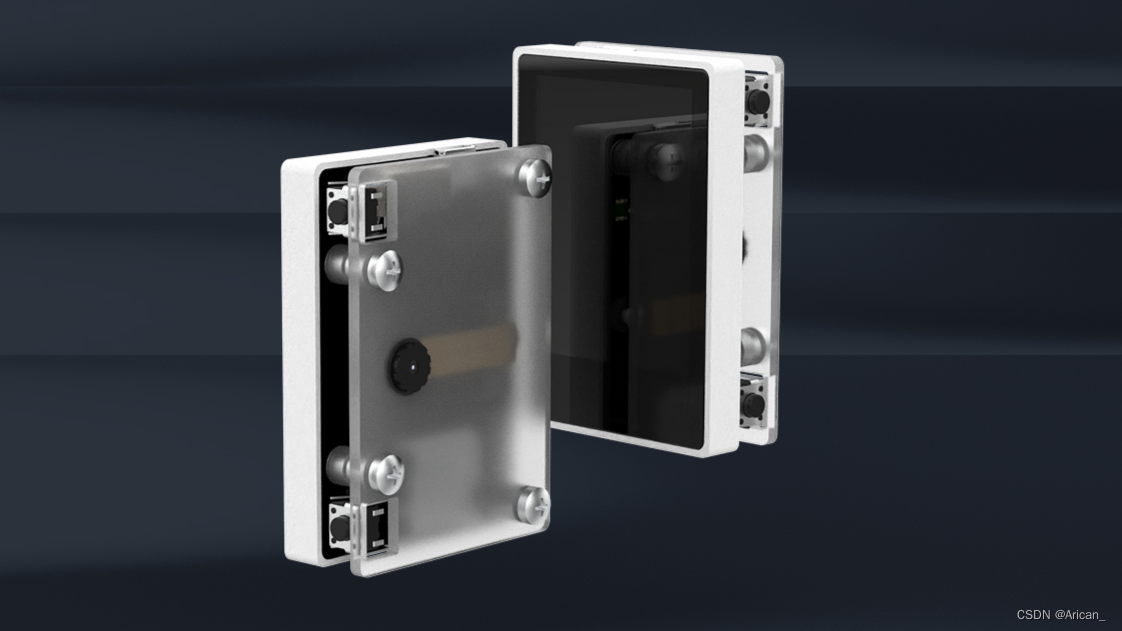
使用的是亚博K210视觉识别模块
实现功能:
由K210识别手写数字,通过K210与STM32的串口通信,将识别到的手写数字传回STM32,最后由OLED显示
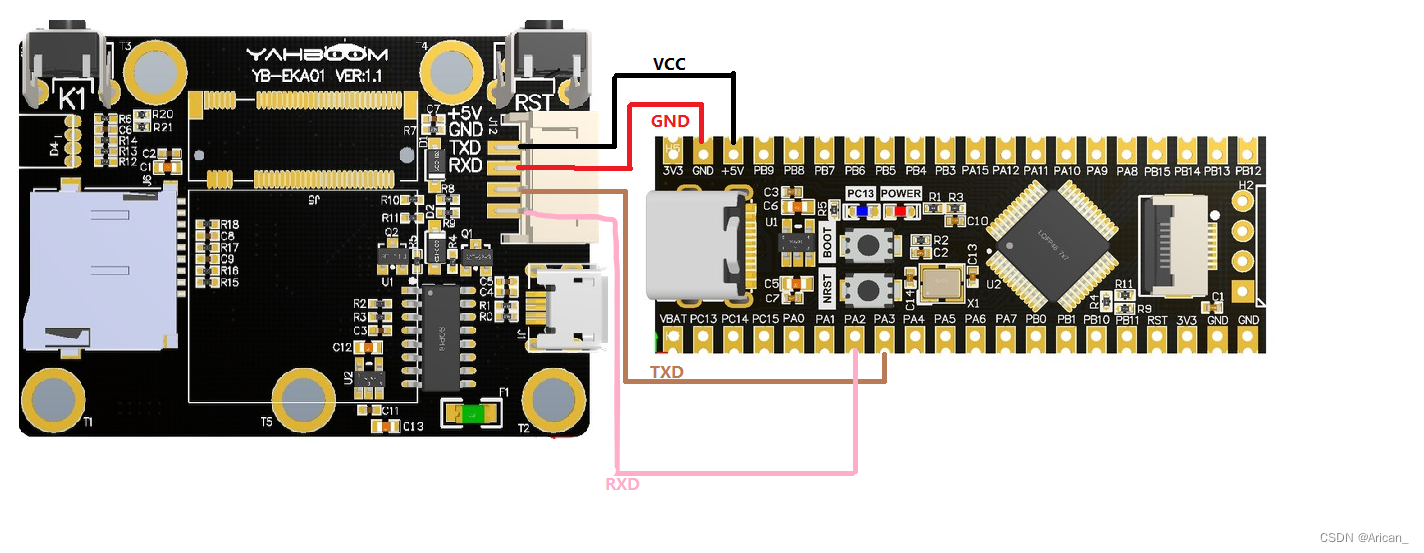
接线方式:
STM32与OLED:B8-SCL;B9:SDA
STM32与K210:A2 - Tx;A3 - Rx

部分代码:
K210主函数代码(main.py)
import sensor, image, time, lcd
from maix import KPU
import gcfrom modules import ybserial
import time
import binasciiserial = ybserial()
#字符串转10进制
def str_int(data_str):bb = binascii.hexlify(data_str)bb = str(bb)[2:-1]#print(bb)#print(type(bb))hex_1 = int(bb[0])*16hex_2 = int(bb[1],16)return hex_1+hex_2def send_data(x,y,w,h,msg):start = 0x24end = 0x23length = 5class_num = 0x0B #例程编号class_group = 0xBB #例程组data_num = 0x00 #数据量fenge = 0x2c #逗号crc = 0 #校验位data = [] #数据组#参数都为0if x==0 and y==0 and w==0 and h ==0:passelse:#x(小端模式)low = x & 0xFF #低位high = x >> 8& 0xFF #高位data.append(low)data.append(fenge) #增加","data.append(high)data.append(fenge) #增加","#y(小端模式)low = y & 0xFF #低位high = y >> 8& 0xFF #高位data.append(low)data.append(fenge) #增加","data.append(high)data.append(fenge) #增加","#w(小端模式)low = w & 0xFF #低位high = w >> 8& 0xFF #高位data.append(low)data.append(fenge) #增加","data.append(high)data.append(fenge) #增加","#h(小端模式)low = h & 0xFF #低位high = h >> 8& 0xFF #高位data.append(low)data.append(fenge) #增加","data.append(high)data.append(fenge) #增加","if msg !=None:#msgfor i in range(len(msg)):hec = str_int(msg[i])data.append(hec)data.append(fenge) #增加","#print(data)data_num = len(data)length += len(data)#print(length)send_merr = [length,class_num,class_group,data_num]for i in range(data_num):send_merr.append(data[i])#print(send_merr)#不加上CRC位,进行CRC运算for i in range(len(send_merr)):crc +=send_merr[i]crc = crc%256send_merr.insert(0,start) #插入头部send_merr.append(crc)send_merr.append(end)#print(send_merr)global send_bufsend_buf = send_merrsend_buf = []
#x_ = 0
#y_ = 0
#w_ = 0
#h_ = 0
msg_ = ""lcd.init()
sensor.reset()
sensor.set_pixformat(sensor.RGB565)
sensor.set_framesize(sensor.QVGA)
sensor.set_windowing((224, 224))
sensor.skip_frames(time = 100)
clock = time.clock()kpu = KPU()
kpu.load_kmodel("/sd/KPU/mnist/uint8_mnist_cnn_model.kmodel")while True:gc.collect()img = sensor.snapshot()img_mnist1=img.to_grayscale(1)img_mnist2=img_mnist1.resize(112,112)img_mnist2.invert()img_mnist2.strech_char(1)img_mnist2.pix_to_ai()out = kpu.run_with_output(img_mnist2, getlist=True)max_mnist = max(out)index_mnist = out.index(max_mnist)msg_ = str(index_mnist)send_data(0,0,0,0,msg_)#封装serial.send_bytearray(send_buf)#发送score = KPU.sigmoid(max_mnist)if index_mnist == 1:if score > 0.999:display_str = "num: %d" % index_mnistprint(display_str, score)img.draw_string(4,3,display_str,color=(0,0,0),scale=2)elif index_mnist == 5:if score > 0.999:display_str = "num: %d" % index_mnistprint(display_str, score)img.draw_string(4,3,display_str,color=(0,0,0),scale=2)else:display_str = "num: %d" % index_mnistprint(display_str, score)img.draw_string(4,3,display_str,color=(0,0,0),scale=2)lcd.display(img)kpu.deinit()
STM32部分代码
#include "stm32f10x.h"                  // Device header
#include "Delay.h"
#include "OLED.h"#include "bsp_usart.h"
#include "K210_use.h"
#include "OLED.h"char buff_com[50];
msg_k210 k210_msg;
u8 num;int main()
{SystemInit();OLED_Init();OLED_ShowString(1, 1, "STM32_k210number");USART2_init(115200);while(1){if (k210_msg.class_n != 0){if(k210_msg.class_n == 11){sprintf(buff_com,"id = %c\r\n",k210_msg.id);USART2_Send_ArrayU8((uint8_t*)buff_com,strlen(buff_com));num = k210_msg.id-48;k210_msg.class_n = 0;	}	}OLED_ShowString(2, 1, "k210_msg.id:");OLED_ShowNum(2, 13, k210_msg.id, 4);OLED_ShowString(3, 5, "NUM:");OLED_ShowNum(3, 12, num, 2);}
}
完整代码链接:
这篇关于STM32+亚博K210手写数字识别的文章就介绍到这儿,希望我们推荐的文章对编程师们有所帮助!


