本文主要是介绍react hook使用UEditor引入秀米图文排版,希望对大家解决编程问题提供一定的参考价值,需要的开发者们随着小编来一起学习吧!
里面坑比较多,细节也比较多
以下使用的是react 18 + ice3.0,使用其他react脚手架的配置基本相同,例如umi4
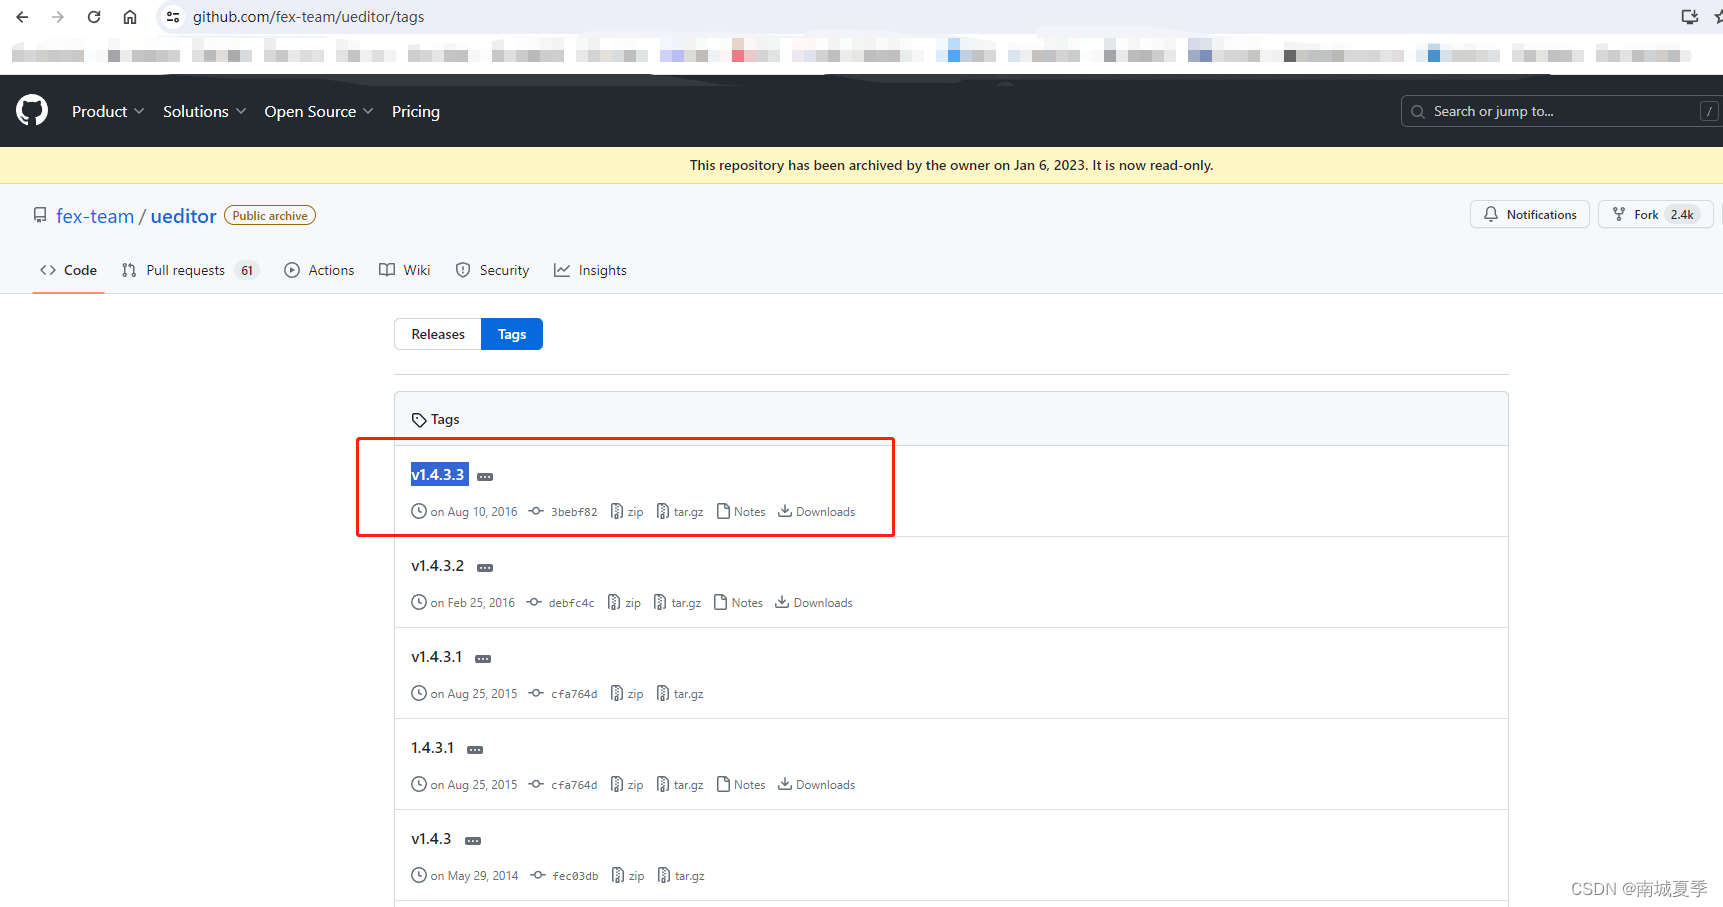
1.下载UEditor
进入UEditor仓库,找到版本v1.4.3.3,点击进去
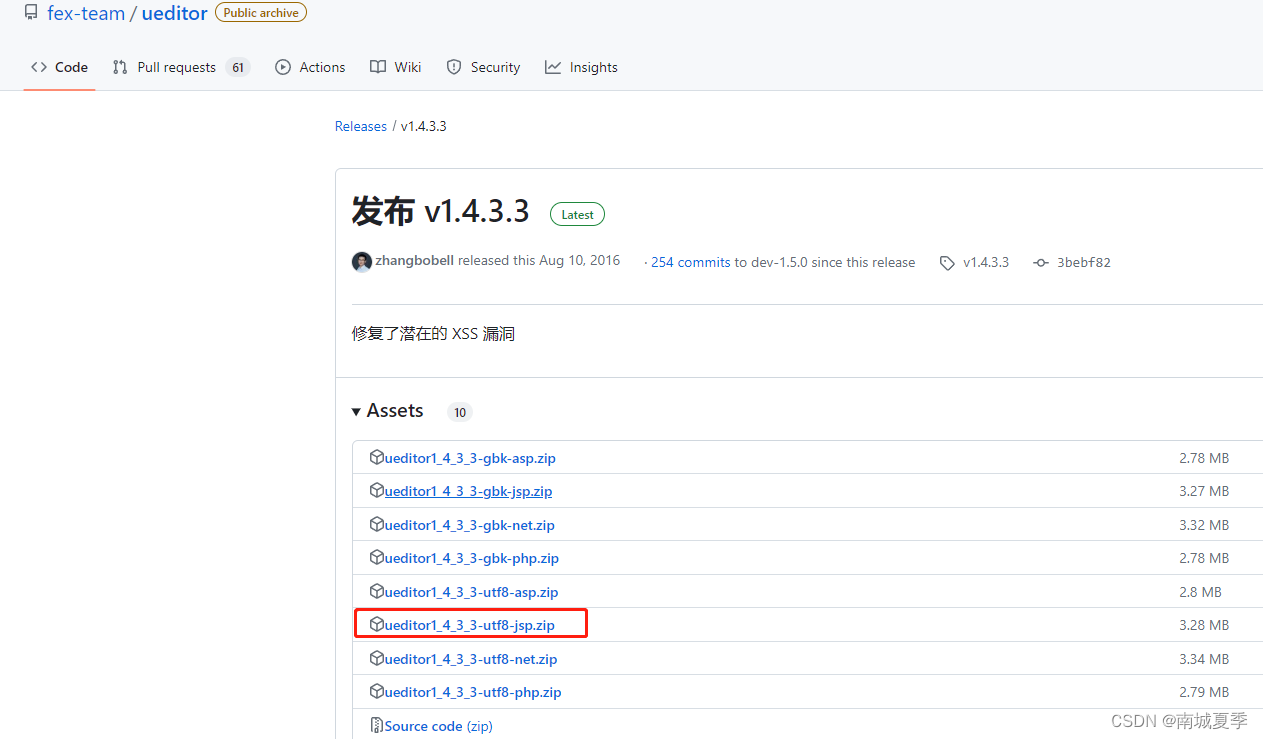
接着下载ueditor1_4_3_3-utf8-jsp.zip版本
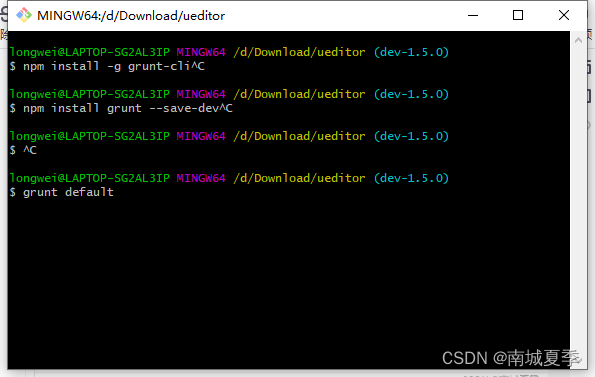
下载好以后开始安装依赖:npm install ,依赖安装完成后就可以打包了,最终我们项目要的就是这个打包后的文件。
打包需要使用grunt:
- 全局安装
npm install -g grunt-cli - 在项目ueditor中安装grunt依赖,
npm install grunt --save-dev - 在项目ueditor输入指令
grunt default来生成一个dist文件
2.react项目配置UEditor
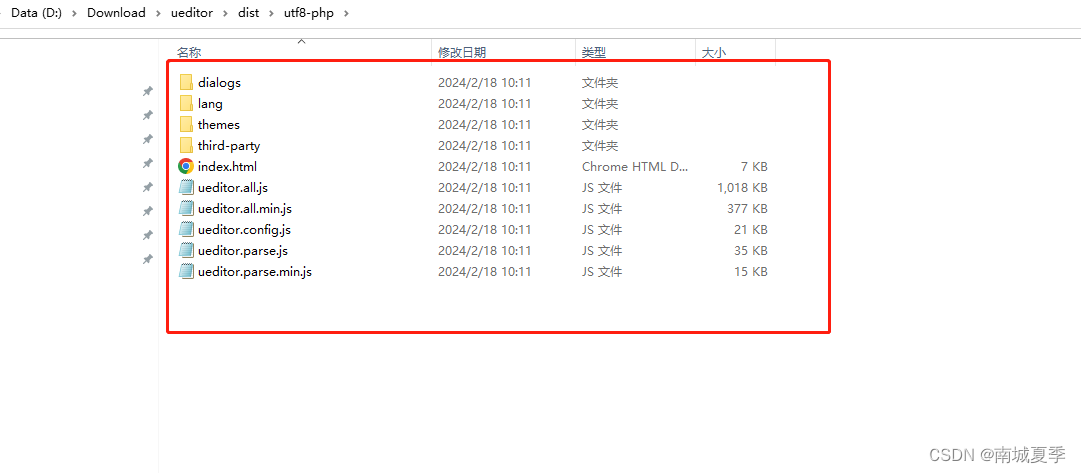
复制dist\utf8-php下的所有文件到react项目中的public\editor\ueditor下面(没有这个目录就新建一个)。
如下,注意标黄的文件是后面步骤加上的,没有这个文件是正常的: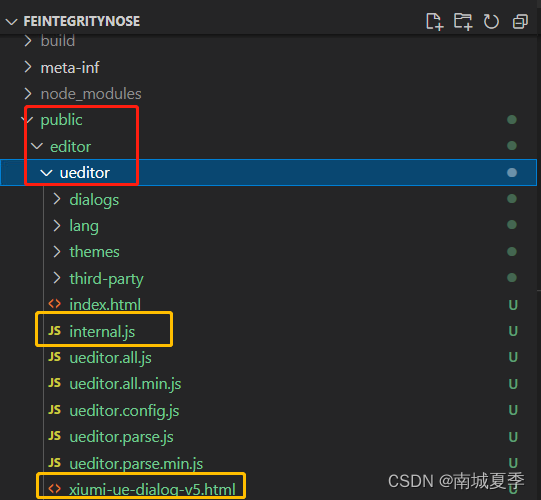
接着引入UEditor
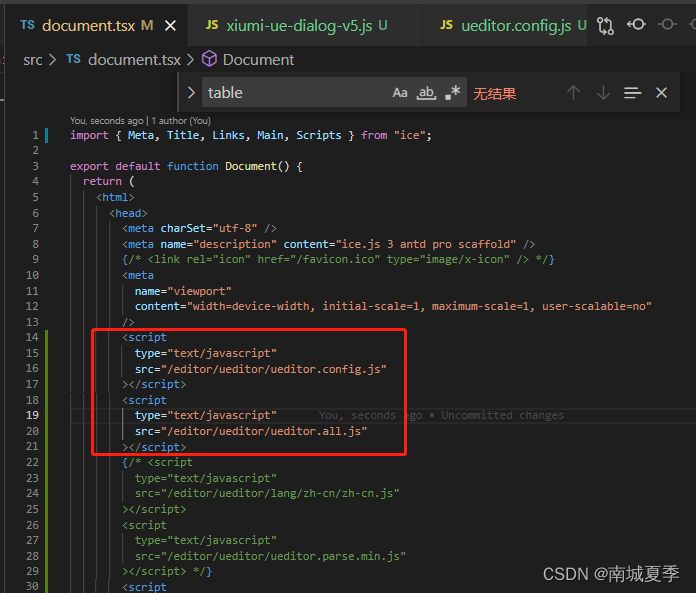
找到src\document.tsx文件,就这个文件就相当于其他项目中的index.html,具体使用参考document定制html,在这里引入UEditor,我们的文件存放的地址在public下面,这里写路径的时候不用写public,直接从editor开始写,/editor/ueditor/ueditor.config.js和/editor/ueditor/ueditor.all.js
3.react组件引入UEditor
新建src\components\ReactUeditor文件夹,分别以下几个文件
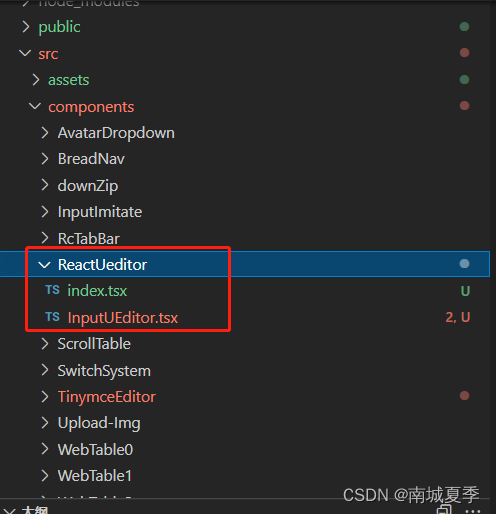
index.tsx
import React, { useState, useRef } from "react";
import UEditor from "./InputUEditor";
// import "./PublishArticle.less";
import { Form } from "antd";function PublishArticle() {const [form] = Form.useForm();const ueRef: any = useRef(null);//编辑器的宽度const [config] = useState({initialFrameWidth: "100%",initialFrameHeight: 400,});//编辑器的默认值const [initData] = useState("");//富文本失焦就触发setContent函数设置表单的content内容const setContent = (e) => {form.setFieldsValue({content: ueRef.current.getUEContent(),});};return (<div className="PublishArticle-wrap"><UEditorid="container"ref={ueRef}config={config}initData={initData}setContent={(e) => setContent(e)}></UEditor></div>);
}export default PublishArticle;
InputUEditor.tsx
import React, { useEffect, useImperativeHandle, forwardRef } from "react";
let editor: any = null;const UEditor = (props, ref) => {useEffect(() => {setConfig(props.initData, props.config, props.setContent);return () => {// editor?.destroy();// editor.removeListener(); //不要打开,否则返回有问题报错};}, [props.initData, props.config, props.setContent]);// 初始化编辑器const setConfig = (initData, config, setContent) => {editor =window.UE &&window.UE.getEditor("editor", {// enableAutoSave: false,// autoHeightEnabled: false,autoFloatEnabled: false,initialFrameHeight: (config && config.initialFrameHeight) || 450,initialFrameWidth: (config && config.initialFrameWidth) || "100%",zIndex: 1,});editor.ready(() => {if (initData) {editor.setContent(initData); //设置默认值/表单回显}});editor.addListener("blur", function () {setContent(editor.getContent());});};useImperativeHandle(ref, () => ({getUEContent: () => {return editor.getContent(); //获取编辑器内容},}));return <script id="editor" type="text/plain" />;
};export default forwardRef(UEditor);
页面组件引入
import ReactUeditor from "@/components/ReactUeditor";<Form.Item name="contents"><ReactUeditor></ReactUeditor>
</Form.Item>
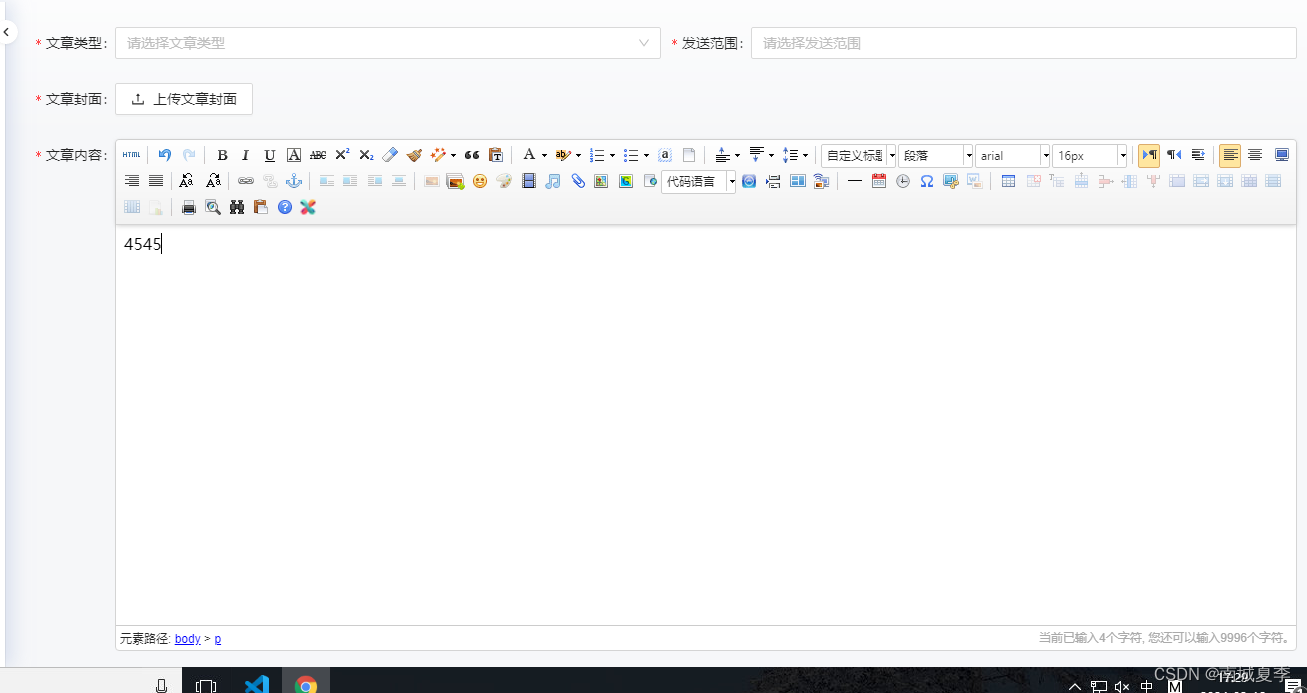
这个时候就能看到效果了
4.接入秀米
参考地址
引入秀米图标和样式
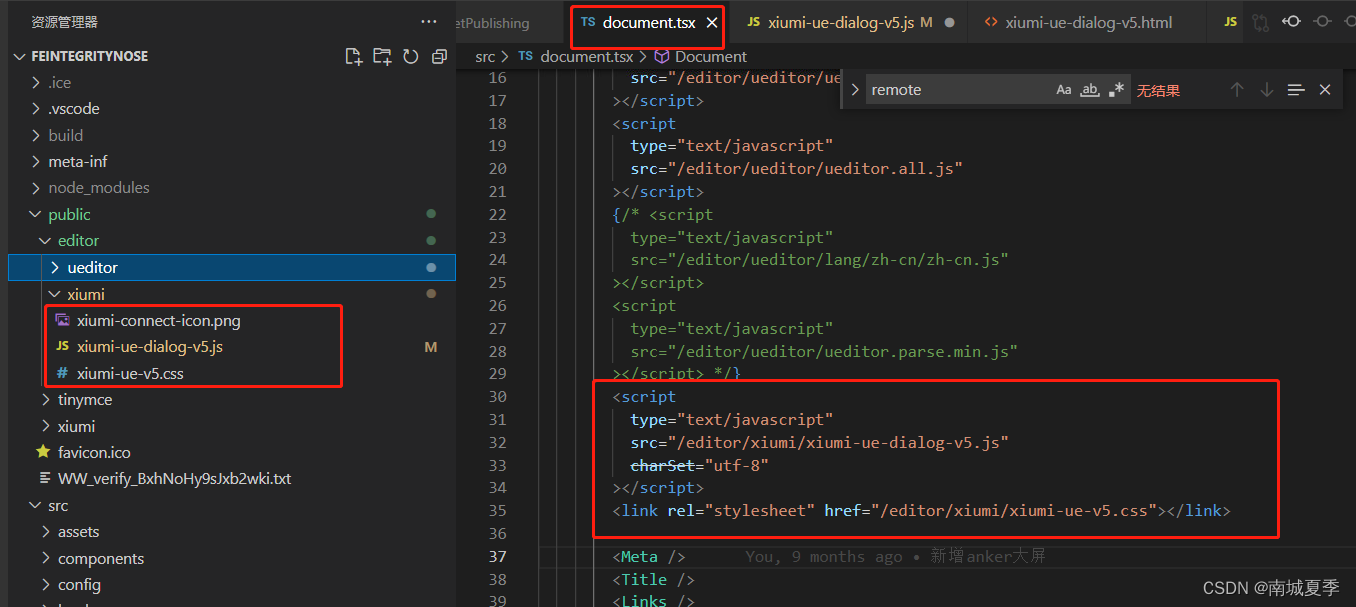
xiumi-ue-dialog-v5.js
/*** Created by shunchen_yang on 16/10/25.*/UE.registerUI("dialog", function (editor, uiName) {var btn = new UE.ui.Button({name: "/* xiumi-connect */",title: "秀米",onclick: function () {var dialog = new UE.ui.Dialog({iframeUrl: "/editor/ueditor/xiumi-ue-dialog-v5.html",editor: editor,name: "xiumi-connect",title: "秀米图文消息助手",cssRules:"width: " +(window.innerWidth - 80) +"px;" +"height: " +(window.innerHeight - 280) +"px;z-index:100000",});dialog.render();dialog.open();},});return btn;
});
xiumi-ue-v5.css
.edui-button.edui-for-xiumi-connect .edui-button-wrap .edui-button-body .edui-icon {background-image: url("./xiumi-connect-icon.png") !important;background-size: contain;
}
通过iframe 嵌入秀米
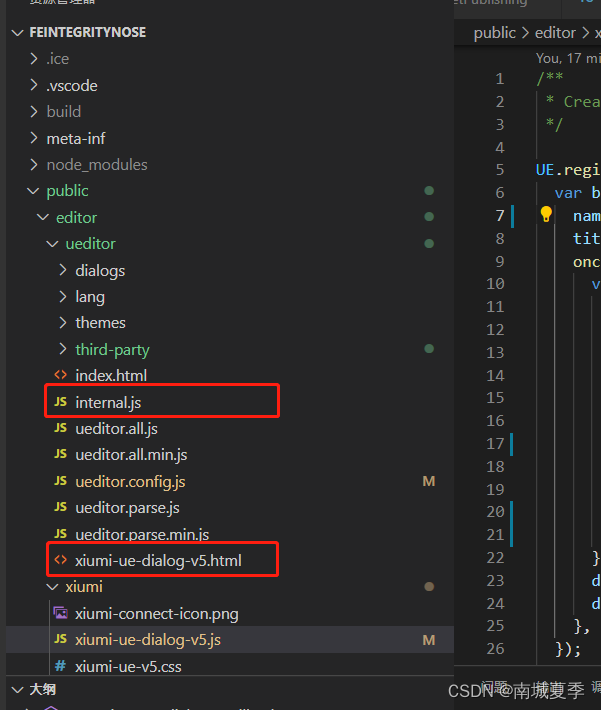
internal.js
(function () {var parent = window.parent;//dialog对象dialog = parent.$EDITORUI[window.frameElement.id.replace(/_iframe$/, "")];//当前打开dialog的编辑器实例editor = dialog.editor;UE = parent.UE;domUtils = UE.dom.domUtils;utils = UE.utils;browser = UE.browser;ajax = UE.ajax;$G = function (id) {return document.getElementById(id);};//focus元素$focus = function (node) {setTimeout(function () {if (browser.ie) {var r = node.createTextRange();r.collapse(false);r.select();} else {node.focus();}}, 0);};utils.loadFile(document, {href:editor.options.themePath +editor.options.theme +"/dialogbase.css?cache=" +Math.random(),tag: "link",type: "text/css",rel: "stylesheet",});lang = editor.getLang(dialog.className.split("-")[2]);
if (lang) {domUtils.on(window, "load", function () {var langImgPath =editor.options.langPath + editor.options.lang + "/images/";//针对静态资源for (var i in lang["static"]) {var dom = $G(i);if (!dom) continue;var tagName = dom.tagName,content = lang["static"][i];if (content.src) {//clonecontent = utils.extend({}, content, false);content.src = langImgPath + content.src;}if (content.style) {content = utils.extend({}, content, false);content.style = content.style.replace(/url\s*\(/g,"url(" + langImgPath);}switch (tagName.toLowerCase()) {case "var":dom.parentNode.replaceChild(document.createTextNode(content), dom);break;case "select":var ops = dom.options;for (var j = 0, oj; (oj = ops[j]); ) {oj.innerHTML = content.options[j++];}for (var p in content) {p != "options" && dom.setAttribute(p, content[p]);}break;default:domUtils.setAttributes(dom, content);}}});}
})();
xiumi-ue-dialog-v5.html
<!DOCTYPE html>
<html><head><meta http-equiv="Content-Type" content="text/html; charset=utf-8" /><title>XIUMI connect</title><style>html,body {padding: 0;margin: 0;}#xiumi {position: absolute;width: 100%;height: 100%;border: none;box-sizing: border-box;}</style>
</head><body><iframe id="xiumi" src="https://xiumi.us/studio/v5#/paper"></iframe><script type="text/javascript" src="dialogs/internal.js"></script><script>var xiumi = document.getElementById('xiumi');var xiumi_url = "https://xiumi.us";console.log("xiumi_url is %o", xiumi_url);xiumi.onload = function () {console.log("postMessage to %o", xiumi_url);// "XIUMI:3rdEditor:Connect" 是特定标识符,不能修改,大小写敏感xiumi.contentWindow.postMessage('XIUMI:3rdEditor:Connect', xiumi_url);};document.addEventListener("mousewheel", function (event) {event.preventDefault();event.stopPropagation();});window.addEventListener('message', function (event) {console.log("Received message from xiumi, origin: %o %o", event.origin, xiumi_url);if (event.origin == xiumi_url) {console.log("Inserting html");editor.execCommand('insertHtml', event.data);console.log("Xiumi dialog is closing");dialog.close();}}, false);</script>
</body></html>
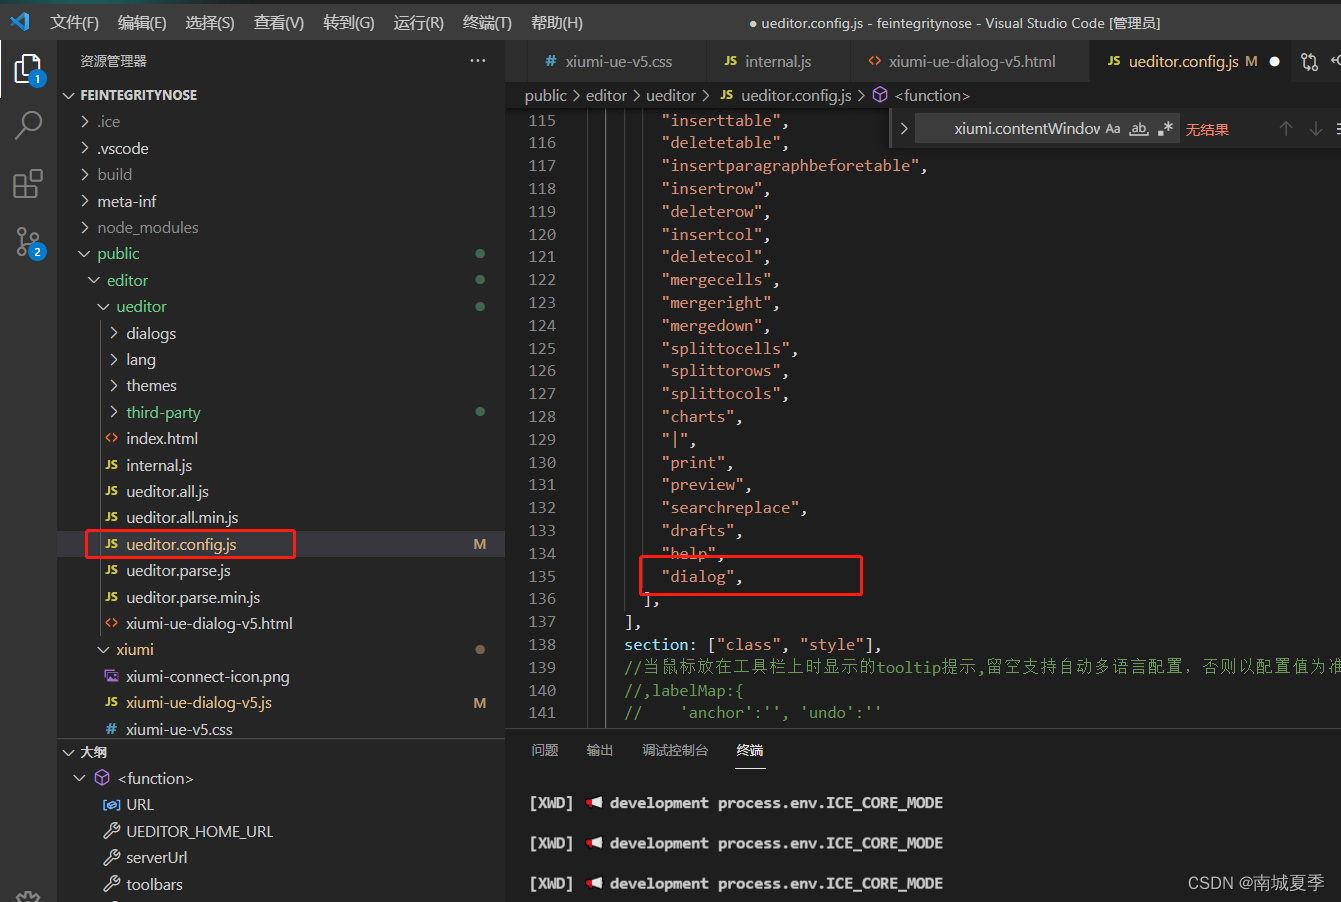
将注册的图标添加到编辑器中
这篇关于react hook使用UEditor引入秀米图文排版的文章就介绍到这儿,希望我们推荐的文章对编程师们有所帮助!


