本文主要是介绍【小沐学GIS】基于C++QT绘制三维数字地球Earth(OpenGL),希望对大家解决编程问题提供一定的参考价值,需要的开发者们随着小编来一起学习吧!
| 🍺三维数字地球系列相关文章如下🍺: | |
|---|---|
| 1 | 【小沐学GIS】基于C++绘制三维数字地球Earth(456:OpenGL、glfw、glut)第一期 |
| 2 | 【小沐学GIS】基于C++绘制三维数字地球Earth(456:OpenGL、glfw、glut)第二期 |
| 3 | 【小沐学GIS】基于C++OpenSceneGraph(OSG)绘制三维数字地球Earth(7:OpenGL) |
| 4 | 【小沐学GIS】基于C++QT绘制三维数字地球Earth(8:OpenGL) |
| 5 | 【小沐学GIS】基于C++绘制太阳系SolarSystem(9:OpenGL、glfw、glut) |
| 6 | 【小沐学GIS】基于C#绘制三维数字地球Earth(10:OpenGL) |
| 7 | 【小沐学GIS】基于Python绘制三维数字地球Earth(11:OpenGL) |
| 8 | 【小沐学GIS】基于Android绘制三维数字地球Earth(12:OpenGL) |
| 9 | 【小沐学GIS】基于WebGL绘制三维数字地球Earth(13:OpenGL) |
文章目录
- 1、简介
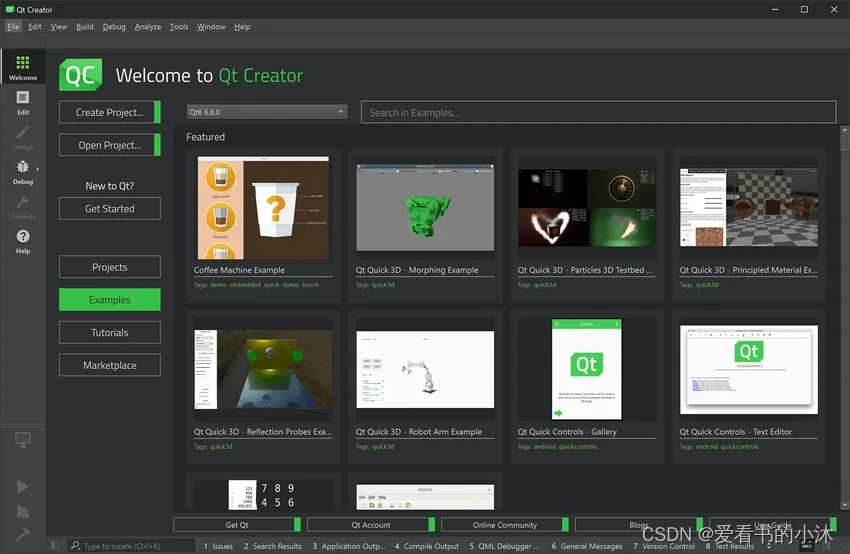
- 1.1 Qt简介
- 1.2 Qt的pro文件的32位或64位
- 1.3 OpenGL添加glu库
- 1.4 OpenGL添加glut库
- 2、在线地图访问地址
- 6、代码测试(瓦片地图)
- 6.5 opengl / qt5 / glm / cpprest / c++ / 必应地图 (2d,瓦片贴图)
- 8、代码测试(整体地球)
- 8.1 QtOpenGL / qt5 / c++ / 地球/飞线(3d)
- 8.2 QtOpenGL / qt5 / c++ / 浮动小地球(3d)
- 结语
1、简介
1.1 Qt简介
https://www.qt.io/zh-cn/
Qt(官方发音 [kju:t],音同 cute)是一个跨平台的 C++ 开发库,主要用来开发图形用户界面(Graphical User Interface,GUI)程序,当然也可以开发不带界面的命令行(Command User Interface,CUI)程序。

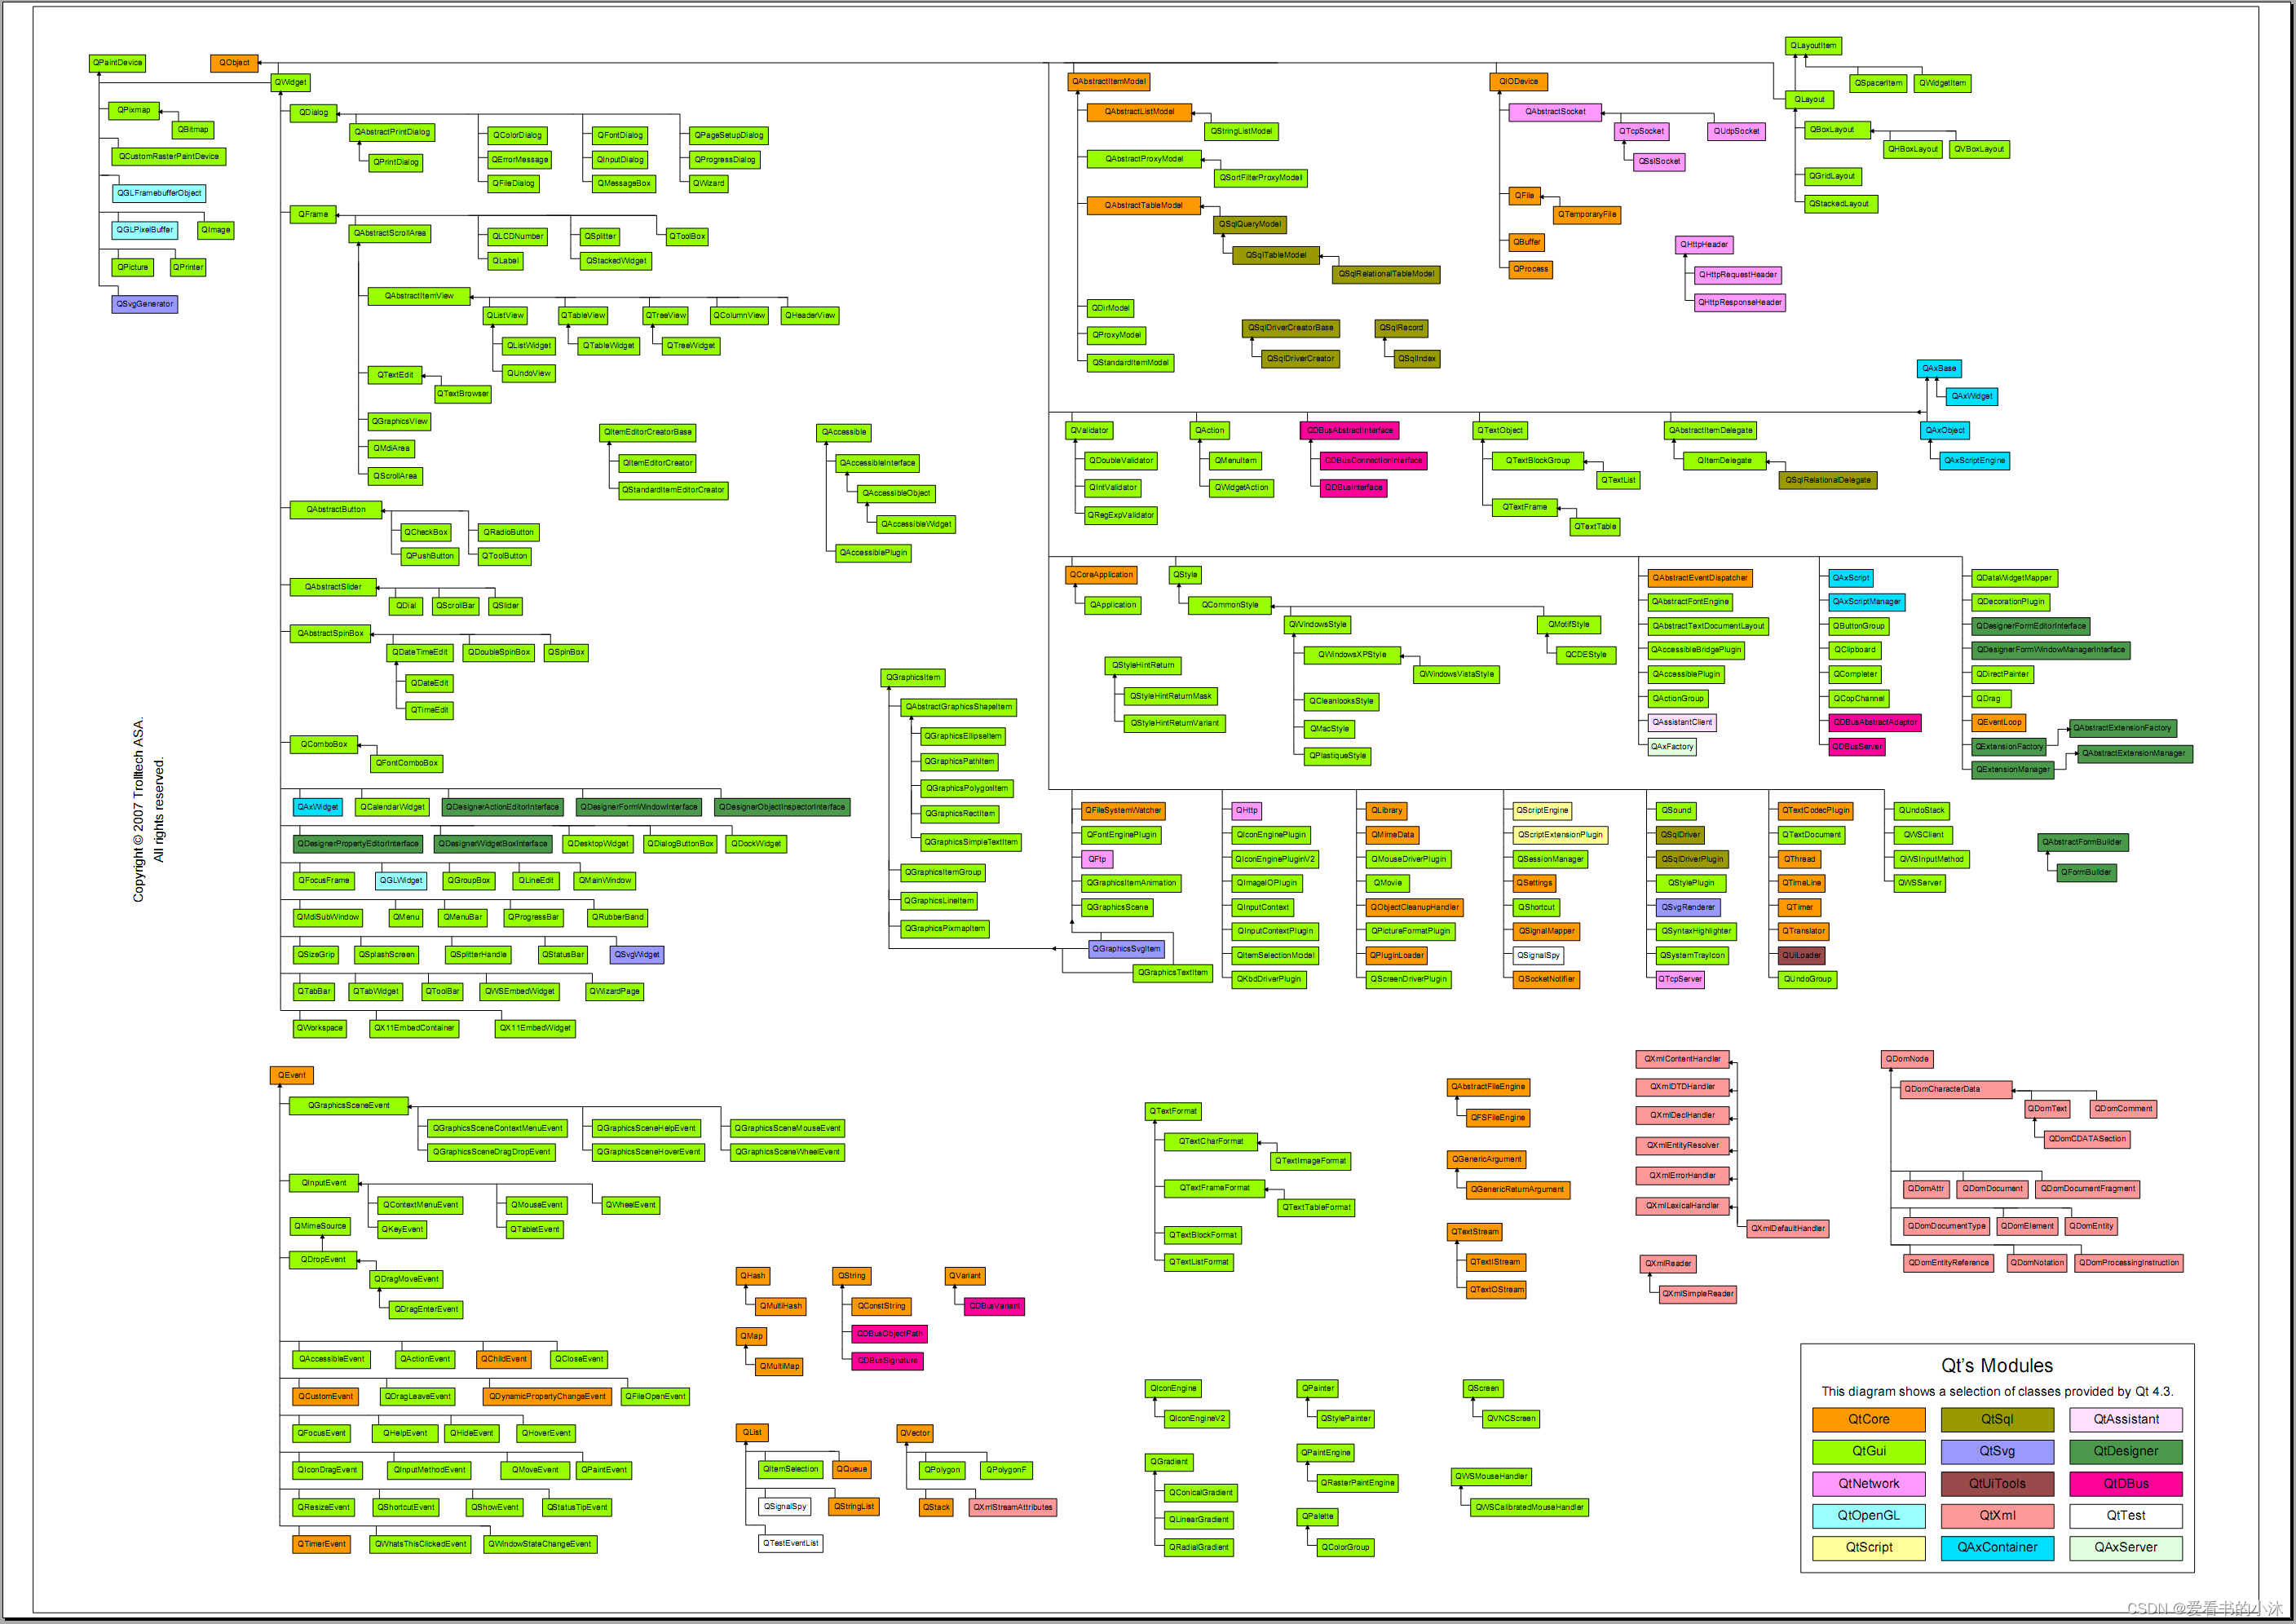
Qt 经常被当做一个 GUI 库,用来开发图形界面应用程序,但这并不是 Qt 的全部;Qt 除了可以绘制漂亮的界面(包括控件、布局、交互),还包含很多其它功能,比如多线程、访问数据库、图像处理、音频视频处理、网络通信、文件操作等,这些 Qt 都已经内置了。

- 在线安装地址:
https://www.qt.io/download-open-source
https://download.qt.io/official_releases/online_installers/
-
所有Qt版本下载地址:
http://download.qt.io/archive/qt/ -
所有Qt Creator下载地址:
http://download.qt.io/archive/qtcreator/ -
所有Qt VS开发插件下载地址:
http://download.qt.io/archive/vsaddin/ -
Qt相关下载大全
http://download.qt.io/


1.2 Qt的pro文件的32位或64位
Qt的pro文件里如何判断系统是32位或64位。
- 方法1
Since Qt5 you can use QT_ARCH to detect whether your configuration is 32 or 64. When the target is 32-bit, that returns i386 and in case of a 64-bit target it has the value of x86_64. So it can be used like:contains(QT_ARCH, i386) {message("32-bit")} else {message("64-bit")}
- 方法2
win32 {## Windows common build here!contains(QMAKE_HOST.arch, x86_64) {message("x86 build")## Windows x86 (32bit) specific build here} else {message("x86_64 build")## Windows x64 (64bit) specific build here}
}
- 方法3
Qt allows you to pass arbitrary config parameters which you can use to separate the targets.By having a conditional config in your project file:
CONFIG(myX64, myX64|myX32) {LIBPATH += C:\Coding\MSSDK60A\Lib\x64
} else {LIBPATH += C:\Coding\MSSDK60A\Lib
}
and passing that custom config to qmake with
qmake CONFIG+=myX64
- 方法4
The following code works on Windows (at least with all the recent MSVC compilers - didn't test MinGW), Mac OS X (clang) and Linux (GCC). Feel free to omit the first clause and refer to QT_ARCH  directly if you don't need Qt 4 support.#Firstly,Set TARGET_ARCH variable.
greaterThan(QT_MAJOR_VERSION, 4) {TARGET_ARCH=$${QT_ARCH}
} else {TARGET_ARCH=$${QMAKE_HOST.arch}
}
#Secondly, use TARGET_ARCH to check.
contains(TARGET_ARCH, x86_64) {ARCHITECTURE = x64
} else {ARCHITECTURE = x86
}
1.3 OpenGL添加glu库
QT creator中使用openGL的步骤:
windows中都已经自带了openGL库文件以及glu的库文件,可以直接使用。
opengl32.lib和opengl32.dll是微软为了使openGL能在windows上运行所做的动态库,glu是个扩展库。有openGL库的地方,基本上就同时存在glu库。
为了在QT中使用openGL库,需要在.pro文件中添加这个库:
LIBS += -lopengl32 -lglu32
在程序中添加:
#include <GL/gl.h>
#include <GL/glu.h>
1.4 OpenGL添加glut库
在pro 文件中添加:
QT += opengl
- MSVC版本
#第一种就是直接加据对路径
LIBS += D:/Qt/Qt5.12.6/5.12.6/msvc2017_64/lib/freeglut.lib D:/Windows/Kits/10/Lib/10.0.17763.0/um/x64/OpenGL32.Lib#第二种就是直接加库文件,这个的前提是你的库文件必须在系统目录或者工程编译生成目录build-untitled-Desktop_Qt_5_12_6_MSVC2017_64bit-Debug下
LIBS += freeglut.lib OpenGL32.Lib#第三种就是多个库在同一个文件夹下的时候,连接使用
LIBS += -LD:/Qt/Qt5.12.6/5.12.6/msvc2017_64/lib -lfreeglut -lOpenGL32#第四种就是相对路径./表示生成目录build-untitled-Desktop_Qt_5_12_6_MSVC2017_64bit-Debug
LIBS += -L./ -lfreeglut -lOpenGL32
- MinGW版本
LIBS += -LD:/Qt/Qt5.12.6/5.12.6/mingw73_32/lib -llibfreeglut -lopengl32
- LIBS模板:
#$$OUT_PWD表示编译生成的那个目录,$$PWD表示.pro文件的那个目录
#win32:CONFIG(release, debug|release): LIBS += -L$$OUT_PWD/../../../projects/mylib/release/ -lmylib
#else:win32:CONFIG(debug, debug|release): LIBS += -L$$OUT_PWD/../../../projects/mylib/debug/ -lmylib
#else:unix: LIBS += -L$$OUT_PWD/../../../projects/mylib/ -lmylib
最后在cpp文件中加入#include <GL/glut.h>,这样就可以使用glut中的函数了。
2、在线地图访问地址
以下url中:
Z-瓦片层级,一般支持0-18级,越大代表越清晰;
X-瓦片列号,从西向东(0->360),依次0,1,2,……;
Y-瓦片行号,从北向南(有些也可能是从南向北),依次0,1,2,……;
//Cesium访问
new Cesium.UrlTemplateImageryProvider({//调用影像服务 url: "https://mt1.google.cn/vt/lyrs=s&x={x}&y={y}&z={z}"})new Cesium.BingMapsImageryProvider({url: 'https://dev.virtualearth.net',key: bingmapToken,mapStyle: Cesium.BingMapsStyle.AERIAL})//leaflet访问
L.tileLayer('https://map.geoq.cn/ArcGIS/rest/services/ChinaOnlineCommunity/MapServer/tile/{z}/{y}/{x}', {maxZoom: 18,attribution: 'ArcGIS Map',id: 'arcgis.streets'}).addTo(map);//openlayers3访问new ol.layer.Tile({source: new ol.source.XYZ({url: 'https://mt2.google.cn/vt/lyrs=s&x={x}&y={y}&z={z}'})})//openlayers2访问new OpenLayers.Layer.XYZ("layername", ["https://mt1.google.cn/vt/lyrs=s&x={x}&y={y}&z={z}","https://mt2.google.cn/vt/lyrs=s&x={x}&y={y}&z={z}","https://mt3.google.cn/vt/lyrs=s&x={x}&y={y}&z={z}"], {attribution: "XYZ Imagery",transitionEffect: "resize"})
1、arcgis
街道图:
https://map.geoq.cn/ArcGIS/rest/services/ChinaOnlineCommunity/MapServer/tile/{z}/{y}/{x}
灰色图:
https://map.geoq.cn/ArcGIS/rest/services/ChinaOnlineStreetGray/MapServer/tile/{z}/{y}/{x}
深蓝夜色:
https://map.geoq.cn/ArcGIS/rest/services/ChinaOnlineStreetPurplishBlue/MapServer/tile/{z}/{y}/{x}2、googlemap
lys参数可选值包括:h(街道图)、m(街道图)、p(街道图)、r(街道图)、s(影像无注记)、y(影像含注记)、t(地形图)
街道图:
https://www.google.cn/maps/vt?lyrs=m@189&gl=cn&x={x}&y={y}&z={z}
卫星图:
https://www.google.cn/maps/vt?lyrs=s@189&gl=cn&x={x}&y={y}&z={z}(或者http://mt1.google.cn/vt/lyrs=s&x={x}&y={y}&z={z})3、Amap(高德地图)
街道:(z>=3才有数据)
https://webrd01.is.autonavi.com/appmaptile?lang=zh_cn&size=1&scale=1&style=8&x={x}&y={y}&z={z}
影像图:
https://webst01.is.autonavi.com/appmaptile?style=6&x={x}&y={y}&z={z}4、OSM
街道图(国外服务器,访问较慢):
https://c.tile.openstreetmap.org/{z}/{x}/{y}.png
https://tile-b.openstreetmap.fr/hot/{z}/{x}/{y}.png5、Mapbox
建筑图:(国内数据略陈旧)
https://b.tiles.mapbox.com/v3/osmbuildings.kbpalbpk/{z}/{x}/{y}.png
黑色底图:
https://a.basemaps.cartocdn.com/dark_all/{z}/{x}/{y}.png6、Mapbox
卫星图:
https://a.tiles.mapbox.com/v4/mapbox.satellite/{z}/{x}/{y}.png?access_token={your key}
街道图:
https://a.tiles.mapbox.com/v4/mapbox.streets/{z}/{x}/{y}.png?access_token={your key}
带区划黑底:
https://a.tiles.mapbox.com/v4/mapbox.dark/{z}/{x}/{y}.png?access_token={your key}7、天地图(http://lbs.tianditu.gov.cn/server/MapService.html)
影像图:(z>=1)
https://t0.tianditu.gov.cn/img_w/wmts?SERVICE=WMTS&REQUEST=GetTile&VERSION=1.0.0&LAYER=img&STYLE=default&TILEMATRIXSET=w&FORMAT=tiles&TILEMATRIX={z}&TILEROW={y}&TILECOL={x}&tk={your key}
矢量底图:(z>=1)
https://t0.tianditu.gov.cn/vec_w/wmts?SERVICE=WMTS&REQUEST=GetTile&VERSION=1.0.0&LAYER=vec&STYLE=default&TILEMATRIXSET=w&FORMAT=tiles&TILEMATRIX={z}&TILEROW={y}&TILECOL={x}&tk={your key}
注记:(z>=1)
https://t2.tianditu.com/cia_w/wmts?service=wmts&request=GetTile&version=1.0.0&LAYER=cia&tileMatrixSet=w&TileMatrix={z}&TileRow={y}&TileCol={x}&style=default&tk={your key}8、BingMap
https://ecn.t0.tiles.virtualearth.net/tiles/a1.jpeg?g=7234
https://ecn.t0.tiles.virtualearth.net/tiles/a13.jpeg?g=7234
https://ecn.t0.tiles.virtualearth.net/tiles/a130.jpeg?g=7234
从Level1开始,g=7234/100/-10……为任意正负整数
6、代码测试(瓦片地图)
6.5 opengl / qt5 / glm / cpprest / c++ / 必应地图 (2d,瓦片贴图)
相关介绍见网址:
【小沐学GIS】基于C++绘制三维数字地球Earth(OpenGL、glfw、glut)第二期
8、代码测试(整体地球)
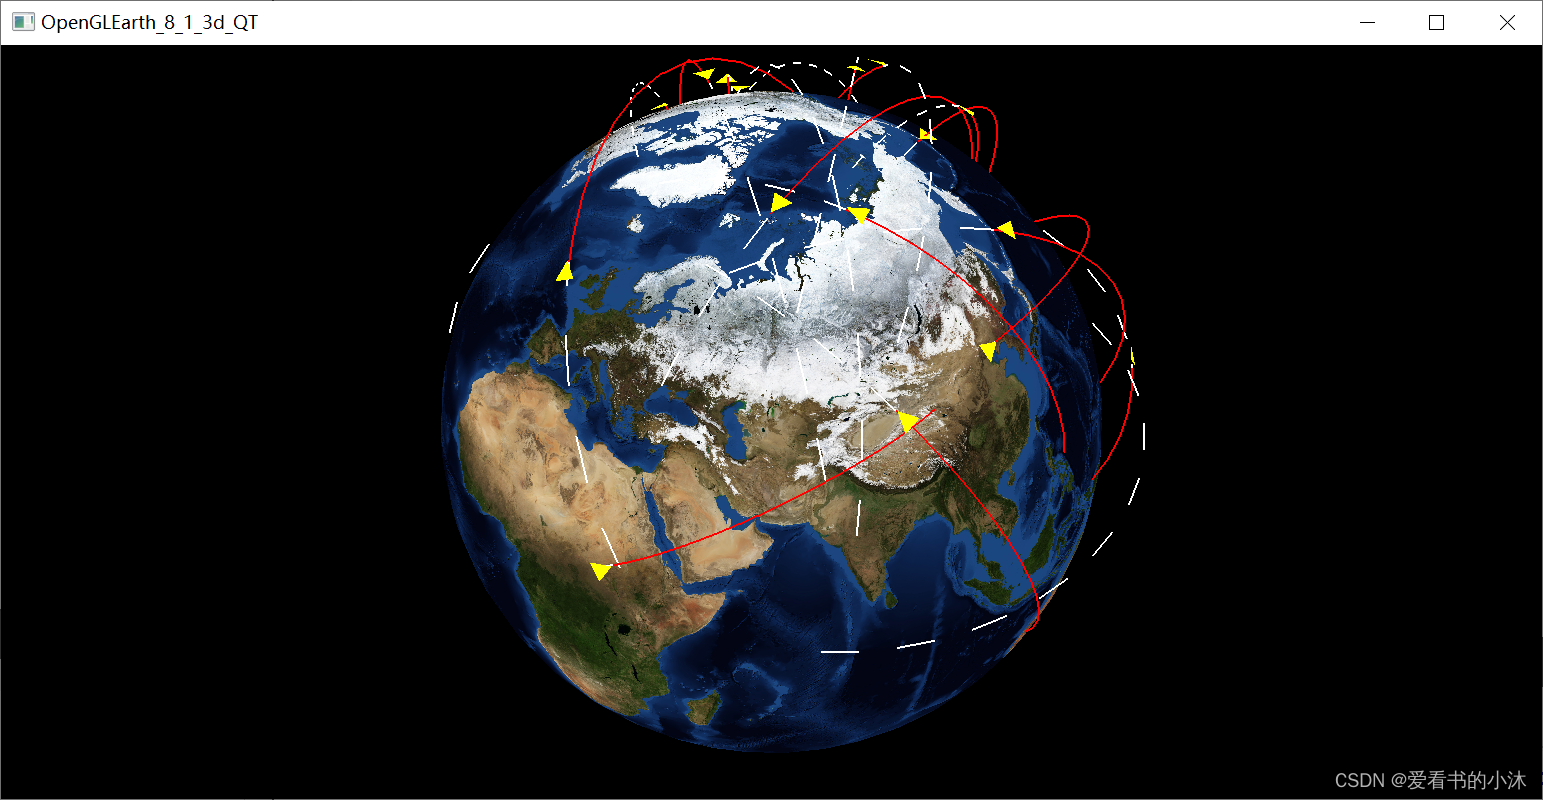
8.1 QtOpenGL / qt5 / c++ / 地球/飞线(3d)


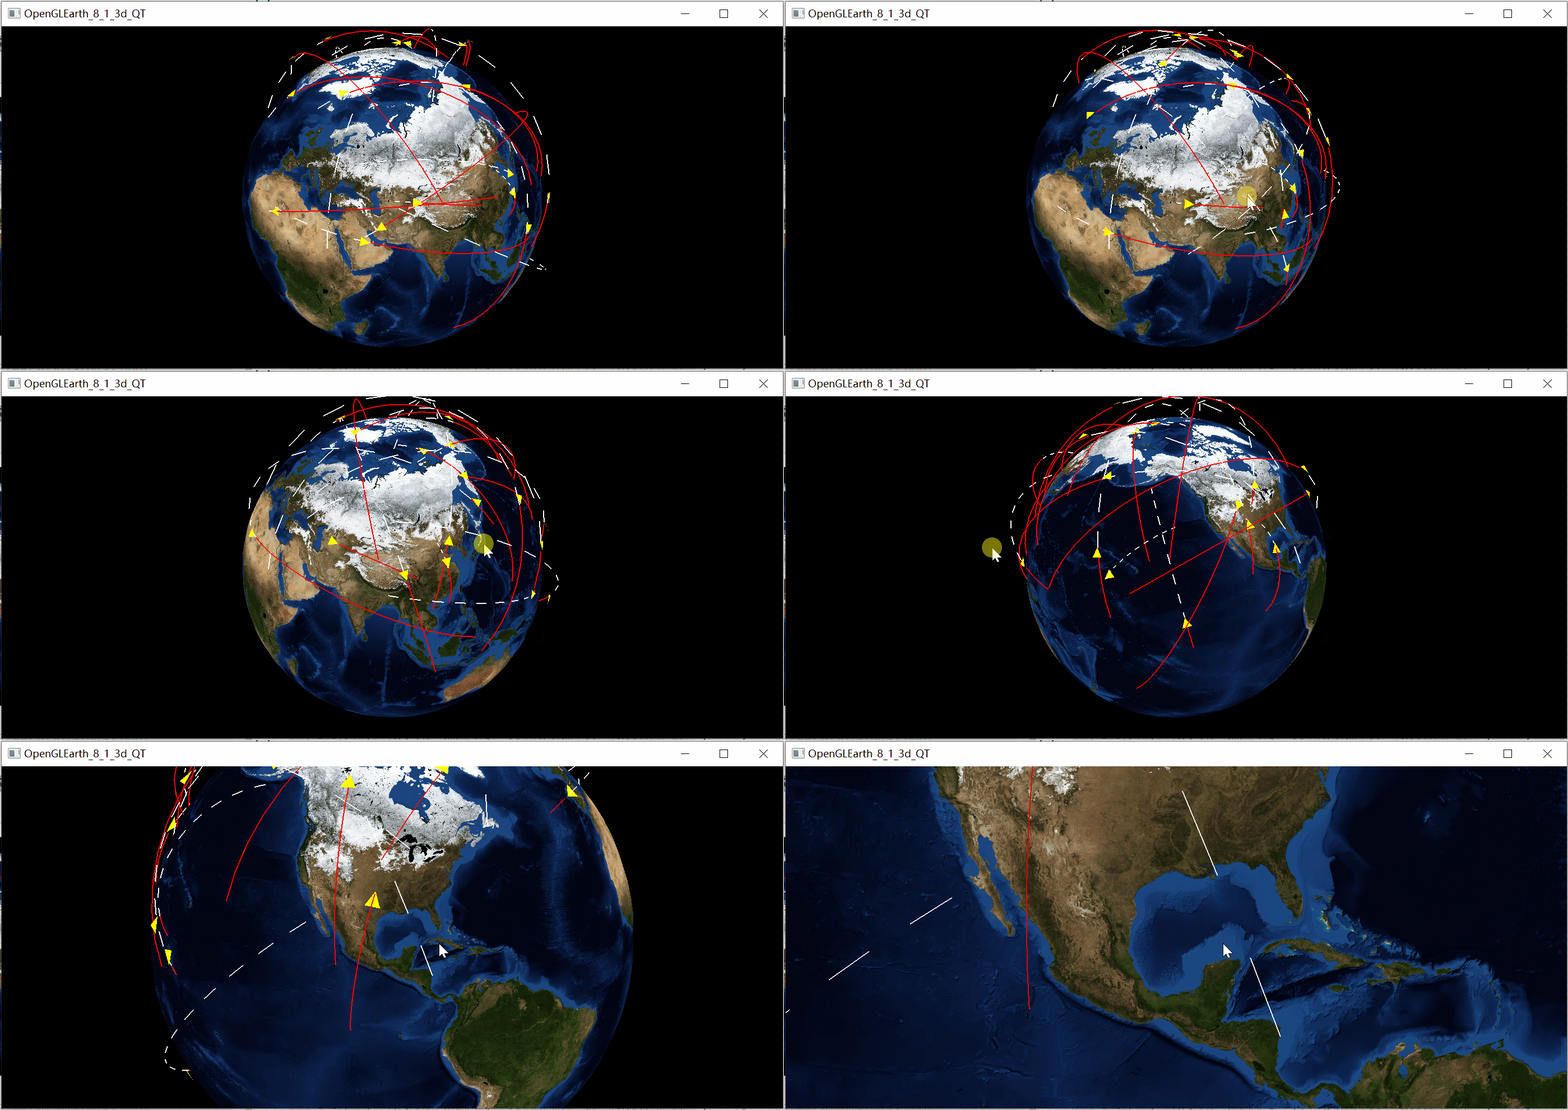
8.2 QtOpenGL / qt5 / c++ / 浮动小地球(3d)

结语
如果您觉得该方法或代码有一点点用处,可以给作者点个赞,或打赏杯咖啡;╮( ̄▽ ̄)╭
如果您感觉方法或代码不咋地//(ㄒoㄒ)//,就在评论处留言,作者继续改进;o_O???
如果您需要相关功能的代码定制化开发,可以留言私信作者;(✿◡‿◡)
感谢各位童鞋们的支持!( ´ ▽´ )ノ ( ´ ▽´)っ!!!
这篇关于【小沐学GIS】基于C++QT绘制三维数字地球Earth(OpenGL)的文章就介绍到这儿,希望我们推荐的文章对编程师们有所帮助!

