本文主要是介绍使用 Chainlit, Langchain 及 Elasticsearch 轻松实现对 PDF 文件的查询,希望对大家解决编程问题提供一定的参考价值,需要的开发者们随着小编来一起学习吧!

在我之前的文章 “Elasticsearch:与多个 PDF 聊天 | LangChain Python 应用教程(免费 LLMs 和嵌入)” 里,我详述如何使用 Streamlit,Langchain, Elasticsearch 及 OpenAI 来针对 PDF 进行聊天。在今天的文章中,我将使用 Chainlit 来展示如使用 Langchain 及 Elasticsearch 针对 PDF 文件进行查询。
为方便大家学习,我的代码在地址 GitHub - liu-xiao-guo/langchain-openai-chainlit: Chat with your documents (pdf, csv, text) using Openai model, LangChain and Chainlit 进行下载。
安装
安装 Elasticsearch 及 Kibana
如果你还没有安装好自己的 Elasticsearch 及 Kibana,那么请参考一下的文章来进行安装:
-
如何在 Linux,MacOS 及 Windows 上进行安装 Elasticsearch
-
Kibana:如何在 Linux,MacOS 及 Windows 上安装 Elastic 栈中的 Kibana
在安装的时候,请选择 Elastic Stack 8.x 进行安装。在安装的时候,我们可以看到如下的安装信息:

拷贝 Elasticsearch 证书
我们把 Elasticsearch 的证书拷贝到当前的目录下:
$ pwd
/Users/liuxg/python/elser
$ cp ~/elastic/elasticsearch-8.12.0/config/certs/http_ca.crt .
$ ls http_ca.crt
http_ca.crt
安装 Python 依赖包
我们在当前的目录下打入如下的命令:
python3 -m venv .venv
source .venv/bin/activate
然后,我们再打入如下的命令:
$ pwd
/Users/liuxg/python/langchain-openai-chainlit
$ source .venv/bin/activate
(.venv) $ pip3 install -r requirements.txt
运行应用
有关 Chainlit 的更多知识请参考 Overview - Chainlit。这里就不再赘述。有关 pdf_qa.py 的代码如下:
pdf_qa.py
# Import necessary modules and define env variables# from langchain.embeddings.openai import OpenAIEmbeddings
from langchain_openai import OpenAIEmbeddings
from langchain.text_splitter import RecursiveCharacterTextSplitter
from langchain.chains import RetrievalQAWithSourcesChain
from langchain_openai import ChatOpenAI
from langchain.prompts.chat import (ChatPromptTemplate,SystemMessagePromptTemplate,HumanMessagePromptTemplate,
)
import os
import io
import chainlit as cl
import PyPDF2
from io import BytesIOfrom pprint import pprint
import inspect
# from langchain.vectorstores import ElasticsearchStore
from langchain_community.vectorstores import ElasticsearchStore
from elasticsearch import Elasticsearchfrom dotenv import load_dotenv# Load environment variables from .env file
load_dotenv()OPENAI_API_KEY= os.getenv("OPENAI_API_KEY")
ES_USER = os.getenv("ES_USER")
ES_PASSWORD = os.getenv("ES_PASSWORD")
elastic_index_name='pdf_docs'# text_splitter and system templatetext_splitter = RecursiveCharacterTextSplitter(chunk_size=1000, chunk_overlap=100)system_template = """Use the following pieces of context to answer the users question.
If you don't know the answer, just say that you don't know, don't try to make up an answer.
ALWAYS return a "SOURCES" part in your answer.
The "SOURCES" part should be a reference to the source of the document from which you got your answer.Example of your response should be:```
The answer is foo
SOURCES: xyz
```Begin!
----------------
{summaries}"""messages = [SystemMessagePromptTemplate.from_template(system_template),HumanMessagePromptTemplate.from_template("{question}"),
]
prompt = ChatPromptTemplate.from_messages(messages)
chain_type_kwargs = {"prompt": prompt}@cl.on_chat_start
async def on_chat_start():# Sending an image with the local file pathelements = [cl.Image(name="image1", display="inline", path="./robot.jpeg")]await cl.Message(content="Hello there, Welcome to AskAnyQuery related to Data!", elements=elements).send()files = None# Wait for the user to upload a PDF filewhile files is None:files = await cl.AskFileMessage(content="Please upload a PDF file to begin!",accept=["application/pdf"],max_size_mb=20,timeout=180,).send()file = files[0]# print("type: ", type(file))# print("file: ", file)# pprint(vars(file))# print(file.content)msg = cl.Message(content=f"Processing `{file.name}`...")await msg.send()# Read the PDF file# pdf_stream = BytesIO(file.content)with open(file.path, 'rb') as f:pdf_content = f.read()pdf_stream = BytesIO(pdf_content)pdf = PyPDF2.PdfReader(pdf_stream)pdf_text = ""for page in pdf.pages:pdf_text += page.extract_text()# Split the text into chunkstexts = text_splitter.split_text(pdf_text)# Create metadata for each chunkmetadatas = [{"source": f"{i}-pl"} for i in range(len(texts))]# Create a Chroma vector storeembeddings = OpenAIEmbeddings()url = f"https://{ES_USER}:{ES_PASSWORD}@localhost:9200"connection = Elasticsearch(hosts=[url], ca_certs = "./http_ca.crt", verify_certs = True)docsearch = Noneif not connection.indices.exists(index=elastic_index_name):print("The index does not exist, going to generate embeddings")   docsearch = await cl.make_async(ElasticsearchStore.from_texts)( texts,embedding = embeddings, es_url = url, es_connection = connection,index_name = elastic_index_name, es_user = ES_USER,es_password = ES_PASSWORD,metadatas=metadatas)else: print("The index already existed")docsearch = ElasticsearchStore(es_connection=connection,embedding=embeddings,es_url = url, index_name = elastic_index_name, es_user = ES_USER,es_password = ES_PASSWORD    )# Create a chain that uses the Chroma vector storechain = RetrievalQAWithSourcesChain.from_chain_type(ChatOpenAI(temperature=0),chain_type="stuff",retriever=docsearch.as_retriever(search_kwargs={"k": 4}),)# Save the metadata and texts in the user sessioncl.user_session.set("metadatas", metadatas)cl.user_session.set("texts", texts)# Let the user know that the system is readymsg.content = f"Processing `{file.name}` done. You can now ask questions!"await msg.update()cl.user_session.set("chain", chain)@cl.on_message
async def main(message:str):chain = cl.user_session.get("chain")  # type: RetrievalQAWithSourcesChainprint("chain type: ", type(chain))cb = cl.AsyncLangchainCallbackHandler(stream_final_answer=True, answer_prefix_tokens=["FINAL", "ANSWER"])cb.answer_reached = Trueprint("message: ", message)pprint(vars(message))print(message.content)res = await chain.acall(message.content, callbacks=[cb])answer = res["answer"]sources = res["sources"].strip()source_elements = []# Get the metadata and texts from the user sessionmetadatas = cl.user_session.get("metadatas")all_sources = [m["source"] for m in metadatas]texts = cl.user_session.get("texts")print("texts: ", texts)if sources:found_sources = []# Add the sources to the messagefor source in sources.split(","):source_name = source.strip().replace(".", "")# Get the index of the sourcetry:index = all_sources.index(source_name)except ValueError:continuetext = texts[index]found_sources.append(source_name)# Create the text element referenced in the messagesource_elements.append(cl.Text(content=text, name=source_name))if found_sources:answer += f"\nSources: {', '.join(found_sources)}"else:answer += "\nNo sources found"if cb.has_streamed_final_answer:cb.final_stream.elements = source_elementsawait cb.final_stream.update()else:await cl.Message(content=answer, elements=source_elements).send()
我们可以使用如下的命令来运行:
export ES_USER="elastic"
export ES_PASSWORD="xnLj56lTrH98Lf_6n76y"
export OPENAI_API_KEY="YourOpenAiKey"chainlit run pdf_qa.py -w
(.venv) $ chainlit run pdf_qa.py -w
2024-02-14 10:58:30 - Loaded .env file
2024-02-14 10:58:33 - Your app is available at http://localhost:8000
2024-02-14 10:58:34 - Translation file for en not found. Using default translation en-US.
2024-02-14 10:58:35 - 2 changes detected我们先选择项目自带的 pdf 文件:
Is sample PDF download critical to an organization?
Does comprehensive PDF testing have various advantages?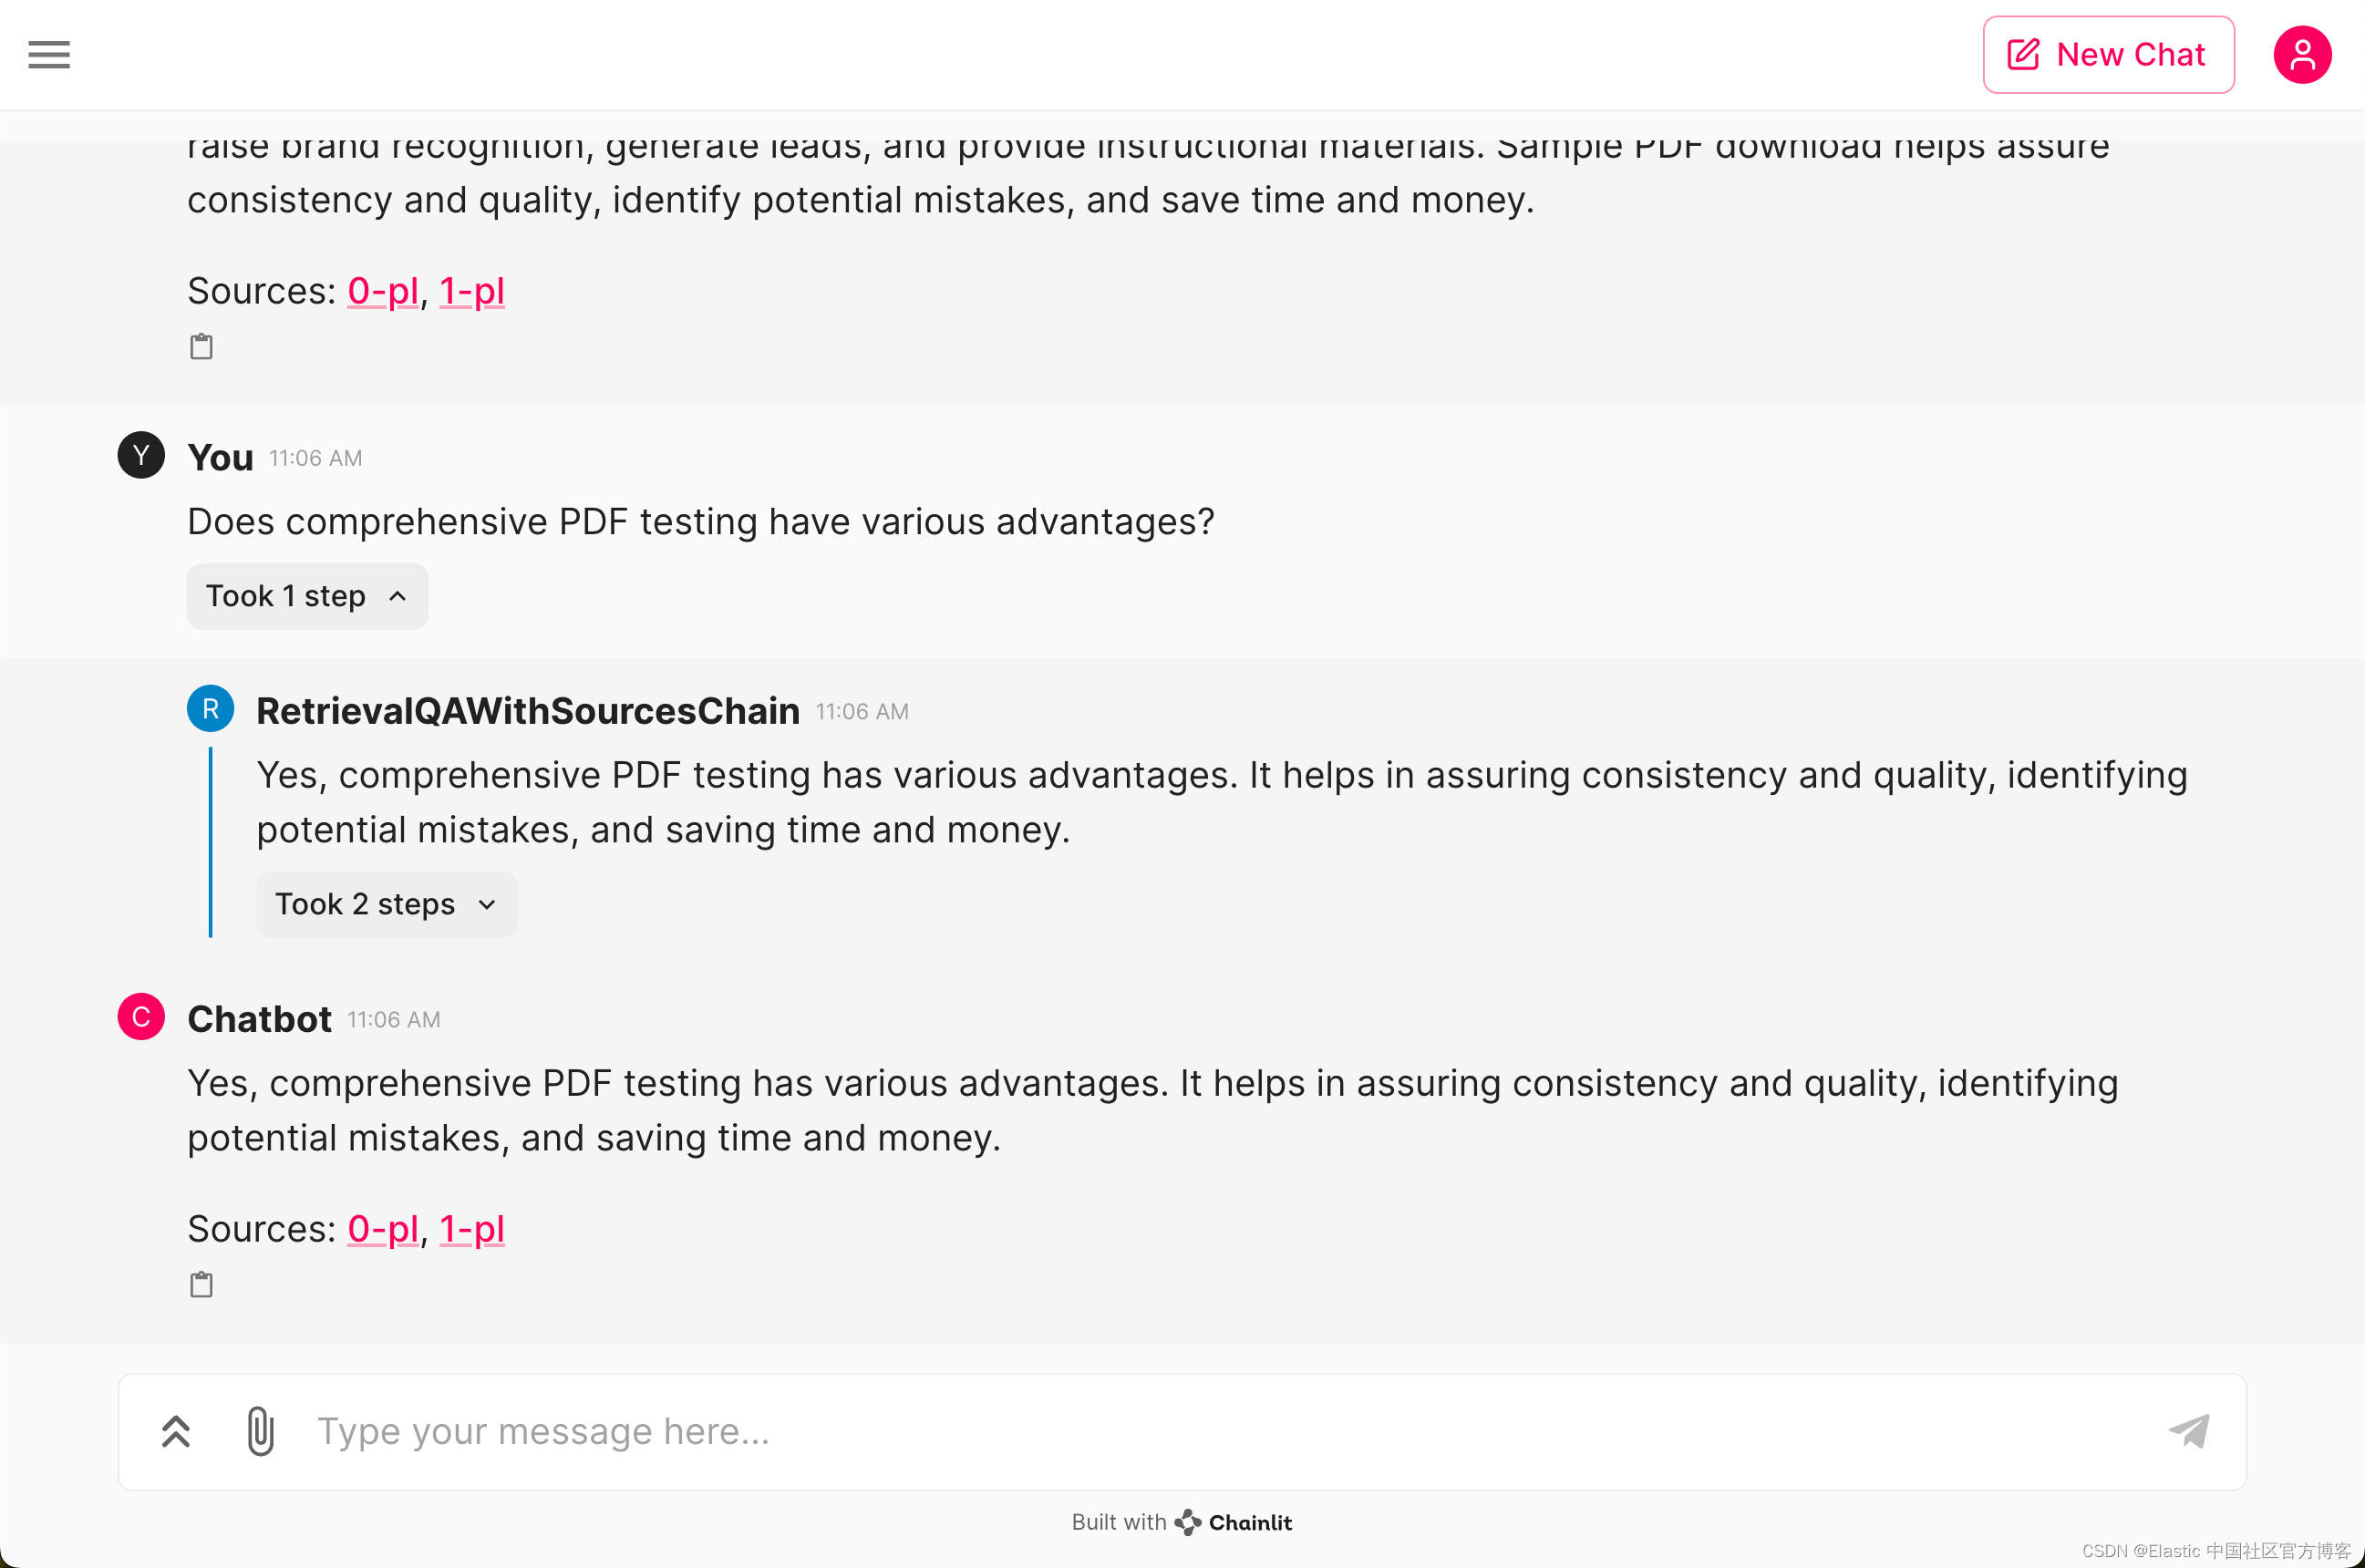
这篇关于使用 Chainlit, Langchain 及 Elasticsearch 轻松实现对 PDF 文件的查询的文章就介绍到这儿,希望我们推荐的文章对编程师们有所帮助!


