学习目标
- 掌握Java Collections API的基本结构
- 理解Collection的抽象设计
- 掌握Collection实现的Java相关技术:继承/多态/泛型/接口
- 掌握栈的应用
- 掌握栈的实现(数组,链式)
- 分析Java Stack API
知识点总结
- 集合(collection):线性的和非线性的;线性集合(linear collection)是集合中的元素排成一行。非线性集合是按不同于一行的方式来组织元素,例如按层次或是按网络的方式。
- 抽象(abstraction)在某些时候隐藏其细节。抽象数据类型(abstract data type,ADT)是其值和操作都没有在程序设计语言中定义的一种数据类型。它是抽象的,因为实现细节必须要定义,而且要对用户隐藏。
代码实现
- 用数组实现栈
public class ArrayStack<T> {private final int DEFAULT_CAPACITY = 10;private int count;private T[] stack;private T item;public T pop () {if (count==0){System.out.println("Wrong num");}else {item = stack[count-1];stack[count-1]=null;}return item;}public T peek(){if (count==0){System.out.println("Wrong num");}else {item = stack[count-1];}return item;}public boolean isEmpty(){if (count==0)return true;elsereturn false;}public int size(){return count;}public ArrayStack(){count=0;stack =(T[])(new Object[DEFAULT_CAPACITY]);}public void push(T element){if (count==stack.length)expandCapacity();stack[count]=element;count++;}public String toString(){String result = "<top of stack>";for (int index=count-1;index>=0;index--)result += stack[index]+"\n";return result+"<bottom of stack>";}private void expandCapacity(){T[] larger = (T[])(new Object[stack.length*2]);for (int index=0;index<stack.length;index++){larger[index] = stack[index];}stack = larger;}peek()操作要注意当前栈是否是空。
用链表实现栈
public class LinkedStack<T> implements Stack<T>
{private int count;private LinearNode<T> top = new LinearNode<T>(null);//表头,数据为空private LinearNode<T> end = new LinearNode<T>(null);//表尾//----------------------------------------------------------------//  Creates an empty stack using the default capacity.// ----------------------------------------------------------------public LinkedStack() {top.setNext(end);count=0;}
//----------------------------------------------------------------
//  Removes the element at the top of this stack and returns a
//  reference to it. Throws an EmptyCollectionException if the
//  stack contains no elements.
// ----------------------------------------------------------------
public T pop() throws EmptyCollectionException {if (count == 0) throw new EmptyCollectionException ("Pop operation failed. " + "The stack is empty.");T result = top.getNext().getElement();top.setNext(top.getNext().getNext());top.setElement(null);count--;
return result;
}
//----------------------------------------------------------------//   Returns a string representation of this stack.
// ----------------------------------------------------------------public String toString() {String result = "<top of stack>\n";LinearNode current = top;while (current != null) {result += current.getElement() + "\n";current = current.getNext();}return result + "<bottom of stack>";}//----------------------------------------------------------------
//  The following methods are left as programming projects.
// ----------------------------------------------------------------@Overridepublic int hashCode() {return super.hashCode();}@Overridepublic void push(T element) {LinearNode<T> now = new LinearNode<T>(element);//now是用来保存加入元素的节点类的实例now.setNext(top.getNext());//指向top指向的对象top.setNext(now);count++;}@Overridepublic T peek() {return top.getNext().getElement();}@Overridepublic boolean isEmpty() {if (count==0)return true;elsereturn false;}@Overridepublic int size() {return count;}public static void main(String[] args) {LinkedStack mLinked = new LinkedStack();mLinked.push(1);System.out.println(mLinked.isEmpty());}}
//************************************************************
//  LinearNode.java       Java Foundations
// //  Represents a node in a linked list.
// ************************************************************class LinearNode<T> {private LinearNode<T> next;private T element;
//----------------------------------------------------------------
//  Creates an empty node.
// ----------------------------------------------------------------
public LinearNode() {next = null;element = null; }
//----------------------------------------------------------------
//  Creates a node storing the specified element.
// ---------------------------------------------------------------
public LinearNode (T elem) {next = null;element = elem; }
//----------------------------------------------------------------
//  Returns the node that follows this one.
// ----------------------------------------------------------------
public LinearNode<T> getNext() {return next;}
//----------------------------------------------------------------
//  Sets the node that follows this one.
// ----------------------------------------------------------------
public void setNext (LinearNode<T> node) {next = node;}
//----------------------------------------------------------------
//  Returns the element stored in this node.
// ----------------------------------------------------------------
public T getElement() {return element;}
public void setElement (T elem) {element = elem;}}
以上代码是我和刘先润一起写的,所以相同。我们的代码和书上的代码也有一些不同。我们最初定义了两个节点。一个头结点一个尾节点。在构造函数将头节点指向为节点。在操作中头结点和尾节点都不存储数据。(但是后来发现到时没什么作用,到时代码比之书上并不简洁)
Android演示Stack
- 我的思路用RecyclerView来完成此次app.
- 1.首先要使用RecyclerView就要先添加依赖
compile 'com.android.support:cardview-v7:21.0.3'compile 'com.android.support:recyclerview-v7:21.0.3'- 2.定义一个item
<LinearLayout xmlns:android="http://schemas.android.com/apk/res/android"android:orientation="vertical" android:layout_width="match_parent"android:layout_height="match_parent"><TextView xmlns:android="http://schemas.android.com/apk/res/android"android:id="@+id/title"android:layout_width="match_parent"android:layout_height="130dp"android:gravity="center"android:layout_margin="4dp"android:textColor="#99000000"android:textStyle="bold"android:textSize="22sp"android:background="@color/md_blue_100"android:text="0"/>
</LinearLayout>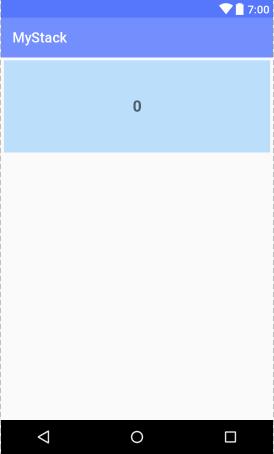
- 3.Activity布局
<RelativeLayoutxmlns:android="http://schemas.android.com/apk/res/android"xmlns:app="http://schemas.android.com/apk/res-auto"xmlns:tools="http://schemas.android.com/tools"android:layout_width="match_parent"android:layout_height="match_parent"tools:context="wb.is.besti.edu.cd.mystack.MainActivity">
<LinearLayoutandroid:id="@+id/liner"android:layout_width="match_parent"android:layout_height="60dp"android:layout_marginLeft="16dp"android:layout_marginRight="16dp"android:layout_marginBottom="16dp"><EditTextandroid:id="@+id/mtext"android:layout_width="match_parent"android:layout_height="match_parent" />
</LinearLayout><android.support.v7.widget.RecyclerViewandroid:id="@+id/list"android:clipToPadding="false"android:scrollbarStyle="outsideOverlay"android:layout_below="@+id/liner"android:layout_height="match_parent"android:layout_width="wrap_content"></android.support.v7.widget.RecyclerView>
</RelativeLayout>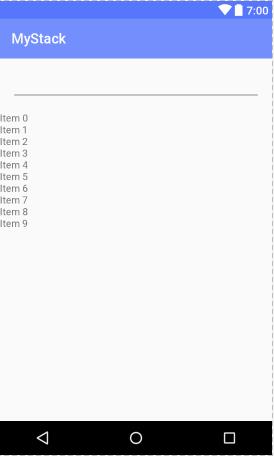
- 4.menu的布局
<menu xmlns:android="http://schemas.android.com/apk/res/android"xmlns:app="http://schemas.android.com/apk/res-auto">
<item android:id="@+id/action_push"android:title="PUSH"android:orderInCategory="100"app:showAsAction="always"></item><itemandroid:id="@+id/action_pop"android:title="POP"android:orderInCategory="100"app:showAsAction="always"></item>
</menu>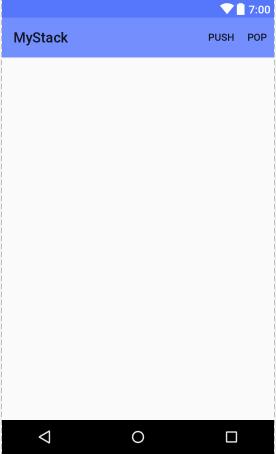
- 5.Activity
public class MainActivity extends AppCompatActivity {RecyclerView mRecyclerView;SimpleAdapter mAdapter;EditText mText;@Overrideprotected void onCreate(Bundle savedInstanceState) {super.onCreate(savedInstanceState);setContentView(R.layout.activity_main);mText = (EditText)findViewById(R.id.mtext);mRecyclerView = (RecyclerView)findViewById(R.id.list);mRecyclerView.setLayoutManager(new LinearLayoutManager(this));mRecyclerView.addItemDecoration(new DividerItemDecoration(this,LinearLayoutManager.VERTICAL));mAdapter = new SimpleAdapter(this);mRecyclerView.setItemAnimator(new DefaultItemAnimator());mRecyclerView.setAdapter(mAdapter);}@Overridepublic boolean onCreateOptionsMenu(Menu menu) {getMenuInflater().inflate(R.menu.popandpush,menu);return true;}@Overridepublic boolean onOptionsItemSelected(MenuItem item) {int id = item.getItemId();if (id==R.id.action_push){mAdapter.push(mText.getText().toString());return true;}if (id==R.id.action_pop){mAdapter.remove(SimpleAdapter.LAST_POSITION);return true;}return super.onOptionsItemSelected(item);}
}- 6.适配器Adapter
public class SimpleAdapter extends RecyclerView.Adapter<SimpleAdapter.SimpleViewHolder> {public static  int LAST_POSITION = -1;private final Context mContext;private MyStack<String> myStack;public void push(String s){myStack.push(s);LAST_POSITION++;}public void remove(int positon){if (myStack.size()==0){}if (myStack.size()!=0){myStack.pop();notifyItemRemoved(positon);}}public static class SimpleViewHolder extends RecyclerView.ViewHolder{public final TextView title;public SimpleViewHolder(View view){super(view);title = (TextView)view.findViewById(R.id.title);}}public SimpleAdapter(Context context){mContext = context;myStack = new MyStack<>();}@Overridepublic SimpleViewHolder onCreateViewHolder(ViewGroup parent, int viewType) {final View view = LayoutInflater.from(mContext).inflate(R.layout.simple_item,parent,false);return new SimpleViewHolder(view);}@Overridepublic int getItemCount() {return myStack.size();}@Overridepublic void onBindViewHolder(SimpleViewHolder holder, int position) {holder.title.setText(myStack.peek());}
}
7.(非必须)添加分割线
效果图
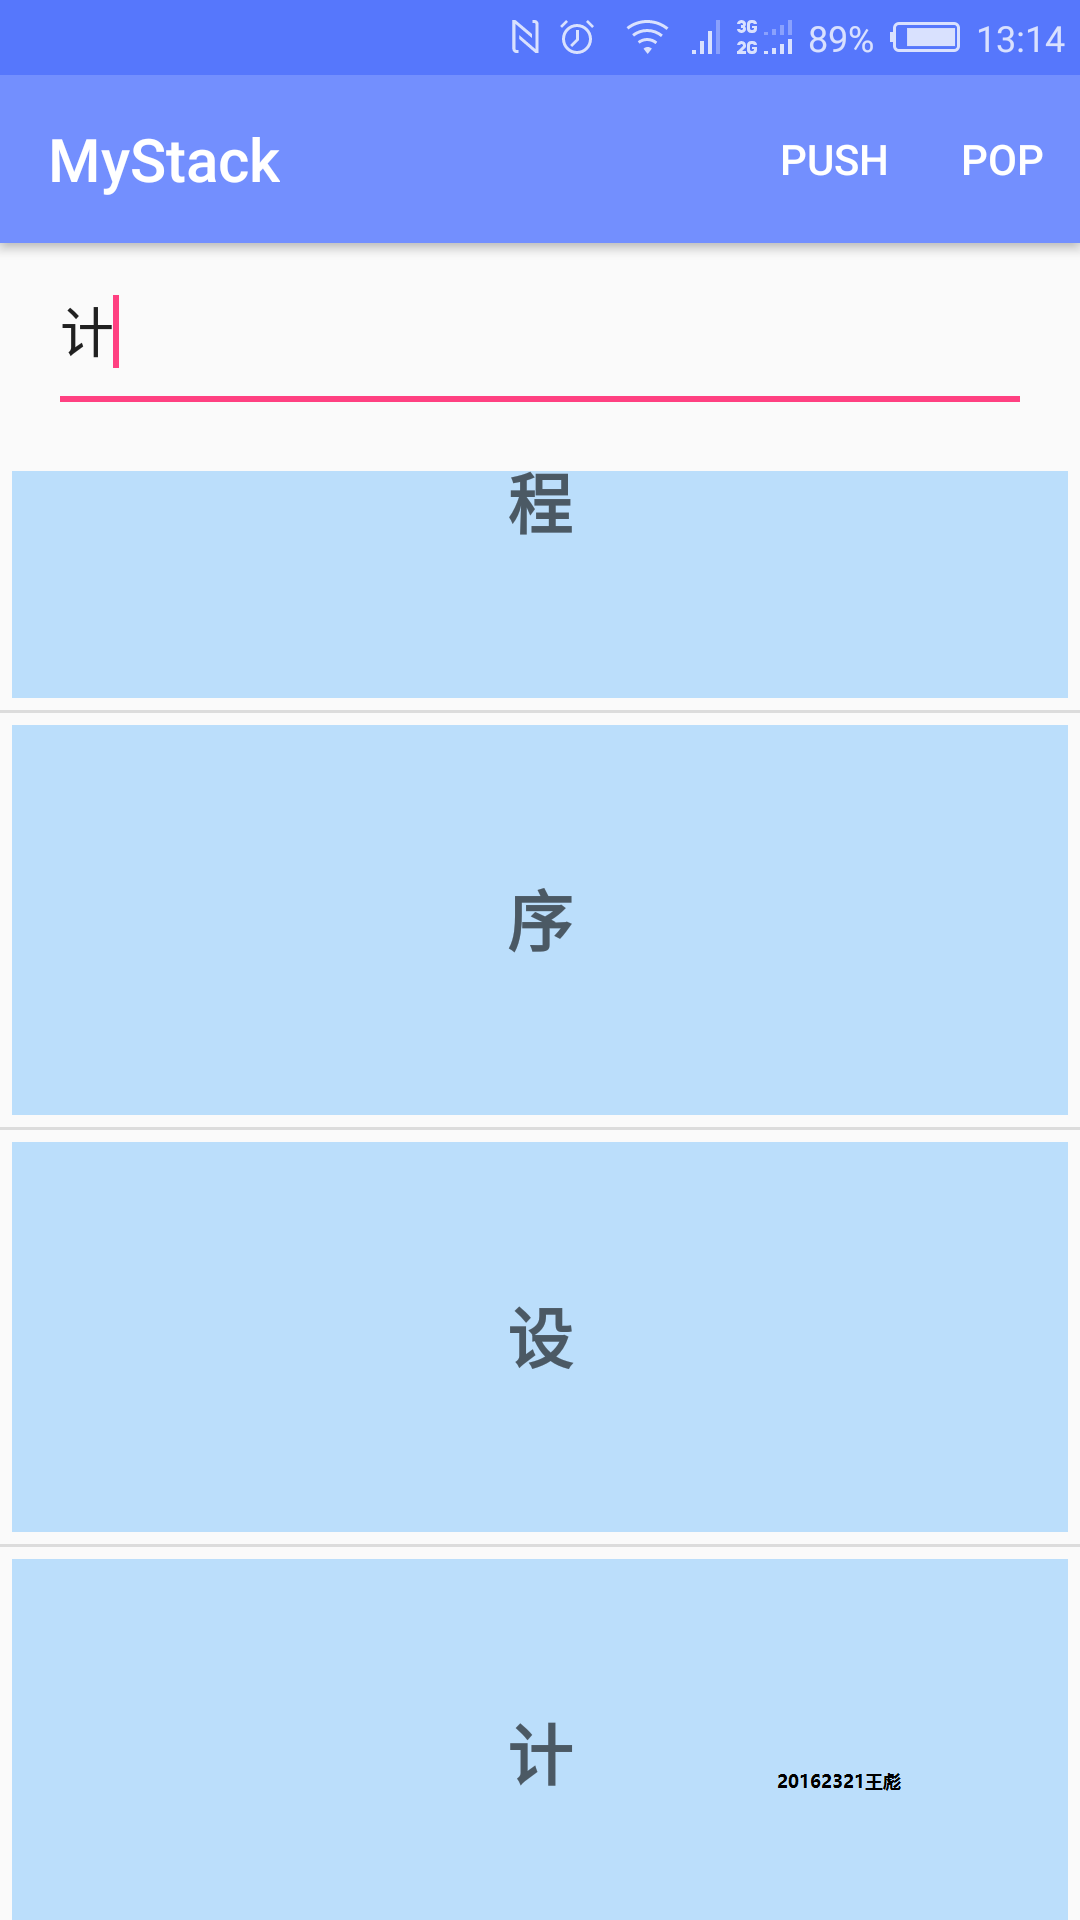
RecyclerView是我在完成假期的工作记录APP时了解到的控件,RecyclerView只管回收与复用View,其他的你可以自己去设置。其高度的解耦,给予你充分的定制自由。进一步的加深使用时添加卫星菜单来实现isEmpty(),peek(),size()等操作及将界面进一步美化。


