本文主要是介绍[AV1] AV1帧内编码 DC模式数据拷贝过程,希望对大家解决编程问题提供一定的参考价值,需要的开发者们随着小编来一起学习吧!
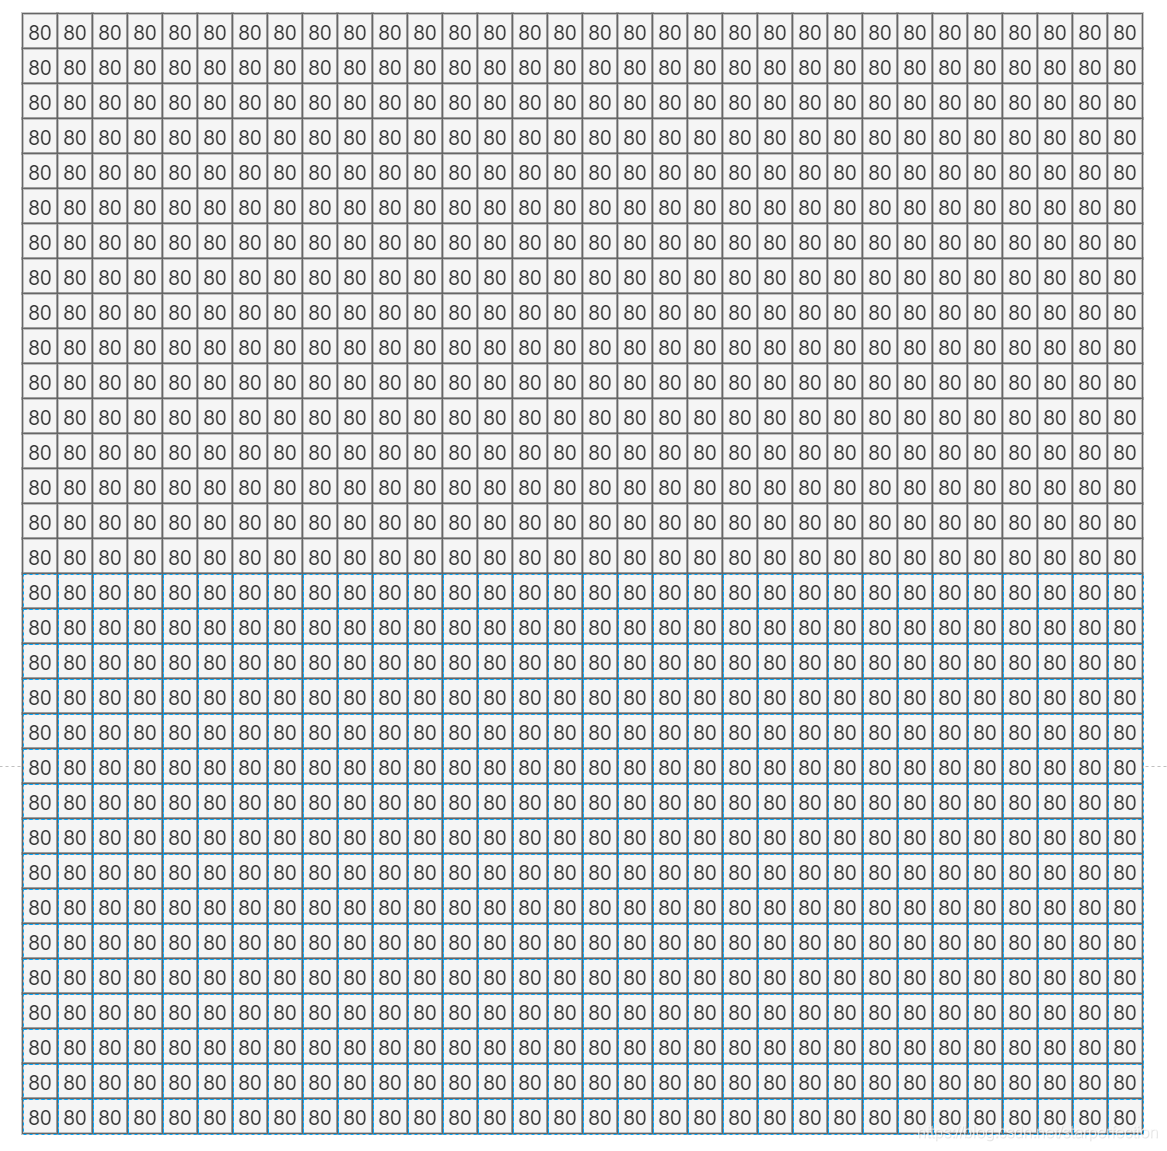
AV1的DC预测模式,是将整个预测块的所有像素值全部赋值为128,即十六进制0x80,赋值根据块的大小不同共分为以下六个函数进行:
- aom_dc_128_predictor_32x32_avx2
- aom_dc_128_predictor_32x16_avx2
- aom_dc_128_predictor_32x64_avx2
- aom_dc_128_predictor_64x64_avx2
- aom_dc_128_predictor_64x32_avx2
- aom_dc_128_predictor_64x16_avx2
函数分别为
// 将值128作为预测像素值填充到一个32x32的预测快中
void aom_dc_128_predictor_32x32_avx2(uint8_t *dst, ptrdiff_t stride, const uint8_t *above, const uint8_t *left)
{(void)above;(void)left;const __m256i row = _mm256_set1_epi8((uint8_t)0x80);row_store_32xh(&row, 32, dst, stride);
}
// 以行(row)为单位进行拷贝
static INLINE void row_store_32xh(const __m256i *r, int height, uint8_t *dst, ptrdiff_t stride)
{for (int i = 0; i < height; ++i) {_mm256_storeu_si256((__m256i *)dst, *r);dst += stride;}
}
下面详细地说一下这两个函数,第一个函数实现的功能就是制造一个长度为256bit,且每8个bit装有0x80的一个vector。
 然后第二步,函数通过一个循环,循环次数为height(height=32),来将这个256/8=32个像素的vector赋值到整个预测块。
 这样,一个32x32的预测块就生成了。
这篇关于[AV1] AV1帧内编码 DC模式数据拷贝过程的文章就介绍到这儿,希望我们推荐的文章对编程师们有所帮助!


