本文主要是介绍Vue 使用 js-audio-recorder 实现录制、播放、下载音频,希望对大家解决编程问题提供一定的参考价值,需要的开发者们随着小编来一起学习吧!
Vue 使用 js-audio-recorder 实现录制、播放、下载 PCM 数据
- Vue 使用 js-audio-recorder 实现录制、播放、下载 PCM 数据
- js-audio-recorder 简介
- Vue 项目创建
- 下载相关依赖
- 主界面设计
- 设置路由
- 组件及页面设计
- 项目启动
- 源码下载
Vue 使用 js-audio-recorder 实现录制、播放、下载 PCM 数据
js-audio-recorder 简介
纯 js 实现浏览器端录音。
支持功能:
- 支持录音,暂停,恢复,和录音播放。
- 支持音频数据的压缩,支持单双通道录音。
- 支持录音时长、录音大小的显示。
支持边录边转(播放)后续支持。- 支持导出录音文件,格式为 pcm 或 wav。
- 支持录音波形显示,可自己定制。
项目地址:https://github.com/2fps/recorder
演示地址:https://recorder.zhuyuntao.cn/
Vue 项目创建
按下面的步骤创建 Vue 项目:

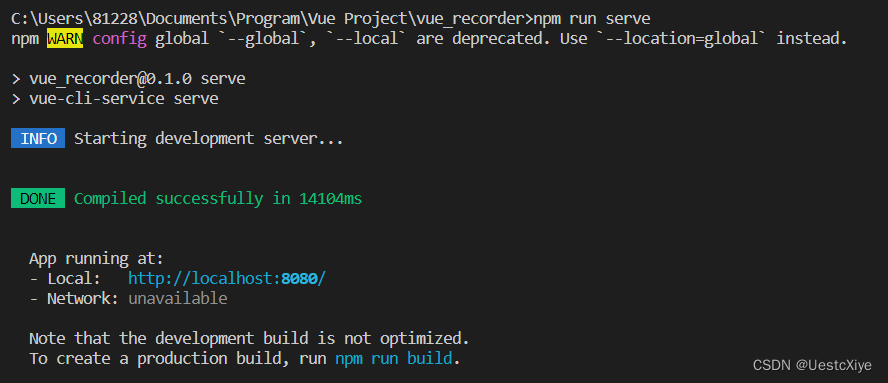
然后 cd 到 vue_recorder 下,终端输入 npm run serve,出现下面输出说明成功了:

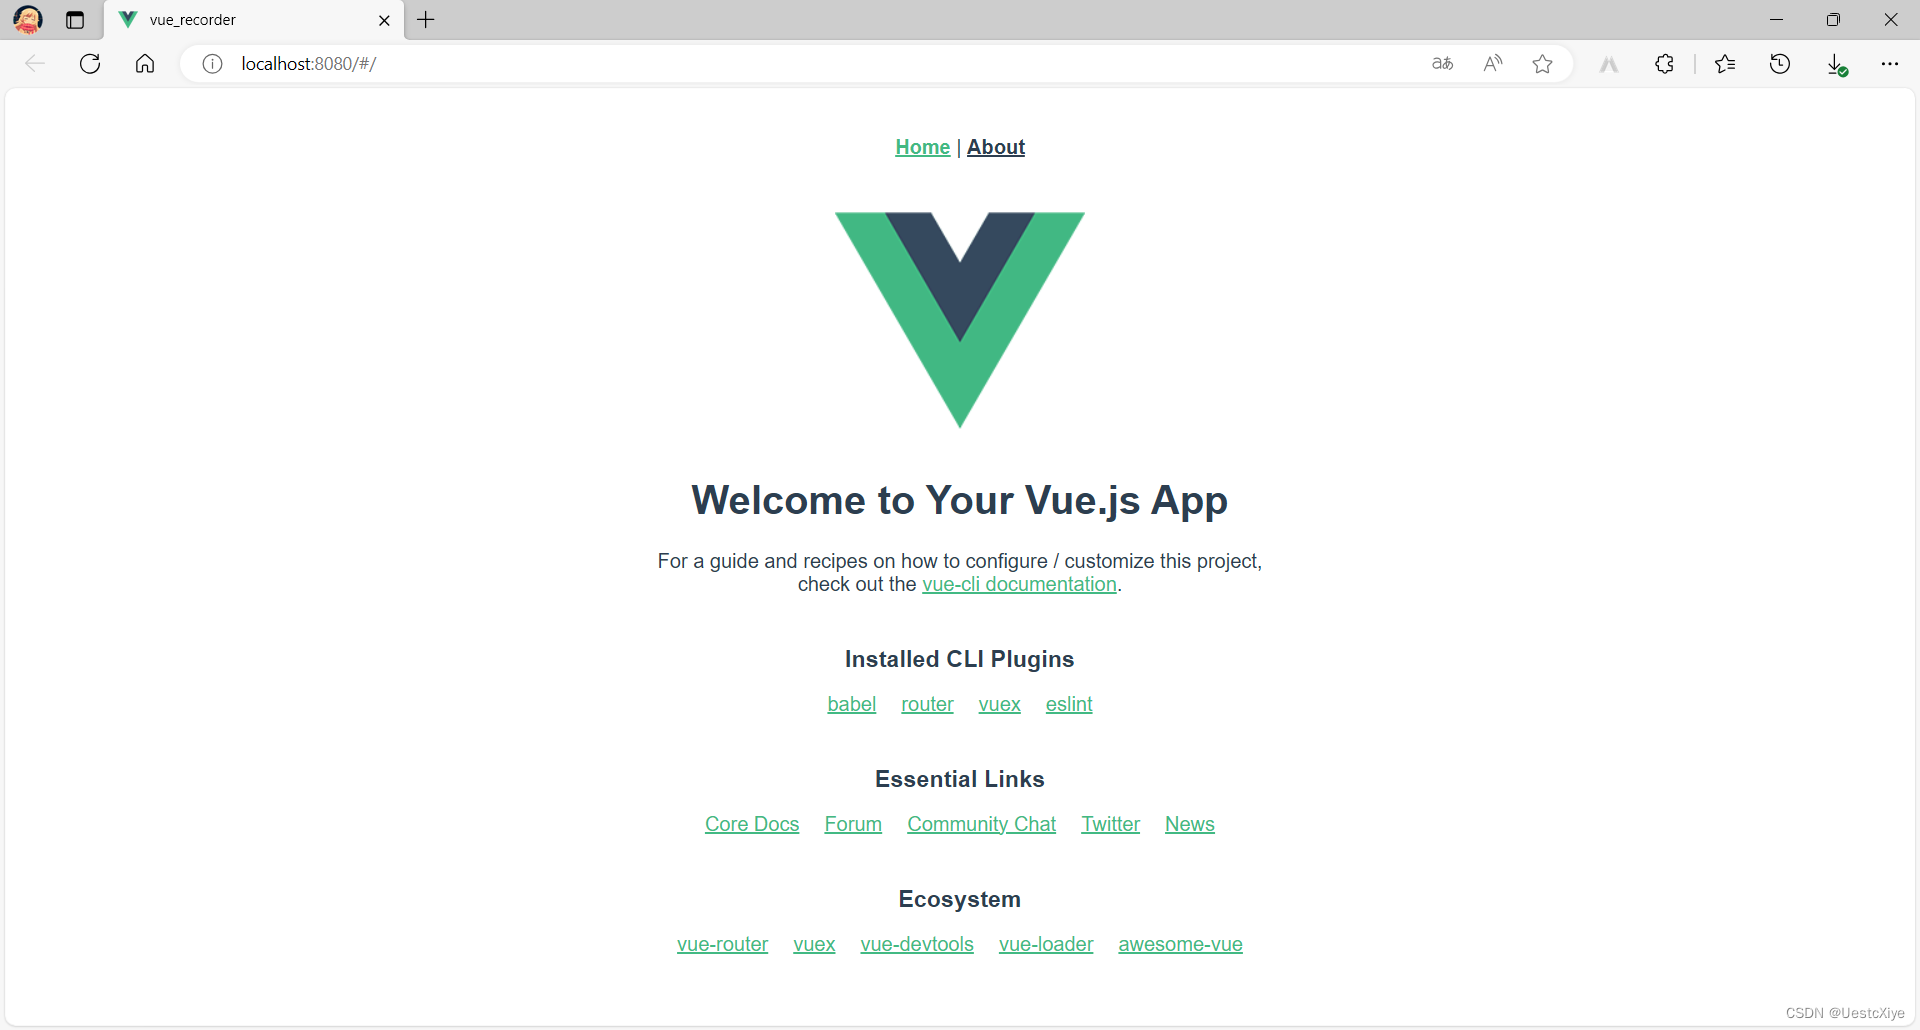
浏览器打开 http://localhost:8080/:

下载相关依赖
在项目中我们会用到 js-audio-plugin 以及 Element ,所以需要下载相关依赖并在 main.js 中引入。
安装 js-audio-plugin 指令:npm i js-audio-recorder。
安装 Element 指令:npm install element-ui。
安装好以后,在 main.js 添加:
// 引入 element-ui
import ElementUI from 'element-ui';
// element-ui 的 css 样式要单独引入
import 'element-ui/lib/theme-chalk/index.css';Vue.use(ElementUI);
主界面设计
主页面的设计在根组件 App.vue 中进行,主要负责一些全局内容的显示。
<template><div id="app"><!-- <nav><router-link to="/">Recorder</router-link> |</nav> --><router-view /></div>
</template><style lang="scss">
#app {font-family: Avenir, Helvetica, Arial, sans-serif;-webkit-font-smoothing: antialiased;-moz-osx-font-smoothing: grayscale;text-align: center;color: #2c3e50;
}nav {padding: 30px;a {font-weight: bold;color: #2c3e50;&.router-link-exact-active {color: #42b983;}}
}
</style>
设置路由
在 router 目录下的 index.js 中设置路由:
import Vue from 'vue'
import VueRouter from 'vue-router'
import RecorderView from '../views/RecorderView.vue'Vue.use(VueRouter)const routes = [{path: '/',name: 'recorder',component: RecorderView},
]const router = new VueRouter({routes
})export default router
组件及页面设计
在 compoments 文件夹下新建 MyRecorder.vue:
<template><div style="padding: 20px;"><h1>{{ msg }}</h1><h3>录音上传</h3><div style="font-size:14px"><h3>录音时长:{{ recorder && recorder.duration.toFixed(4) }}</h3><br /><el-button type="primary" @click="handleStart">开始录音</el-button><el-button type="info" @click="handlePause">暂停录音</el-button><el-button type="success" @click="handleResume">继续录音</el-button><el-button type="warning" @click="handleStop">停止录音</el-button><br /><br /><h3>播放时长:{{ recorder && (playTime > recorder.duration ? recorder.duration.toFixed(4) : playTime.toFixed(4)) }}</h3><br /><el-button type="primary" @click="handlePlay">播放录音</el-button><el-button type="info" @click="handlePausePlay">暂停播放</el-button><el-button type="success" @click="handleResumePlay">继续播放</el-button><el-button type="warning" @click="handleStopPlay">停止播放</el-button><el-button type="error" @click="handleDestroy">销毁录音</el-button><el-button type="primary" @click="downloadPCM">下载PCM数据</el-button><el-button type="primary" @click="downloadWAV">下载WAV数据</el-button><el-button type="primary" @click="uploadRecord">上传</el-button></div></div>
</template><script>
import Recorder from 'js-audio-recorder'
// import axios from 'axios'export default {name: 'MyRecorder',props: {msg: String},data() {return {recorder: null,playTime: 0,timer: null,src: null}},created() {this.recorder = new Recorder({sampleBits: 16, // 采样位数,支持 8 或 16,默认是 16sampleRate: 16000, // 采样率,支持 11025、16000、22050、24000、44100、48000,根据浏览器默认值,Chrome 是 48000numChannels: 1, // 声道数,支持 1 或 2, 默认是 1})},methods: {// 开始录音handleStart() {this.recorder = new Recorder()Recorder.getPermission().then(() => {console.log('开始录音')this.recorder.start() // 开始录音}, (error) => {this.$message({message: '请先允许该网页使用麦克风',type: 'info'})console.log(`${error.name} : ${error.message}`)})},handlePause() {console.log('暂停录音')this.recorder.pause() // 暂停录音},handleResume() {console.log('恢复录音')this.recorder.resume() // 恢复录音},handleStop() {console.log('停止录音')this.recorder.stop() // 停止录音},handlePlay() {console.log('播放录音')console.log(this.recorder)this.recorder.play() // 播放录音// 播放时长this.timer = setInterval(() => {try {this.playTime = this.recorder.getPlayTime()} catch (error) {this.timer = null}}, 100)},handlePausePlay() {console.log('暂停播放')this.recorder.pausePlay() // 暂停播放// 播放时长this.playTime = this.recorder.getPlayTime()this.time = null},handleResumePlay() {console.log('恢复播放')this.recorder.resumePlay() // 恢复播放// 播放时长this.timer = setInterval(() => {try {this.playTime = this.recorder.getPlayTime()} catch (error) {this.timer = null}}, 100)},handleStopPlay() {console.log('停止播放')this.recorder.stopPlay() // 停止播放// 播放时长this.playTime = this.recorder.getPlayTime()this.timer = null},handleDestroy() {console.log('销毁实例')this.recorder.destroy() // 销毁实例this.timer = null},downloadPCM() {console.log('下载PCM格式数据')// 注:使用该方法会默认调用 stop() 方法this.recorder.downloadPCM('record-pcm')},downloadWAV() {console.log('下载WAV格式数据')// 注:使用该方法会默认调用 stop() 方法this.recorder.downloadWAV('record-wav')},uploadRecord() {if (this.recorder == null || this.recorder.duration === 0) {this.$message({message: '请先录音',type: 'error'})return false}this.recorder.pause() // 暂停录音this.timer = nullconsole.log('上传录音') // 上传录音const formData = new FormData()const blob = this.recorder.getPCMBlob() // 获取 pcm 格式音频数据// 此处获取到 blob 对象后需要设置 fileName 满足项目上传需求,这里选择直接把 blob 作为 file 塞入 formDataconst fileOfBlob = new File([blob], new Date().getTime() + '.pcm')formData.append('file', fileOfBlob)const url = window.URL.createObjectURL(fileOfBlob)this.src = url// const axios = require('axios')// axios.post(url, formData).then(res => {//   console.log(res.data.data[0].url)// })}}
}
</script>
在 views 文件夹下新建 RecorderView.vue:
<template><div class="home"><!-- <imgalt="Vue logo"src="../assets/logo.png"> --><MyRecorder msg="Welcome to Vue Recorder" /></div>
</template><script>
// @ is an alias to /src
import MyRecorder from '@/components/MyRecorder.vue'export default {name: 'RecorderView',components: {MyRecorder}
}
</script>
项目启动
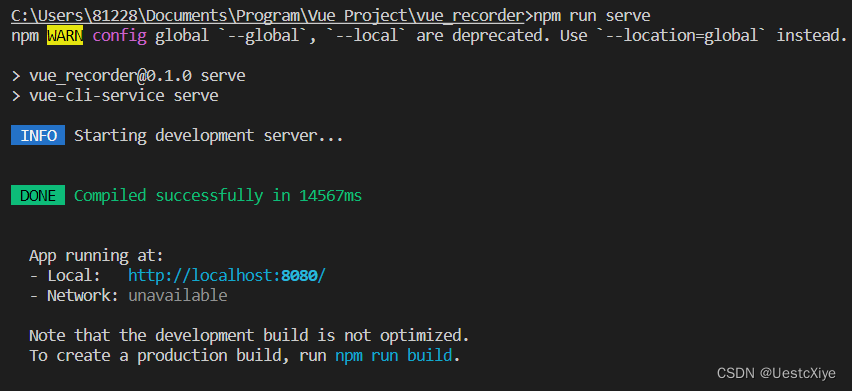
在终端中输入指令:npm run serve。
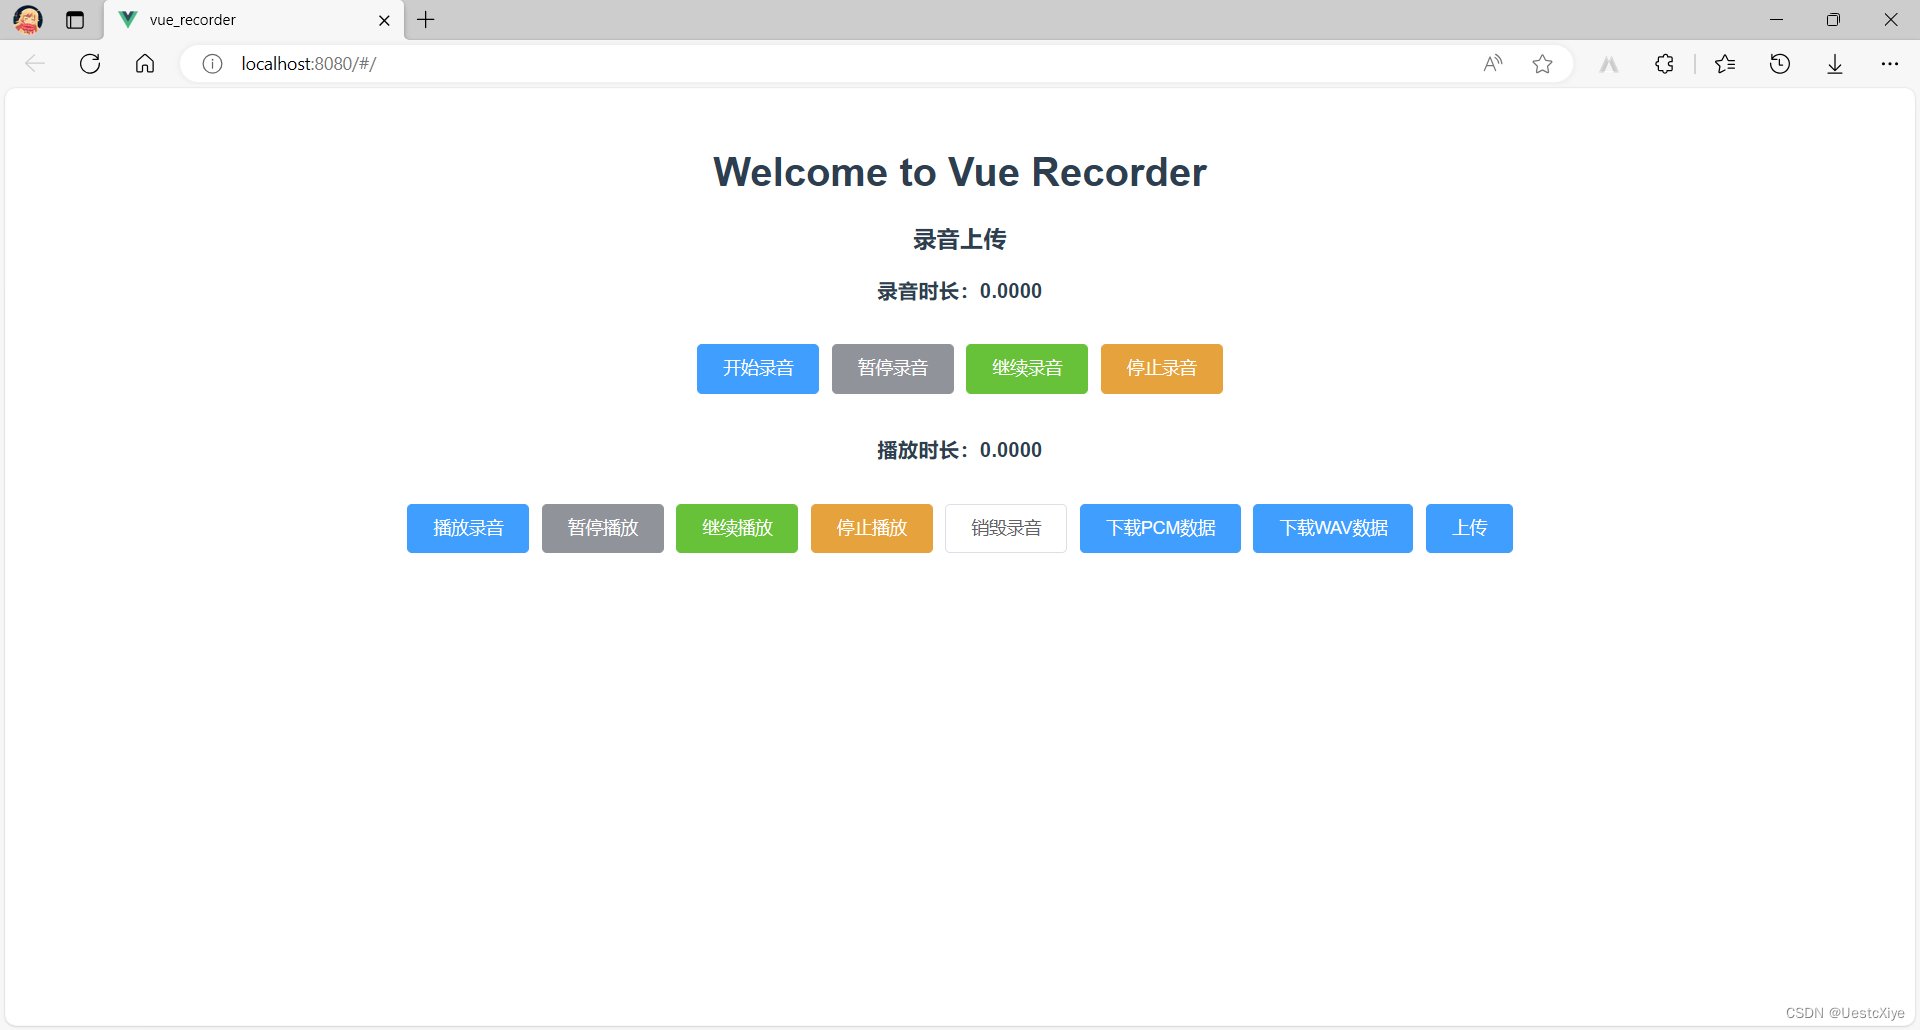
可以看到如下界面,说明项目成功运行:

根据提示访问本地地址 http://localhost:8080/。

经过测试,页面正常排布,所有功能都正常使用(除了上传功能)。
源码下载
GitHub:https://github.com/UestcXiye/Vue-Recorder
CSDN:vue-recorder.zip
这篇关于Vue 使用 js-audio-recorder 实现录制、播放、下载音频的文章就介绍到这儿,希望我们推荐的文章对编程师们有所帮助!


