本文主要是介绍react中使用react-konva实现画板框选内容,希望对大家解决编程问题提供一定的参考价值,需要的开发者们随着小编来一起学习吧!
文章目录
- 一、前言
- 1.1、`API`文档
- 1.2、`Github`仓库
- 二、图形
- 2.1、拖拽`draggable`
- 2.2、图片`Image`
- 2.3、变形`Transformer`
- 三、实现
- 3.1、依赖
- 3.2、源码
- 3.2.1、`KonvaContainer`组件
- 3.2.2、`use-key-press`文件
- 3.3、效果图
- 四、最后
一、前言
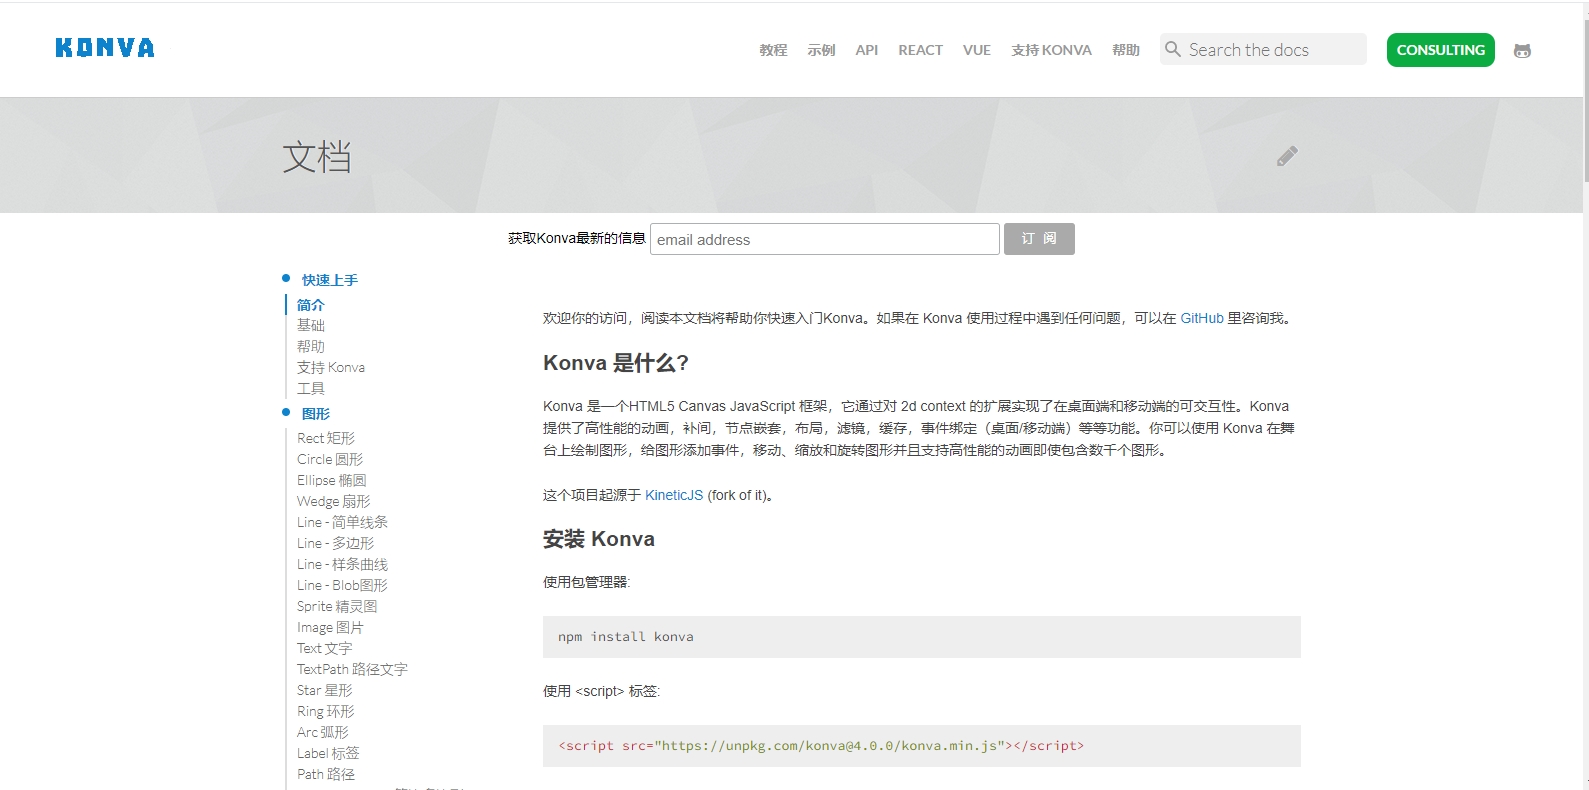
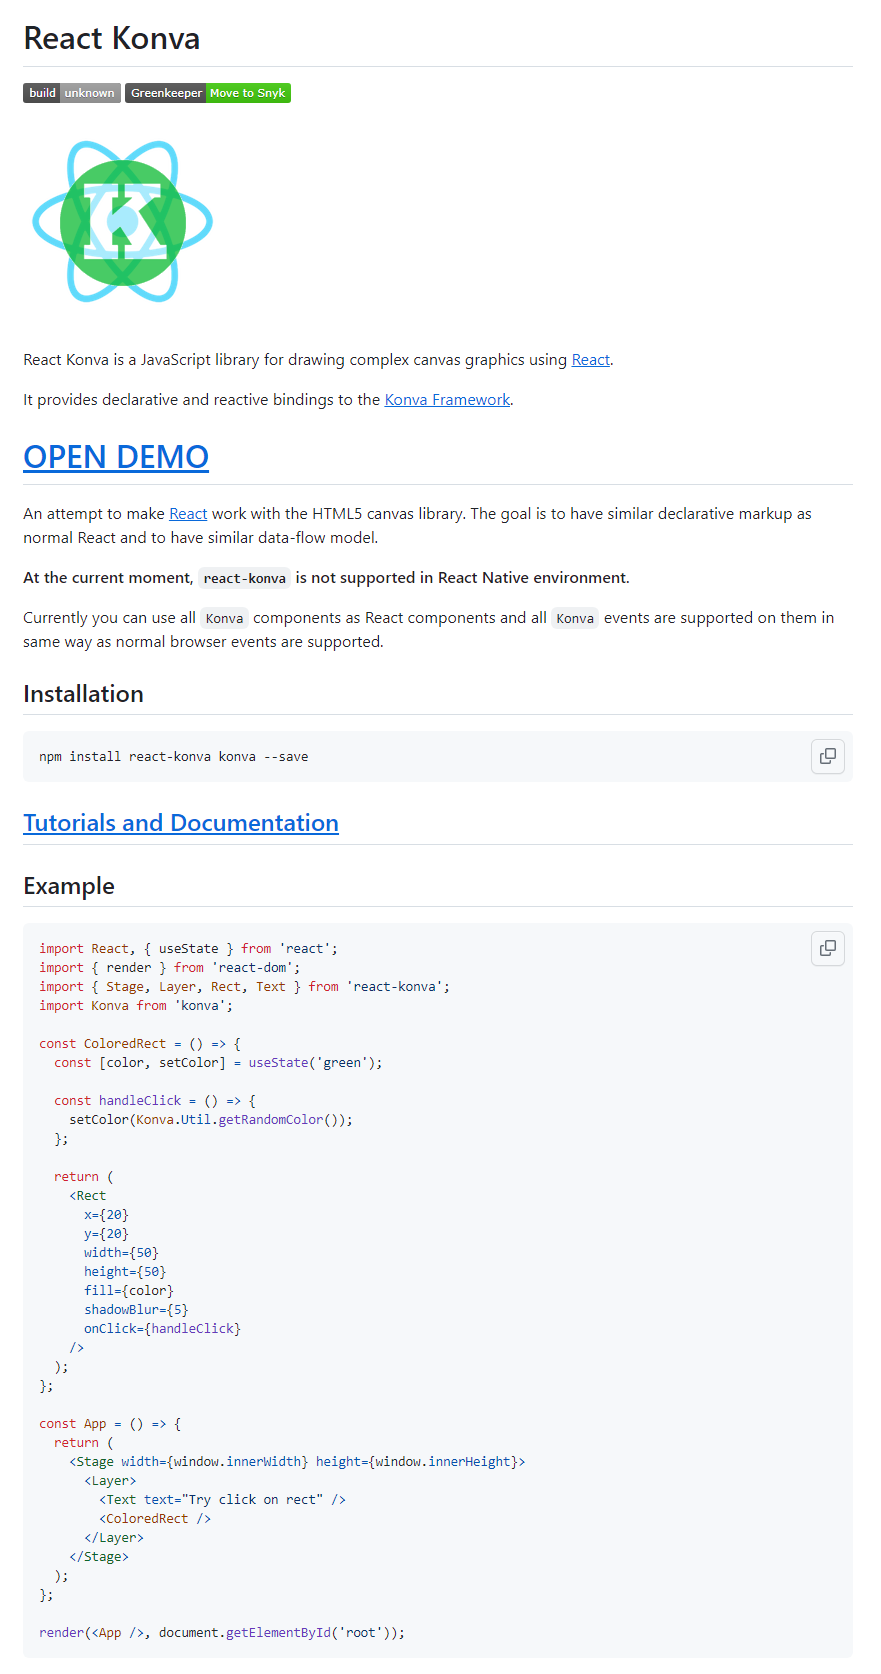
本文用到的react-konva是基于react封装的图形绘制。Konva 是一个HTML5 Canvas JavaScript 框架,它通过对 2d context 的扩展实现了在桌面端和移动端的可交互性。Konva 提供了高性能的动画,补间,节点嵌套,布局,滤镜,缓存,事件绑定(桌面/移动端)等等功能。你可以使用 Konva 在舞台上绘制图形,给图形添加事件,移动、缩放和旋转图形并且支持高性能的动画即使包含数千个图形。
1.1、API文档
英文文档点击【前往】,中文文档点击【前往】

1.2、Github仓库
点击【前往】访问Github仓库,在线示例地址,点击【前往】

二、图形
在线制图最基础的应用是拖拽元素,比如,在画布上拖拽一张图片或某种形状,对该图片进行缩放或旋转操作。
画布就是<Stage>,每个图层为<Layer>。
2.1、拖拽draggable
konva 中内置了很多形状的元素,比如圆形、矩形等,以下示例为星型,这里先用<Star>试一下:
import Konva from 'konva'
import { Circle, Rect, Stage, Layer, Text, Star } from 'react-konva'const Shape = () => {const [star, setStar] = useState({x: 300,y: 300,rotation: 20,isDragging: false,})const handleDragStart = () => {setStar({...star,isDragging: true,})}const handleDragEnd = (e: any) => {setStar({...star,x: e.target.x(),y: e.target.y(),isDragging: false,})}return (<Stage width={1000} height={600}><Layer><Starkey="starid"id="starid"x={star.x}y={star.y}numPoints={5}innerRadius={20}outerRadius={40}fill="#89b717"opacity={0.8}draggablerotation={star.rotation}shadowColor="black"shadowBlur={10}shadowOpacity={0.6}shadowOffsetX={star.isDragging ? 10 : 5}shadowOffsetY={star.isDragging ? 10 : 5}scaleX={star.isDragging ? 1.2 : 1}scaleY={star.isDragging ? 1.2 : 1}onDragStart={handleDragStart}onDragEnd={handleDragEnd}/></Layer></Stage>)
}
其中,可以给 Star 配置一些基础的属性,如:x、y 指该元素在画布上的坐标位置,rotaition 指元素的旋转角度;fill 指元素的填充颜色,scaleX、scaleY 指元素在 x、y 轴上的放大比例等等。
在拖拽的时候,我们要给该元素添加一些拖拽事件,如上:添加 handleDragStart 更改isDragging属性,使其在拖动时产生形变;添加 onDragEnd 事件,更改isDragging和 x、y 属性,来改变拖动位置,关闭拖动形变特效等。
观察上面的代码发现某些属性和react-dnd类似,但在使用 drag 事件的时候,发现比 react-dnd 方便很多,可能因为底层是 canvas 的原因吧!
2.2、图片Image
有两种方式可以导入图片,一个是用 react-hooks,一个是调用 react 生命周期函数,这里为了图省事,用 hooks。
先安装 konva 的官方库use-image,use-image提供好了跨域属性anonymous,封装一下图片组件:
import { Image } from 'react-konva'
import useImage from 'use-image'const KonvaImage = ({ url = '' }) => {const [image] = useImage(url, 'anonymous')return <Image image={image} />
}export default KonvaImage
如果仍显示跨域问题不能生成图片,需要在服务器端添加跨域头或者做一层转发了。
2.3、变形Transformer
元素变形,需要引用 konva 的Transformer组件,该组件可以使元素的缩放、旋转。如下代码,在选中某元素后,会展示 Transformer 组件,在该组件上存在boundBoxFunc属性,当用户触发元素的变形行为时,该函数会被调用,返回一个包含形变后元素的信息(下面代码中为 newBox)。
import React, { useState, useEffect, useRef } from 'react'
import { Image, Transformer } from 'react-konva'
import Konva from 'konva'
import useImage from 'use-image'const KonvaImage = ({ url = '', isSelected = false }) => {const [image] = useImage(url)const imgRef = useRef()const trRef = useRef()useEffect(() => {if (isSelected) {trRef.current.nodes([imgRef.current])trRef.current.getLayer().batchDraw()}}, [isSelected])return (<><Image image={image} draggable ref={imgRef} />{isSelected && (<Transformerref={trRef}boundBoxFunc={(oldBox, newBox) => {// limit resizeif (newBox.width < 5 || newBox.height < 5) {return oldBox}const { width, height } = newBox// console.log('width', width);// console.log('height', height);return newBox}}/>)}</>)
}export default KonvaImage
三、实现
3.1、依赖
安装如下所需依赖:
npm install react-konva konva use-image --save
3.2、源码
3.2.1、KonvaContainer组件
KonvaContainer图片框选区域组件源码如下所示:
/*** @Description: KonvaContainer图片框选区域组件* @props url 需要框选的图片的URL地址* @props width 宽度* @props height 高度* @props defaultValue 默认框选起来区域的数据* @onChange 回调方法,通知父组件框选的内容信息* @author 小马甲丫* @date 2023-12-05 03:22:27
*/
import React from 'react';
import useImage from 'use-image';
import { Stage, Layer, Rect, Image, Transformer } from 'react-konva';
import useKeyPress from '@/hooks/use-key-press';/*** 框选的图片* @param url* @constructor*/
const BackgroundImage = ({ url }) => {const [image] = useImage(url);return <Image image={image} />;
};/*** 背景白板* @param width* @param height* @constructor*/
const BackgroundWhite = ({ width, height }) => {return (<Rectx={0}y={0}width={width}height={height}fill="#fff"id="rectangleBg"name="rectangleBg"/>);
};/*** 框选出来的框* @param canvas* @param shapeProps* @param onSelect* @param onChange* @constructor*/
const Rectangle = ({ canvas, shapeProps, onSelect, onChange }) => {const shapeRef = React.useRef();return (<RectonClick={() => onSelect(shapeRef)}onTap={() => onSelect(shapeRef)}ref={shapeRef}{...shapeProps}name="rectangle"draggableonMouseOver={() => {document.body.style.cursor = 'move';}}onMouseOut={() => {document.body.style.cursor = 'default';}}onDragEnd={(e) => {onChange({...shapeProps,x: e.target.x(),y: e.target.y(),});}}dragBoundFunc={(pos) => {const shapeWidth = shapeRef.current.attrs.width;const shapeHeight = shapeRef.current.attrs.height;let x = pos.x;if (x <= 0) {x = 0;} else if (x + shapeWidth >= canvas.width) {x = canvas.width - shapeWidth;}let y = pos.y;if (y < 0) {y = 0;} else if (y + shapeHeight > canvas.height) {y = canvas.height - shapeHeight;}return {x,y,};}}onTransformEnd={() => {// transformer is changing scale of the node// and NOT its width or height// but in the store we have only width and height// to match the data better we will reset scale on transform endconst node = shapeRef.current;const scaleX = node.scaleX();const scaleY = node.scaleY();// we will reset it backnode.scaleX(1);node.scaleY(1);onChange({...shapeProps,x: node.x(),y: node.y(),// set minimal valuewidth: Math.max(5, node.width() * scaleX),height: Math.max(node.height() * scaleY),});}}/>);
};/*** 主容器* @param props* @constructor*/
const KonvaContainer = (props) => {const [imageObject, setImageObject] = React.useState({width: props.width,height: props.height,url: props.url,});const [rectanglesField, setRectanglesField] = React.useState([]);const [selectedId, selectShape] = React.useState(null);const trRef = React.useRef();const layerRef = React.useRef();const Konva = window.Konva;const hideTransformer = () => {trRef.current.nodes([]);};/*** 初始化框选框* @param list*/const initRectangles = (list) => {const rects = list.map((item, index) => ({...item,id: `rect_${index}`,fill: 'rgb(160, 76,4, 0.3)',}));setRectanglesField(rects);};/*** 监听prop值变换*/React.useEffect(() => {const {url = '',width = 0,height = 0,defaultValue = [],} = props || {};setImageObject({width,height,url,});hideTransformer();// 图片地址不一致说明变更图片,需要重置选框if (url !== imageObject.url) {setRectanglesField([]);selectShape(null);}initRectangles(defaultValue);}, [props.url, props.width, props.height, props.defaultValue]);/*** 更新框选框数据* @param rects*/const updateRectangles = (rects) => {setRectanglesField(rects);props.onChange(rects);};/*** 添加框选框*/const addRec = () => {const data = rectanglesField;const rects = data.slice();const id = `rect_${rects.length}`;rects[rects.length] = {id,...getSelectionObj(),};updateRectangles(rects);selectShape(id);};/*** 删除框选框*/const delRec = () => {const data = rectanglesField;const rects = data.slice().filter((rect) => rect.id !== selectedId);updateRectangles(rects);hideTransformer();document.body.style.cursor = 'default';selectShape(null);};const selectionRectRef = React.useRef();const selection = React.useRef({visible: false,x1: 0,y1: 0,x2: 0,y2: 0,});/*** 高亮框选框* @param id*/const activeTransformer = (id) => {const activeRect =layerRef.current.find('.rectangle').find((elementNode) => elementNode.attrs.id === id) ||selectionRectRef.current;trRef.current.nodes([activeRect]);};/*** useKeyPress监听键盘按键删除键del和返回键backspace* 8  返回键* 46 删除键*/useKeyPress([8, 46], (e) => {// disable click eventKonva.listenClickTap = false;if (e.target.style[0] === 'cursor') delRec();});/*** 获取选中的框选框的信息*/const getSelectionObj = () => {return {x: Math.min(selection.current.x1, selection.current.x2),y: Math.min(selection.current.y1, selection.current.y2),width: Math.abs(selection.current.x1 - selection.current.x2),height: Math.abs(selection.current.y1 - selection.current.y2),fill: 'rgb(160, 76,4, 0.3)',};};/*** 更新框选框*/const updateSelectionRect = () => {const node = selectionRectRef.current;node.setAttrs({...getSelectionObj(),visible: selection.current.visible,});node.getLayer().batchDraw();};/*** 开始绘制框选框* @param e*/const onMouseDown = (e) => {const isTransformer = e.target.findAncestor('Transformer');if (isTransformer) {return;}hideTransformer();const pos = e.target.getStage().getPointerPosition();selection.current.visible = true;selection.current.x1 = pos.x;selection.current.y1 = pos.y;selection.current.x2 = pos.x;selection.current.y2 = pos.y;updateSelectionRect();};/*** 绘制框选框中* @param e*/const onMouseMove = (e) => {if (!selection.current.visible) {return;}const pos = e.target.getStage().getPointerPosition();selection.current.x2 = pos.x;selection.current.y2 = pos.y;updateSelectionRect();};/*** 结束绘制框选框* @param e*/const onMouseUp = (e) => {// 点击Rect框时,会返回该Rect的id// 画框时鼠标在Rect上松开,会返回该Rect的idconst dragId = e.target.getId();if (!selection.current.visible) {return;}// 是否鼠标拖动,并且偏移量大于10时才算拖动。拖动Rect没有偏移量,画框才有偏移量const { current: { x1 = 0, x2 = 0, y1 = 0, y2 = 0 } = {} } = selection || {};const isMove = (x1 !== x2 && Math.abs(x1 - x2) > 10) || (y1 !== y2 && Math.abs(y1 - y2) > 10);// 点击后有拖动就添加Rect框,并且偏移量大于10时才算拖动if (isMove) {addRec();}// 设置可调节大小节点if (!!dragId && !isMove) {// 点击已有的Rect框才设置,并且拖动小于10,也就是没有拖动activeTransformer(dragId);} else if (isMove) {// 拖动大于10,生成新的Rect框activeTransformer();}selection.current.visible = false;// disable click eventKonva.listenClickTap = false;updateSelectionRect();};return (<Stagewidth={imageObject.width}height={imageObject.height}onMouseDown={onMouseDown}onMouseUp={onMouseUp}onMouseMove={onMouseMove}><Layer ref={layerRef}><BackgroundWhite {...imageObject} /><BackgroundImage {...imageObject} />{rectanglesField.map((rect, i) => {return (<Rectanglekey={i}getKey={i}canvas={imageObject}shapeProps={rect}isSelected={rect.id === selectedId}getLength={rectanglesField.length}onSelect={() => {selectShape(rect.id);}}onChange={(newAttrs) => {const rects = rectanglesField.slice();rects[i] = newAttrs;updateRectangles(rects);}}/>);})}<Transformerref={trRef}rotationSnaps={[0, 90, 180, 270]}keepRatio={false}anchorSize={4}anchorStroke='#a04c04'anchorFill="#fff"borderStroke='#a04c04'borderDash={[1, 1]}enabledAnchors={['top-left', 'top-right', 'bottom-left', 'bottom-right']}boundBoxFunc={(oldBox, newBox) => {// limit resize// newBox.rotation !== 0进入return oldBox,就可实现不让旋转if (newBox.width < 20 || newBox.height < 20) {return oldBox;}return newBox;}}/><Rect ref={selectionRectRef} /></Layer></Stage>);
};export default KonvaContainer;
3.2.2、use-key-press文件
用到了下面这个hook文件use-key-press:
import { useCallback, useEffect, MutableRefObject } from 'react';type keyType = KeyboardEvent['keyCode'] | KeyboardEvent['key'];
type keyFilter = keyType | keyType[];
type EventHandler = (event: KeyboardEvent) => void;
type keyEvent = 'keydown' | 'keyup';
type BasicElement = HTMLElement | Element | Document | Window;
type TargetElement = BasicElement | MutableRefObject<null | undefined>;
type EventOptions = {events?: keyEvent[];target?: TargetElement;
};const modifierKey: any = {ctrl: (event: KeyboardEvent) => event.ctrlKey,shift: (event: KeyboardEvent) => event.shiftKey,alt: (event: KeyboardEvent) => event.altKey,meta: (event: KeyboardEvent) => event.metaKey,
};const defaultEvents: keyEvent[] = ['keydown'];/*** 判断对象类型* @param obj 参数对象* @returns String*/
function isType<T>(obj: T): string {return Object.prototype.toString.call(obj).replace(/^\[object (.+)\]$/, '$1').toLowerCase();
}/*** 获取当前元素* @param target TargetElement* @param defaultElement 默认绑定的元素*/
function getTargetElement(target?: TargetElement, defaultElement?: BasicElement) {if (!target) {return defaultElement;}if ('current' in target) {return target.current;}return target;
}/*** 按键是否激活* @param event 键盘事件* @param keyFilter 当前键*/
const keyActivated = (event: KeyboardEvent, keyFilter: any) => {const type = isType(keyFilter);const { keyCode } = event;if (type === 'number') {return keyCode === keyFilter;}const keyCodeArr = keyFilter.split('.');// 符合条件的长度let genLen = 0;// 组合键keyCodeArr.forEach((key) => {const genModifier = modifierKey[key];if ((genModifier && genModifier) || keyCode === key) {genLen++;}});return genLen === keyCodeArr.length;
};/*** 键盘按下预处理方法* @param event 键盘事件* @param keyFilter 键码集*/
const genKeyFormate = (event: KeyboardEvent, keyFilter: any) => {const type = isType(keyFilter);if (type === 'string' || type === 'number') {return keyActivated(event, keyFilter);}// 多个键if (type === 'array') {return keyFilter.some((item: keyFilter) => keyActivated(event, item));}return false;
};/*** 监听键盘按下/松开* @param keyCode* @param eventHandler* @param options*/
const useKeyPress = (keyCode: keyFilter,eventHandler?: EventHandler,options: EventOptions = {},
) => {const { target, events = defaultEvents } = options;const callbackHandler = useCallback((event) => {if (genKeyFormate(event, keyCode)) {typeof eventHandler === 'function' && eventHandler(event);}},[keyCode],);useEffect(() => {const el = getTargetElement(target, window)!;events.forEach((eventName) => {el.addEventListener(eventName, callbackHandler);});return () => {events.forEach((eventName) => {el.removeEventListener(eventName, callbackHandler);});};}, [keyCode, events, callbackHandler]);
};export default useKeyPress;
3.3、效果图
页面效果如下所示:

四、最后
本人每篇文章都是一字一句码出来,希望大佬们多提提意见。顺手来个三连击,点赞👍收藏💖关注✨。创作不易,给我打打气,加加油☕
这篇关于react中使用react-konva实现画板框选内容的文章就介绍到这儿,希望我们推荐的文章对编程师们有所帮助!


