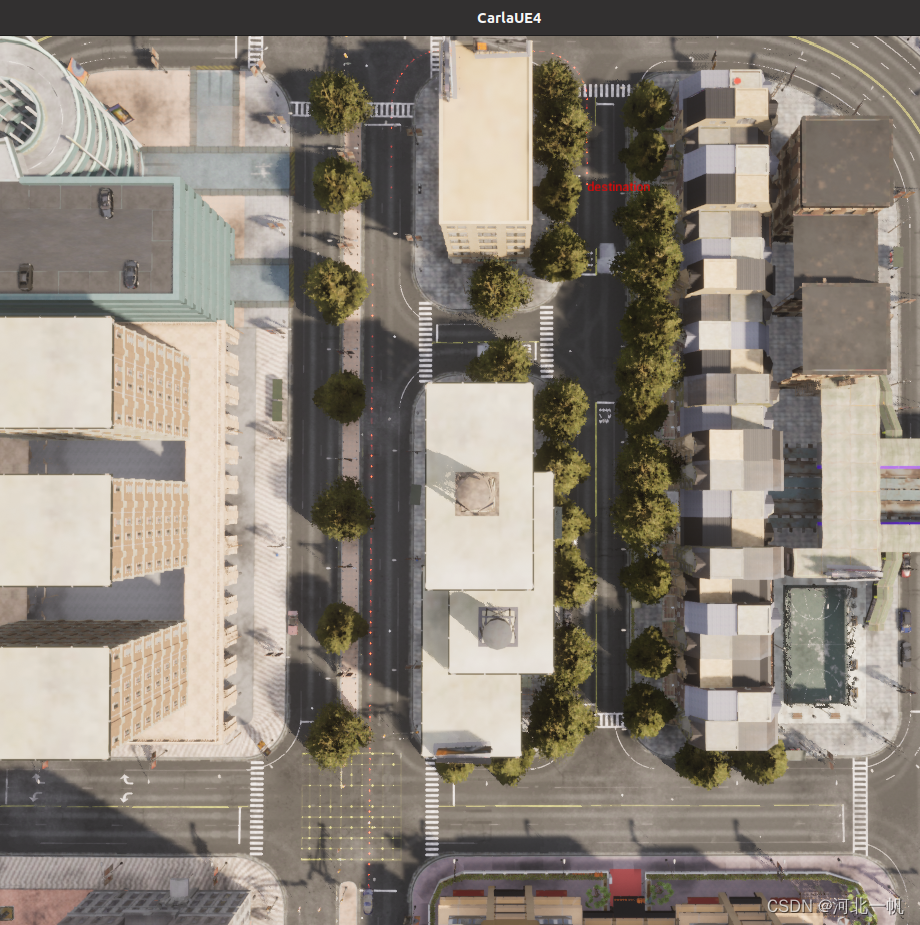
本文主要是介绍在CARLA中获取CARLA自动生成的全局路径规划,希望对大家解决编程问题提供一定的参考价值,需要的开发者们随着小编来一起学习吧!

CARLA生成全局路径规划的代码在
carla/PythonAPI/carla/agents/navigation在自己的carla客户端py文件中
from agents.navigation.basic_agent import BasicAgent # pylint: disable=import-error如果是pycharm开发,要在pycharm的Settings - Project Structure, Add Content Root中加入agents的上级文件夹。
获得所有的生成点
spawn_points = world.get_map().get_spawn_points()在其中选择一个起点和一个终点
start_location = spawn_points[0]
destination = spawn_points[38]
调用BasicAgent的set_destination函数,生成一个全局导航路径。
agent = BasicAgent(vehicle, 30)
global_route_trace = agent.set_destination(destination.location, start_location=start_location)
上面代码的vehicle是一个汽车的类实例(如何生成一个汽车,参见博主另一篇文章:在CARLA中手动开车,添加双目相机stereo camera,激光雷达Lidar-CSDN博客)
设置观察视角
spectator = world.get_spectator()
transform = carla.Transform()
bv_transform = carla.Transform(transform.location + carla.Location(z=250,x=0), carla.Rotation(yaw=0, pitch=-90))
spectator.set_transform(bv_transform)
将路径可视化,画出上图的效果
world.debug.draw_string(destination.location, str("destination"), life_time=100)
world.debug.draw_arrow(destination.location, destination.location + destination.get_forward_vector(), life_time=100)for tup_i in global_route_trace:waypoint_i = tup_i[0]location = waypoint_i.transform.locationworld.debug.draw_arrow(location, location + waypoint_i.transform.get_forward_vector(), life_time=100)
以上!
这篇关于在CARLA中获取CARLA自动生成的全局路径规划的文章就介绍到这儿,希望我们推荐的文章对编程师们有所帮助!


