本文主要是介绍基于vue-cli4搭建webpack模版的vue项目,改造成多页面入口项目,希望对大家解决编程问题提供一定的参考价值,需要的开发者们随着小编来一起学习吧!
一、 基础环境
老调重弹,先安装nodejs,再全局安装vue-cli,webpack,相应的版本差异,自行调整。
另建议安装一个开发工具,常规用Visual Studio Code
具体步骤,参考: https://blog.csdn.net/justflow/article/details/109273620
二、创建vue单页面项目
vue-cli有两种方式创建Vue项目,分别是
- vue create project-name
- vue init webpack project-name
考虑到后期改造需要用webpack的相关配置,所以这里直接就用第二种方式。用管理员权限打开cmd命令行模式。
> vue --version
@vue/cli 4.5.13> webpack --version
webpack 5.47.1
webpack-cli 4.7.2
webpack-dev-server 3.11.2> vue init webpack vue-multiple-pages? Project name vue-multiple-pages
? Project description A Vue.js project
? Author
? Vue build standalone
? Install vue-router? Yes
? Use ESLint to lint your code? Yes
? Pick an ESLint preset none
? Set up unit tests No
? Setup e2e tests with Nightwatch? No
? Should we run `npm install` for you after the project has been created? (recommended) npmvue-cli · Generated "vue-multiple-pages".# Installing project dependencies ...
# ========================
...........
.......
...........added 1424 packages, and audited 1425 packages in 1m56 packages are looking for fundingrun `npm fund` for details26 vulnerabilities (6 low, 16 moderate, 4 high)To address issues that do not require attention, run:npm audit fixTo address all issues (including breaking changes), run:npm audit fix --forceRun `npm audit` for details.# Project initialization finished!
# ========================To get started:cd vue-multiple-pagesnpm run devDocumentation can be found at https://vuejs-templates.github.io/webpack
三、验证Vue单页面项目搭建成功
在命令中,依次执行项目创建后,给出的提示指令
> cd vue-multiple-pages
> npm run dev》 vue-multiple-pages@1.0.0 dev
》 webpack-dev-server --inline --progress --config build/webpack.dev.conf.js(node:6516) [DEP0111] DeprecationWarning: Access to process.binding('http_parser') is deprecated.
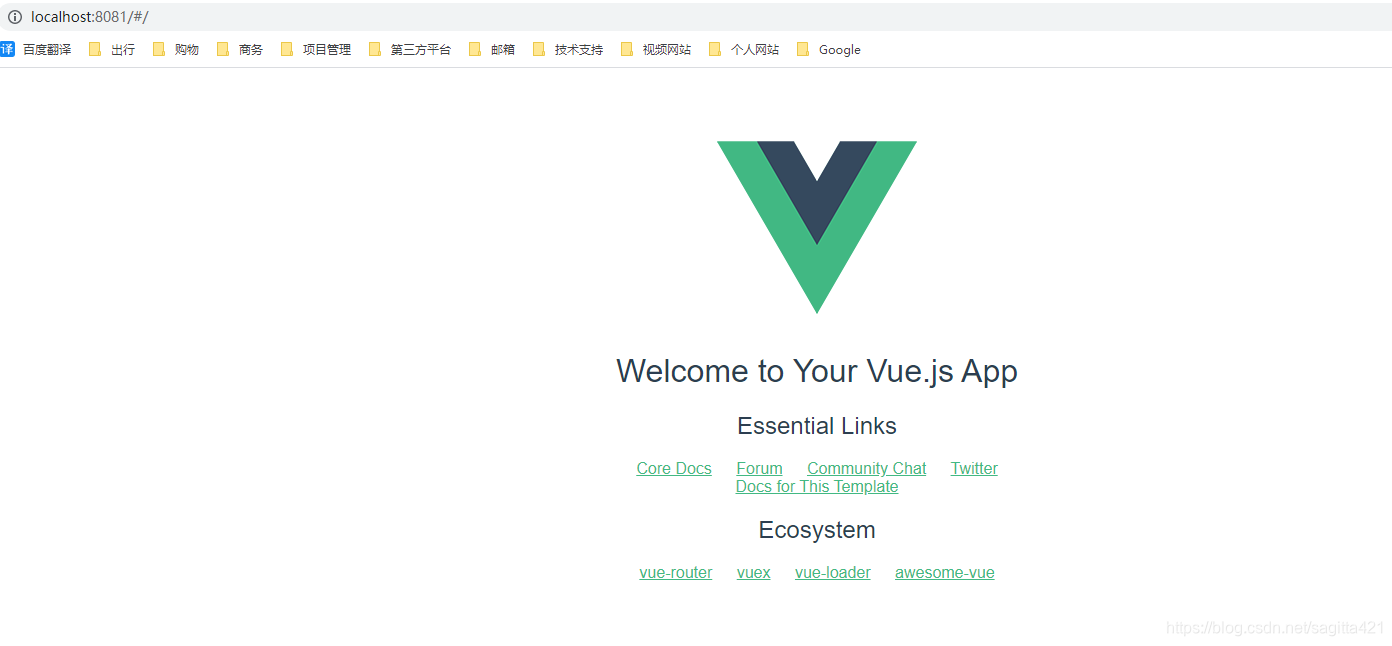
(Use `node --trace-deprecation ...` to show where the warning was created)13% building modules 28/31 modules 3 active ...eSpace\vue-multiple-pages\src\App.vue{ parser: "babylon" } is deprecated; we now treat it as { parser: "babel" }.95% emittingDONE Compiled successfully in 4825ms 上午11:24:40I Your application is running here: http://localhost:8081nodejs默认采用的端口为8080,但是由于我之前开启这tomcat,导致8080端口已经被占用,nodejs就会自动追加为8081。根据提示,打开浏览器,输入网址:http://localhost:8081
四、改造项目结构
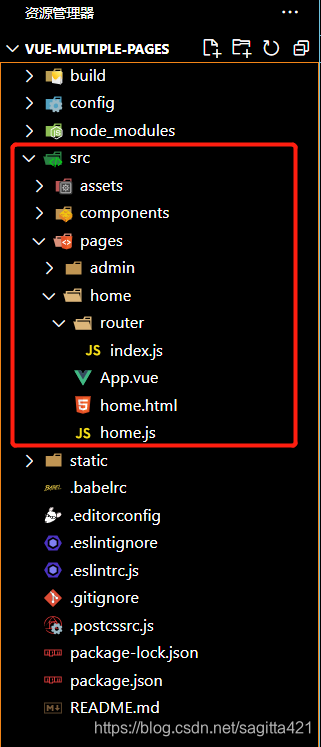
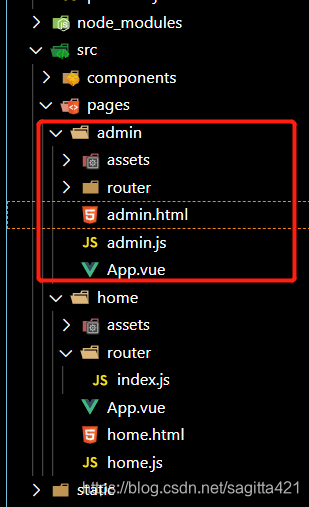
下面是改造后的目录结构,主要改造在src目录下,这里需要注意几点,一个webpack模版下,是不存在public目录的,所以vue-cli默认的public下的static目录和index.html文件,就会在项目根目录下。
以一个网站的公众入口和管理端入口为目标,进行改造,参考下图,相关操作如下:
- src目录下新建pages目录,并在pages目录下,再新建home、admin两个目录
- 将src下的router、assets目录,以及App.vue,main.js移动到src\pages\home目录下。
- 将根目录下的index.html,移动端src\pages\home目录下
- 将src\pages\home目录下的 index.html、main.js 更名为home.html、home.js
五、调整文件配置
1. 修改 build\uitls.js 文件内容,新增下列代码
// glob是webpack安装时依赖的一个第三方模块,该模块允许你使用 *等符号, 例如lib/*.js就是获取lib文件夹下的所有js后缀名的文件
var glob = require('glob')
// 页面模板
var HtmlWebpackPlugin = require('html-webpack-plugin')
// 取得相应的页面路径,因为之前的配置,所以是src文件夹下的pages文件夹
var PAGE_PATH = path.resolve(__dirname, '../src/pages')
// 用于做相应的merge处理
var merge = require('webpack-merge')//多入口配置
// 通过glob模块读取pages文件夹下的所有对应文件夹下的js后缀文件,如果该文件存在
// 那么就作为入口处理
exports.entries = function() {var entryFiles = glob.sync(PAGE_PATH + '/*/*.js')var map = {}entryFiles.forEach((filePath) => {var filename = filePath.substring(filePath.lastIndexOf('\/') + 1, filePath.lastIndexOf('.'))map[filename] = filePath})return map
}//多页面输出配置
// 与上面的多页面入口配置相同,读取pages文件夹下的对应的html后缀文件,然后放入数组中
exports.htmlPlugin = function() {let entryHtml = glob.sync(PAGE_PATH + '/*/*.html')let arr = []entryHtml.forEach((filePath) => {let filename = filePath.substring(filePath.lastIndexOf('\/') + 1, filePath.lastIndexOf('.'))let conf = {// 模板来源template: filePath,// 文件名称filename: filename + '.html',// 页面模板需要加对应的js脚本,如果不加这行则每个页面都会引入所有的js脚本chunks: ['manifest', 'vendor', filename],inject: true}if (process.env.NODE_ENV === 'production') {conf = merge(conf, {minify: {removeComments: true,collapseWhitespace: true,removeAttributeQuotes: true},chunksSortMode: 'dependency'})}arr.push(new HtmlWebpackPlugin(conf))})return arr
}
2. 修改 build\webpack.base.config.js 的内容
将原先的入口文件配置 entry: {app: './src/main.js'}, 改为 entry: utils.entries()。
................module.exports = {context: path.resolve(__dirname, '../'),// entry: {// app: './src/main.js'// },entry: utils.entries(),output: {path: config.build.assetsRoot,filename: '[name].js',publicPath: process.env.NODE_ENV === 'production'? config.build.assetsPublicPath: config.dev.assetsPublicPath},............3. 修改 build\webpack.dev.config.js、build\webpack.prod.config.js 的内容
注释掉new HtmlWebpackPlugin( ……) 的内容,在 plugins: [……] 后面追加 .concat(utils.htmlPlugin())
...............const devWebpackConfig = merge(baseWebpackConfig, {module: {rules: utils.styleLoaders({ sourceMap: config.dev.cssSourceMap, usePostCSS: true })},// cheap-module-eval-source-map is faster for developmentdevtool: config.dev.devtool,.................plugins: [new webpack.DefinePlugin({'process.env': require('../config/dev.env')}),new webpack.HotModuleReplacementPlugin(),new webpack.NamedModulesPlugin(), // HMR shows correct file names in console on update.new webpack.NoEmitOnErrorsPlugin(),// https://github.com/ampedandwired/html-webpack-plugin// new HtmlWebpackPlugin({// filename: 'index.html',// template: 'index.html',// inject: true// }),// copy custom static assetsnew CopyWebpackPlugin([{from: path.resolve(__dirname, '../static'),to: config.dev.assetsSubDirectory,ignore: ['.*']}])].concat(utils.htmlPlugin()).............4. 修改 config\index.js 的内容
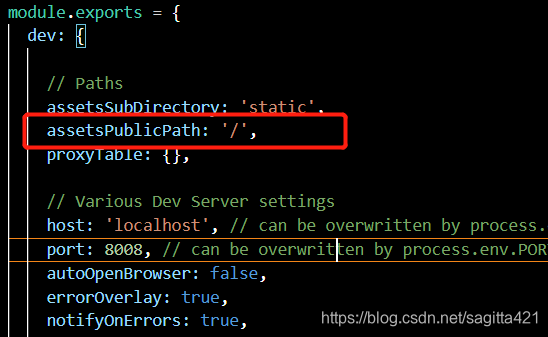
很多帖子,都说将该文件中的 assetsPublicPath 属性中的 ‘/’ 统一改为 ‘./’,这样做的目的是为了打包出来的文件,不需要修改引用路径。
.................module.exports = {dev: {// PathsassetsSubDirectory: 'static',assetsPublicPath: './',proxyTable: {},...............},build: {// Template for index.htmlindex: path.resolve(__dirname, '../dist/index.html'),// PathsassetsRoot: path.resolve(__dirname, '../dist'),assetsSubDirectory: 'static',assetsPublicPath: './',....................}
}
但经过我实际测试,dev改了就会找不到路径。build如何还不知道,等一下再补充
六、验证结果
执行 npm run dev
> Executing task: npm run dev <> vue-multiple-pages@1.0.0 dev
> webpack-dev-server --inline --progress --config build/webpack.dev.conf.js(node:14508) [DEP0111] DeprecationWarning: Access to process.binding('http_parser') is deprecated.
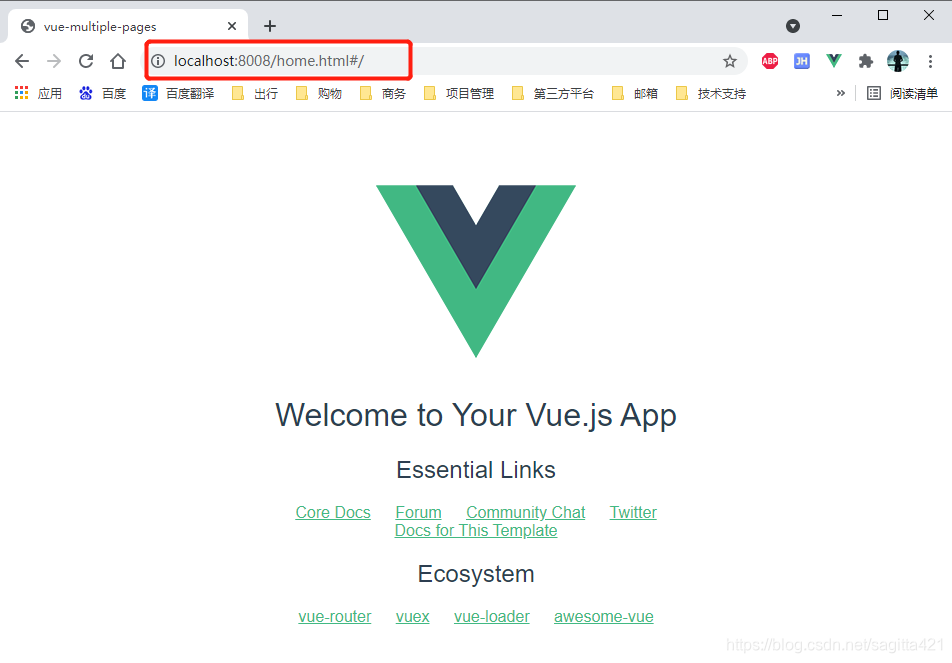
(Use `node --trace-deprecation ...` to show where the warning was created)13% building modules 30/33 modules 3 active ...e-pages\src\components\HelloWorld.vue{ parser: "babylon" } is deprecated; we now treat it as { parser: "babel" }.95% emittingDONE Compiled successfully in 5725ms I Your application is running here: http://localhost:8008访问 http://localhost:8008
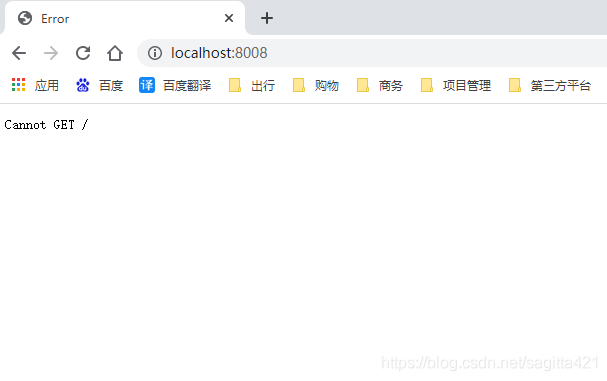
访问 http://localhost:8008/home.html
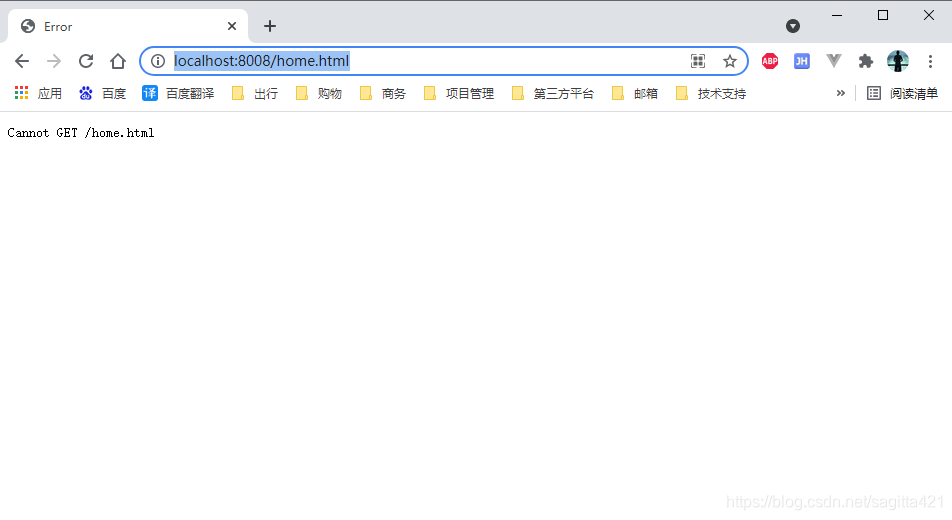
好像都不行,应该是路由没有找到,百度了一圈后,config\index.js 配错了 assetsPublicPath还是应该为 "/" 。
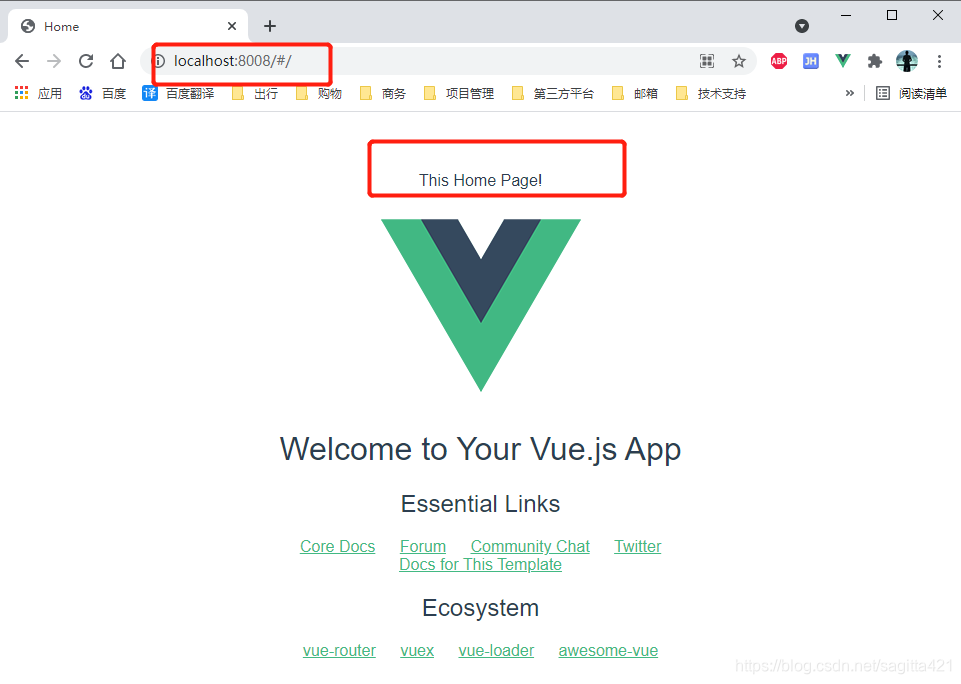
重新运行 npm run dev, 访问 http://localhost:8008/home.html
这样,一个页面好了。
七、创建第二个页面
准备第二个页面admin的目录结构,做一下操作
- 在src\pages下新建admin目录,
- 把src\pages\home目中的所有文件都复制一份到admin下,
- 把admin下的home.html, home.js 文件更名为admin.html, admin.js
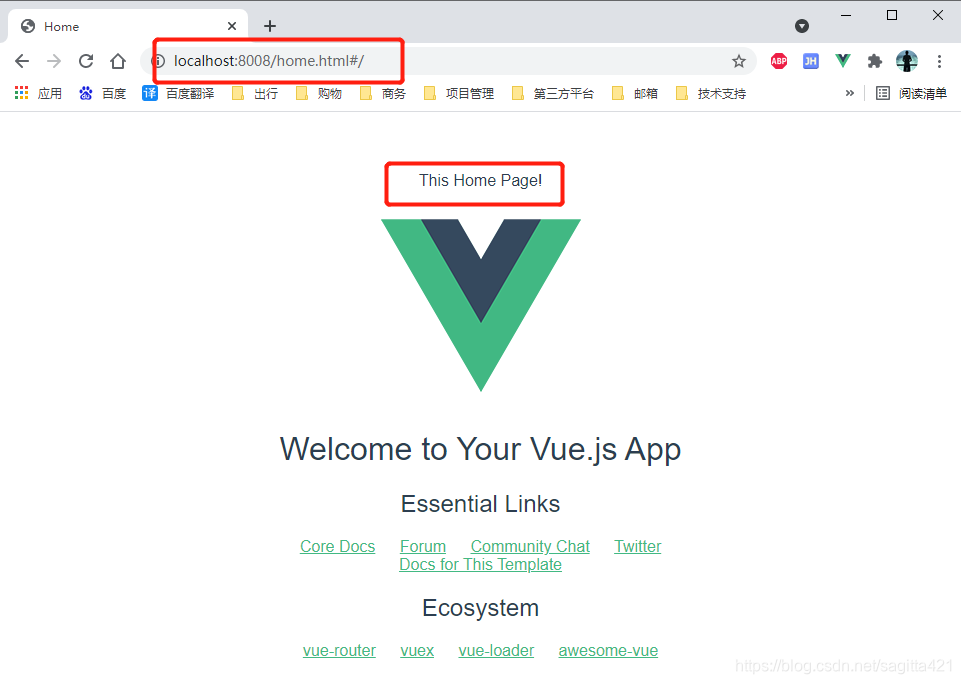
同时为了在页面上区分home和admin,在两个目录下的App.vue文件中,<template>标签中分别新增<p>This Admin Page!</p> 和 <p>This Home Page!</p>
<template><div id="app"><p>This Admin Page!</p><img src="./assets/logo.png" /><router-view /></div>
</template>
重新运行 npm run dev, 访问 http://localhost:8008/home.html
访问: http://localhost:8008/admin.html

这样,就代表多页面配置成功。
八、打包后结果
运行 npm run build ,生成dist目录
Hash: b07ca5dec7256abc4d39
Version: webpack 3.12.0
Time: 11355msAsset       Size  Chunks             Chunk Namesstatic/js/home.176882345f44f82a47db.js    11.7 kB       0  [emitted]  homestatic/js/admin.7c28ab51b3bfe75e52e7.js    11.7 kB       1  [emitted]  adminstatic/js/vendor.0c135bbd52d710a676db.js     124 kB       2  [emitted]  vendorstatic/js/manifest.a8feca834d698fa66148.js  858 bytes       3  [emitted]  manifeststatic/css/admin.e7d41b95f96ae5ef7a6f7c821e2ce23e.css  434 bytes       1  [emitted]  adminstatic/css/home.be5ea3ac390cce154dc9aabcf9d8b294.css  433 bytes       0  [emitted]  home
static/css/admin.e7d41b95f96ae5ef7a6f7c821e2ce23e.css.map  803 bytes          [emitted]static/css/home.be5ea3ac390cce154dc9aabcf9d8b294.css.map  801 bytes          [emitted]static/js/home.176882345f44f82a47db.js.map    22.5 kB       0  [emitted]  homestatic/js/admin.7c28ab51b3bfe75e52e7.js.map    22.5 kB       1  [emitted]  adminstatic/js/vendor.0c135bbd52d710a676db.js.map     627 kB       2  [emitted]  vendorstatic/js/manifest.a8feca834d698fa66148.js.map    4.97 kB       3  [emitted]  manifestadmin.html  515 bytes          [emitted]home.html  512 bytes          [emitted]Build complete.Tip: built files are meant to be served over an HTTP server.Opening index.html over file:// won't work.
将dist目录copy到nginx的网站目录下,访问 http://localhost:8100/dist/home.html

访问: http://localhost:8100/dist/admin.html
九、优化入口,分主次
考虑到公众端的主页一般默认入口都是index.html,我们将home全面都改为index

重新启动 npm run dev ,访问 http://localhost:8008/
这篇关于基于vue-cli4搭建webpack模版的vue项目,改造成多页面入口项目的文章就介绍到这儿,希望我们推荐的文章对编程师们有所帮助!


