本文主要是介绍[Hololens]基于MMD4Mecanim插件的HoloLens MMD部署,希望对大家解决编程问题提供一定的参考价值,需要的开发者们随着小编来一起学习吧!
Chapter0 - 前言
最近在根据微软的HoloLens教程学习HoloLens的基础,昨天突发奇想用电脑现有的mmd模型、动作数据加入Unity中然后部署到HoloLens进行基于环境的放置与跳舞操作。(老师不在实验室系列)百度了一下之后找到了日本大佬的MMD4Mecanim插件,可以将MMD模型以及音乐和动作导入到Unity中,便开始进行部署。
Chapter1 - 基本工作与环境
- 使用的工具包括 Unity 2018.1 , Visual Studio 2017,MMD4Mecanim插件,HoloLens emulator,HoloLens。
- MMD4Mecanim下载地址,同时也是作者的官网。
- 想要导入的MMD模型文件,动作文件与匹配的音乐文件(本文未获得作者允许,故不提供模型与动作下载链接)。
- 其他东西百度很快能找到。
[注] 若只是要导入MMD模型到Unity只需要Unity和插件就行。
Chapter2 - 导入模型到Unity
- 新建一个Unity项目,注意选择3D。
- 在资源栏右键添加Unity Package,将下载的插件中的 MMD4Mecanim.unitypackage 导入Asset当中。
- 将想要导入的MMD模型文件直接拖入Asset当中,以及需要的动作数据文件和音乐。
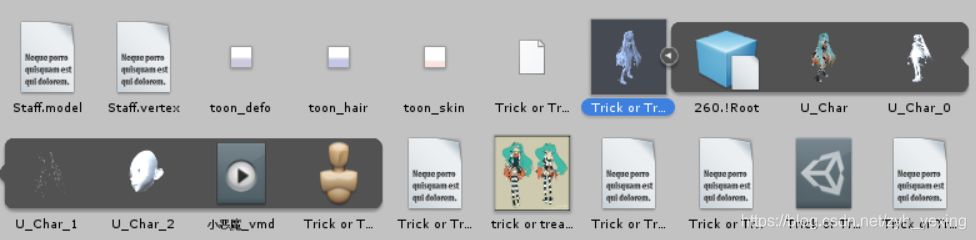
- 导入后点击MMD文件夹可以看到插件自动转化的.MMD4Mecanim文件,选择一个点击,在右方Inspector面板最下方选中所有协议,同意。
- 在下一个界面中,将动作文件.vmd拖入相应的vmd处,单击process。此时插件会开始自动导入模型文件然后变成Unity文件。
- 有时候模型有多个组件,可只导入人物模型。
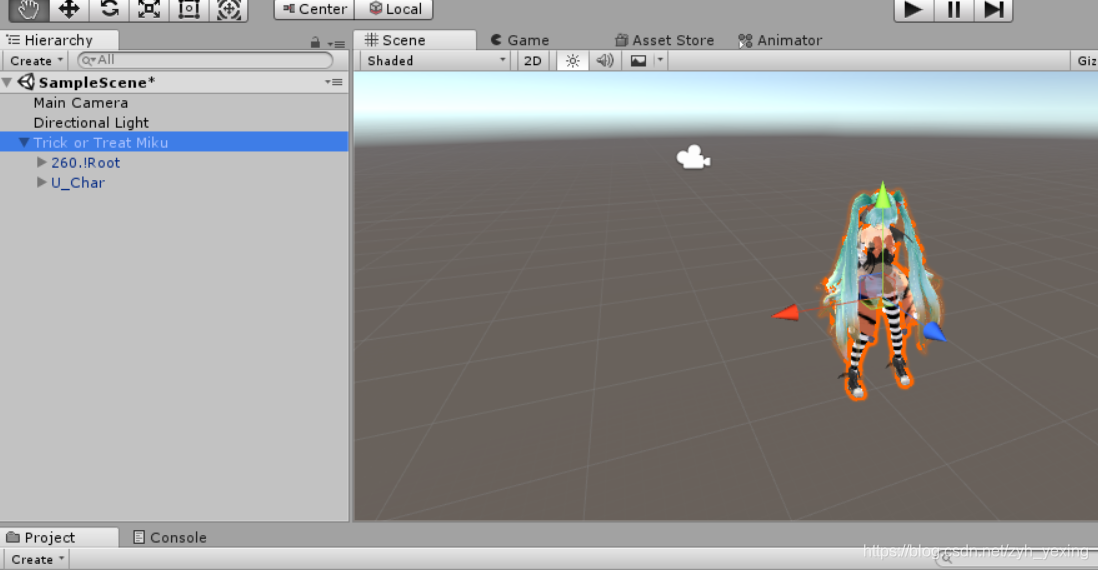
- 导入完成后,拖拽生成的模型到Hierarchy中,模型导入完成。
Chapter3 - 添加动作与音乐
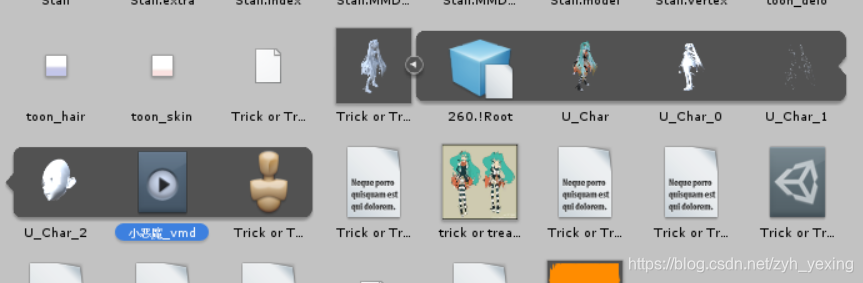
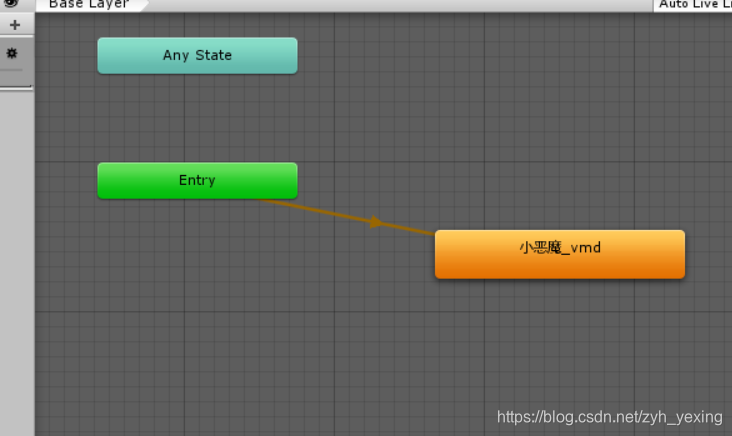
- 在模型文件夹下右键 Create > Animator Controller 添加一个新的动作控制器,双击打开;
- 将模型中的vmd文件拖拽到控制器中与Entry连接;
- 在Hierarchy中单击模型,在右方 Animator 中找到 Controller ;在Hierarchy中单击模型,在右方 Animator 中找到 Controller ;
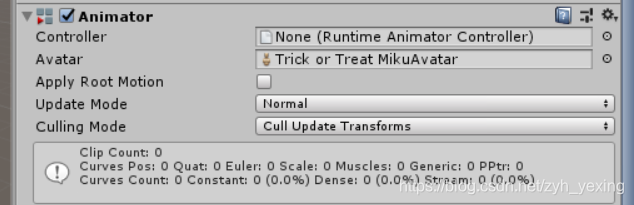
- 单击齿轮选择之前创建的动作控制器,此时点击播放按钮,模型已经可以开始跳舞了;
- 在Hierarchy中单击模型,在Inspector最下方单击 Add Component 。选择 Audio > Audio Source,将音乐文件拖入AudioClip中,下方Volume可以调节音量;
- 因为实在HoloLens中实现,故将Spatial Blend调至3D,声音最大距离也可随意修改。
Chapter4 - 添加光标,地图以及放置代码
- 在微软HoloLens官网教程中下载素材文件;
HoloLens教程素材 - 在Unity项目的Asset中新建文件夹 101-Asset 存放素材,导入 Origami 中的 Asset 文件;
- 将 Hologram 中的 Cursor 以及 Spatial Mapping 添加入Hierarchy中;
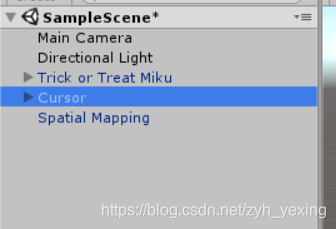
- 单击MMD模型,右键新建一个方块来作为模型的底座;
- 调整方块位置以及模型大小,依照自我喜好调整,cursor是用来作为凝视点光标的,改变模型大小的同时也可以修改cursor的大小;
- 调整 Main Camera 到合适的位置,能够拍摄到模型,将 Clear Flags 改为 Solid Color, Background 改为纯黑色;
- 在Asset中新建文件夹 Script 用于存放代码;
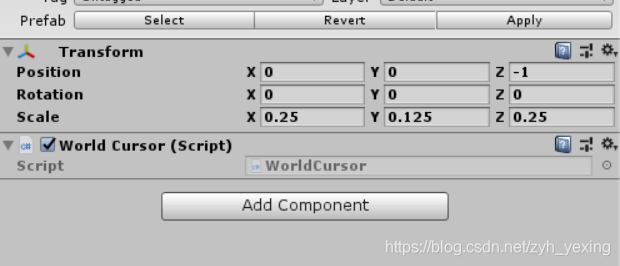
- 在 script 中右键新建 C# Script ,命名为 WorldCursor,双击在vs中打开,添加如下代码,特别注意,命名要正确:
using UnityEngine;public class WorldCursor : MonoBehaviour
{private MeshRenderer meshRenderer;// Use this for initializationvoid Start(){// Grab the mesh renderer that's on the same object as this script.meshRenderer = this.gameObject.GetComponentInChildren<MeshRenderer>();}// Update is called once per framevoid Update(){// Do a raycast into the world based on the user's// head position and orientation.var headPosition = Camera.main.transform.position;var gazeDirection = Camera.main.transform.forward;RaycastHit hitInfo;if (Physics.Raycast(headPosition, gazeDirection, out hitInfo)){// If the raycast hit a hologram...// Display the cursor mesh.meshRenderer.enabled = true;// Move thecursor to the point where the raycast hit.this.transform.position = hitInfo.point;// Rotate the cursor to hug the surface of the hologram.this.transform.rotation = Quaternion.FromToRotation(Vector3.up, hitInfo.normal);}else{// If the raycast did not hit a hologram, hide the cursor mesh.meshRenderer.enabled = false;}}
}- 完成后保存,将脚本拖拽到Hierarchy中的cursor上,成功完成后cursor的component中会有该脚本;
- 在script中右键新建C# script,命名为GazeGestureManager,双击后添加如下代码:
using UnityEngine;
using UnityEngine.XR.WSA.Input;public class GazeGestureManager : MonoBehaviour
{public static GazeGestureManager Instance { get; private set; }// Represents the hologram that is currently being gazed at.public GameObject FocusedObject { get; private set; }GestureRecognizer recognizer;// Use this for initializationvoid Start(){Instance = this;// Set up a GestureRecognizer to detect Select gestures.recognizer = new GestureRecognizer();recognizer.Tapped += (args) =>{// Send an OnSelect message to the focused object and its ancestors.if (FocusedObject != null){FocusedObject.SendMessageUpwards("OnSelect", SendMessageOptions.DontRequireReceiver);}};recognizer.StartCapturingGestures();}// Update is called once per framevoid Update(){// Figure out which hologram is focused this frame.GameObject oldFocusObject = FocusedObject;// Do a raycast into the world based on the user's// head position and orientation.var headPosition = Camera.main.transform.position;var gazeDirection = Camera.main.transform.forward;RaycastHit hitInfo;if (Physics.Raycast(headPosition, gazeDirection, out hitInfo)){// If the raycast hit a hologram, use that as the focused object.FocusedObject = hitInfo.collider.gameObject;}else{// If the raycast did not hit a hologram, clear the focused object.FocusedObject = null;}// If the focused object changed this frame,// start detecting fresh gestures again.if (FocusedObject != oldFocusObject){recognizer.CancelGestures();recognizer.StartCapturingGestures();}}
}
- 拖拽该脚本到MMD模型上;
- 新建C# Script 命名为 TapToPlaceParent ,添加如下代码:
using UnityEngine;public class TapToPlaceParent : MonoBehaviour
{bool placing = false;// Called by GazeGestureManager when the user performs a Select gesturevoid OnSelect(){// On each Select gesture, toggle whether the user is in placing mode.placing = !placing;// If the user is in placing mode, display the spatial mapping mesh./*if (placing){SpatialMapping.Instance.DrawVisualMeshes = true;}// If the user is not in placing mode, hide the spatial mapping mesh.else{SpatialMapping.Instance.DrawVisualMeshes = false;}*/SpatialMapping.Instance.DrawVisualMeshes = true;	//添加}// Update is called once per framevoid Update(){// If the user is in placing mode,// update the placement to match the user's gaze.if (placing){// Do a raycast into the world that will only hit the Spatial Mapping mesh.var headPosition = Camera.main.transform.position;var gazeDirection = Camera.main.transform.forward;RaycastHit hitInfo;if (Physics.Raycast(headPosition, gazeDirection, out hitInfo,30.0f, SpatialMapping.PhysicsRaycastMask)){// Move this object's parent object to// where the raycast hit the Spatial Mapping mesh.this.transform.parent.position = hitInfo.point;// Rotate this object's parent object to face the user./*Quaternion toQuat = Camera.main.transform.localRotation;toQuat.x = 0;toQuat.z = 0;this.transform.parent.rotation = toQuat;*/this.transform.parent.LookAt(Camera.main.transform);	//添加Quaternion toQuat = this.transform.parent.localRotation;	//toQuat.x = 0;toQuat.z = 0;			//this.transform.parent.rotation = toQuat;		//添加}}}
}
[注] 该代码中相对于微软源码有两处代码进行了修改,第一处是用于拿起模型等待放置时显示地图的网格,微软源码是拿起时显示网格,放下隐藏网格。我改为了始终显示网格,可根据个人需要选择代码。第二处为了使模型正面面对相机。
- 保存,将脚本拖拽到MMD模型下属的 Cube 上。
- 脚本基本完成,开始进行build。
Chapter5 - Building Setting
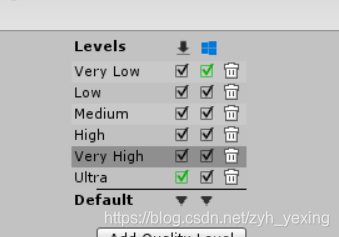
- 开始进入build环节,在 Edit > Project Setting > Quality 中将质量改为最低;
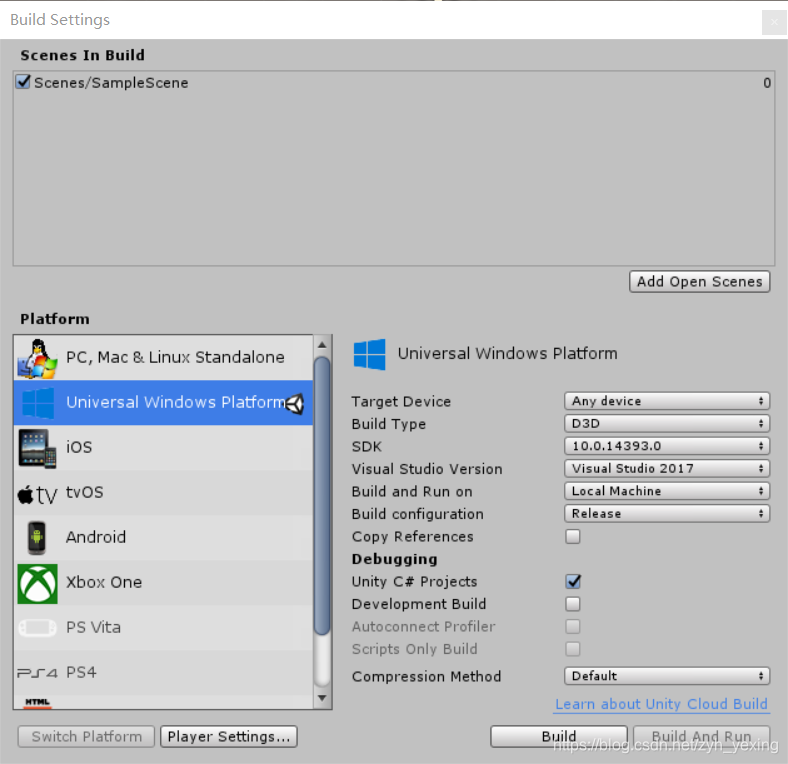
- 点击 File > Build Setting 选择 Universal Windows Platform ,点击 Swich Platform ,然后点击 Player Settings ,在 Other Settings 中把 Scripting Backend 改为 .NET 。在 XR Settings 中勾选 Visual Reality Supported ;
- 在 Publishing settings 中 Capability 中勾选 SpatialPerception;
- 设定如图,SDK和vs可以直接默认,点击 Build ,新建文件夹 App 然后build;
- 等待完成后打开App文件夹,双击.sln文件,在vs上运行。
Chapter6 - vs中运行模拟器或部署到设备
- 配置如图所示,部署到虚拟机;

- 直接点击或 Ctrl + F5;
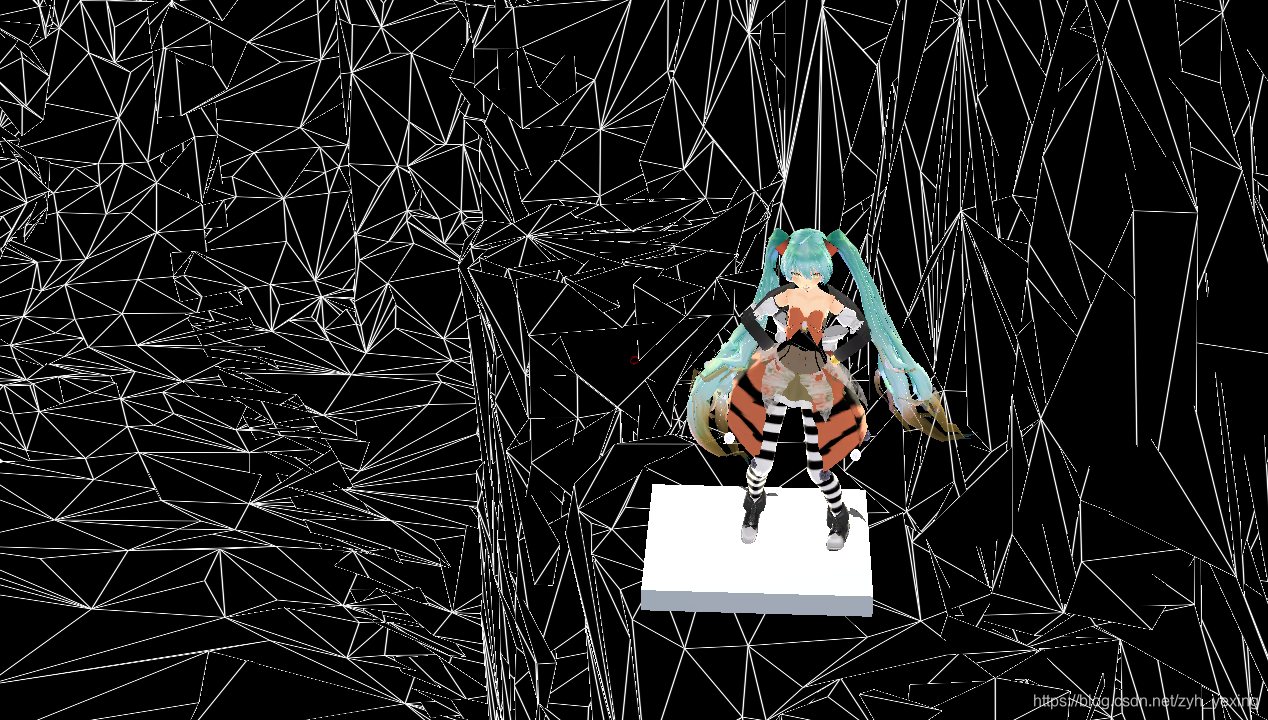
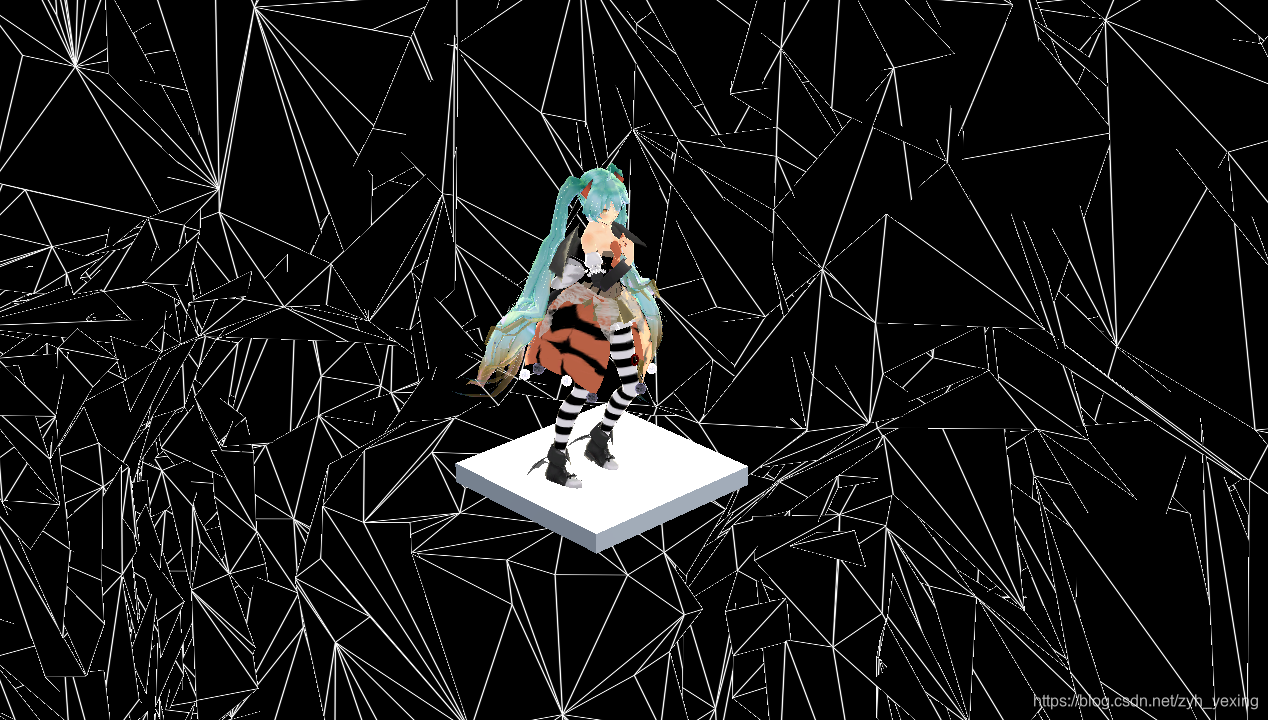
- 部署完成后光标移至底座然后点击就可在环境中进行放置。
运行结果:
这篇关于[Hololens]基于MMD4Mecanim插件的HoloLens MMD部署的文章就介绍到这儿,希望我们推荐的文章对编程师们有所帮助!


