本文主要是介绍bin-editor-next实现josn序列化,希望对大家解决编程问题提供一定的参考价值,需要的开发者们随着小编来一起学习吧!
线上链接 BIN-EDITOR-NEXT![]() https://wangbin3162.gitee.io/bin-editor-next/#/editor
https://wangbin3162.gitee.io/bin-editor-next/#/editor
gitee地址bin-editor-next: ace-editor 的vue3升级版本![]() https://gitee.com/wangbin3162/bin-editor-next#https://gitee.com/link?target=https%3A%2F%2Funpkg.com%2Fbin-editor-next%2F
https://gitee.com/wangbin3162/bin-editor-next#https://gitee.com/link?target=https%3A%2F%2Funpkg.com%2Fbin-editor-next%2F
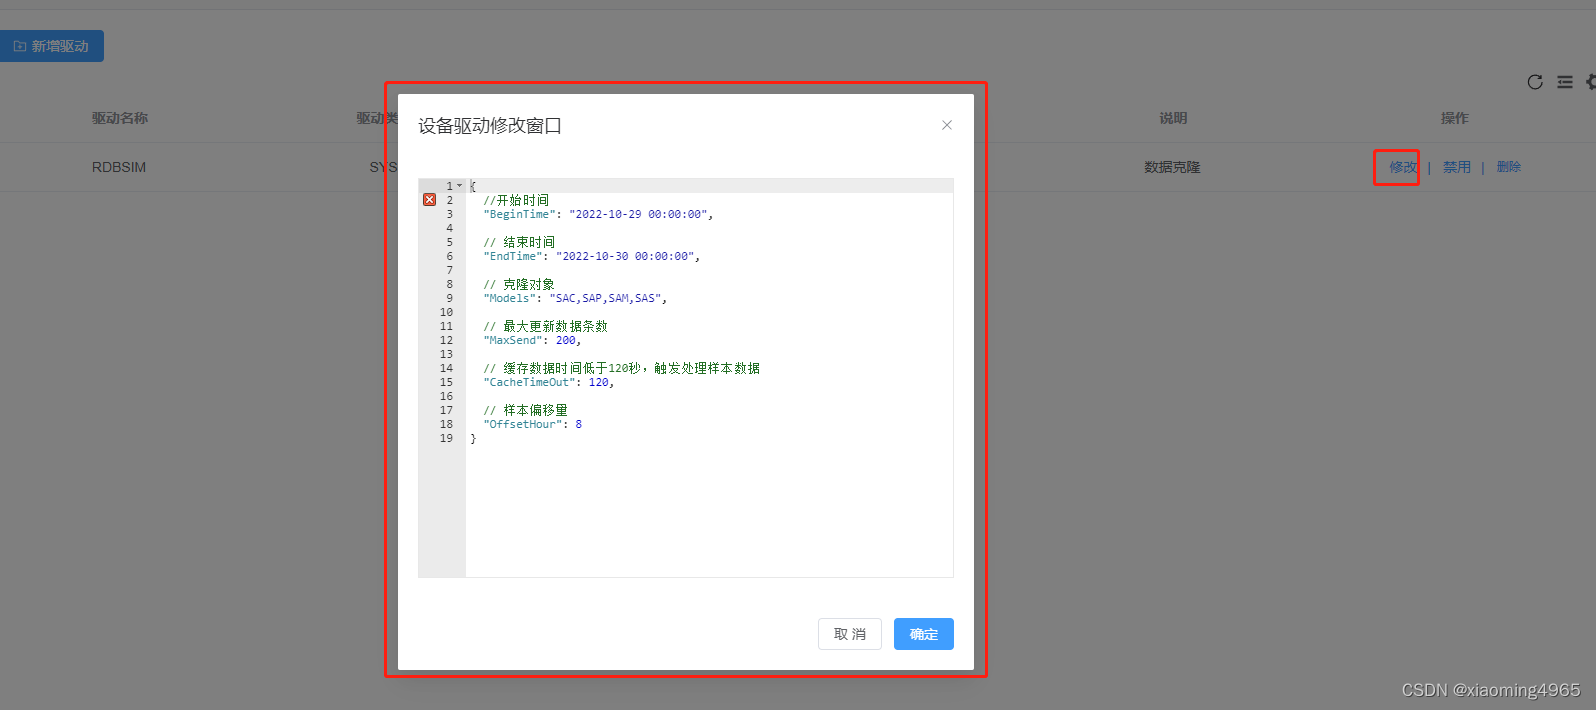
实现效果

安装步骤
npm 安装
推荐使用npm安装,它能更好地和webpack打包工具配合使用。而且可以更好的和 es6配合使用。并且支持按需引入
npm i bin-editor-next -S
# or
yarn add bin-editor-next
引入
在 main.js 中写入以下内容:
import { createApp } from 'vue'
import Editor from 'bin-editor-next';
import App from './App.vue';import * as ace from 'brace'
import 'brace/ext/emmet'
import 'brace/ext/language_tools'
import 'brace/mode/json'
import 'brace/snippets/json'
import 'brace/theme/chrome'const app = createApp(App)
app.component(Editor.name, Editor)
app.mount('#app', true)
使用
parameter.value = JSON.stringify(JSON.parse(row.value), null, 2)
<!-- 修改 --><el-dialog :title="title" v-model="editDialog" width="30%" draggable><b-ace-editor v-model="parameter" height="400"></b-ace-editor><template #footer><span class="dialog-footer"><el-button @click="onCancel" size="default">取 消</el-button><el-button type="primary" @click="onSubmit" size="default">确定</el-button></span></template></el-dialog>// 编辑器JSON字符串变量
const parameter = ref()// 打开修改角色弹窗
const currentRow = ref()
const onOpenEditRole = (row: any) => {editDialog.value = true;title.value = '设备驱动修改窗口'parameter.value = []parameter.value = toRaw(row.options)currentRow.value = tableData.value.findIndex((item: any) => item === row);
};const onSubmit = async () => {let tablebasic = toRaw(tableData.value)tablebasic[currentRow.value].options = parameter.valueawait postDeviceAddSave(tablebasic)await getTableData() //刷新页面editDialog.value = false;
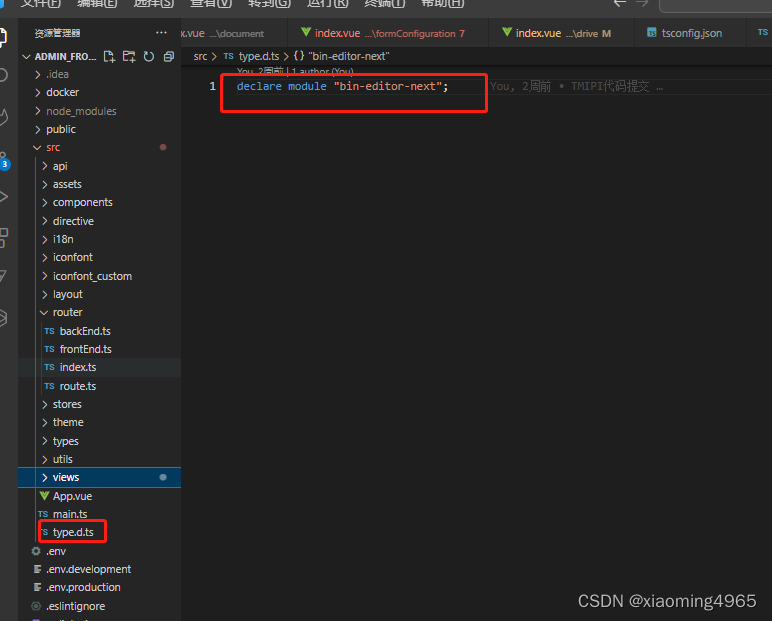
}提示报错添加文件 src中添加 type.d.ts :declare module "bin-editor-next";

这篇关于bin-editor-next实现josn序列化的文章就介绍到这儿,希望我们推荐的文章对编程师们有所帮助!


