本文主要是介绍借助文本样式为网页赋予生命——WEB开发系列28,希望对大家解决编程问题提供一定的参考价值,需要的开发者们随着小编来一起学习吧!
文本样式不仅仅是装饰,它对用户体验和网站的可读性有着重要影响。

一、基本文本和字体样式
1. 字体
CSS 中的字体属性定义了文本的外观,包括字体的类型、大小、粗细等。我们来详细了解这些属性:
字体颜色
使用 color 属性可以设置文本的颜色。例如:
p {color: #333; /* 深灰色 */
}
字体种类
font-family 属性指定文本的字体。可以设置多个字体,以确保在不同设备上都有合适的显示。例如:
body {font-family: 'Arial', 'Helvetica', sans-serif;
}
这里,浏览器会首先尝试使用 Arial 字体,如果不可用,则使用 Helvetica,最后使用系统默认的无衬线字体 sans-serif。
网页安全字体和字体栈
网页安全字体 是指在大多数操作系统中都可用的字体,如 Arial 和 Times New Roman。字体栈 是指按照优先级排列的字体列表。例如:
h1 {font-family: 'Georgia', 'Times New Roman', serif;
}
在这里,Georgia 是首选字体,如果不可用,则使用 Times New Roman,最后使用 serif(衬线字体)作为备用。
字体大小
使用 font-size 属性设置字体的大小。可以使用像素(px)、相对单位(em、rem)等。例如:
h1 {font-size: 2rem; /* 相对于根元素字体大小的两倍 */
}
2. 字体样式和粗细
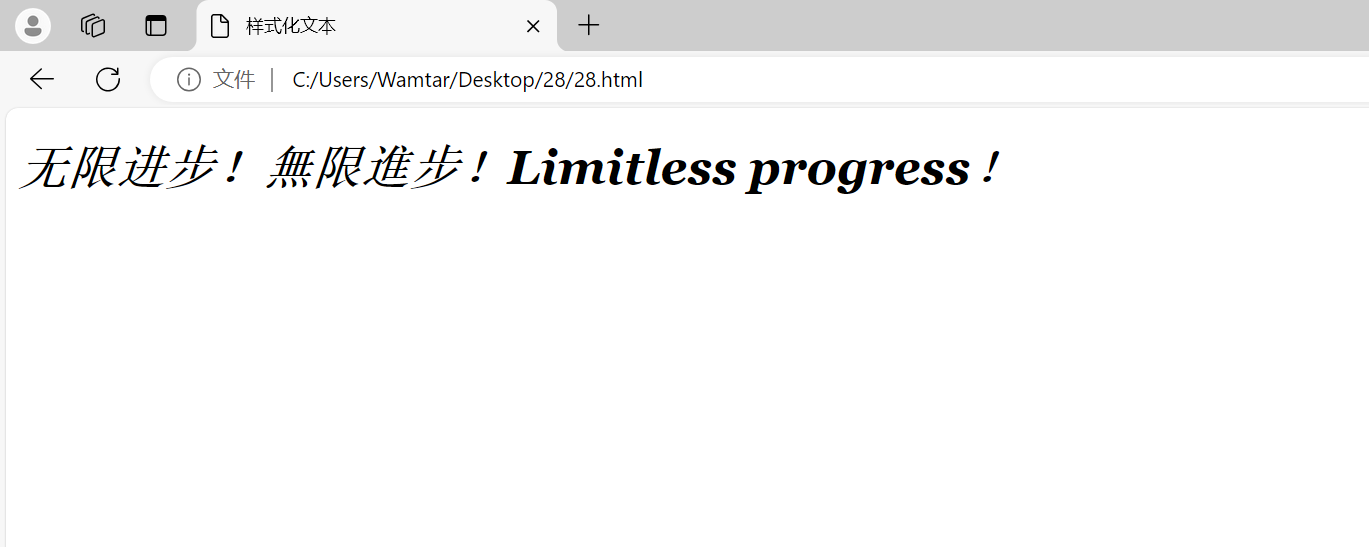
字体样式
font-style 属性用于设置字体样式,例如斜体:
em {font-style: italic;
}
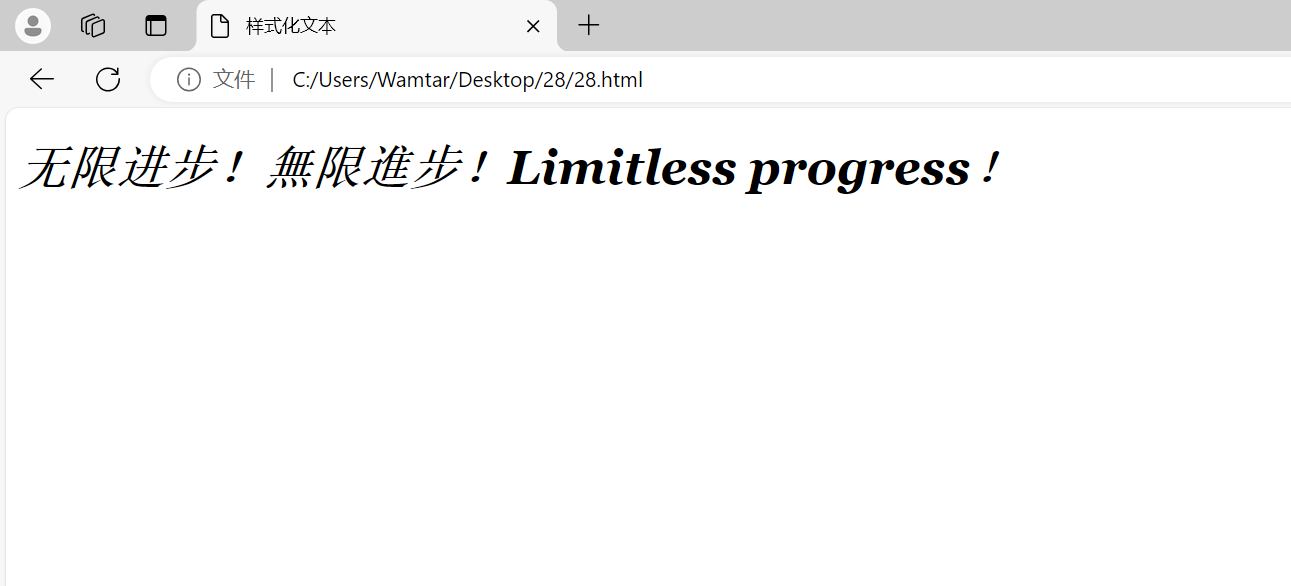
字体粗细
font-weight 属性设置字体的粗细,可以使用关键词(如 normal、bold)或数值(如 400、700):
strong {font-weight: bold;
}
文本转换
text-transform 属性用于控制文本的大小写转换:
h2 {text-transform: uppercase; /* 全部大写 */
}
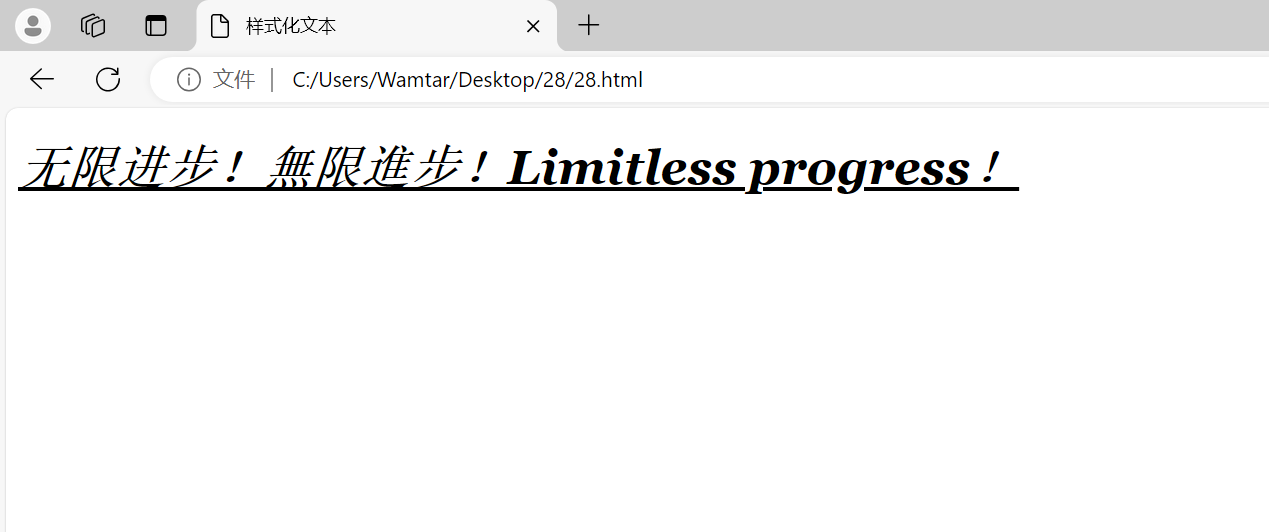
文本装饰
text-decoration 属性用于添加或移除文本装饰,例如下划线、删除线:
a {text-decoration: none; /* 去掉下划线 */
}
文字阴影
text-shadow 属性为文本添加阴影效果:
h3 {text-shadow: 2px 2px 4px rgba(0, 0, 0, 0.5);
}
这段代码给 h3 元素的文本添加了一个 2px 的水平和垂直偏移的阴影,模糊半径为 4px,阴影颜色为半透明的黑色。
二、文本布局
1. 文本对齐
text-align 属性用于设置文本对齐方式:
p {text-align: center; /* 居中对齐 */
}
2. 行高
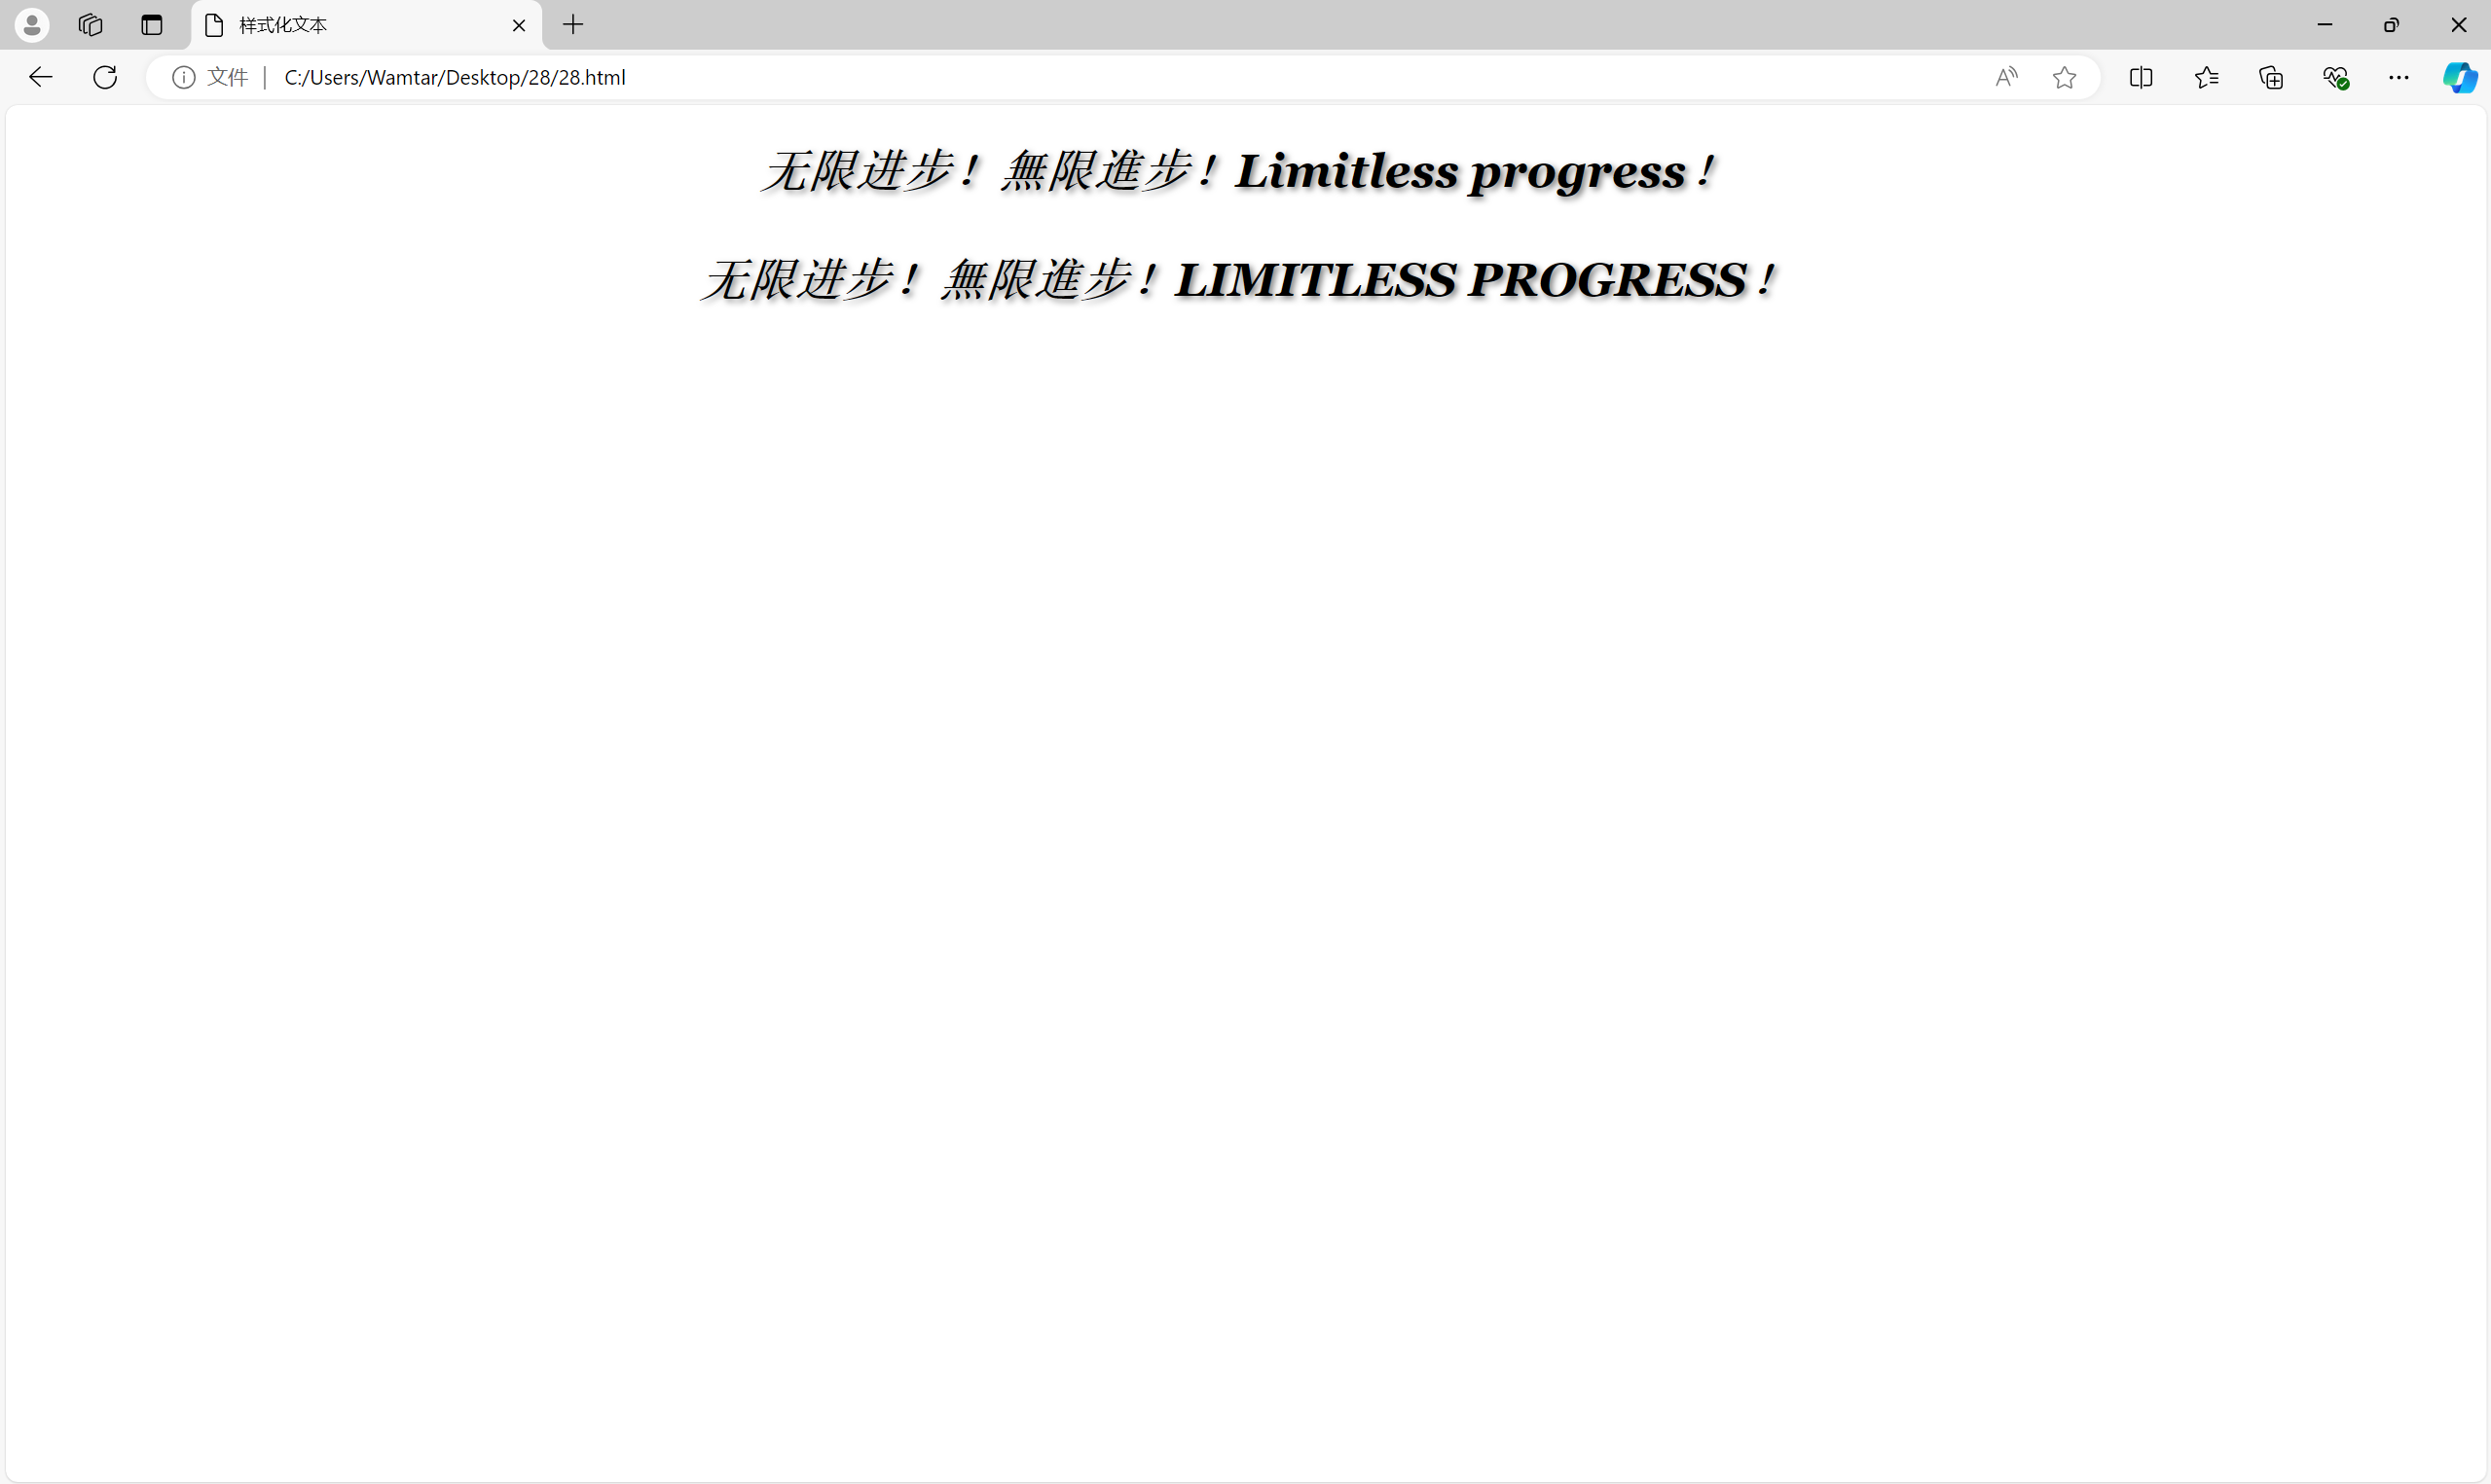
line-height 属性设置文本行之间的距离,通常用于改善文本的可读性:
p {line-height: 1.5; /* 1.5 倍的行高 */
}
3. 字母和单词间距
字母间距
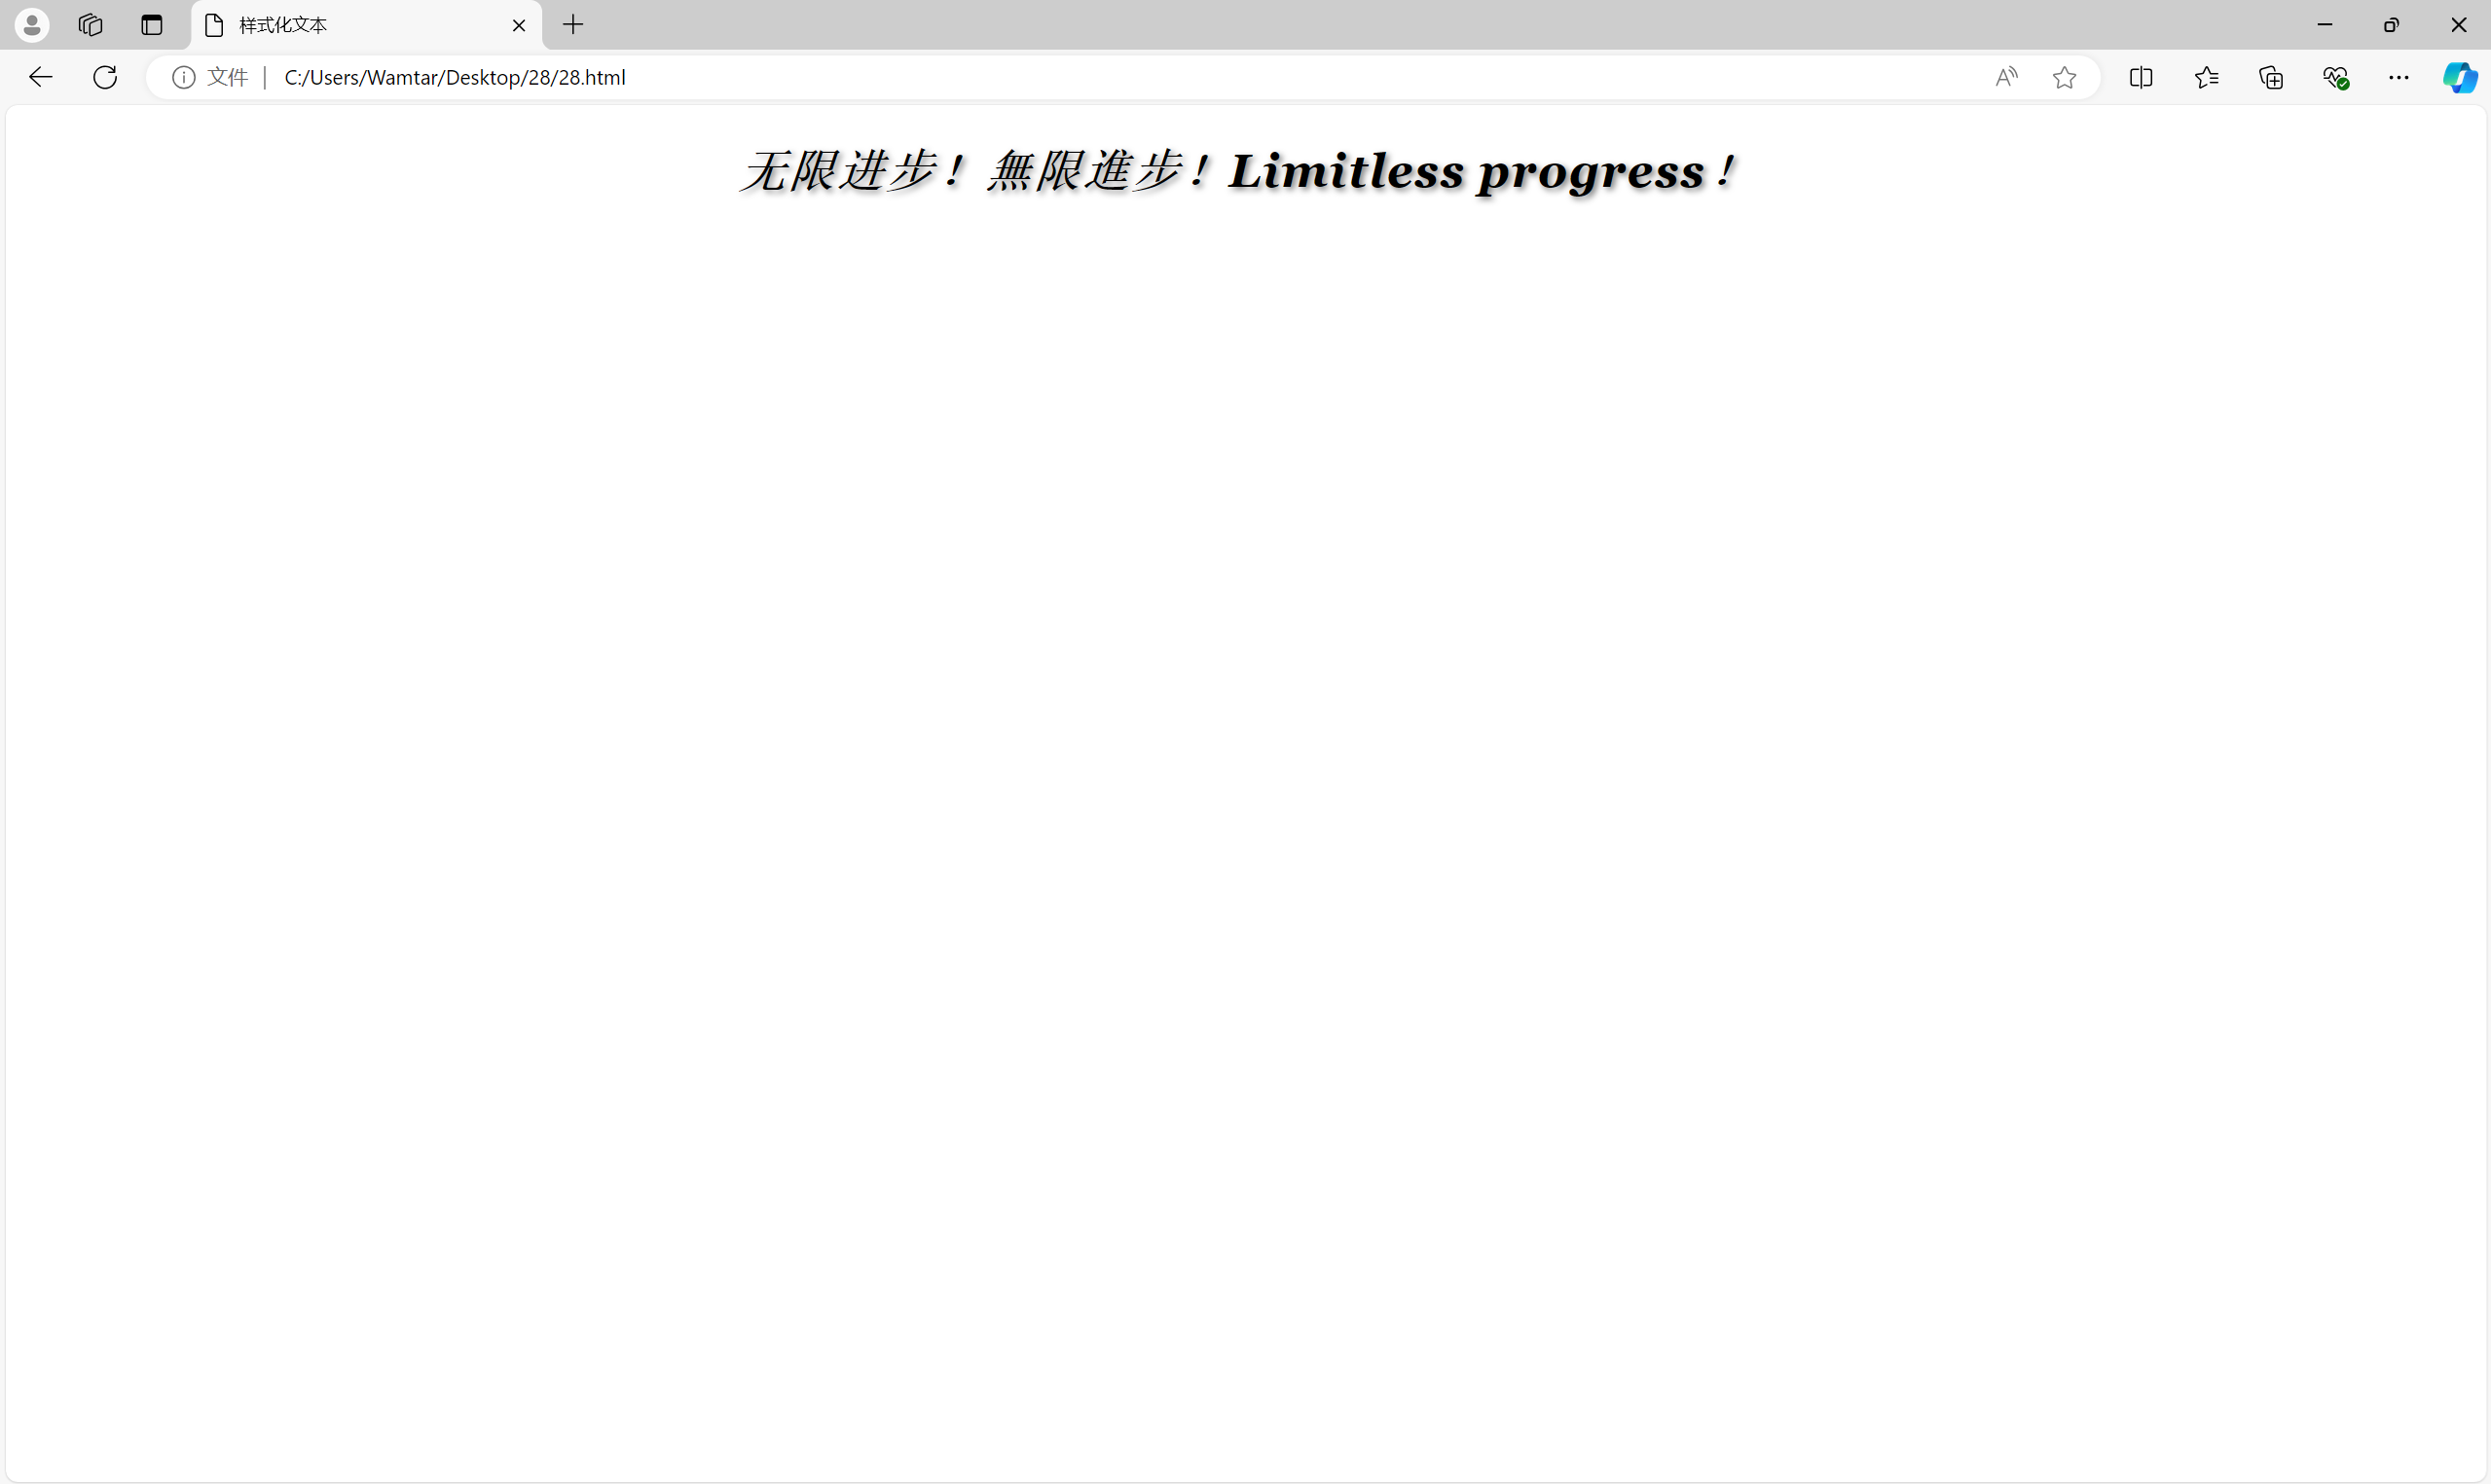
letter-spacing 属性设置字母之间的间距:
h1 {letter-spacing: 1px;
}
单词间距
word-spacing 属性设置单词之间的间距:
p {word-spacing: 2px;
}
4. Font 简写
font 属性是一个简写属性,可以同时设置字体样式、粗细、大小、行高和字体家族。例如:
p {font: italic bold 16px/1.5 'Arial', sans-serif;
}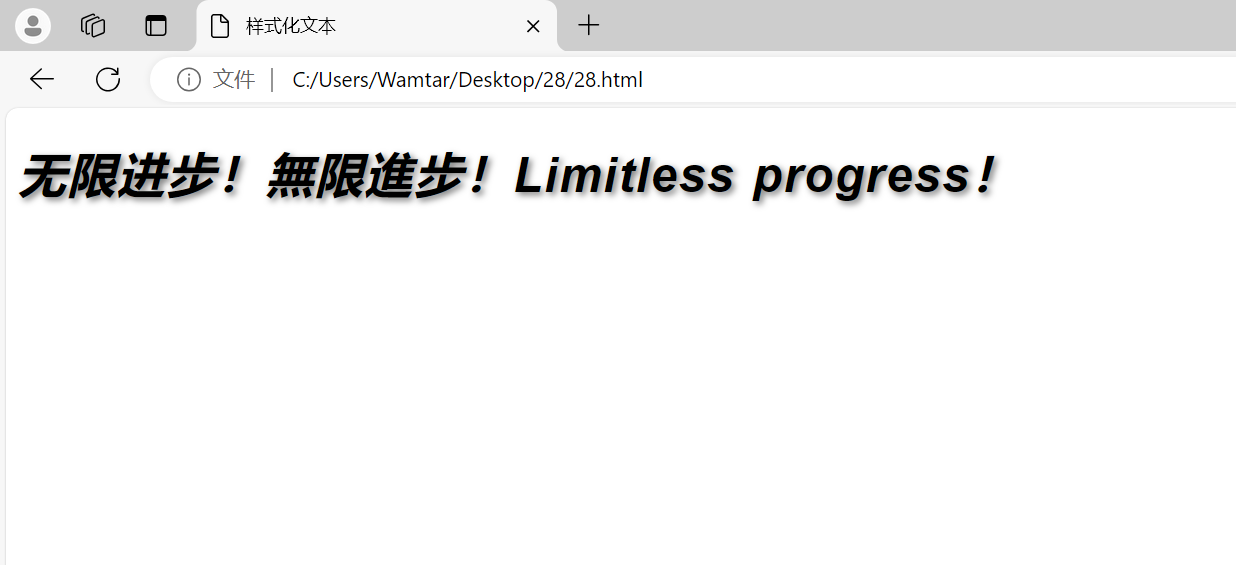
这段代码同时设置了字体样式为斜体、字体粗细为粗体、字体大小为 16px、行高为 1.5、字体家族为 Arial 或系统默认无衬线字体。
三、为列表添加样式
1. 列表间距
使用 margin 和 padding 属性来调整列表项之间的间距。例如:
ul {padding-left: 20px; /* 列表项左侧内边距 */
}li {margin-bottom: 10px; /* 列表项底部外边距 */
}
2. 列表特定样式
符号样式
list-style-type 属性设置列表项的符号样式:
ul {list-style-type: square; /* 方形符号 */
}
项目符号位置
list-style-position 属性设置列表项符号的位置:
ul {list-style-position: inside; /* 符号位于列表项内容区域内 */
}
使用自定义的项目符号图片
list-style-image 属性允许你使用自定义图像作为列表符号:
ul {list-style-image: url('custom-icon.png');
}
list-style 简写
list-style 属性是一个简写属性,可以同时设置符号样式、符号位置和自定义图像。例如:
ul {list-style: square inside url('custom-icon.png');
}
3. 管理列表计数
start
list-style-type 属性中的 start 值允许你设置有序列表的起始数字:
ol {list-style-type: decimal;counter-reset: list 5; /* 从数字 5 开始 */
}
reversed
reversed 属性使有序列表倒序排列:
ol {list-style-type: decimal;list-style: reversed;
}
value
value 属性允许你指定有序列表的起始值:
ol {counter-reset: list 10; /* 从数字 10 开始 */
}
下面我们将上述的属性综合起来用一个例子展示:
<!DOCTYPE html>
<html lang="en">
<head>
<meta charset="UTF-8">
<meta name="viewport" content="width=device-width, initial-scale=1.0">
<title>列表样式示例</title>
<style>body {font-family: Arial, sans-serif;}/* 无序列表样式 */ul.custom-list {padding-left: 20px; /* 列表项左侧内边距 */list-style: square inside url('custom-icon.png'); /* 使用自定义图像和方形符号 */}ul.custom-list li {margin-bottom: 10px; /* 列表项底部外边距 */}/* 有序列表样式 */ol.custom-ordered-list {padding-left: 20px;list-style-type: decimal; /* 十进制数字 */counter-reset: list 5; /* 从数字 5 开始 */}ol.custom-ordered-list.reversed {list-style-type: decimal;list-style: reversed; /* 倒序排列 */}ol.custom-ordered-list .item {margin-bottom: 10px; /* 列表项底部外边距 */}.container {margin: 20px;}
</style>
</head>
<body><div class="container"><h2>无序列表样式</h2><ul class="custom-list"><li>项目一</li><li>项目二</li><li>项目三</li></ul><h2>有序列表样式</h2><ol class="custom-ordered-list"><li class="item">第一项</li><li class="item">第二项</li><li class="item">第三项</li></ol><h2>倒序有序列表样式</h2><ol class="custom-ordered-list reversed"><li class="item">第一项</li><li class="item">第二项</li><li class="item">第三项</li></ol></div>
</body>
</html>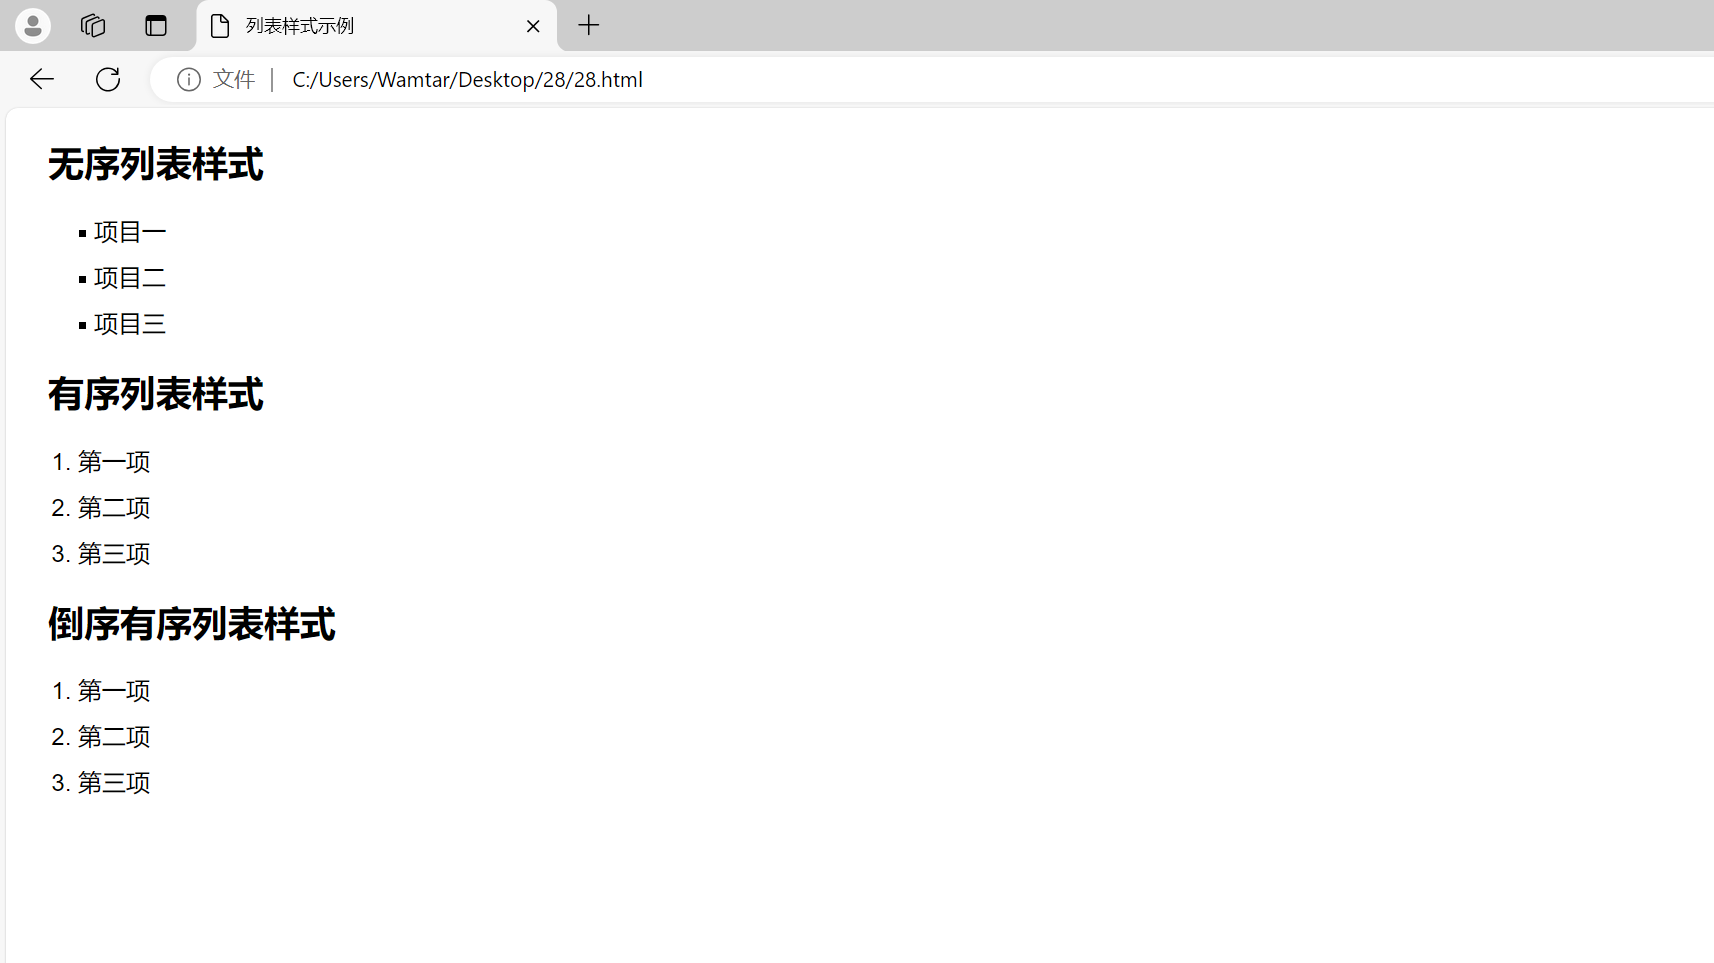
四、样式化链接
1. 链接状态
使用 :link、:visited、:hover 和 :active 伪类来样式化链接的不同状态:
a:link {color: blue; /* 未访问链接的颜色 */
}a:visited {color: purple; /* 已访问链接的颜色 */
}a:hover {color: red; /* 悬停时的颜色 */
}a:active {color: orange; /* 激活时的颜色 */
}
2. 链接中包含图标
可以使用 ::before 伪元素在链接前添加图标:
a::before {content: url('icon.png');margin-right: 5px;
}
3. 样式化链接为按钮
通过 CSS 可以将链接样式化为按钮:
a.button {display: inline-block;padding: 10px 20px;font-size: 16px;color: white;background-color: #007bff;text-align: center;border-radius: 5px;text-decoration: none;
}a.button:hover {background-color: #0056b3;
}
下面我们将上述的属性综合起来用一个例子展示:
<!DOCTYPE html>
<html lang="en">
<head>
<meta charset="UTF-8">
<meta name="viewport" content="width=device-width, initial-scale=1.0">
<title>链接样式示例</title>
<style>body {font-family: Arial, sans-serif;}/* 链接状态样式 */a:link {color: blue; /* 未访问链接的颜色 */text-decoration: none;}a:visited {color: purple; /* 已访问链接的颜色 */}a:hover {color: red; /* 悬停时的颜色 */text-decoration: underline;}a:active {color: orange; /* 激活时的颜色 */}/* 链接中包含图标 */a::before {content: url('icon.png');margin-right: 5px;}/* 样式化链接为按钮 */a.button {display: inline-block;padding: 10px 20px;font-size: 16px;color: white;background-color: #007bff;text-align: center;border-radius: 5px;text-decoration: none;transition: background-color 0.3s;}a.button:hover {background-color: #0056b3;}
</style>
</head>
<body><h2>链接样式示例</h2><p>这是一个 <a href="https://blog.51cto.com/wamtar">普通链接</a>。</p><p>这是一个 <a href="https://blog.51cto.com/wamtar" class="button">样式化按钮链接</a>。</p><p>这是一个 <a href="https://blog.51cto.com/wamtar">包含图标的链接</a>。</p>
</body>
</html>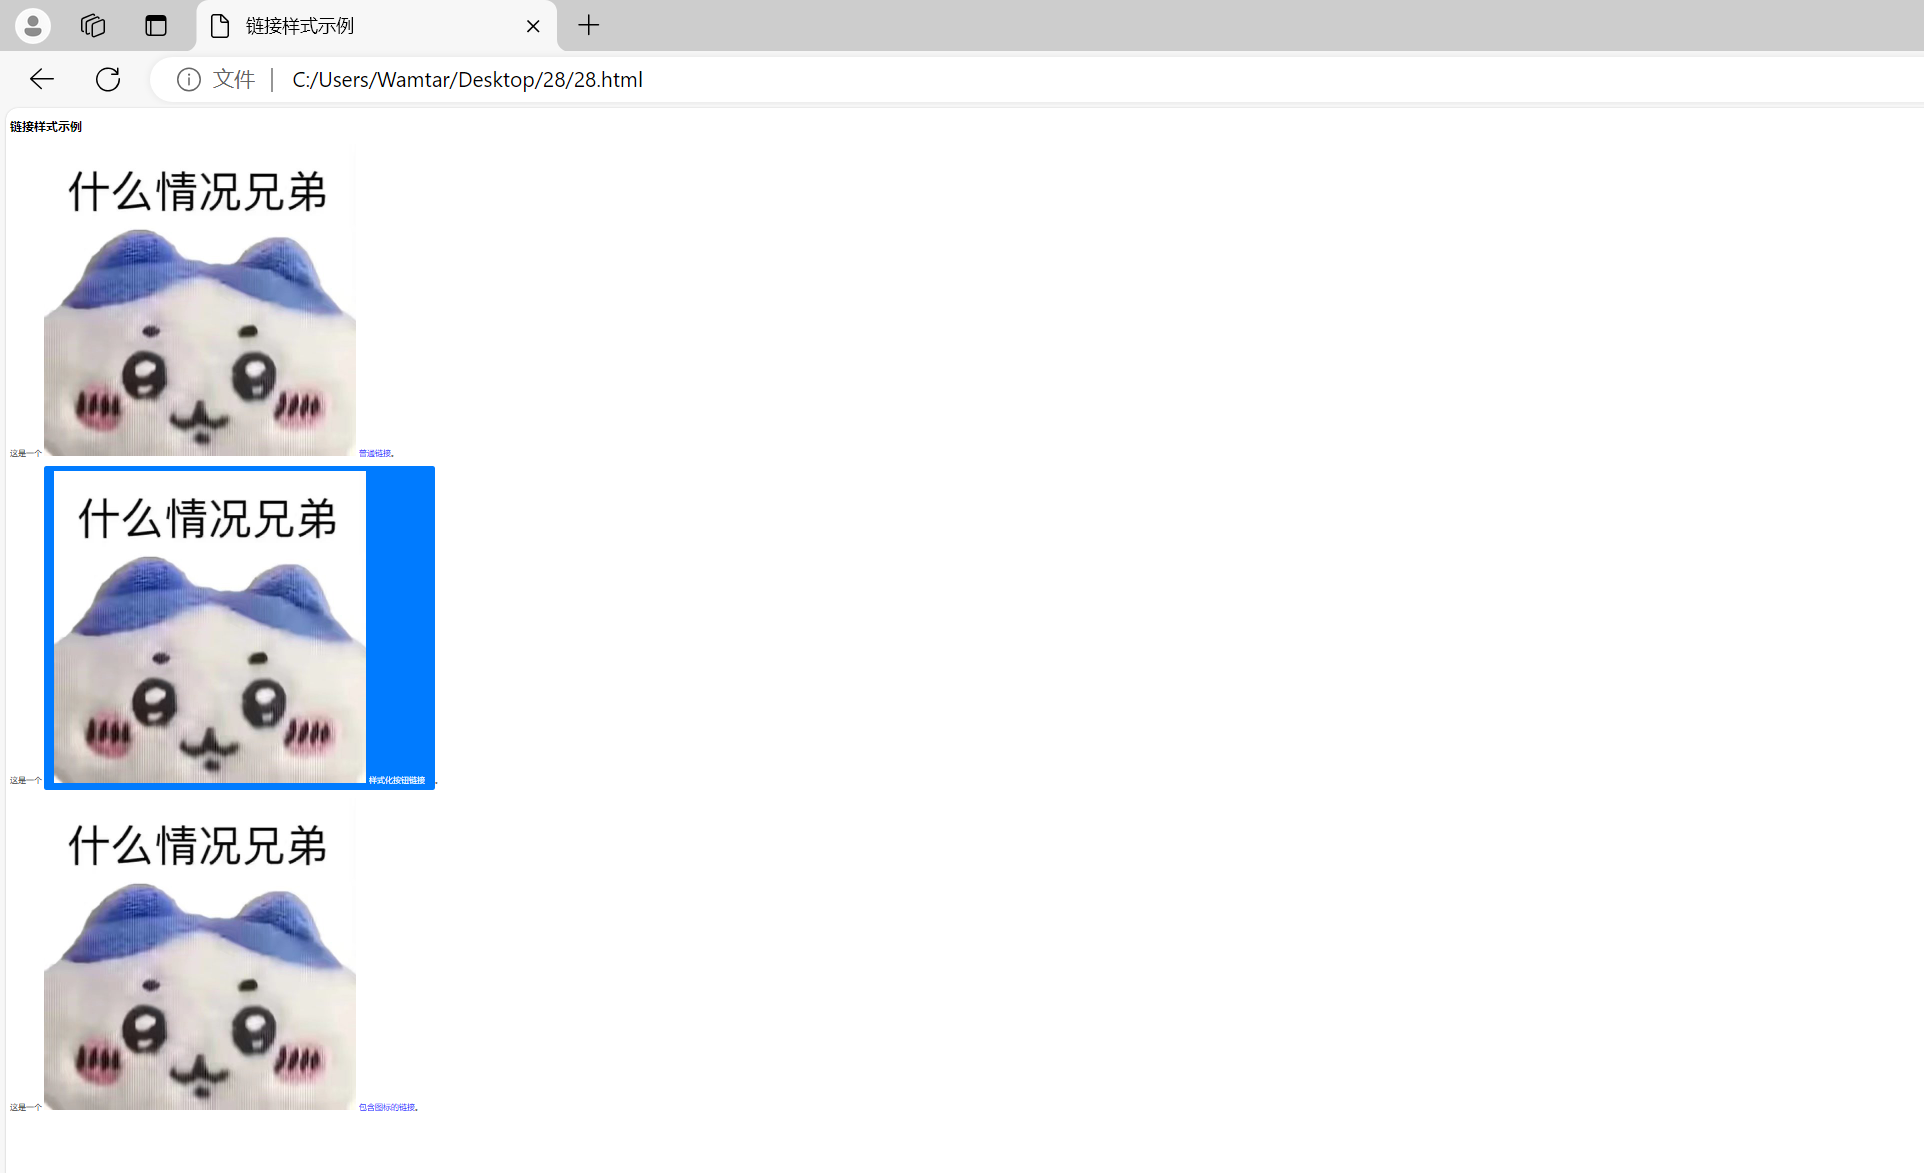
五、Web 字体
1. Web 字体的使用
Web 字体允许你使用自定义字体,而不是依赖用户的系统字体。使用在线字体服务(如 Google Fonts)是实现这一功能的常见方法。
例如,通过 Google Fonts 引入字体:
<link rel="stylesheet" href="https://fonts.googleapis.com/css2?family=Roboto:wght@400;700&display=swap">2. @font-face 的使用
@font-face 规则允许你定义自定义字体并在网页上使用它们:
@font-face {font-family: 'MyCustomFont';src: url('mycustomfont.woff2') format('woff2'),url('mycustomfont.woff') format('woff');
}body {font-family: 'MyCustomFont', sans-serif;
}
这段代码定义了一个名为 MyCustomFont 的字体,并在 body 元素中应用了它。src 属性指定了字体文件的位置和格式。
六、综合练习
题 1: 创建一个详细的网页设计
任务描述
创建一个网页,展示一个含有标题、描述、按钮、列表和链接的内容。使用 CSS 样式化这些元素,并确保它们在页面上美观且易于阅读。包括以下要求:
- 使用自定义字体和 Web 字体。
- 设置文本样式,包括字体、颜色、大小、行高、阴影等。
- 样式化有序和无序列表,包括自定义符号和列表间距。
- 样式化链接为按钮,并添加悬停效果。
示例代码
<!DOCTYPE html>
<html lang="en">
<head>
<meta charset="UTF-8">
<meta name="viewport" content="width=device-width, initial-scale=1.0">
<title>综合练习题</title>
<link rel="stylesheet" href="https://fonts.googleapis.com/css2?family=Roboto:wght@400;700&display=swap">
<style>body {font-family: 'Roboto', sans-serif;background-color: #f0f0f0;color: #333;margin: 0;padding: 20px;}h1 {font-size: 2.5rem;color: #007bff;text-shadow: 1px 1px 2px rgba(0, 0, 0, 0.3);}p {font-size: 1rem;line-height: 1.6;}.button {display: inline-block;padding: 10px 20px;font-size: 16px;color: white;background-color: #007bff;text-align: center;border-radius: 5px;text-decoration: none;margin-top: 10px;}.button:hover {background-color: #0056b3;}ul {list-style: circle;padding-left: 20px;}ol {list-style-type: decimal;padding-left: 20px;}li {margin-bottom: 10px;}a {color: #007bff;text-decoration: none;}a:hover {text-decoration: underline;}
</style>
</head>
<body><h1>欢迎来到一条晒干的咸鱼的博客</h1><p>这是一个示例页面,展示了如何使用 CSS 样式化文本和其他元素。下面是一些列表和链接的示例:</p><a href="#" class="button">点击这里</a><h2>无序列表:</h2><ul><li>项目一</li><li>项目二</li><li>项目三</li></ul><h2>有序列表:</h2><ol><li>第一项</li><li>第二项</li><li>第三项</li></ol><p>更多信息,请访问 <a href="#">此链接</a>。</p>
</body>
</html>
练习题 2: 制作一个产品展示卡片
任务描述
创建一个产品展示卡片,包含产品图片、标题、描述、价格和一个购买按钮。使用 CSS 为卡片添加样式,包括背景、边框、阴影和字体样式。确保卡片在不同设备上都有良好的显示效果。
示例代码
<!DOCTYPE html>
<html lang="en">
<head>
<meta charset="UTF-8">
<meta name="viewport" content="width=device-width, initial-scale=1.0">
<title>产品展示卡片</title>
<link rel="stylesheet" href="https://fonts.googleapis.com/css2?family=Roboto:wght@400;700&display=swap">
<style>.card {width: 300px;background-color: #fff;border: 1px solid #ddd;border-radius: 10px;box-shadow: 0 4px 8px rgba(0, 0, 0, 0.2);overflow: hidden;margin: 20px auto;text-align: center;font-family: 'Roboto', sans-serif;}.card img {width: 100%;height: auto;}.card-body {padding: 15px;}.card-title {font-size: 1.5rem;color: #333;margin: 0;}.card-description {font-size: 1rem;color: #666;margin: 10px 0;}.card-price {font-size: 1.25rem;color: #007bff;margin: 10px 0;}.card-button {display: inline-block;padding: 10px 20px;font-size: 16px;color: #fff;background-color: #007bff;border: none;border-radius: 5px;text-decoration: none;}.card-button:hover {background-color: #0056b3;}
</style>
</head>
<body><div class="card"><img src="product.gif" alt="Product Image"><div class="card-body"><h2 class="card-title">产品名称</h2><p class="card-description">这是一个产品的描述,简要介绍产品的主要特性和优点。</p><p class="card-price">¥99.99</p><a href="#" class="card-button">立即购买</a></div></div>
</body>
</html>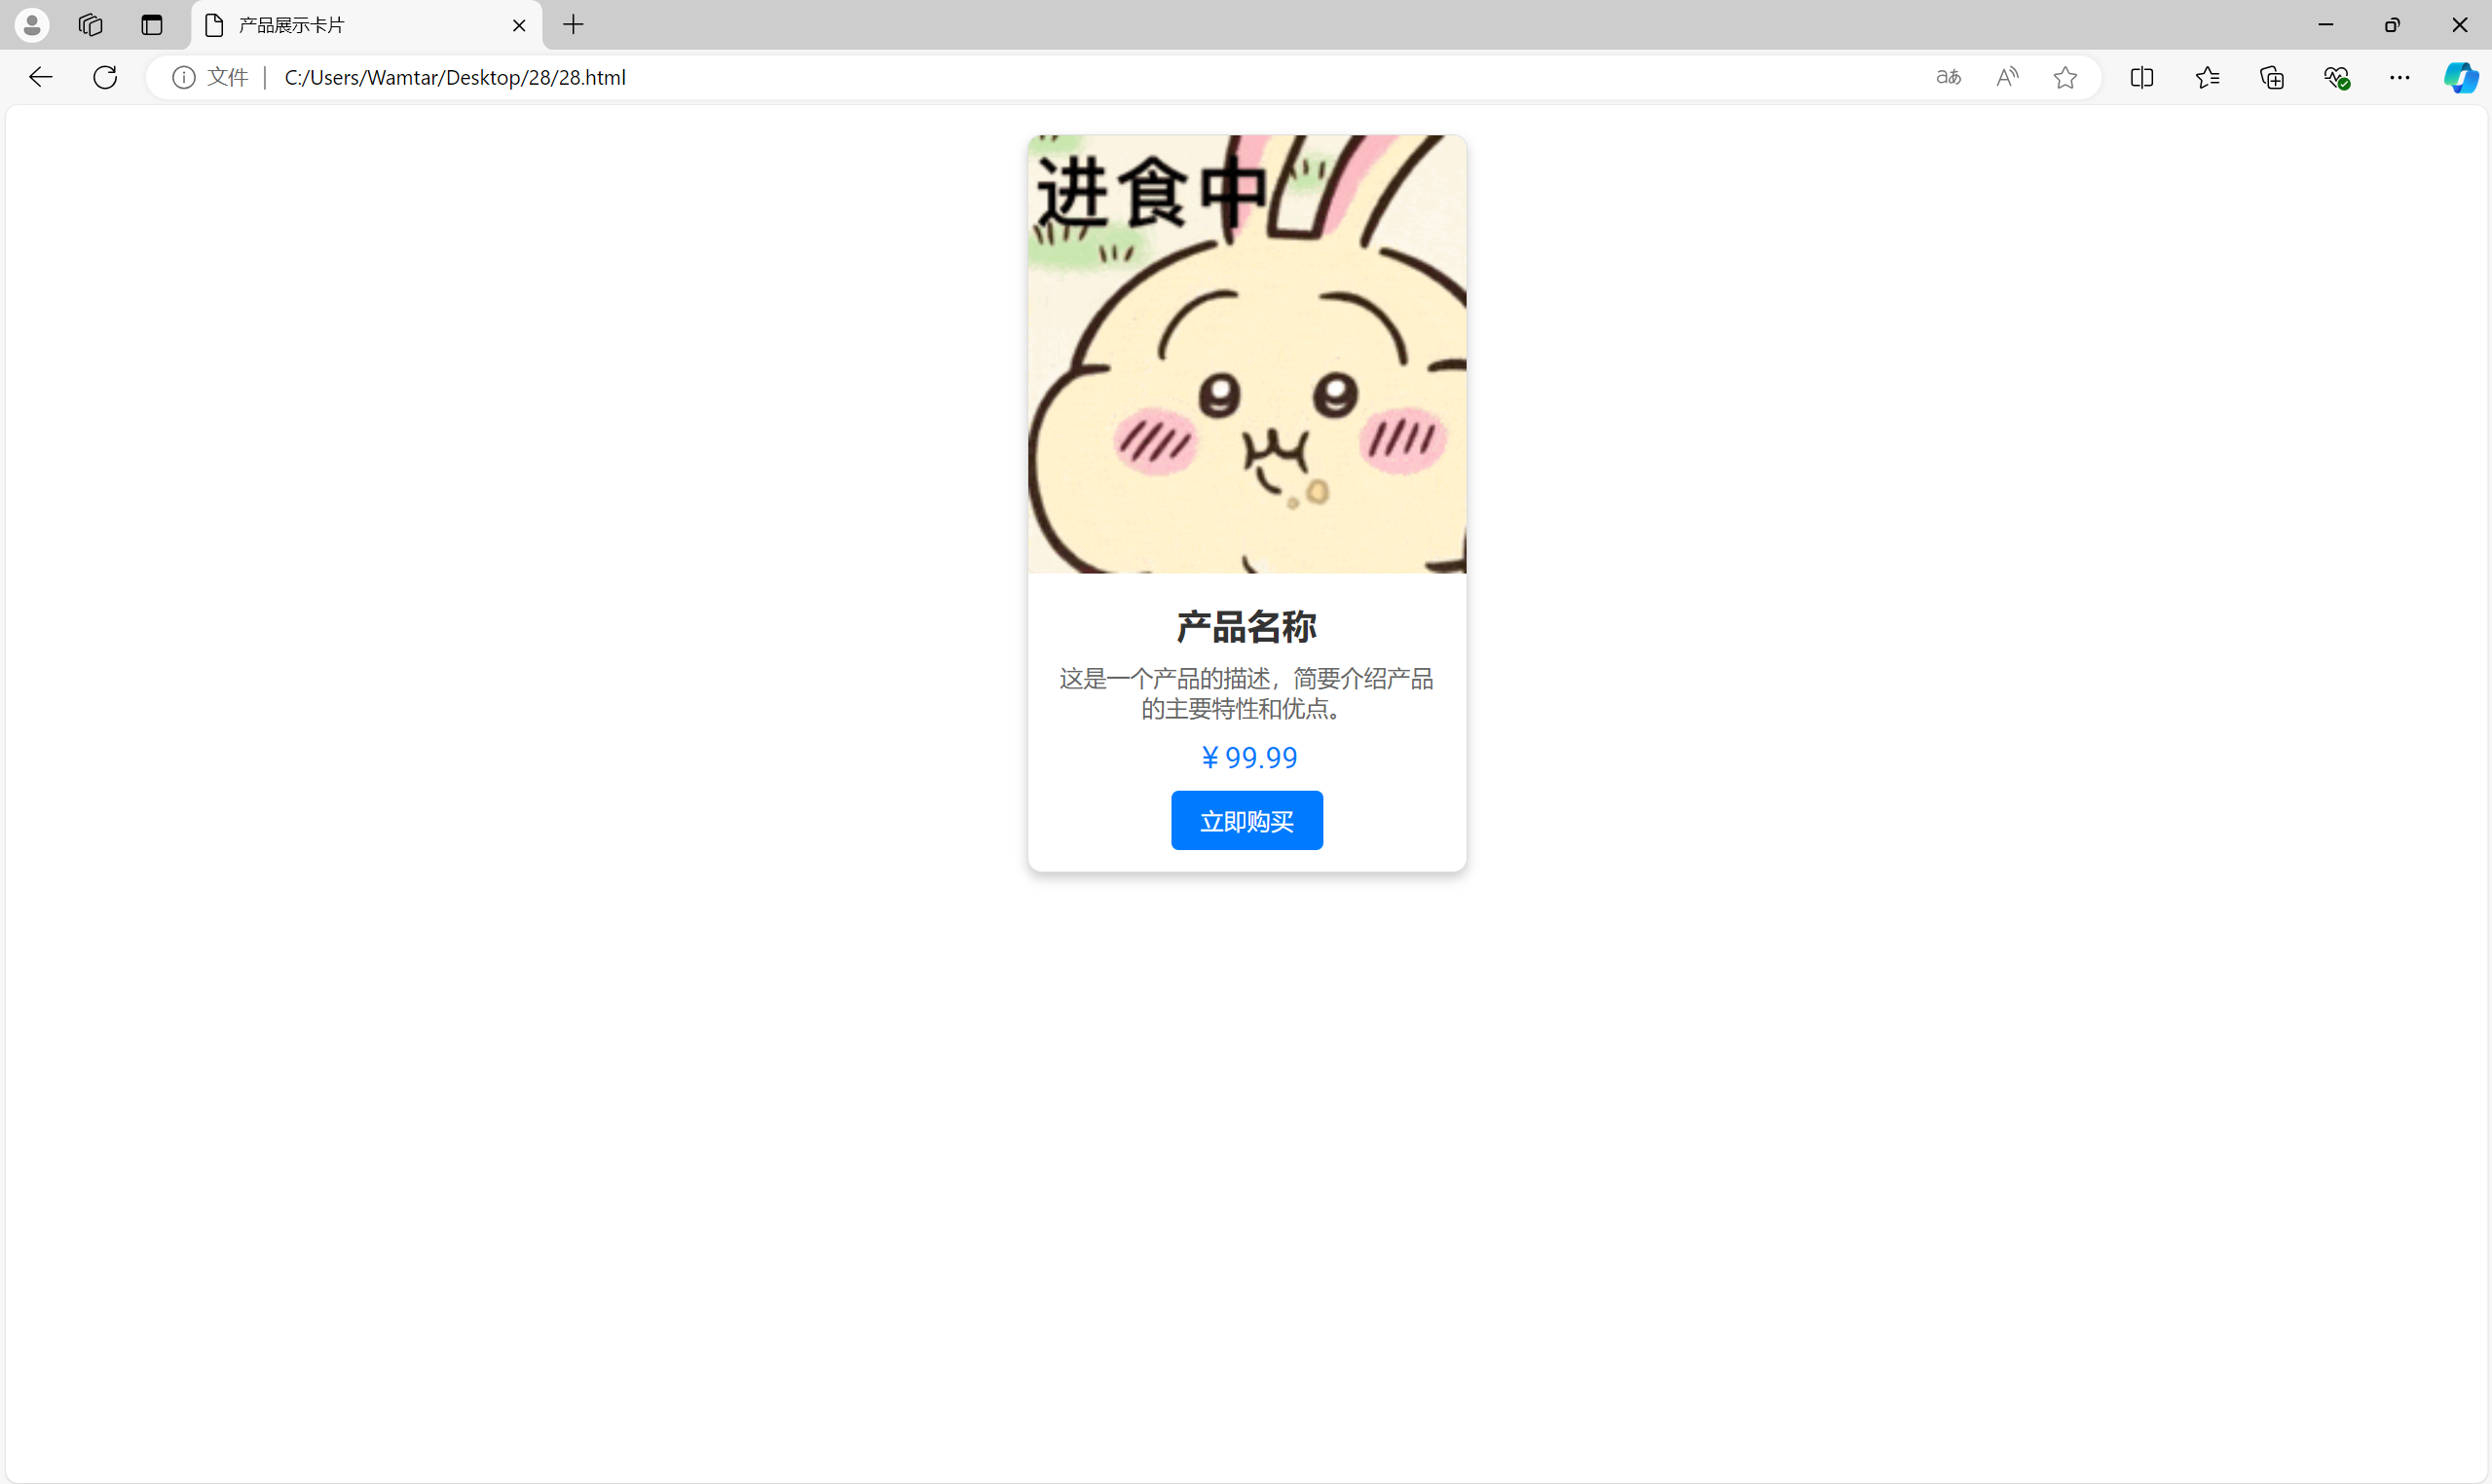

如有表述错误及欠缺之处敬请批评指正。
这篇关于借助文本样式为网页赋予生命——WEB开发系列28的文章就介绍到这儿,希望我们推荐的文章对编程师们有所帮助!


