本文主要是介绍【微信小程序】自定义组件 - 数据监听器,希望对大家解决编程问题提供一定的参考价值,需要的开发者们随着小编来一起学习吧!
1. 什么是数据监听器


2. 数据监听器的基本用法
组件的 UI 结构如下:

组件的 .js 文件代码如下:

3. 监听对象属性的变化


数据监听器 - 案例
- 案例效果

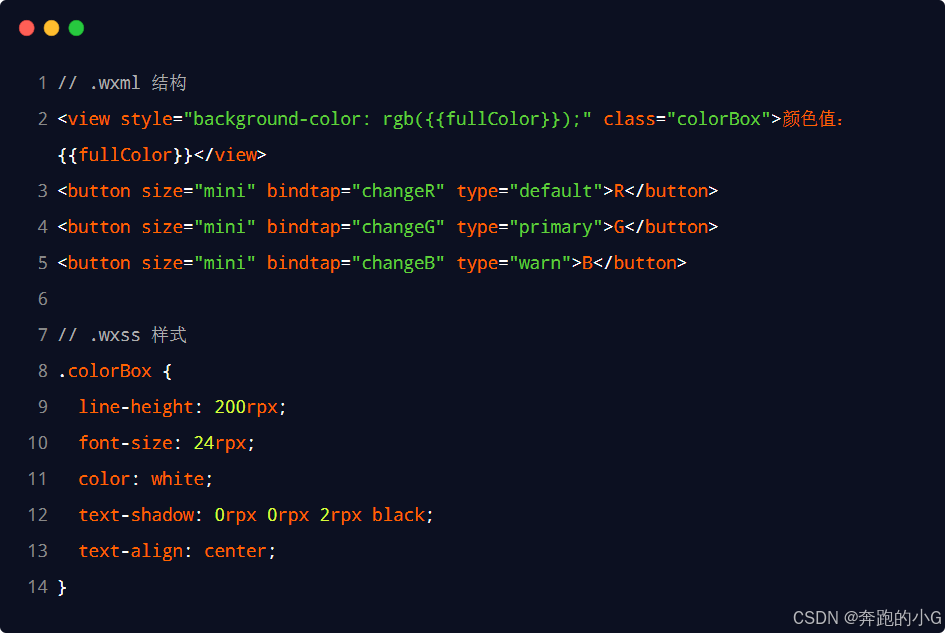
2. 渲染 UI 结构

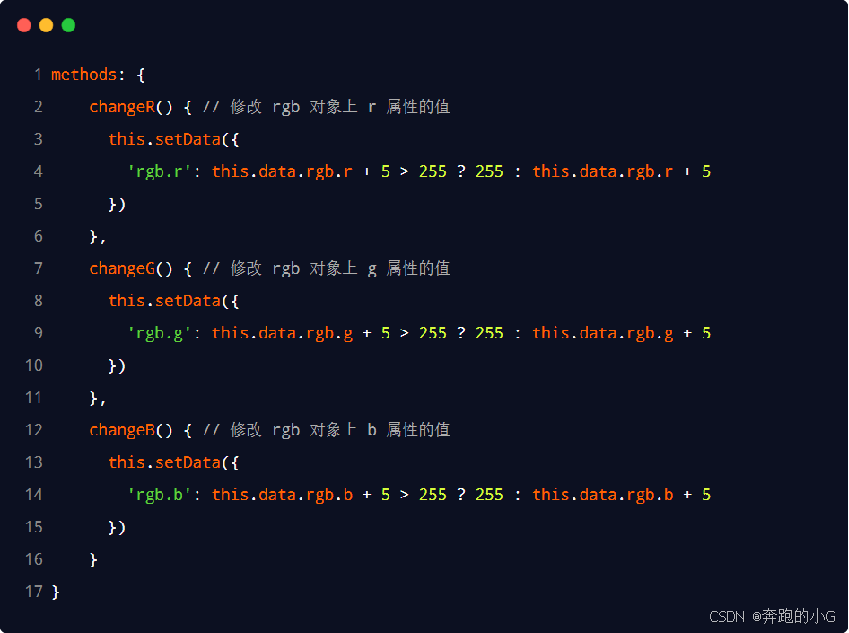
3. 定义 button 的事件处理函数

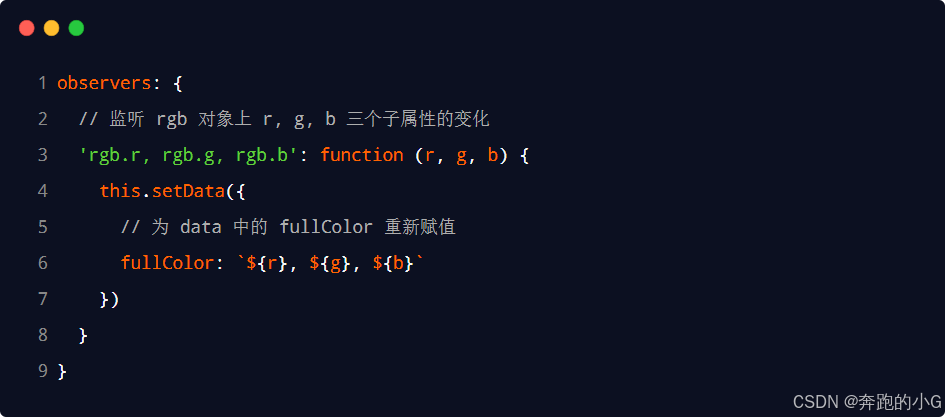
4. 监听对象中指定属性的变化

5. 监听对象中所有属性的变化


我的代码
<!--components/rgb/rgb.wxml-->
<!-- <view class="colorBox" style="background-color:rgb({{rgb.r}},{{rgb.g}},{{rgb.b}})">{{rgb.r}},{{rgb.g}},{{rgb.b}}</view> -->
<view class="colorBox" style="background-color:rgb({{fullColor}})">{{rgb.r}},{{rgb.g}},{{rgb.b}}</view>
<button size="mini" bindtap="changR">R</button>
<button size="mini" bindtap="changG">G</button>
<button size="mini" bindtap="changB">B</button>
// components/rgb/rgb.js
Component({/*** 组件的属性列表*/properties: {},/*** 组件的初始数据*/data: {rgb:{r:0,g:0,b:0},fullColor:''},/*** 组件的方法列表*/methods: {changR(){this.setData({'rgb.r':this.data.rgb.r<255?this.data.rgb.r+5:255})},changG(){this.setData({'rgb.g':this.data.rgb.g<255?this.data.rgb.g+5:255})},changB(){this.setData({'rgb.b':this.data.rgb.b<255?this.data.rgb.b+5:255})},},observers:{'rgb.**':function(newRgb){this.setData({fullColor:`${newRgb.r},${newRgb.g},${newRgb.b}`})console.log(this.data.fullColor);} }
})
这篇关于【微信小程序】自定义组件 - 数据监听器的文章就介绍到这儿,希望我们推荐的文章对编程师们有所帮助!


