本文主要是介绍Spring+SpringMVC介绍+bean实例化+依赖注入实战,希望对大家解决编程问题提供一定的参考价值,需要的开发者们随着小编来一起学习吧!
Spring介绍
Spring是一个轻量级的Java 开发框架,核心是IOC(控制反转)和AOP(面向切面编程)
Spring解决了业务层(Service包)与其他各层(表现层,包括Model,View,Controller三部分;持久层,jdbc和mybatis……)之间耦合度高的问题
耦合是什么?Spring如何解决高耦合的?
耦合是什么?
耦合是衡量程序模块之间互相依赖程度的指标
耦合也可以用来衡量程序拓展性和维护性
这里的依赖,不是继承关系的那种依赖
本质上指的是模块之间关联关系强弱(属性直接获取修改;直接调用方法;通过方法参数调用;使用同一全局变量;使用同一其他模块;参数为一部分成员变量……)
松耦合代表业务层和其他层之间的耦合度较低,互相依赖的程度较低,彼此之间影响小;
松耦合代表业务层和其他层之间的耦合度较高,互相依赖的程度较高,修改A的代码,B也要修改;
我们开发程序,一般都是以“高内聚,低耦合”为目标的
Spring如何解决高耦合
没有Spring之前,我们使用Servlet,JSP和JDBC作为Java开发框架,开发JavaWeb程序
JSP将业务层和视图层耦合在了一起,JDBC又将业务层和持久层耦合在了一起
Spring解决了这个问题,其中的关键在于IOC,将创建对象,使用对象,销毁对象的权力交给SpringBean容器而不是代码
IOC的关键在于DI(依赖注入)
SpringMVC简介
Model(entity包)-View(thymeleaf等视图引擎)-Controller(Controller包)
Model(模型):用来处理程序中数据逻辑的部分
View(视图):在应用程序中,专门和浏览器进行交互,展示数据的资源
Contreller(控制器):可以理解成是一个分发器,来决定对于视图发来的请求,需要用哪一个模型来处理,以及处理完后需要跳回到哪一个视图,也就是用来连接视图和模型的
Spring框架的特点
- 方便解耦,简化开发,Spring就是一个大工厂,可以将所有对象创建和依赖关系维护,交给Spring管理。IOC的作用。
- AOP编程的支持,Spring提供面向切面编程,可以方便的实现对程序进行权限拦截、运行监控等功能。(可扩展性)
- 声明式事务的支持,只需要通过配置就可以完成对事务的管理,而无需手动编程。
- 方便程序的测试,Spring对Junit4支持,可以通过注解方便的测试Spring程序。
- 方便集成各种优秀框架,Spring不排斥各种优秀的开源框架,其内部提供了对各种优秀框架(如:Struts2、Hibernate、MyBatis、Quartz等)的直接支持。
- 降低JavaEE API的使用难度,Spring 对JavaEE开发中非常难用的一些API(JDBC、JavaMail、远程调用等),都提供了封装,使这些API应用难度大大降低。
IOC简介
IOC – Inverse of Control,控制反转,将对象的创建权力反转给Spring框架!!
控制反转(Inversion of Control,缩写为IoC),是面向对象编程中的一种设计原则,可以用来减低计算机代码之间的耦合度。
解决问题:使用IOC可以解决的程序耦合性高的问题。Spring的工厂读取配置文件。
IOC创建的bean,默认情况下整个内存只有一份,也就是单例模式,后续的测试中可以看到这一点
IOC是思想,DI是IOC的实现方法,两者绑定
bean的实例化
准备工作
maven依赖
<dependencies><dependency><groupId>org.springframework</groupId><artifactId>spring-context</artifactId><version>5.0.2.RELEASE</version></dependency><dependency><groupId>commons-logging</groupId><artifactId>commons-logging</artifactId><version>1.2</version></dependency><dependency><groupId>log4j</groupId><artifactId>log4j</artifactId><version>1.2.12</version></dependency><dependency><groupId>junit</groupId><artifactId>junit</artifactId><version>4.12</version><scope>test</scope></dependency></dependencies>service接口
public interface UserService {public void hello();}service接口实现类
public class UserServiceImpl implements UserService {@Overridepublic void hello() {System.out.println("Hello IOC!!");}
}
resources下创建applicationContext.xml配置文件
?xml version="1.0" encoding="UTF-8"?>
<beans xmlns="http://www.springframework.org/schema/beans"xmlns:xsi="http://www.w3.org/2001/XMLSchema-instance"xsi:schemaLocation="http://www.springframework.org/schema/beanshttp://www.springframework.org/schema/beans/spring-beans.xsd"></beans>
通过applicationContext.xml的方式实例化
1. 直接实例化
?xml version="1.0" encoding="UTF-8"?>
<beans xmlns="http://www.springframework.org/schema/beans"xmlns:xsi="http://www.w3.org/2001/XMLSchema-instance"xsi:schemaLocation="http://www.springframework.org/schema/beanshttp://www.springframework.org/schema/beans/spring-beans.xsd"><!--IOC管理bean--><!--1. 直接实例化--><bean id="userService" class="cn.tx.service.UserServiceImpl" /></beans>
缺点:当需要加载到bean容器中的bean数量太多的时候,这样一个一个导入非常繁琐
2. 静态bean工程实例化
需要一个静态工厂类
public class StaticBeanFactory {// 静态工厂方式public static UserService staticBeanCreate() {System.out.println("通过静态工厂的方式创建UserServiceImpl对象...");return new UserServiceImpl();}}
随后在xml文件中导入静态工厂bean对象即可
?xml version="1.0" encoding="UTF-8"?>
<beans xmlns="http://www.springframework.org/schema/beans"xmlns:xsi="http://www.w3.org/2001/XMLSchema-instance"xsi:schemaLocation="http://www.springframework.org/schema/beanshttp://www.springframework.org/schema/beans/spring-beans.xsd"><!--静态工厂方式--><bean id="staticUs" class="com.qcby.mySpring01.beanFactory.StaticBeanFactory" factory-method="staticBeanCreate"/>
</beans>
3. 动态工厂实例化
public class DynamicBeanFactory {//对象方法public UserService dynamicBeanCreate(){System.out.println("动态工厂的方式创建bean对象。。。");return new UserServiceImpl();}
}
?xml version="1.0" encoding="UTF-8"?>
<beans xmlns="http://www.springframework.org/schema/beans"xmlns:xsi="http://www.w3.org/2001/XMLSchema-instance"xsi:schemaLocation="http://www.springframework.org/schema/beanshttp://www.springframework.org/schema/beans/spring-beans.xsd">
<!--动态工厂方式--><bean id="dynamicFactoryBean" class="com.qcby.mySpring01.beanFactory.DynamicBeanFactory"/><bean id="dynamicUs" factory-bean="dynamicFactoryBean" factory-method="dynamicBeanCreate"/>
</beans>
通过注解实例化
@Component
@Service
@Repository
@Controller
@Mapper
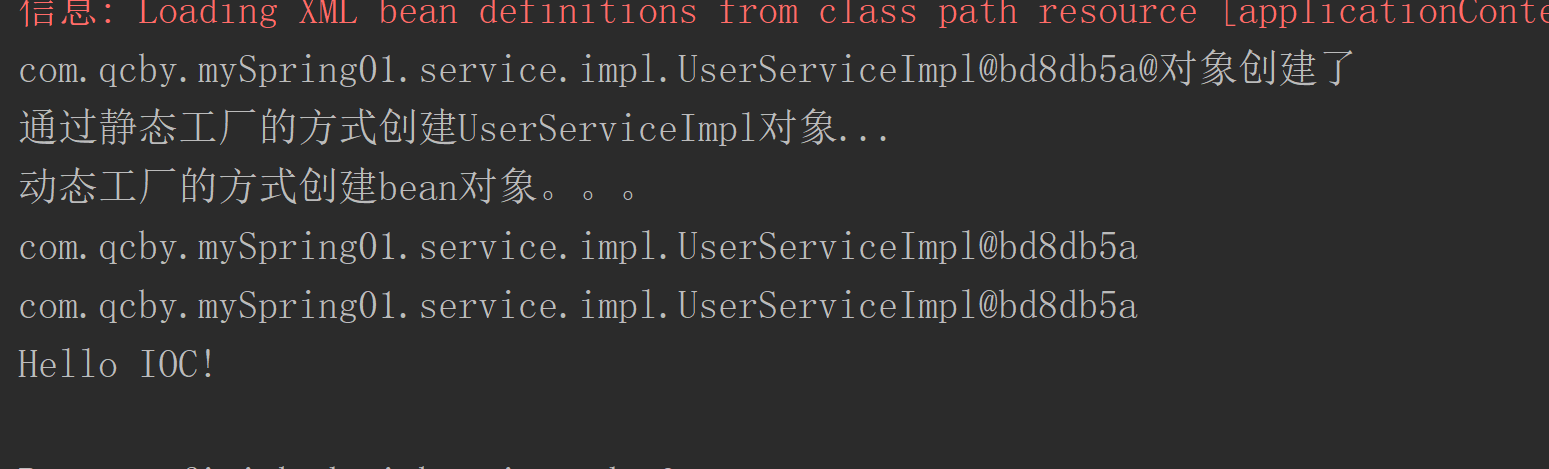
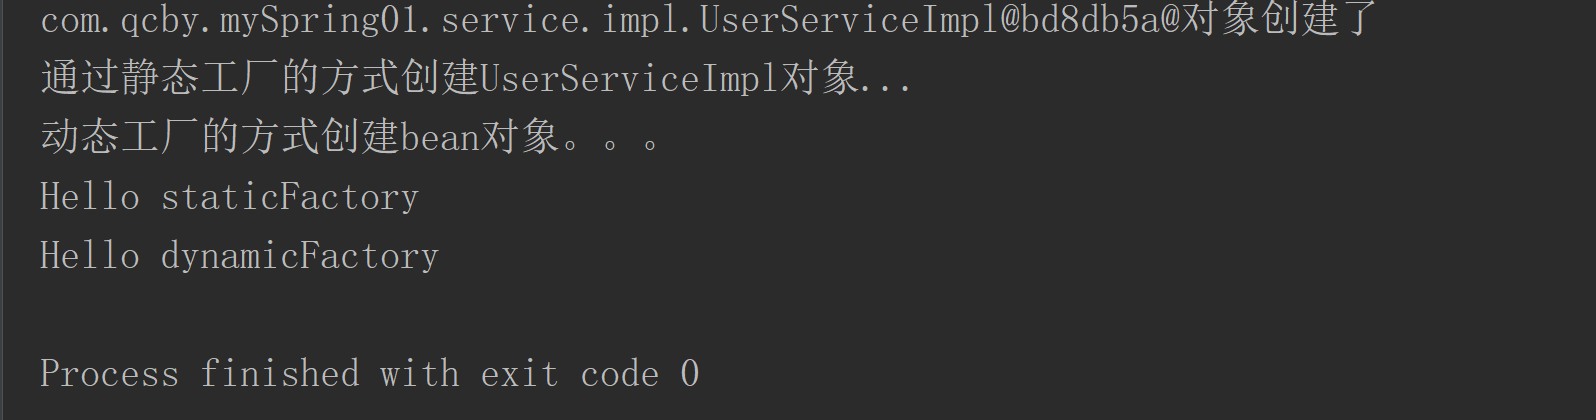
bean实例化测试
public class IOCTest {@Testpublic void run() {ApplicationContext applicationContext =new ClassPathXmlApplicationContext("applicationContext.xml");
/*        ApplicationContext applicationContext =new FileSystemXmlApplicationContext("D:\\6_WorkSpace\\shiXun\\spring01\\src\\main\\resources\\applicationContext.xml");*/UserService userService = (UserService) applicationContext.getBean("userService");UserService userService1 = (UserService) applicationContext.getBean("userService");System.out.println(userService);System.out.println(userService1);userService.hello("IOC!");}@Testpublic void factoryBeanTest() {ApplicationContext applicationContext =new ClassPathXmlApplicationContext("applicationContext.xml");UserService staticBean = (UserService) applicationContext.getBean("staticUs");UserService dynamicBean = (UserService) applicationContext.getBean("dynamicUs");staticBean.hello("staticFactory");dynamicBean.hello("dynamicFactory");}
}
依赖注入
DI:Dependency Injection,依赖注入,在Spring框架负责创建Bean对象时(bean实例化),
动态的将依赖对象(对象的属性)注入到Bean组件中
通过applicationContext.xml的方式注入
set方法注入
必须保证setter方法存在,否则会报错
public class CarServiceImpl implements CarService {private CarDao carDao;@Overridepublic String toString() {return "CarServiceImpl{" +"msg='" + msg + '\'' +", id=" + id +'}';}private String msg;private Integer id;public void setMsg(String msg) {this.msg = msg;}public void setId(Integer id) {this.id = id;}public void setCarDao(CarDao carDao) {this.carDao = carDao;}public List<Car> findAll() {List<Car> carList = carDao.findAll();return carList;}
}<!--set方法DI注入--><bean id="carDao" class="com.qcby.mySpring01.mapper.impl.CarDaoImpl"><property name="dataSource" ref="dataSource"/></bean><bean id="carService" class="com.qcby.mySpring01.service.impl.CarServiceImpl"><property name="carDao" ref="carDao"/><property name="msg" value="你好"/><property name="id" value="100"/></bean>
构造方法注入
public class Car {private int id;private String carName;private int size;private String color;public Car() {}public Car(String carName, int size, String color) {this.carName = carName;this.size = size;this.color = color;}@Overridepublic String toString() {return "Car{" +"id=" + id +", carName='" + carName + '\'' +", size=" + size +", color='" + color + '\'' +'}';}public int getId() {return id;}public void setId(int id) {this.id = id;}public String getCarName() {return carName;}public void setCarName(String carName) {this.carName = carName;}public int getSize() {return size;}public void setSize(int size) {this.size = size;}public String getColor() {return color;}public void setColor(String color) {this.color = color;}
}<!--构造器DI注入--><bean id="car1" class="com.qcby.mySpring01.pojo.Car"><!-- <constructor-arg index="0" value="小米Su7 Pro Max"/><constructor-arg index="1" value="10"/><constructor-arg index="2" value="blue"/>--><constructor-arg name="carName" value="小米Su7 Pro Max"/><constructor-arg name="size" value="10"/><constructor-arg name="color" value="blue"/></bean><bean id="car2" class="com.qcby.mySpring01.pojo.Car"><!-- <constructor-arg index="0" value="小米Su7 Pro Max"/><constructor-arg index="1" value="10"/><constructor-arg index="2" value="blue"/>--><constructor-arg name="carName" value="BYD秦PLUS DMI"/><constructor-arg name="size" value="198"/><constructor-arg name="color" value="black"/></bean>
通过接口注入
(暂时略,后续补充)
数组,集合(List,Set,Map),Properties等的注入
public class CollectionBean {// 数组private Student[] studentArr;public void setStudentArr(Student[] studentArr) {this.studentArr = studentArr;}private List<String> list;public void setList(List<String> list) {this.list = list;}private Map<String, String> map;public void setMap(Map<String, String> map) {this.map = map;}private Map<Student, Car> studentCarMap;public void setStudentCarMap(Map<Student, Car> studentCarMap) {this.studentCarMap = studentCarMap;}private Properties properties;public void setProperties(Properties properties) {this.properties = properties;}@Overridepublic String toString() {return "CollectionBean{" +"studentArr=" + Arrays.toString(studentArr) +", list=" + list +", map=" + map +", studentCarMap=" + studentCarMap +", properties=" + properties +'}';}
}
<!--引用类型/集合注入--><bean id="student1" class="com.qcby.mySpring01.pojo.Student"><property name="name" value="张三"/><property name="age" value="15"/><property name="grade" value="7"/></bean><bean id="student2" class="com.qcby.mySpring01.pojo.Student"><property name="name" value="李四"/><property name="age" value="14"/><property name="grade" value="6"/></bean><bean id="student3" class="com.qcby.mySpring01.pojo.Student"><property name="name" value="王五"/><property name="age" value="18"/><property name="grade" value="13"/></bean><bean id="collectionBean" class="com.qcby.mySpring01.pojo.CollectionBean"><property name="studentArr"><array><ref bean="student1"/><ref bean="student2"/><ref bean="student3"/></array></property><property name="list"><list><value>熊大</value><value>熊二</value><value>吉吉国王</value></list></property><property name="map"><map><entry key="111" value="aaa"/><entry key="222" value="bbb"/></map></property><property name="studentCarMap"><map><entry key-ref="student1" value-ref="car1"/><entry key-ref="student2" value-ref="car2"/></map></property><property name="properties"><props><prop key="username">root</prop><prop key="password">123456</prop></props></property></bean>
这些其实都是固定写法
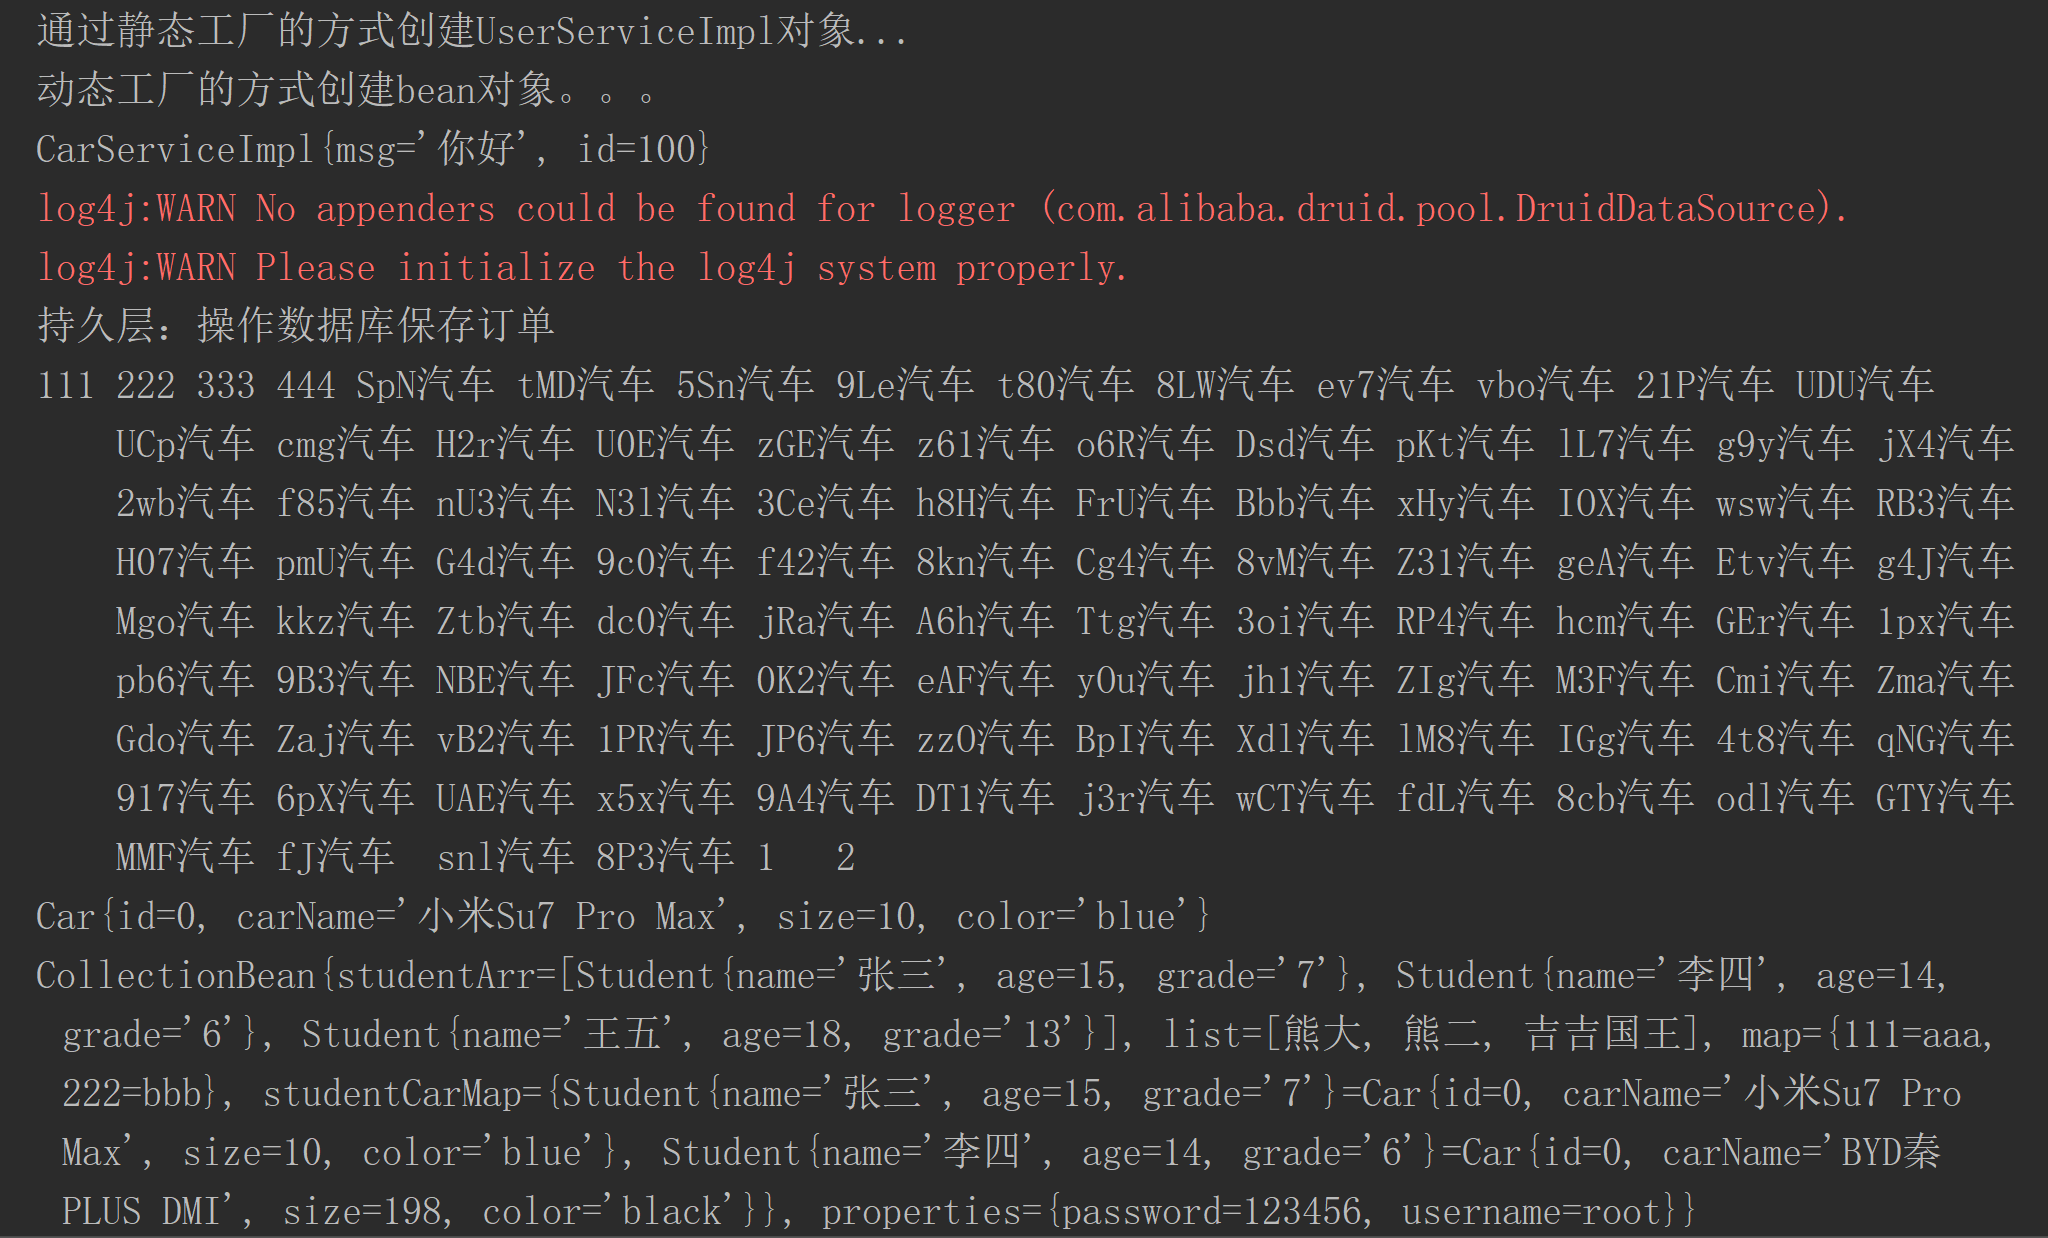
测试
@Testpublic void DITest() {ApplicationContext applicationContext =new ClassPathXmlApplicationContext("applicationContext.xml");CarService carService = (CarService) applicationContext.getBean("carService");// set方法注入System.out.println(carService);List<Car> carList = carService.findAll();for (Car car : carList) {System.out.print(car.getCarName() + "\t");}System.out.println();// 构造方法注入Car car1 = (Car) applicationContext.getBean("car1");System.out.println(car1);// 数组,集合(List,Set,Map),Properties注入CollectionBean collectionBean = (CollectionBean) applicationContext.getBean("collectionBean");System.out.println(collectionBean);}
通过注解注入
依赖注入常用的注解
@Value 用于注入普通类型(String,int,double等类型)
@Autowired 默认按类型进行自动装配(引用类型)
@Qualifier 和@Autowired一起使用,强制使用名称注入
@Resource Java提供的注解,也被支持。使用name属性,按名称注入
对象生命周期(作用范围)注解
@Scope 生命周期注解,取值singleton(默认值,单实例)和prototype(多例)
初始化方法和销毁方法注解(了解)
@PostConstruct 相当于init-method
@PreDestroy 相当于destroy-method
@Service
@Qualifier("studentServiceImpl")
public class StudentServiceImpl implements StudentService {public void listAll() {System.out.println("studentService2");}
}
@Service
@Qualifier("studentServiceImpl2")
public class StudentServiceImpl2 implements StudentService {public void listAll() {System.out.println("studentService2");}
}@Configuration
@ComponentScan("com.qcby")
@Import({SpringConfig2.class})// 多配置文件
public class SpringConfig {}
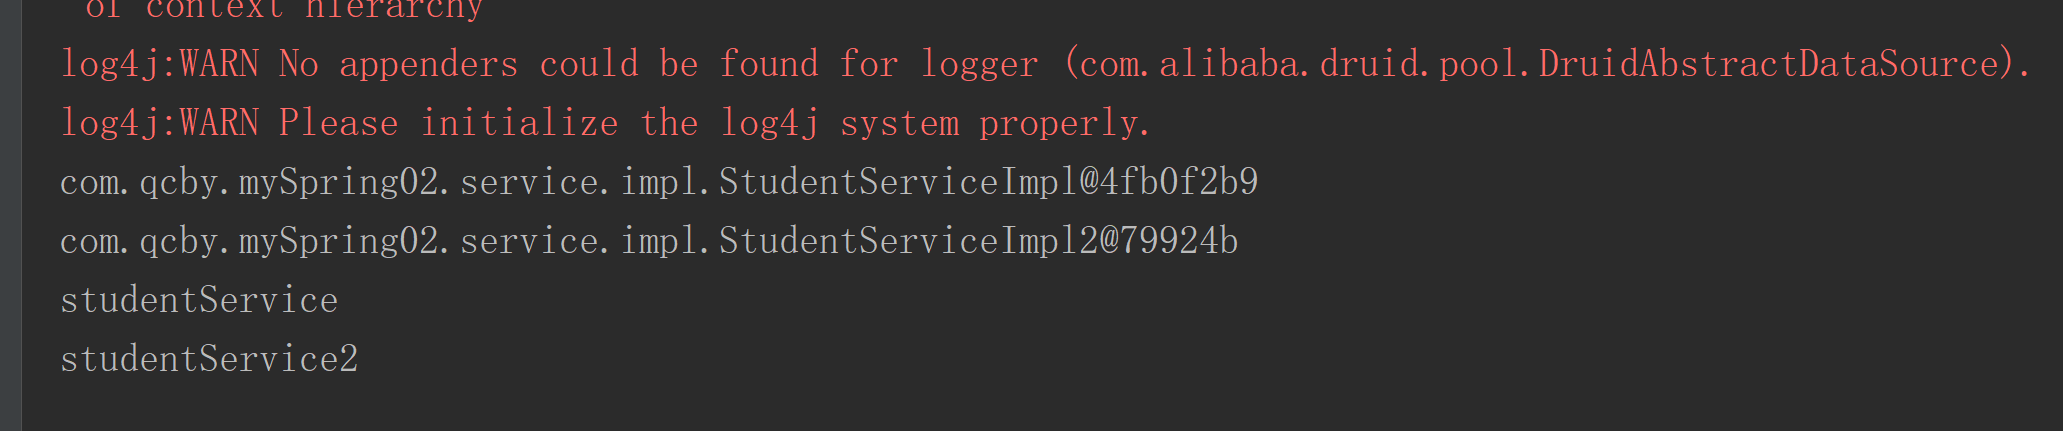
    @Testpublic void qualifierTest() {ApplicationContext applicationContext =new AnnotationConfigApplicationContext(SpringConfig.class);
//        ApplicationContext applicationContext =
//                new ClassPathXmlApplicationContext("applicationContext_anno.xml");
/*        ApplicationContext applicationContext =new FileSystemXmlApplicationContext("D:\\6_WorkSpace\\shiXun\\spring01\\src\\main\\resources\\applicationContext_anno.xml");*/StudentService studentService = (StudentService) applicationContext.getBean("studentServiceImpl");StudentService studentService2 = (StudentService) applicationContext.getBean("studentServiceImpl2");System.out.println(studentService);System.out.println(studentService2);studentService.listAll();studentService2.listAll();}
纯注解不需要写applicationContext.xml文件
这篇关于Spring+SpringMVC介绍+bean实例化+依赖注入实战的文章就介绍到这儿,希望我们推荐的文章对编程师们有所帮助!


