本文主要是介绍Mac M3 Pro 部署Trino-server-449,希望对大家解决编程问题提供一定的参考价值,需要的开发者们随着小编来一起学习吧!
目录
1、下载安装包
2、解压并设置配置参数
3、启动并验证
4、使用cli客户端连接测试
1、下载安装包
官方:trino-server-449 CLI
网盘:
server https://pan.baidu.com/s/16IH-H39iF8Fb-Vd14f7JPA?pwd=3vjp 提取码: 3vjp
cli https://pan.baidu.com/s/1G1sOmh1u5IfcPhO-blotyg?pwd=cv6y 提取码: cv6y
2、解压并设置配置参数
mv ~/Download/trino-server-449.tar.gz /opt/module
cd /opt/module
tar -zxvf trino-server-449.tar.gz
mv trino-server-449 trino
cd trino# 将命令行客户端连接jar移动过来
mv ~/Download/trino-cli-449-executable.jar .
mv trino-cli-449-executable.jar trino-cli# 创建日志存放目录
mkdir data# 创建配置存放目录
mkdir etc
mkdir etc/catalogvim ./etc/config.properties# 粘贴一下内容,这里的配置为单机配置(当前机器既做Mater又做Work)coordinator=true
node-scheduler.include-coordinator=true
# 因默认的8080端口被spark的webui端口占用了,这里改为8180
http-server.http.port=8180
discovery.uri=http://127.0.0.1:8180
# webui 免登录配置
web-ui.authentication.type=FIXED
web-ui.user=rootvim ./etc/node.propertiesnode.environment=dev
node.id=sx01
node.data-dir=/opt/module/trino/datavim ./etc/jvm.config-server
-Xmx12G
-XX:MaxRAMPercentage=80
-XX:G1HeapRegionSize=32M
-XX:+ExplicitGCInvokesConcurrent
-XX:+ExitOnOutOfMemoryError
-XX:+HeapDumpOnOutOfMemoryError
-XX:-OmitStackTraceInFastThrow
-XX:ReservedCodeCacheSize=512M
-XX:PerMethodRecompilationCutoff=10000
-XX:PerBytecodeRecompilationCutoff=10000
-Djdk.attach.allowAttachSelf=true
-Djdk.nio.maxCachedBufferSize=2000000
-Dfile.encoding=UTF-8
-XX:+EnableDynamicAgentLoading
-XX:+UnlockDiagnosticVMOptions
-XX:G1NumCollectionsKeepPinned=10000000vim ./etc/log.propertiesio.trino=INFOvim ./etc/catalog/hive.propertiesconnector.name=hive
hive.metastore.uri=thrift://127.0.0.1:9083
3、启动并验证
cd /opt/module/trino./bin/launcher start# 查看服务状态
./bin/launcher status# 停止服务
./bin/launcher stop# 查看日志
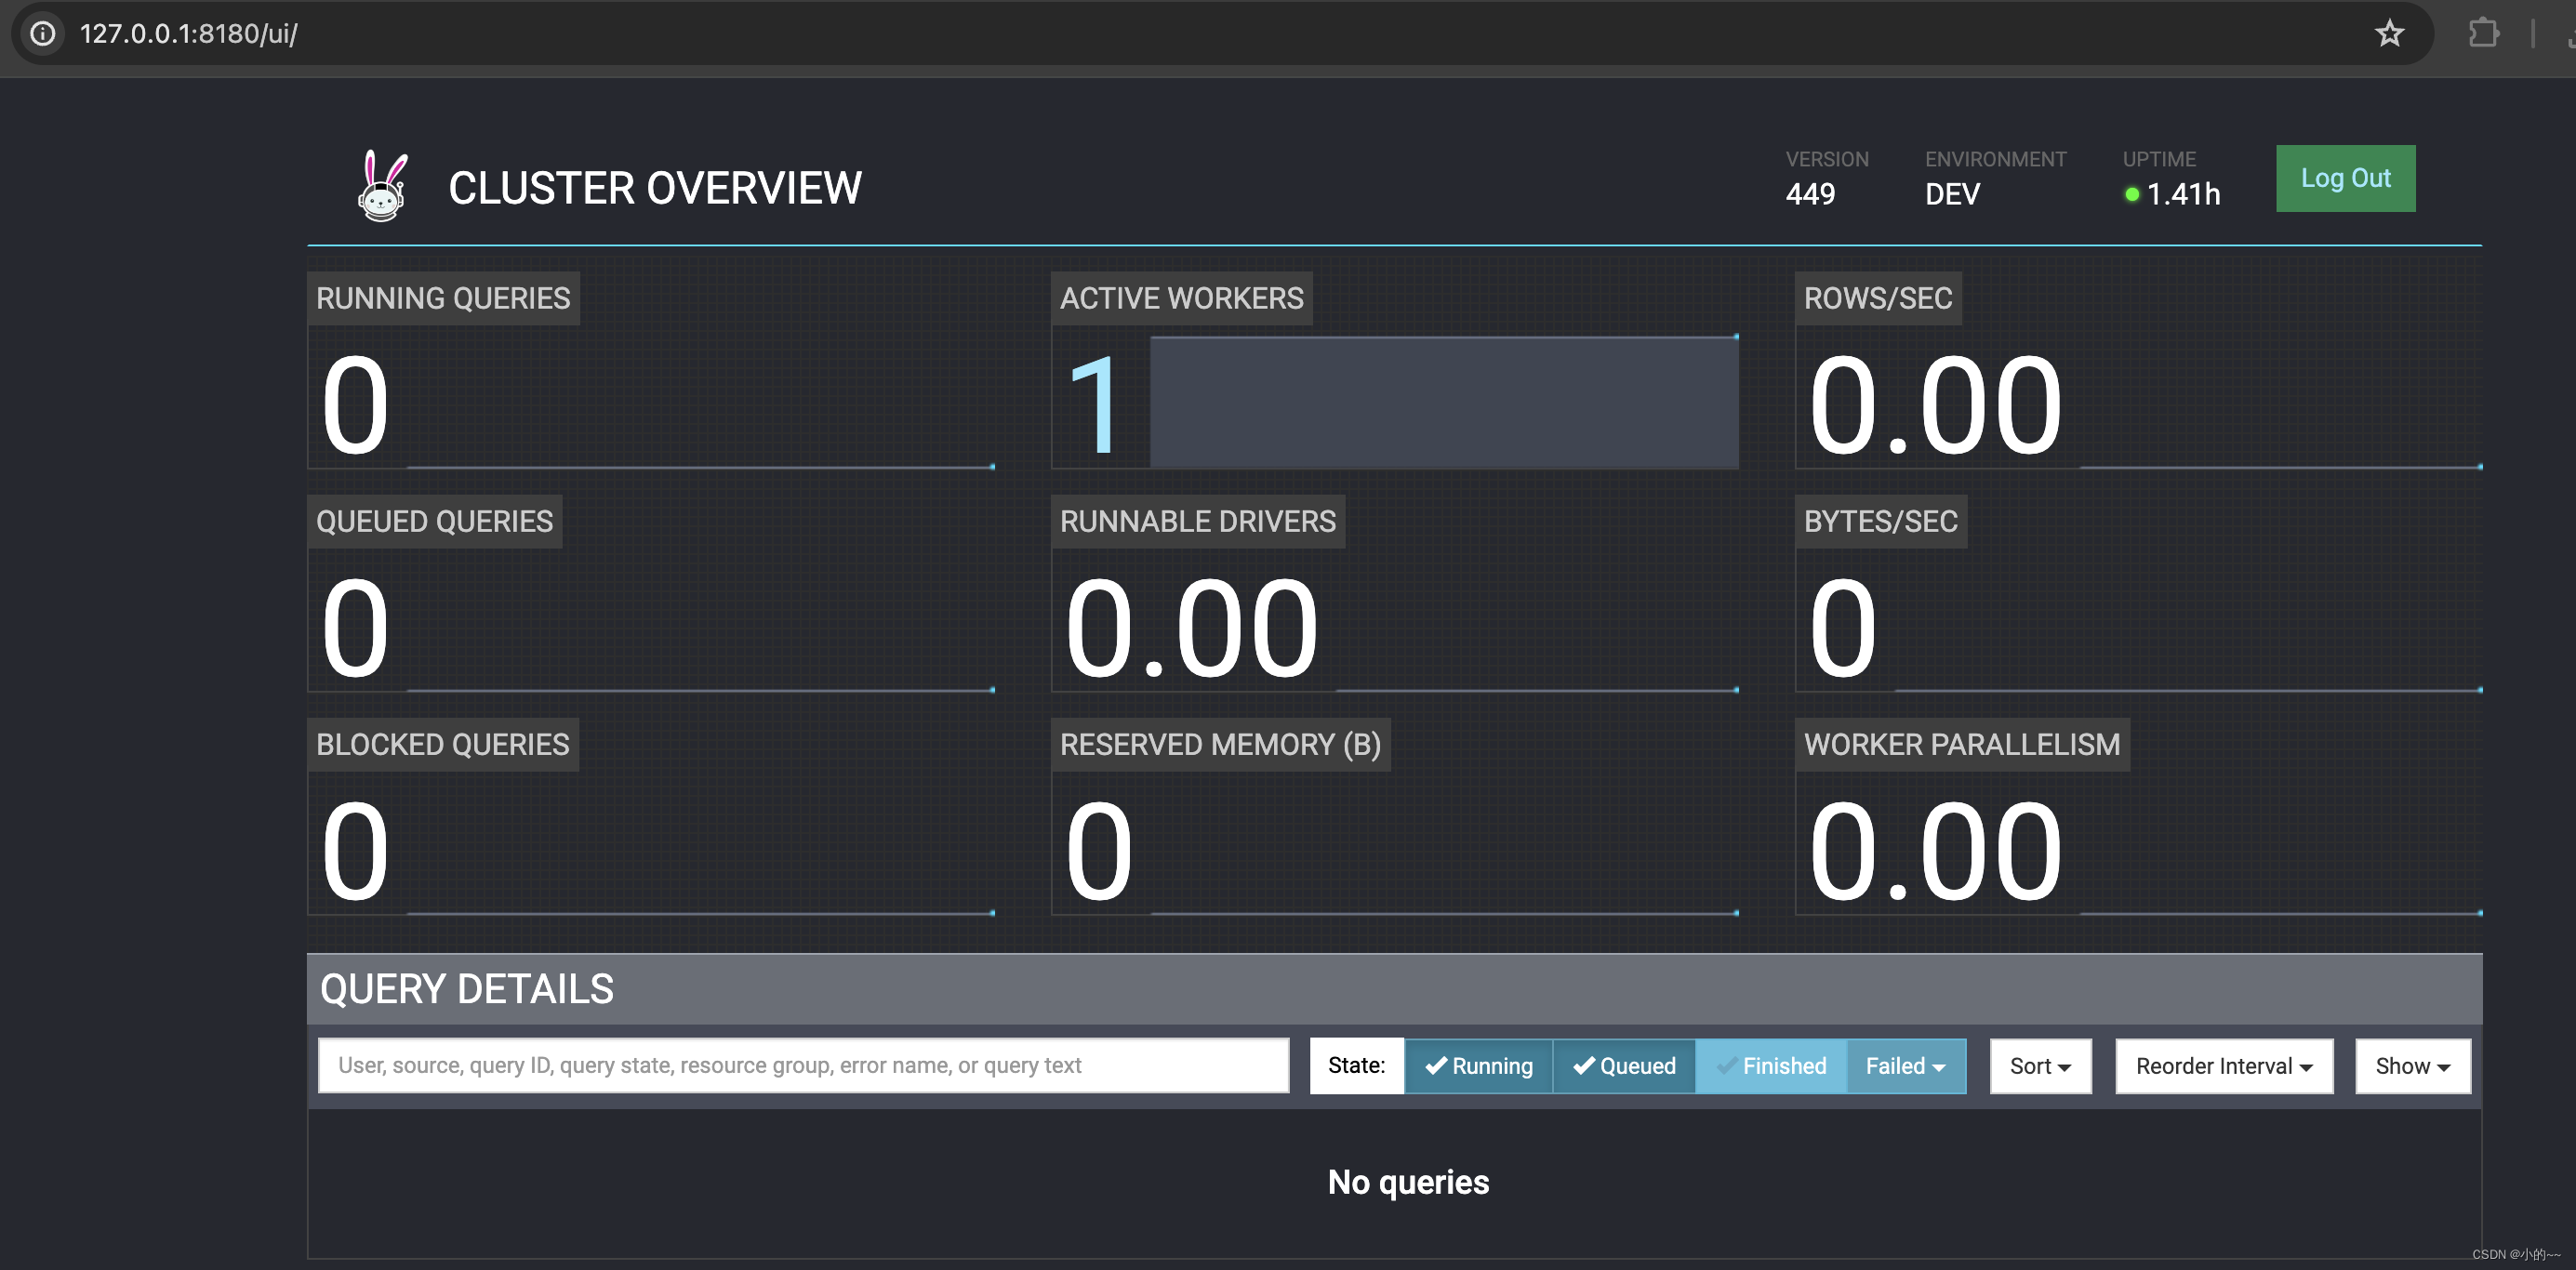
tail -999f ./data/var/log/server.log# 查看webui,浏览器中输入
http://127.0.0.1:8180
4、使用cli客户端连接测试
./trino-cli --server http://127.0.0.1:8180 --catalog hive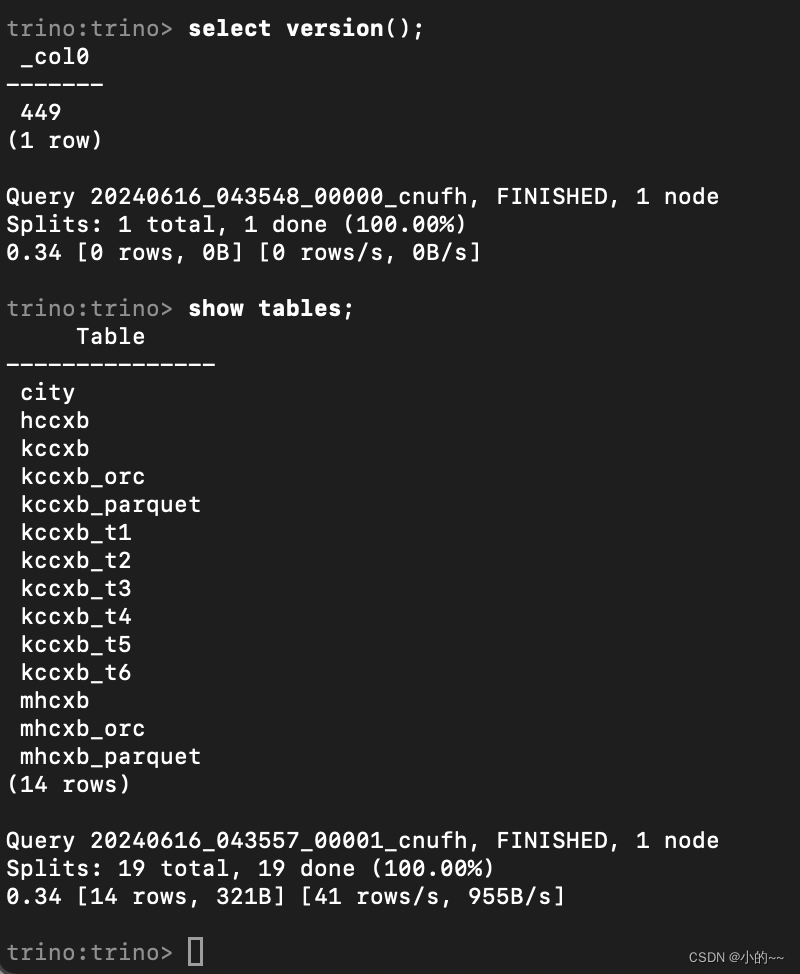
这篇关于Mac M3 Pro 部署Trino-server-449的文章就介绍到这儿,希望我们推荐的文章对编程师们有所帮助!


