本文主要是介绍Vue3【二十】Vue3 路由和组件页面切换,希望对大家解决编程问题提供一定的参考价值,需要的开发者们随着小编来一起学习吧!
Vue3【二十】Vue3 路由和组件页面切换
Vue3【二十】Vue3 路由和组件页面切换
Vue3 路由的创建
路由的引入
路由的配置
路由的导出
路由的url模式 带# 或不带
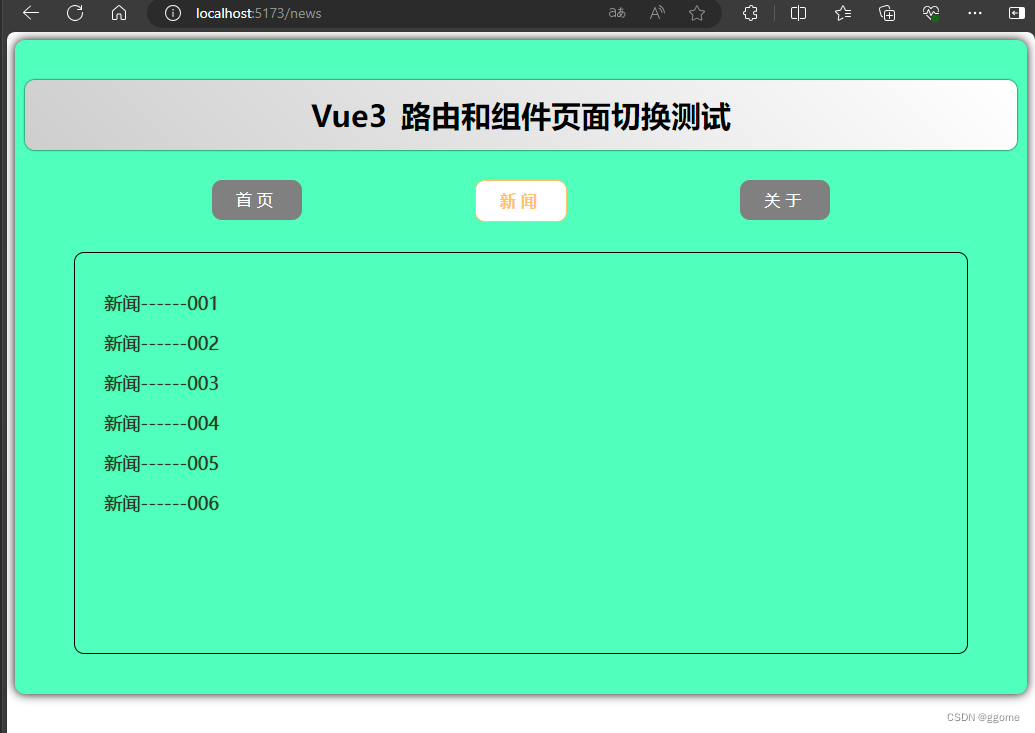
案例截图
目录结构

案例代码
app.vue
<template><div class="app"><h2 class="title">Vue3 路由和组件页面切换测试</h2><!-- 导航区 --><div class="navigate"><RouterLink to="/home" active-class="active"> 首页 </RouterLink><RouterLink to="/news" active-class="active"> 新闻 </RouterLink><RouterLink to="/about" active-class="active"> 关于 </RouterLink></div><!-- 展示区 --><div class="main-content"><RouterView /></div></div>
</template><script lang="ts" setup name="App">
// npm install vue-router //安装路由器import { RouterView } from 'vue-router';</script><style scoped>
.app {background-color: #4fffbb;box-shadow: 0 0 10px;border-radius: 10px;padding: 10px;
}
.title{text-align: center;word-spacing: 5px;margin: 30px 0;height: 70px;line-height: 70px;background-image: linear-gradient(45deg, #cecece, #fff);border-radius: 10px;box-shadow: 0 0 2px;font-size: 30px
}
.navigate {display: flex;justify-content: space-around;margin: 0 100px;
}
.navigate a {display: block;text-align: center;width: 90px;height: 40px;line-height: 40px;border-radius: 10px;background-color: #818080;text-decoration: none;color: #fff;/* font-size: 5px; */letter-spacing: 5px;
}
.navigate a.active {color: #ffc268;background-color: #fff;border: 1px solid #ffc268;font-weight: 900;/* text-shadow: 0 0 1px black; */font-family: 微软雅黑;
}.main-content {margin: 0 auto;margin-top: 30px;margin-bottom: 30px;border-radius: 10px;width: 90%;height:400px;border: 1px solid;
}
</style>
index.ts
// 创建一个路由器,并暴漏出去// 第一步:引入createRouter
import { createRouter, createWebHashHistory, createWebHistory } from 'vue-router'
// 引入各种组件
import Home from '@/components/Home.vue'
import About from '@/components/About.vue'
import News from '@/components/News.vue'
// 第二步:创建路由器
const router = createRouter({// 配置路由模式 // createWebHistory 模式:url不带#号,// createWebHashHistory模式:url 带#号history: createWebHistory(),// 配置路由规则routes: [{ path: '/', redirect: '/home' },{ path: '/home', component: Home },{ path: '/about', component: About },{ path: '/news', component: News }]
})// 第三步:导出路由器
export default router
main.ts
// 引入createApp用于创建应用
import { createApp } from 'vue'
// 引入APP根组件
import App from './App.vue'// createApp(App).mount('#app')// 引入路由器
import router from './router'// 创建一个应用
const app = createApp(App)// 使用路由器
app.use(router)// 挂载整个应用到app容器
app.mount('#app')
About.vue
<template><div class="about"><h2>About 关于我们 </h2><h2>公众号:脑力汇 </h2></div>
</template><script setup lang="ts" name="Home"></script><style scoped>
.home {display: flex;justify-content: center;align-items: center;height: 100%;color: rgb(85, 84,84);font-size: 18px;
}
</style>
News.vue
<template><div class="news"><ul><li><a href="#"> 新闻------001</a></li><li><a href="#"> 新闻------002</a></li><li><a href="#"> 新闻------003</a></li><li><a href="#"> 新闻------004</a></li><li><a href="#"> 新闻------005</a></li><li><a href="#"> 新闻------006</a></li></ul></div>
</template><script setup lang="ts" name="About"></script><style scoped>
.news {padding: 0 20px;display: flex;justify-content: space-between;height: 100%;
}
.news ul {margin-top: 30px;list-style: none;padding-left: 10px
}
.news li>a {font-size: 18px;line-height: 40px;text-decoration: none;color: #333;text-shadow: 0 0 1px rgb(0, 84, 0);
}
.news-content{width: 70%;height: 90%;border: 1px solid;margin-top: 20px;border-radius: 10px;
}
</style>
Home.vue
<template><div class="home"><img src="/public/logo.png" alt=""></div>
</template><script setup lang="ts" name="Home"></script><style scoped>
.home {display: flex;justify-content: center;align-items: center;height: 100%;
}
img {width: 10%;
}
</style>
这篇关于Vue3【二十】Vue3 路由和组件页面切换的文章就介绍到这儿,希望我们推荐的文章对编程师们有所帮助!


