本文主要是介绍vue3-使用富文本编辑器-wangEditor-文章发表1,希望对大家解决编程问题提供一定的参考价值,需要的开发者们随着小编来一起学习吧!
最近在搞项目:我们组内几位成员正在搞一个网站搭建,以后更新会比较缓慢
引言:如果要网站要用的富文本编辑器的话,这边推荐用wangEditor
官网地址传送 :
wangEditor![]() https://www.wangeditor.com/
https://www.wangeditor.com/
我现在还在扩展我的写文章用的富文本编辑器
现在我将简单介绍一下其基本使用方法
基本模版
安装依赖
npm install @wangeditor/editor --savenpm install @wangeditor/editor-for-vue@next --save
template部分
<el-form-item style="background-color: #f5f5f5;><Toolbar class="Toolbar"style="border-bottom: 1px solid #ccc;font-size: 15px":editor="editorRef":defaultConfig="toolbarConfig":mode="mode"/><Editor class="Editor"style="height: 500px;width: 900px;"v-model="valueHtml":defaultConfig="editorConfig":mode="mode"@onCreated="handleCreated"></Editor></el-form-item>js部分
导包
import { onMounted,onBeforeUnmount, ref, shallowRef } from 'vue'
import '@wangeditor/editor/dist/css/style.css' // 引入 css
import { Editor } from '@wangeditor/editor-for-vue';
import {Toolbar} from '@wangeditor/editor-for-vue' // 假设这是你的工具栏组件
主体部分
// 编辑器实例,必须用 shallowRef
const editorRef = shallowRef(null)// 内容 HTML
const valueHtml = ref('')
const toolbarConfig = {}
const editorConfig = { placeholder: '请输入内容...' }// 组件销毁时,也及时销毁编辑器
onBeforeUnmount(() => {const editor = editorRef.valueif (editor == null) returneditor.destroy()
})// 监听编辑器创建事件
const handleCreated = (editor) => {editorRef.value = editor // 记录 editor 实例,重要!
}
内容导入
template部分
这边绑定一个v-html样式的div(同步保存Editorde内容)
<div style="margin-top: 20px;"><divid="editor-content-html"style="width: 80px; height: 100px; outline: none; border: 1px solid #ccc; padding: 10px; overflow-y: auto;"v-html="html"></div></div>js部分
初始化 响应式数据
const html =ref('<p>hello</p>')//初始话同步到html中监听编辑器输入事件
editor.on('change', () => { updateHtml() })这行代码是在编辑器创建完成后,给编辑器实例绑定了一个监听器,当编辑器内容发生变化时,会触发这个回调函数,从而调用updateHtml()函数来更新 HTML 内容
// 编辑器创建完成时的回调函数
const handleCreated = (editor) => {editorRef.value = editor // 记录 editor 实例,重要!// 监听编辑器输入事件editor.on('change', () => {updateHtml()})
}
同时更新html内容
const updateHtml = () => {if (editorRef.value) {html.value = editorRef.value.getHtml() // 实时更新 HTML 内容}
}
</sc
优化
顶部栏的制作
<el-card style="position:fixed;top: 0 ;height: 60px;width: 100%;display: flex ;"><div><el-button style="font-weight: bold;" > 发表文章</el-button><el-avatar :size="40" src="../img/logo.jpg" style="position: absolute;right:30px" /></div></el-card>更改编辑区域和工具栏的相关样式
<Toolbarclass="Toolbar"style="border-bottom: 1px solid #ccc; font-size: 15px; margin: 0 auto;width: 100%; position: fixed; top: 60px;;":editor="editorRef":defaultConfig="toolbarConfig":mode="mode"/><el-card style="margin: 30px auto; padding: 0 40px; display: flex; flex-direction: column; margin-top: 150px;"><div style="margin-bottom: 10px; display: flex"><input type="text" placeholder="标题" style="height: 50px; border: none; outline: none; padding: 10px; font-size: 40px; width: fit-content;"></div><hr><Editorclass="Editor"style="height: 500px; width: 900px; margin: 0 auto; display: flex ;flex-wrap: nowrap"v-model:content="valueHtml":defaultConfig="editorConfig":mode="mode"@onCreated="handleCreated"@change="handleChange"></Editor></el-card>最终效果

最终代码
<template><el-card style="position:fixed;top: 0 ;height: 60px;width: 100%;display: flex ;"><div><el-button style="font-weight: bold;" > 发表文章</el-button><el-avatar :size="40" src="../img/logo.jpg" style="position: absolute;right:30px" /></div></el-card><el-form-item style="background-color: #f5f5f5; "><Toolbarclass="Toolbar"style="border-bottom: 1px solid #ccc; font-size: 15px; margin: 0 auto;width: 100%; position: fixed; top: 60px;;":editor="editorRef":defaultConfig="toolbarConfig":mode="mode"/><el-card style="margin: 30px auto; padding: 0 40px; display: flex; flex-direction: column; margin-top: 150px;"><div style="margin-bottom: 10px; display: flex"><input type="text" placeholder="标题" style="height: 50px; border: none; outline: none; padding: 10px; font-size: 40px; width: fit-content;"></div><hr><Editorclass="Editor"style="height: 500px; width: 900px; margin: 0 auto; display: flex ;flex-wrap: nowrap"v-model:content="valueHtml":defaultConfig="editorConfig":mode="mode"@onCreated="handleCreated"@change="handleChange"></Editor></el-card><div style="margin-top: 20px;"><divid="editor-content-html"style="width: 80px; height: 100px; outline: none; border: 1px solid #ccc; padding: 10px; overflow-y: auto;"v-html="html"></div></div></el-form-item></template><script setup>
import '@wangeditor/editor/dist/css/style.css' // 引入编辑器样式
import { onBeforeUnmount, ref, shallowRef, onMounted } from 'vue'
import { Editor, Toolbar } from '@wangeditor/editor-for-vue'// 编辑器实例,必须用 shallowRef
const editorRef = shallowRef(null)// 编辑器内容 HTML
const valueHtml = ref('<p>hello</p>')
const html = ref('<p>hello</p>') // 初始化内容同步到 HTML// 模拟 ajax 异步获取内容
onMounted(() => {setTimeout(() => {valueHtml.value = '<p>模拟 Ajax 异步设置内容</p>'updateHtml() // 更新 HTML 内容}, 1500)
})// 工具栏和编辑器配置
const toolbarConfig = {}
const editorConfig = { placeholder: '请输入内容...' }// 组件销毁时,及时销毁编辑器
onBeforeUnmount(() => {const editor = editorRef.valueif (editor) {editor.destroy()}
})// 编辑器创建完成时的回调函数
const handleCreated = (editor) => {editorRef.value = editor // 记录 editor 实例,重要!// 监听编辑器输入事件editor.on('change', () => {updateHtml()})
}// 更新 HTML 内容
const updateHtml = () => {if (editorRef.value) {html.value = editorRef.value.getHtml() // 实时更新 HTML 内容}
}
</script><style scoped>
.Toolbar {border-bottom: 1px solid #ccc;font-size: 15px;margin: 0 auto;
}.Editor {height: 500px;width: 900px;margin: 0 auto;
}#editor-content-html {width: 100%;height: 100px;outline: none;border: 1px solid #ccc;padding: 10px;overflow-y: auto;margin-top: 20px;
}</style>
待更新部分
- 图片上传
- 悬浮框弹出ai对话框
- 底部栏创建
已经在做的事情
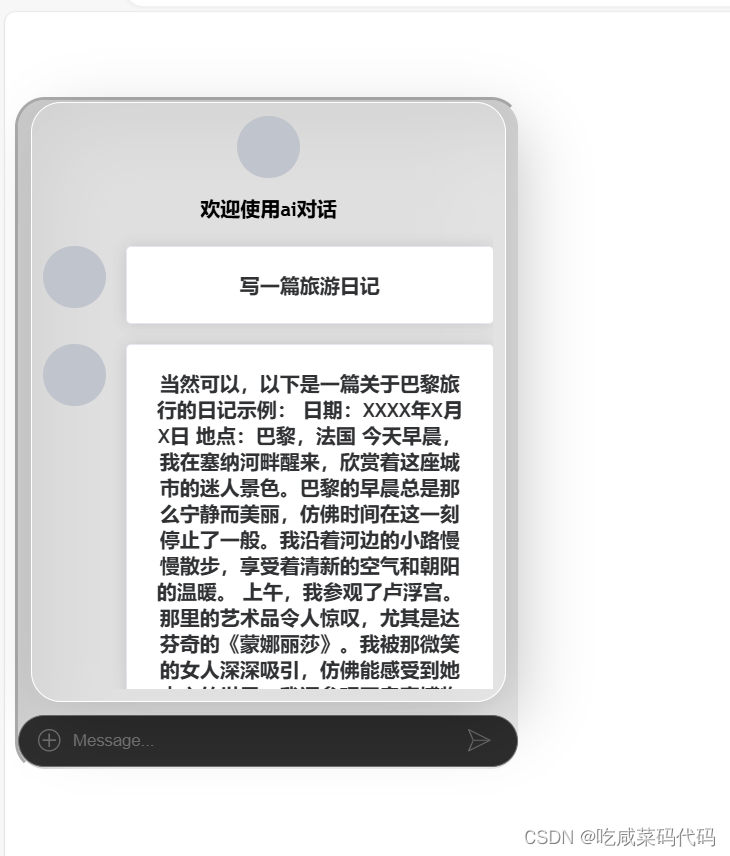
ai对话聊天室功能
目前实现的功能
特别声明:由于使用的是调用别人的接口
可能会出现服务器崩溃的问题,
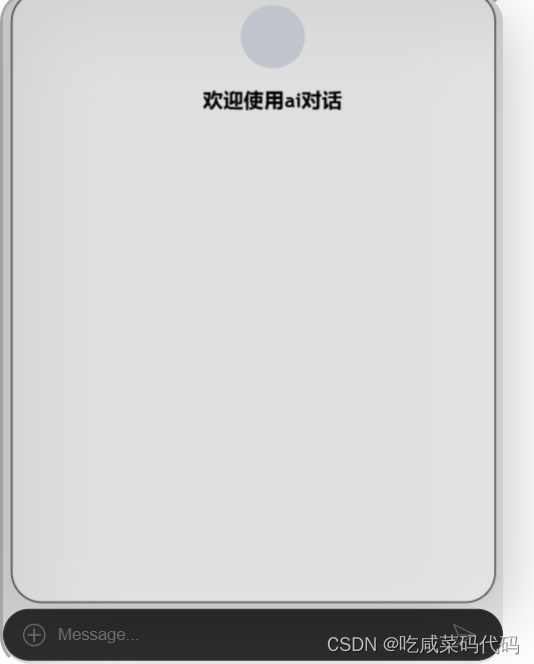
能基本和ai对话,已经做了loading动画
这边是加载的时候

这边是完全显示的时候
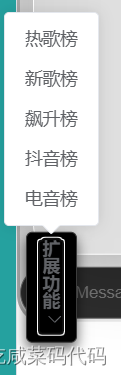
可以通过加号 选择歌曲类型进行点歌
这篇关于vue3-使用富文本编辑器-wangEditor-文章发表1的文章就介绍到这儿,希望我们推荐的文章对编程师们有所帮助!


