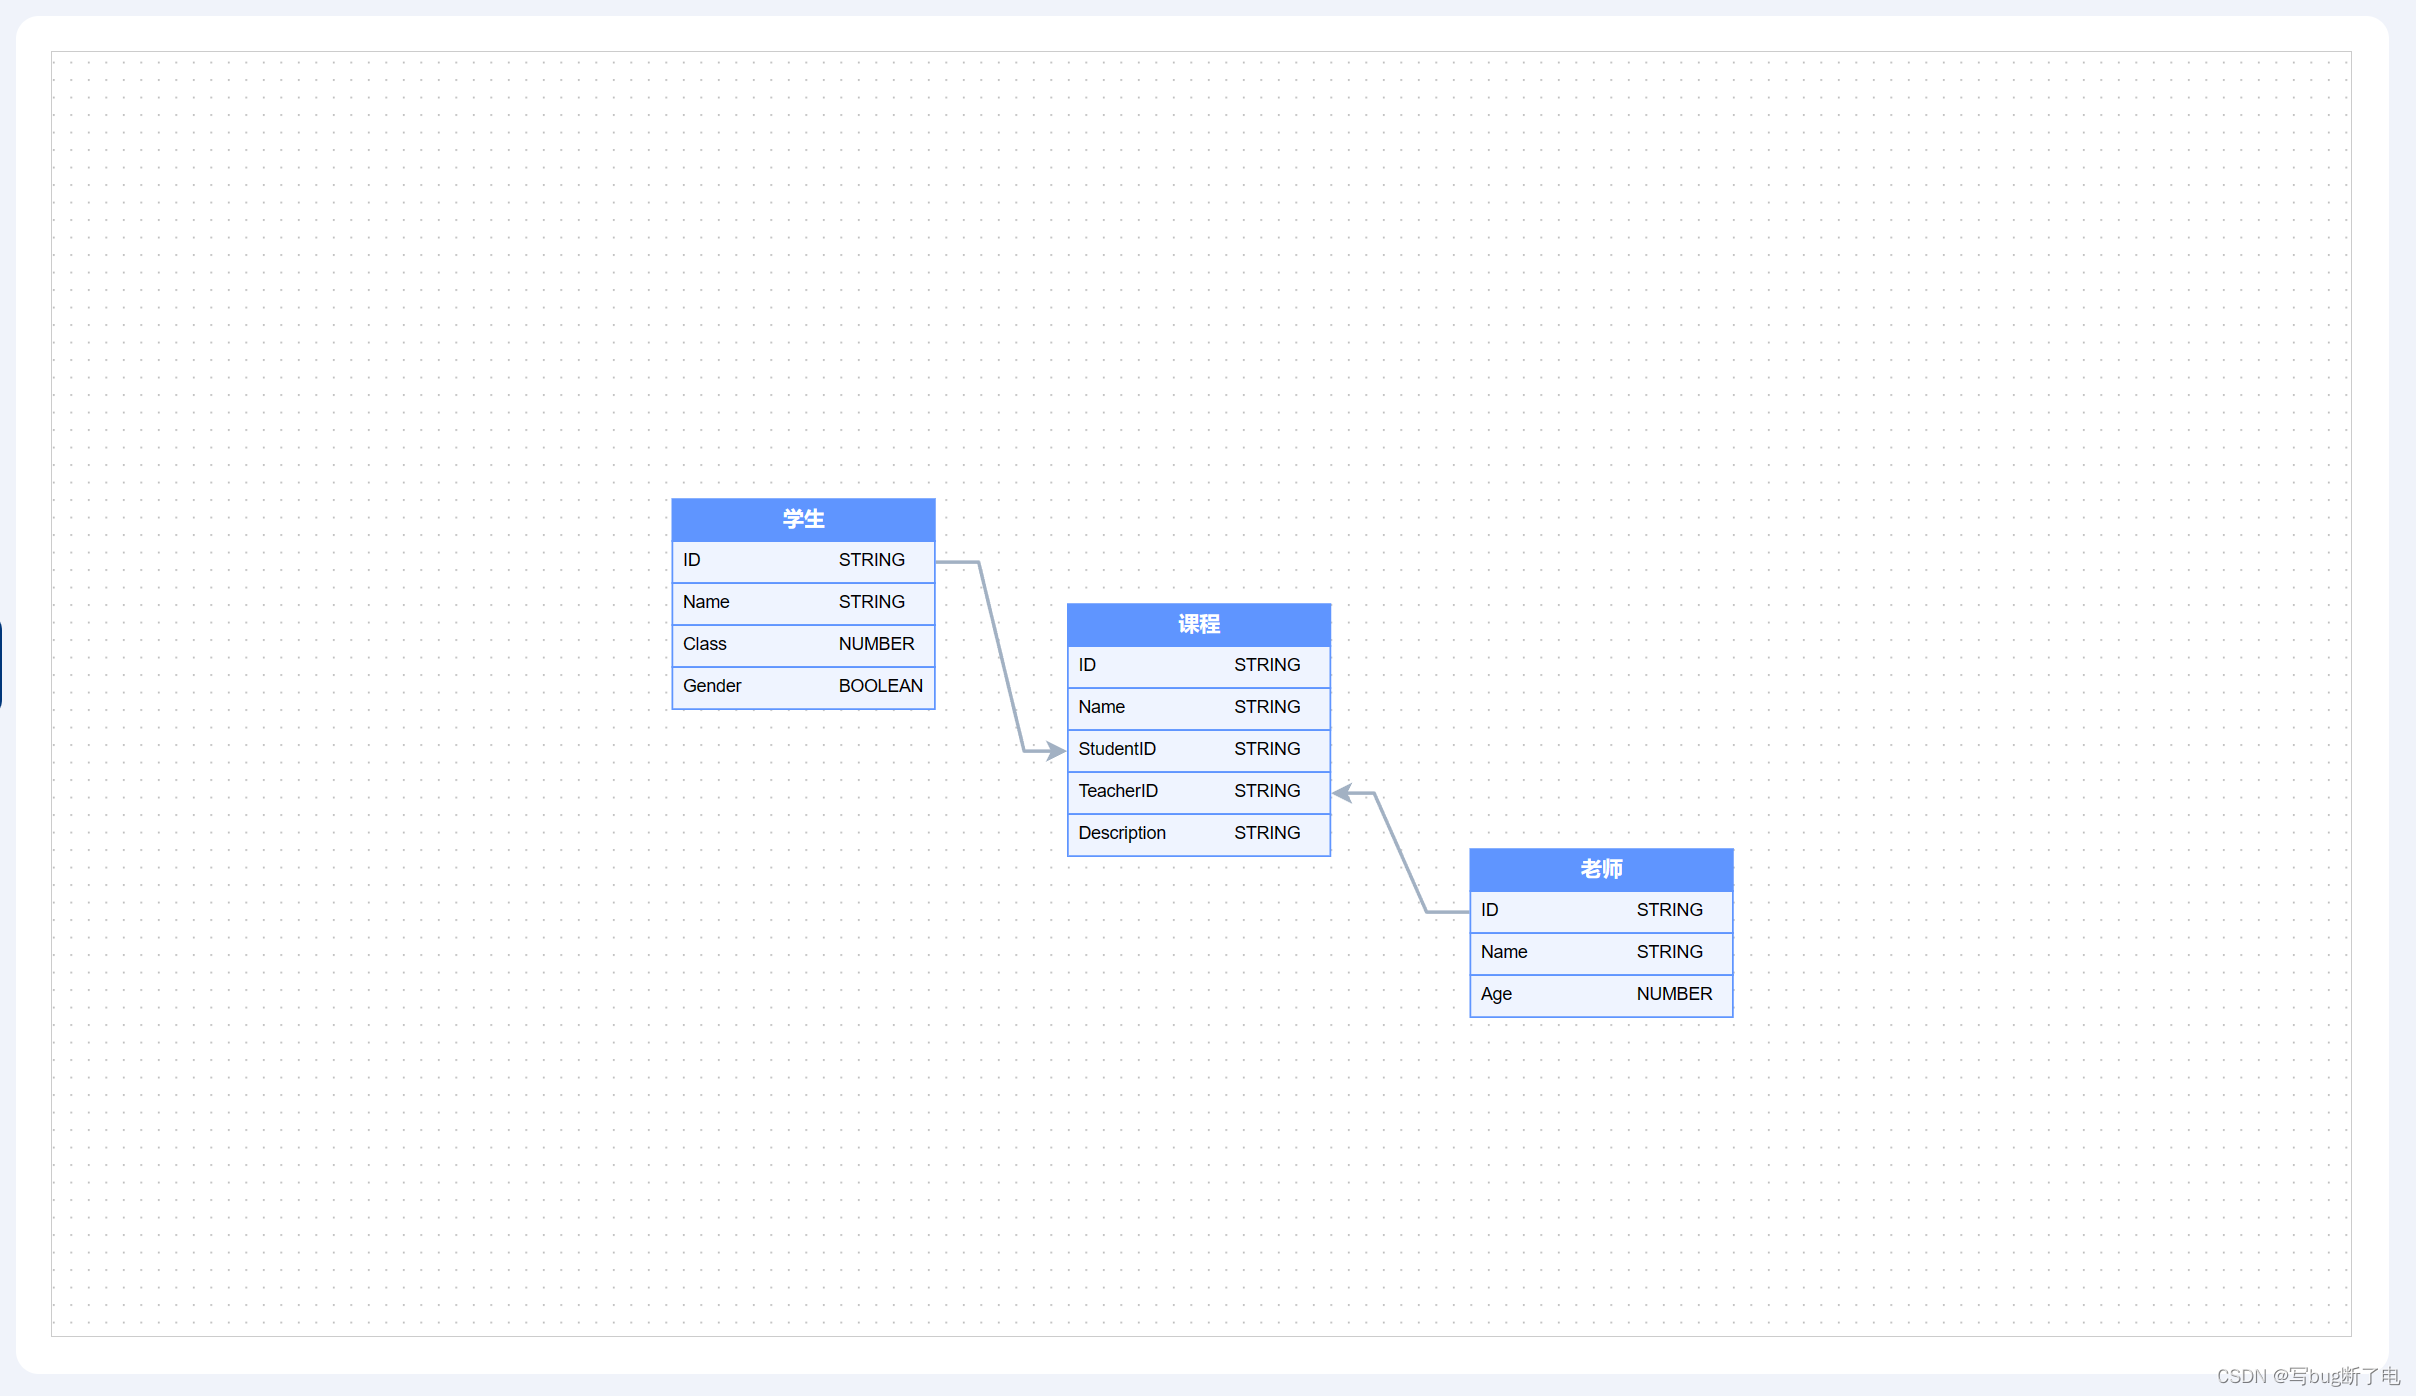
本文主要是介绍vue2+antv/x6实现er图,希望对大家解决编程问题提供一定的参考价值,需要的开发者们随着小编来一起学习吧!
效果图

安装依赖
npm install @antv/x6 --save我目前的项目安装的版本是@antv/x6 2.18.1

人狠话不多,直接上代码
<template><div class="er-graph-container"><!-- 画布容器 --><div ref="graphContainerRef" id="graphContainer"></div></div>
</template><script>
import { Graph, Shape } from "@antv/x6";const LINE_HEIGHT = 24;
const NODE_WIDTH = 150;export default {name: "X6GraphComponent",data() {return {graph: null,// 画布数据graphData: [{id: "1",shape: "er-rect",label: "学生",width: 150,height: 24,position: {x: 24,y: 150,},ports: [{id: "1-1",group: "list",attrs: {portNameLabel: {text: "ID",},portTypeLabel: {text: "STRING",},},},{id: "1-2",group: "list",attrs: {portNameLabel: {text: "Name",},portTypeLabel: {text: "STRING",},},},{id: "1-3",group: "list",attrs: {portNameLabel: {text: "Class",},portTypeLabel: {text: "NUMBER",},},},{id: "1-4",group: "list",attrs: {portNameLabel: {text: "Gender",},portTypeLabel: {text: "BOOLEAN",},},},],},{id: "2",shape: "er-rect",label: "课程",width: 150,height: 24,position: {x: 250,y: 210,},ports: [{id: "2-1",group: "list",attrs: {portNameLabel: {text: "ID",},portTypeLabel: {text: "STRING",},},},{id: "2-2",group: "list",attrs: {portNameLabel: {text: "Name",},portTypeLabel: {text: "STRING",},},},{id: "2-3",group: "list",attrs: {portNameLabel: {text: "StudentID",},portTypeLabel: {text: "STRING",},},},{id: "2-4",group: "list",attrs: {portNameLabel: {text: "TeacherID",},portTypeLabel: {text: "STRING",},},},{id: "2-5",group: "list",attrs: {portNameLabel: {text: "Description",},portTypeLabel: {text: "STRING",},},},],},{id: "3",shape: "er-rect",label: "老师",width: 150,height: 24,position: {x: 480,y: 350,},ports: [{id: "3-1",group: "list",attrs: {portNameLabel: {text: "ID",},portTypeLabel: {text: "STRING",},},},{id: "3-2",group: "list",attrs: {portNameLabel: {text: "Name",},portTypeLabel: {text: "STRING",},},},{id: "3-3",group: "list",attrs: {portNameLabel: {text: "Age",},portTypeLabel: {text: "NUMBER",},},},],},{id: "4",shape: "edge",source: {cell: "1",port: "1-1",},target: {cell: "2",port: "2-3",},attrs: {line: {stroke: "#A2B1C3",strokeWidth: 2,},},zIndex: 0,},{id: "5",shape: "edge",source: {cell: "3",port: "3-1",},target: {cell: "2",port: "2-4",},attrs: {line: {stroke: "#A2B1C3",strokeWidth: 2,},},zIndex: 0,},],};},mounted() {this.initGraph();},methods: {initGraph() {Graph.registerPortLayout("erPortPosition",(portsPositionArgs) => {return portsPositionArgs.map((_, index) => {return {position: {x: 0,y: (index + 1) * LINE_HEIGHT,},angle: 0,};});},true);Graph.registerNode("er-rect",{inherit: "rect",markup: [{tagName: "rect",selector: "body",},{tagName: "text",selector: "label",},],attrs: {rect: {strokeWidth: 1,stroke: "#5F95FF",fill: "#5F95FF",},label: {fontWeight: "bold",fill: "#ffffff",fontSize: 12,},},ports: {groups: {list: {markup: [{tagName: "rect",selector: "portBody",},{tagName: "text",selector: "portNameLabel",},{tagName: "text",selector: "portTypeLabel",},],attrs: {portBody: {width: NODE_WIDTH,height: LINE_HEIGHT,strokeWidth: 1,stroke: "#5F95FF",fill: "#EFF4FF",magnet: true,},portNameLabel: {ref: "portBody",refX: 6,refY: 6,fontSize: 10,},portTypeLabel: {ref: "portBody",refX: 95,refY: 6,fontSize: 10,},},position: "erPortPosition",},},},},true);this.graph = new Graph({container: this.$refs.graphContainerRef,grid: true,connecting: {router: {name: "er",args: {offset: 25,direction: "H",},},createEdge() {return new Shape.Edge({attrs: {line: {stroke: "#A2B1C3",strokeWidth: 2,},},});},},});let cells = [];this.graphData.forEach((item) => {if (item.shape === "edge") {cells.push(this.graph.createEdge(item));} else {cells.push(this.graph.createNode(item));}});this.graph.resetCells(cells);this.graph.zoomToFit({ padding: 10, maxScale: 1 });},},beforeDestroy() {this.graph && this.graph.dispose();},
};
</script><style>
/* 确保图表可以在容器内正确显示 */
.er-graph-container {min-width: 300px;min-height: 200px;
}
.er-graph-container,
#graphContainer {width: 100%;height: 100%;
}
</style>
O了
这篇关于vue2+antv/x6实现er图的文章就介绍到这儿,希望我们推荐的文章对编程师们有所帮助!


