本文主要是介绍CogVLM2 本地部署体验(Docker容器版),希望对大家解决编程问题提供一定的参考价值,需要的开发者们随着小编来一起学习吧!
智普AI推出新一代的 CogVLM2 系列模型,并开源了两款基于 Meta-Llama-3-8B-Instruct开源模型。与上一代的 CogVLM 开源模型相比,CogVLM2 系列开源模型具有以下改进:
- 在许多关键指标上有了显著提升,例如 TextVQA, DocVQA。
- 支持 8K 文本长度。
- 支持高达 1344 * 1344 的图像分辨率。
- 提供支持中英文双语的开源模型版本。
硬件要求(模型推理):
INT4 : RTX30901,显存>16GB,内存32GB,系统盘200GB
INT4 : RTX40901或RTX3090*2,显存24GB,内存32GB,系统盘200GB
模型微调硬件要求更高。一般不建议个人用户环境使用
环境准备
源码下载
git clone https://github.com/THUDM/CogVLM2.git;
cd CogVLM
模型下载
手动下载模型
下载地址:https://hf-mirror.com/THUDM
git clone https://hf-mirror.com/THUDM/cogvlm2-llama3-chat-19B
Docker 容器化部署
构建镜像
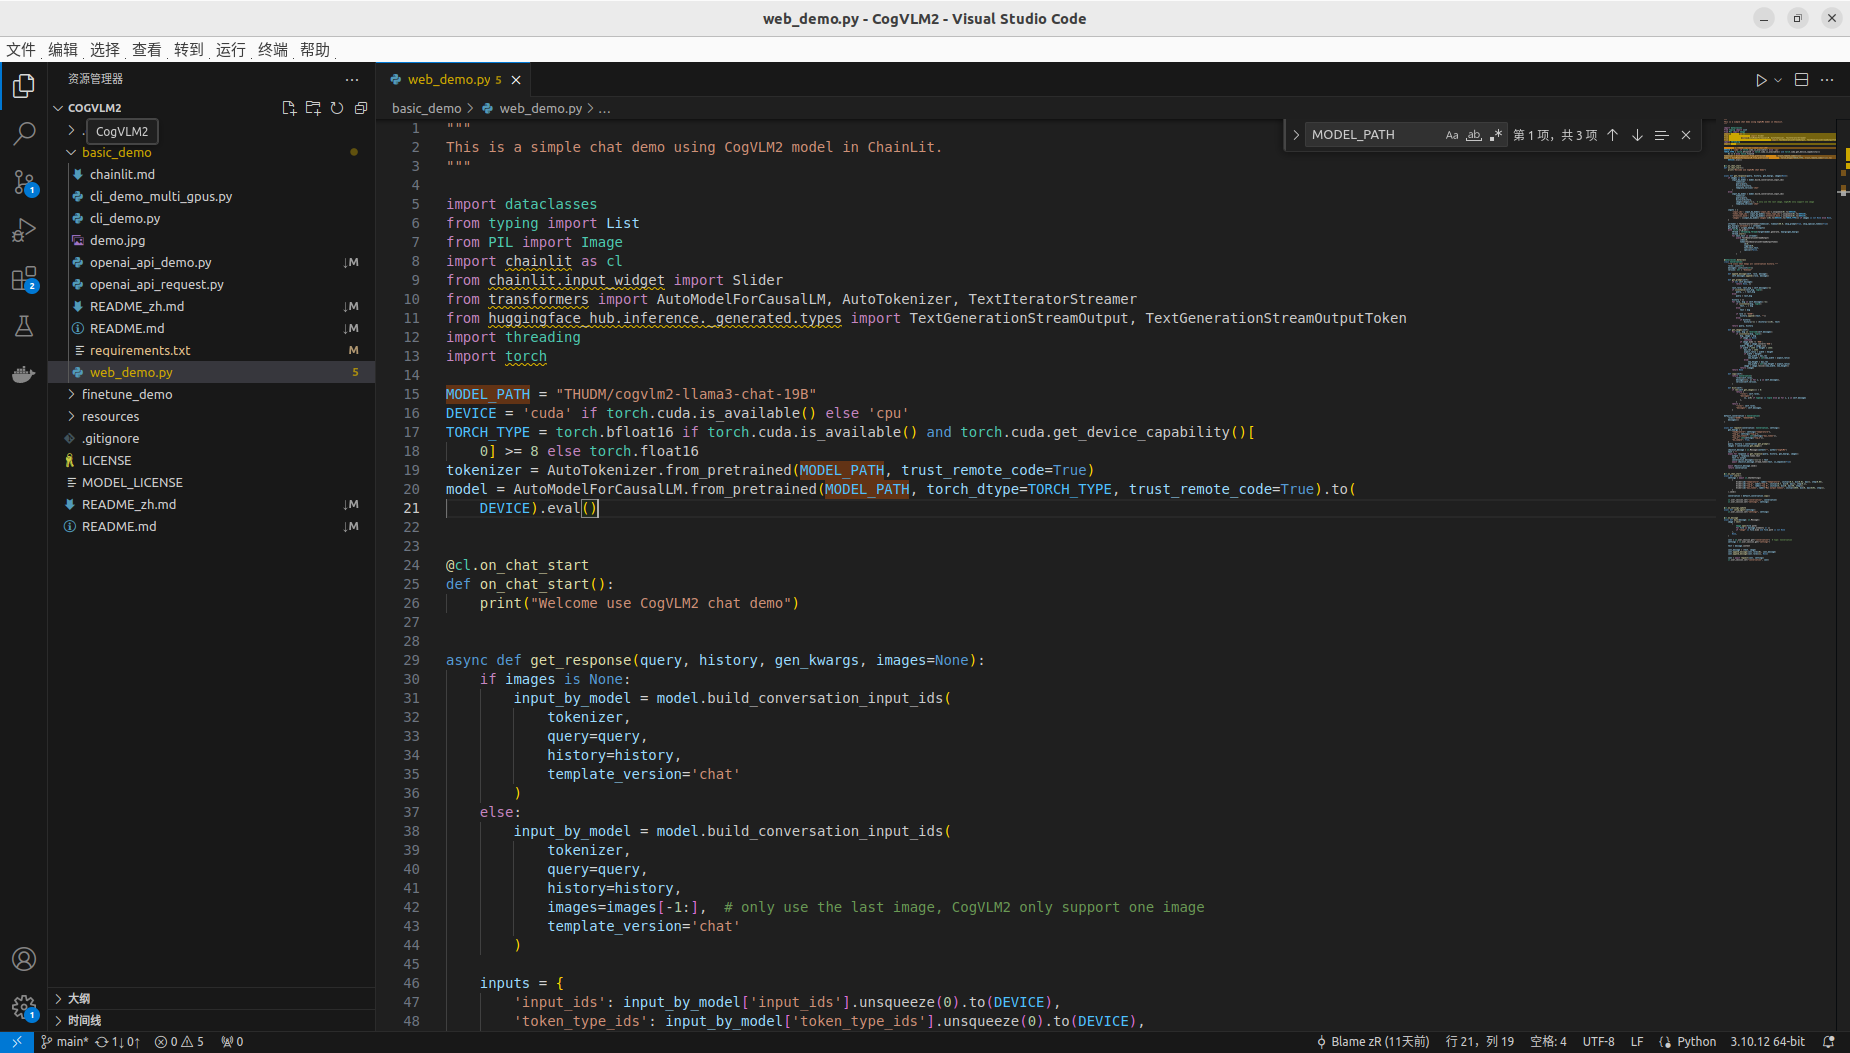
- 修改源码模型地址
构建镜像先把模型的地址修改为本地模型,避免从huggingface临时下载。

- Dockerfile文件编写
注意
COPY CogVLM2/ /app/CogVLM2/这行执行需要根据世纪CogVLM源码下载存放位置。
FROM pytorch/pytorch:2.2.1-cuda12.1-cudnn8-runtime
ARG DEBIAN_FRONTEND=noninteractiveWORKDIR /appRUN sudo apt-get --fix-broken install
RUN sudo apt-get install -y --no-install-recommends \python3-mpi4py  mpich
RUN pip config set global.index-url http://mirrors.aliyun.com/pypi/simple
RUN pip config set install.trusted-host mirrors.aliyun.comCOPY CogVLM2/ /app/CogVLM2/
WORKDIR /app/CogVLM2RUN pip install bitsandbytes
RUN pip install --use-pep517 -r basic_demo/requirements.txt
#RUN pip install --use-pep517 -r finetune_demo/requirements.txtEXPOSE 7861
CMD [ "chainlit","run","basic_demo/web_demo.py" ]
本文采用基础镜像
pytorch/pytorch:2.2.1-cuda12.1-cudnn8-runtime
系统预置了部分python 库,为避免冲突,需要注释掉源码中的部分依赖包。(torch,torchvision)
- 修改后requirements.txt文件:
xformers>=0.0.26.post1
#torch>=2.3.0
#torchvision>=0.18.0
transformers>=4.40.2
huggingface-hub>=0.23.0
pillow>=10.3.0
chainlit>=1.0.506
pydantic>=2.7.1
timm>=0.9.16
openai>=1.30.1
loguru>=0.7.2
pydantic>=2.7.1
einops>=0.7.0
sse-starlette>=2.1.0
bitsandbytes>=0.43.1 # for int4 quantization- 执行构建
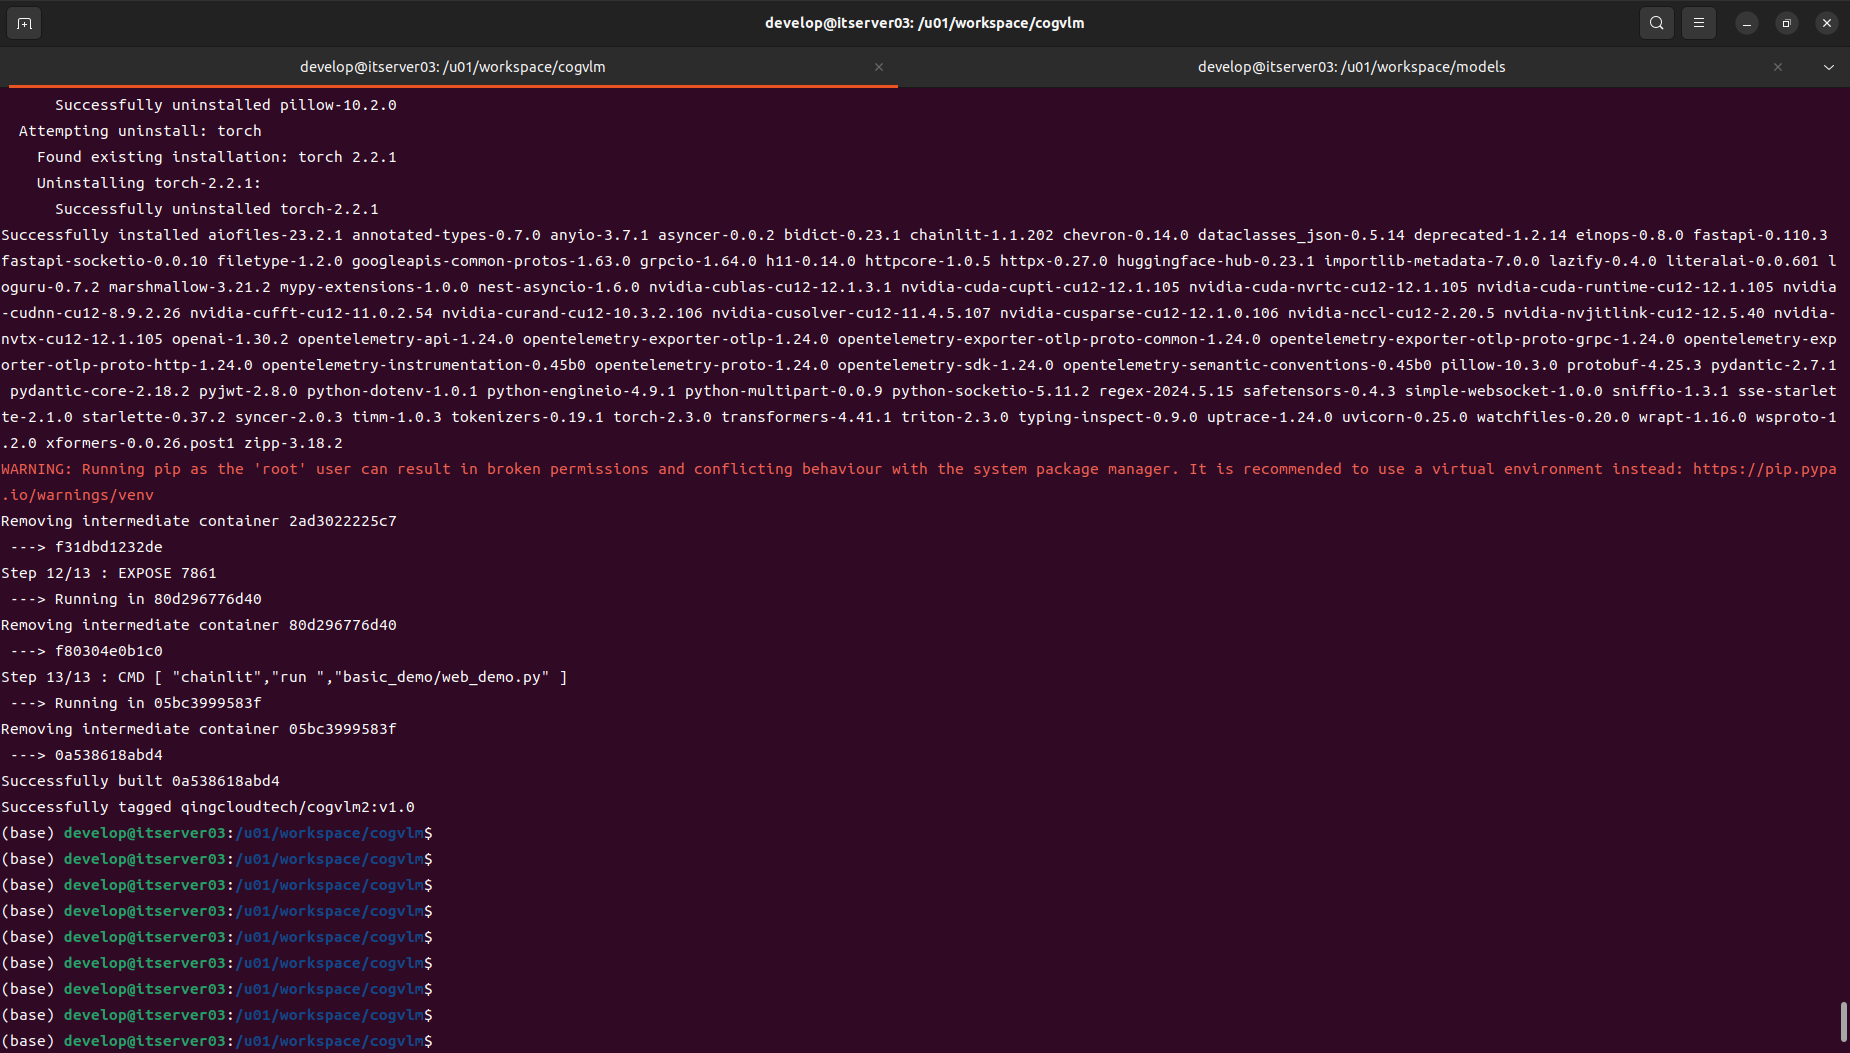
docker build -t qingcloudtech/cogvlm:v1.1 .

运行
Docker webui运行
第一步:执行启动指令
docker run -it --gpus all \-p 7861:7861 \-v /u01/workspace/models/cogvlm2-llama3-chinese-chat-19B:/app/CogVLM2/basic_demo/THUDM/cogvlm2-llama3-chinese-chat-19B \-v /u01/workspace/cogvlm/images:/u01/workspace/images \qingcloudtech/cogvlm2:v1.0 chainlit run basic_demo/web_demo.py
注意提前准备好模型,并挂载好模型路径,否则可能会因为网络导致模型无法动态下载成功。
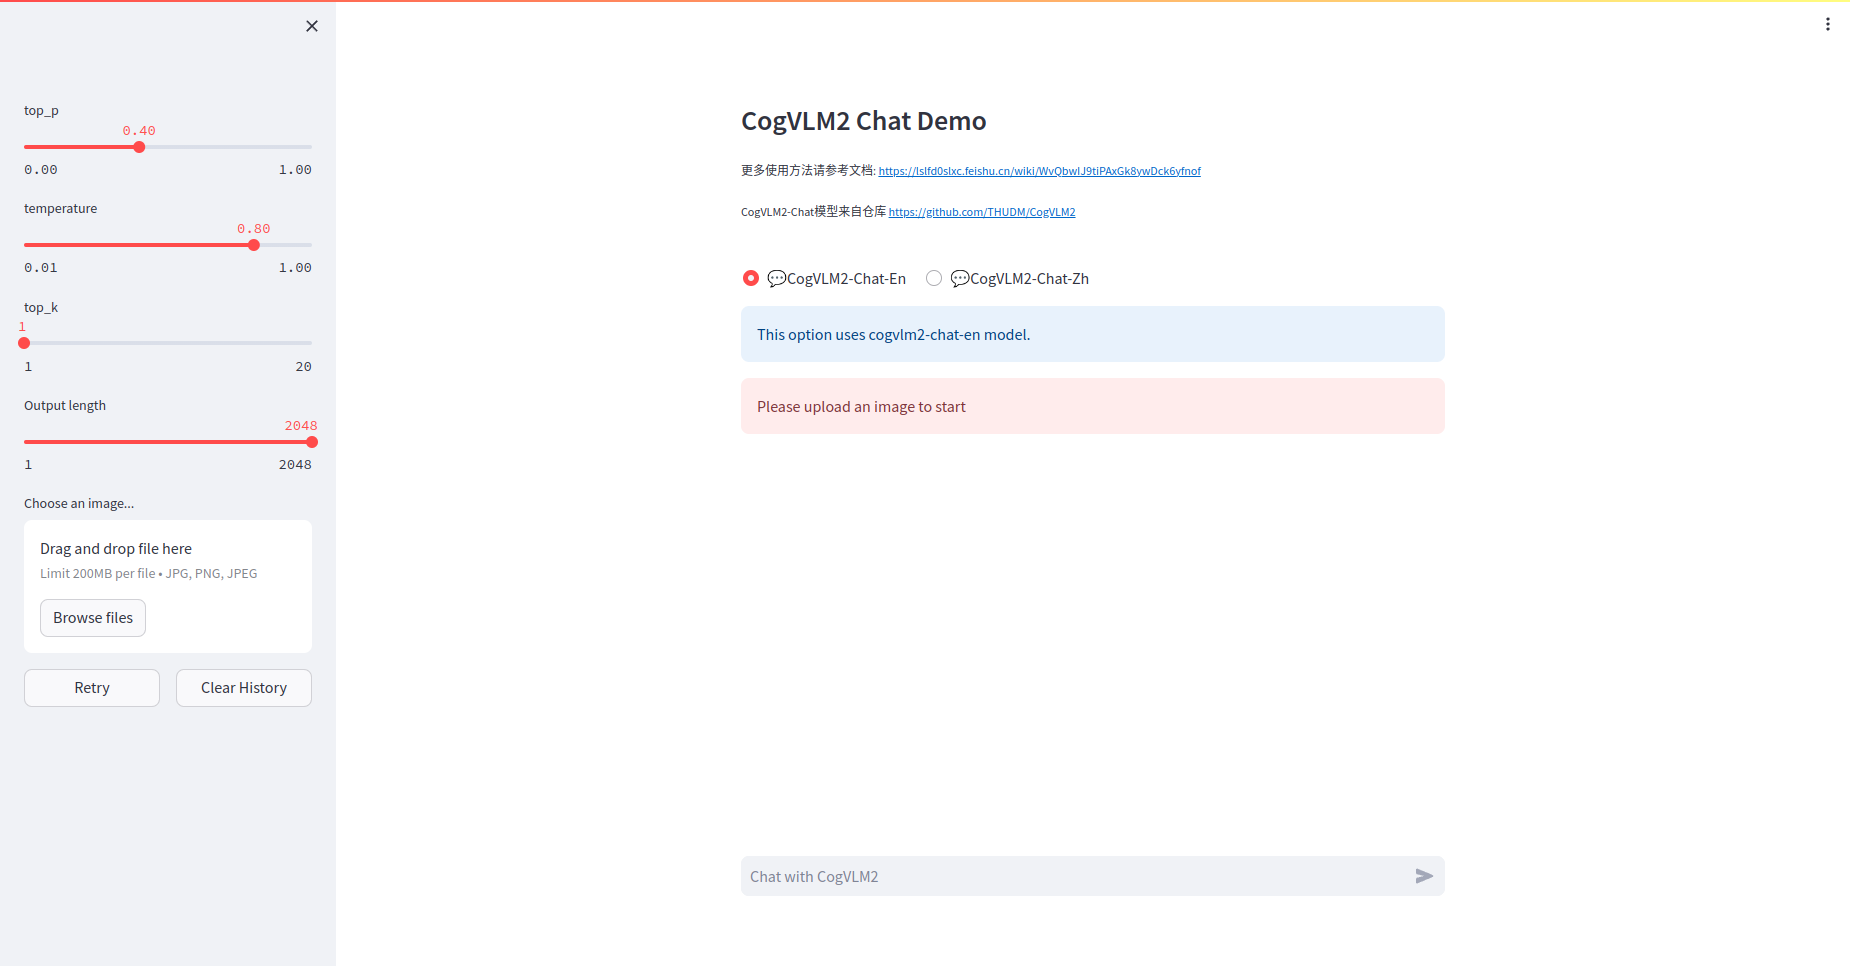
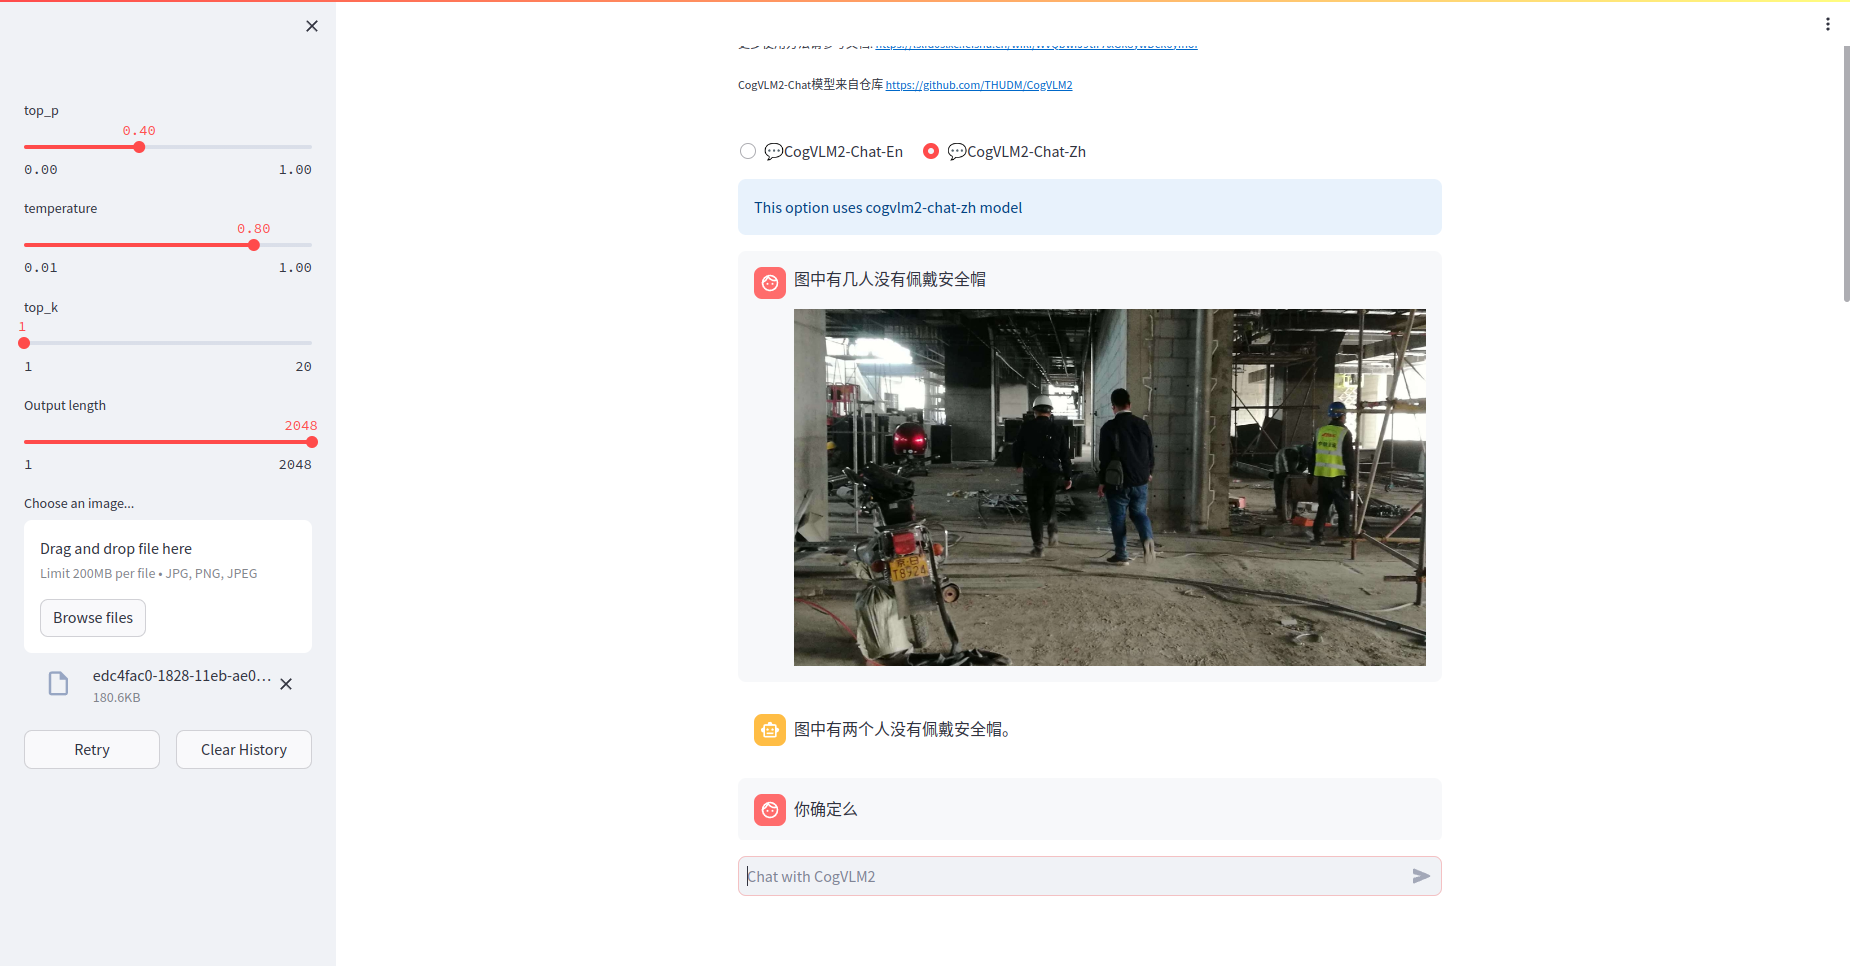
第一步:访问验证:


openai api 方式运行
第一步:执行启动指令
docker run -itd --gpus all \-p 8000:8000 \-v /u01/workspace/models/cogvlm2-llama3-chinese-chat-19B:/app/CogVLM2/basic_demo/THUDM/cogvlm2-llama3-chinese-chat-19B \-v /u01/workspace/cogvlm/images:/u01/workspace/images \qingcloudtech/cogvlm2:v1.1 python basic_demo/openai_api_demo.py
第二步:测试验证
『693cce5688f2 』替换为自己的容器ID
docker exec -it 693cce5688f2 python basic_demo/openai_api_request.py
root@itserver03:/u01/workspace/cogvlm/CogVLM2/basic_demo# docker exec -it 693cce5688f2 python openai_demo/openai_api_request.py
This image captures a serene landscape featuring a wooden boardwalk that leads through a lush green field. The field is bordered by tall grasses, and the sky overhead is vast and blue, dotted with wispy clouds. The horizon reveals distant trees and a clear view of the sky, suggesting a calm and peaceful day.
root@itserver03:/u01/workspace/cogvlm/CogVLM2/basic_demo#
其他访问方式:
Restful API地址:
127.0.0.1:8000/v1/chat/completions
【Qinghub Studio 】更适合开发人员的低代码开源开发平台
【QingHub企业级应用统一部署】
【QingHub企业级应用开发管理】
【QingHub** 演示】**
【https://qingplus.cn】
这篇关于CogVLM2 本地部署体验(Docker容器版)的文章就介绍到这儿,希望我们推荐的文章对编程师们有所帮助!


