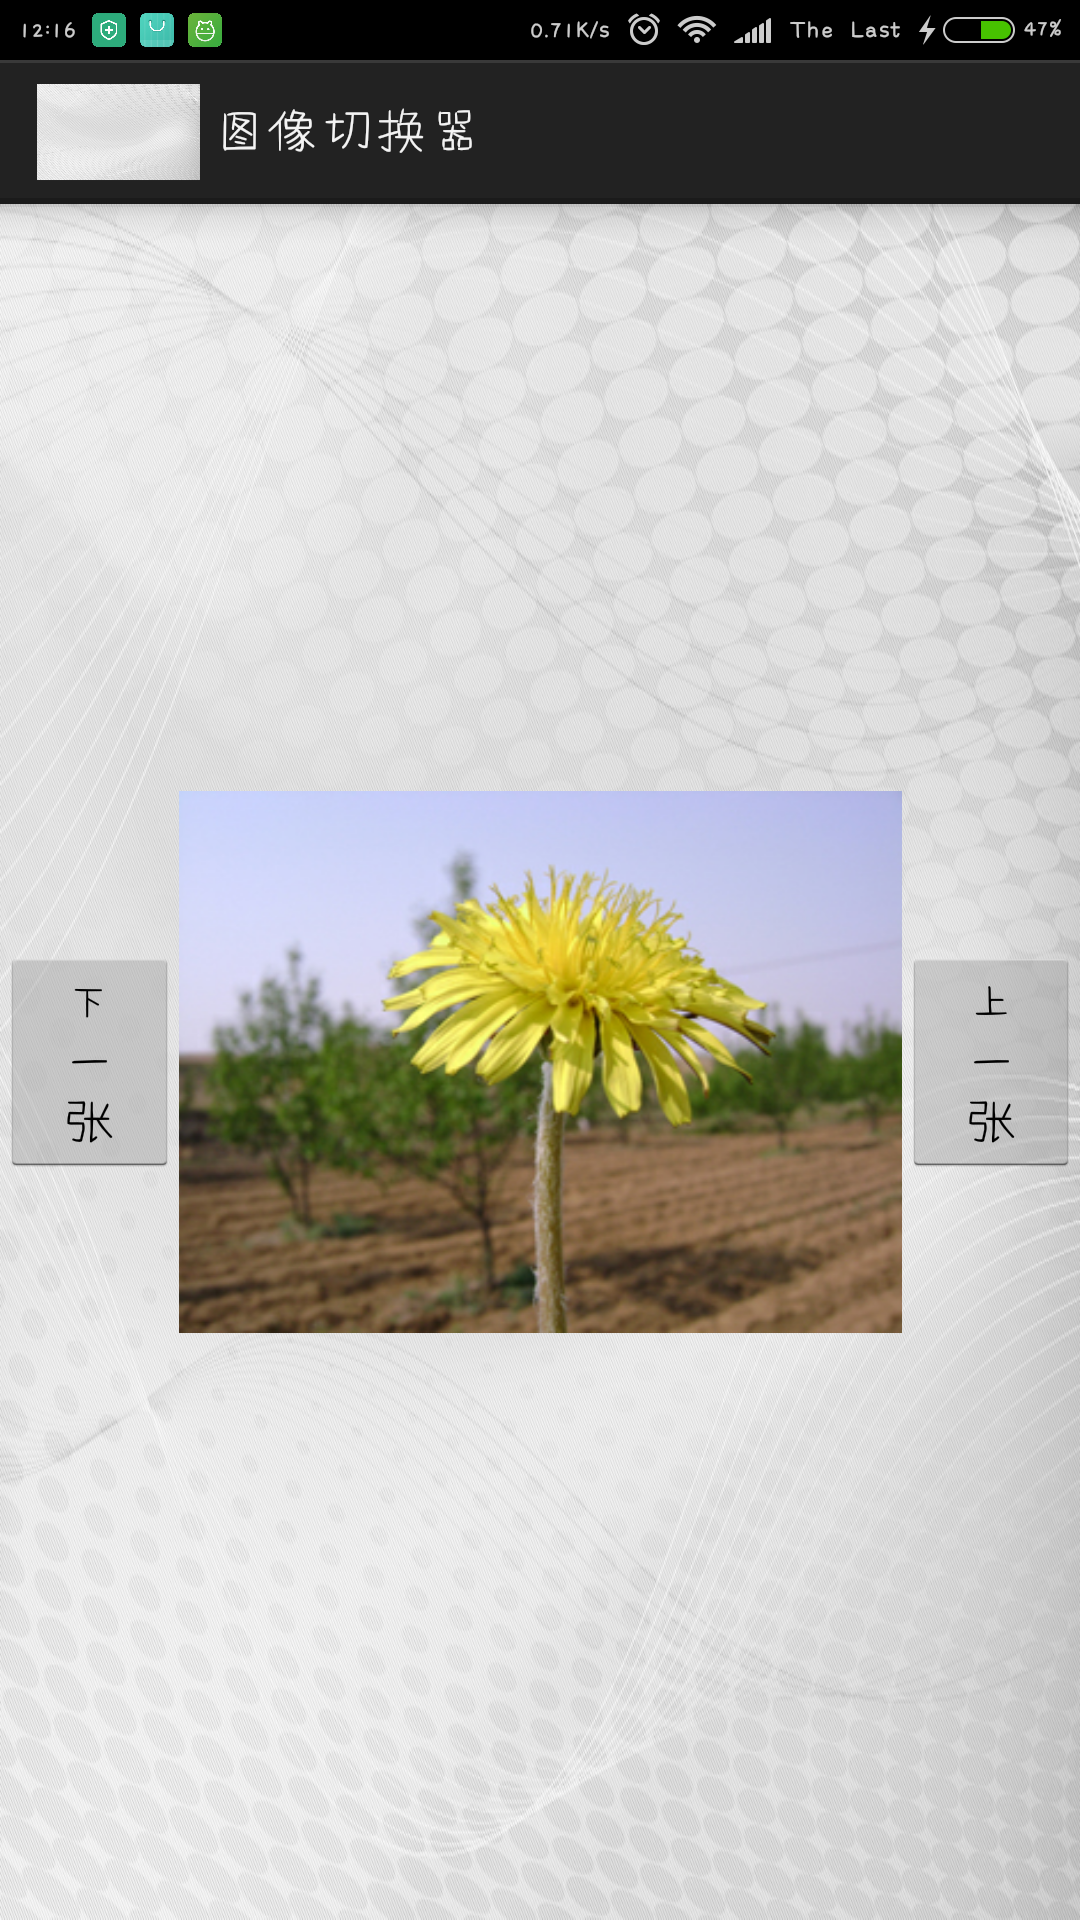
本文主要是介绍ImageSwitcher与ViewSwitcher,希望对大家解决编程问题提供一定的参考价值,需要的开发者们随着小编来一起学习吧!
ImageSwitcher
基础
用于图片的切换。与ImageView类似,只不过在图片的切换过程中,可以设置动画。
设置
在布局中:android:inAnimation与android:outAnimation
在代码中:switcher.setInAnimation与switcher.setOutAnimation
使用
在使用之前必须要调用switcher.setFactroy()方法,示例:
switcher.setFactory(new ViewFactory() {public View makeView() {return new ImageView(MainActivity.this);}});示例
public class MainActivity extends Activity {private final int[] indexs = {R.drawable.a1,R.drawable.a6,R.drawable.arrow,R.drawable.ic_launcher};private int index = 0;private Button btn_left;private Button btn_right;private ImageSwitcher switcher;public void onCreate(Bundle savedInstanceState) {super.onCreate(savedInstanceState);setContentView(R.layout.animation_3);switcher = (ImageSwitcher) findViewById(R.id.switcher);switcher.setFactory(new ViewFactory() {public View makeView() {return new ImageView(MainActivity.this);}});switcher.setInAnimation(AnimationUtils.loadAnimation(MainActivity.this, android.R.anim.fade_in));switcher.setOutAnimation(AnimationUtils.loadAnimation(MainActivity.this, android.R.anim.fade_out));btn_left = (Button)findViewById(R.id.btn_left);btn_right = (Button)findViewById(R.id.btn_right);if(index == 0){btn_left.setClickable(false);}else if(index == indexs.length){btn_right.setClickable(false);}if(indexs.length == 1){btn_left.setClickable(false);btn_right.setClickable(false);}switcher.setImageResource(indexs[index]);}public void left(View v){index--;btn_right.setClickable(true);if(index < 0){btn_left.setClickable(false);return;}else if(index == 0){btn_left.setClickable(false);switcher.setImageResource(indexs[index]);}else{btn_left.setClickable(true);switcher.setImageResource(indexs[index]);}}public void right(View v){index++;btn_left.setClickable(true);if(index > indexs.length-1){btn_right.setClickable(false);return;}else if(index == indexs.length - 1){btn_right.setClickable(false);switcher.setImageResource(indexs[index]);}else{btn_right.setClickable(true);switcher.setImageResource(indexs[index]);}}
}
<?xml version="1.0" encoding="utf-8"?>
<LinearLayout xmlns:android="http://schemas.android.com/apk/res/android"android:layout_width="match_parent"android:layout_height="match_parent"android:orientation="vertical" ><ImageSwitcherandroid:layout_weight="1"android:id="@+id/switcher"android:inAnimation=""android:outAnimation=""android:layout_width="match_parent"android:layout_height="0dp"android:background="#ffff00" /><LinearLayoutandroid:layout_gravity="bottom"android:weightSum="2"android:layout_width="match_parent"android:layout_height="wrap_content"android:orientation="horizontal" ><Buttonandroid:layout_weight="1"android:id="@+id/btn_left"android:layout_width="wrap_content"android:layout_height="wrap_content"android:onClick="left"android:text="上一张" /><Buttonandroid:layout_weight="1"android:id="@+id/btn_right"android:layout_width="wrap_content"android:layout_height="wrap_content"android:onClick="right"android:text="下一张" /></LinearLayout></LinearLayout>
ViewSwitcher
功能
使用
示例
private ViewSwitcher vs;@Overrideprotected void onCreate(Bundle savedInstanceState) {super.onCreate(savedInstanceState);setContentView(R.layout.main);findViewById(R.id.btn).setOnClickListener(new OnClickListener() {public void onClick(View v) {((ImageView) vs.getNextView()).setImageResource(R.drawable.bkg_img_default);vs.showNext();}});vs = (ViewSwitcher) findViewById(R.id.vs);vs.setFactory(new ViewFactory() {public View makeView() {//此时类似于ImageSwitcherreturn new ImageView(MainActivity.this);}});vs.setInAnimation(this, R.anim.test);vs.setOutAnimation(this, R.anim.test_inter);}
这篇关于ImageSwitcher与ViewSwitcher的文章就介绍到这儿,希望我们推荐的文章对编程师们有所帮助!


