本文主要是介绍XML Drawable 与9-Patches,希望对大家解决编程问题提供一定的参考价值,需要的开发者们随着小编来一起学习吧!
Android把任何可绘制在屏幕上的图形图像都称为drawable。drawable可以是一种抽象的图形、一个继承Drawable类的子类,或者是一张位图图像。接下来,我们将会接触到更多的drawable:state list drawable、shap drawable、layer list drawable以及nine patch drawable。前三个drawable通常定义在XML布局文件中,因此我们同一将他们归属为XMLdrawable类别。
一、Shap Drawable
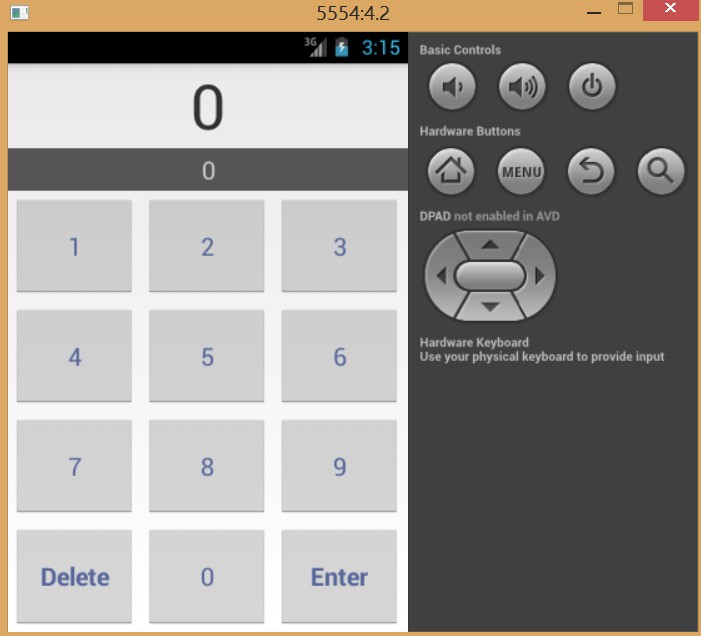
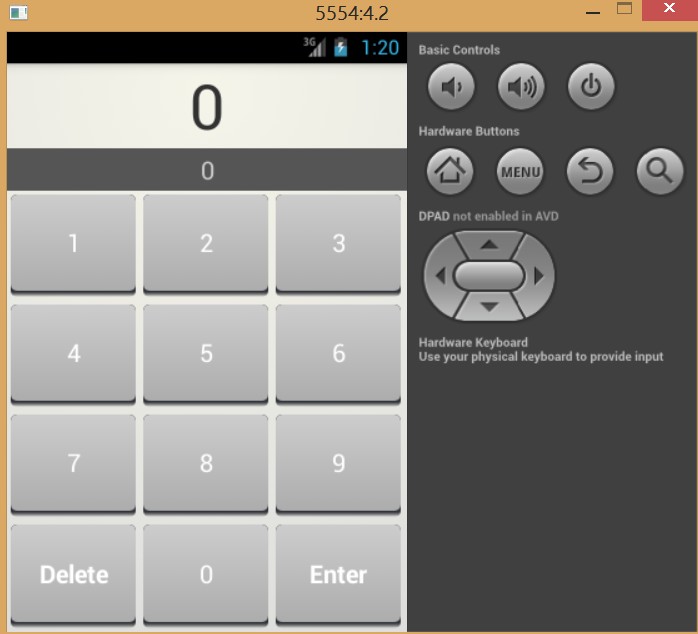
原图如下:
设置按钮的背景
<style name="RemoteButton"><item name="android:layout_width">0dp</item><item name="android:layout_height">match_parent</item><item name="android:textColor">#556699</item><item name="android:textSize">20dp</item><item name="android:layout_margin">3dp</item><item name="android:background">#ccd7ee</item></style>效果图如下:
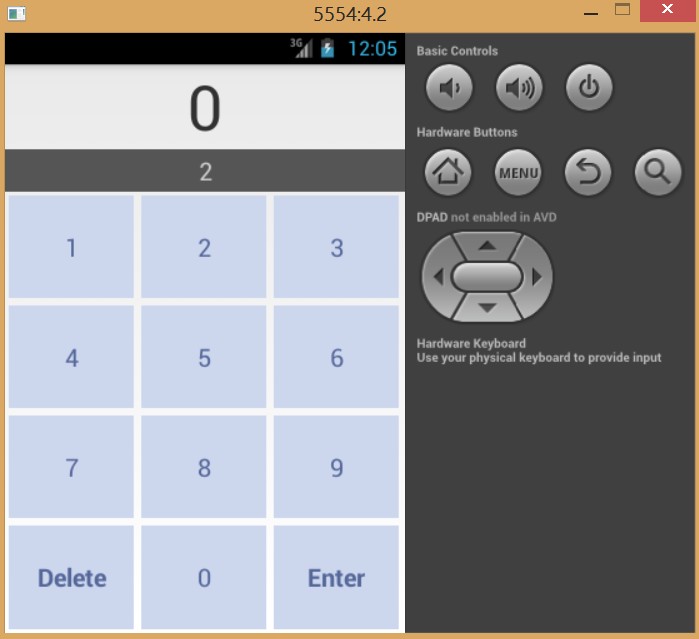
在style中添加了android:background属性后,按钮的三维视觉效果消失了。点击任何一个按钮,会发现按钮的状态切换也不起作用了。
只改变一个属性,为什么会带来如此大的变化?这是因为,和View类不同,Button类没有被赋予默认样式。默认样式来自于所选主题,并会设置一个Drawable作为视图的背景。正是这种背景Drawable负责着视图的三维显示效果以及状态的切换。
在res/drawable目录下,以shape为根元素创建一个名为button_shape_normal.xml的文件。
<?xml version="1.0" encoding="utf-8"?>
<shape xmlns:android="http://schemas.android.com/apk/res/android"android:shape="rectangle" ><corners android:radius="5dp" /><gradient
        android:angle="90"android:endColor="#cccccc"android:startColor="#acacac" /></shape>
该XML文件定义了一个圆角矩形。corners元素指定了圆角矩形的圆角半径,而gradient元素则指定了色彩渐变的方向以及起始颜色。
更新按钮的样式
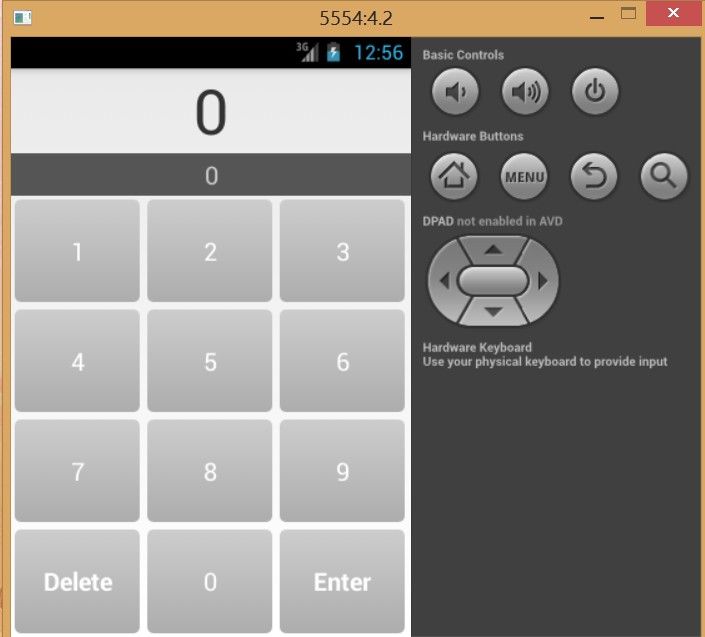
<style name="RemoteButton"><item name="android:layout_width">0dp</item><item name="android:layout_height">match_parent</item><item name="android:textColor">#556699</item><item name="android:textSize">20dp</item><item name="android:layout_margin">3dp</item><item name="android:background">@drawable/button_shape_normal</item></style>效果图如下
二、state list drawable
使用state list drawable,可根据关联View的不同状态显示不同的drawable。
在res/drawable目录下,以selector为根元素创建一个名为button_shape.xml的文件。
<?xml version="1.0" encoding="utf-8"?>
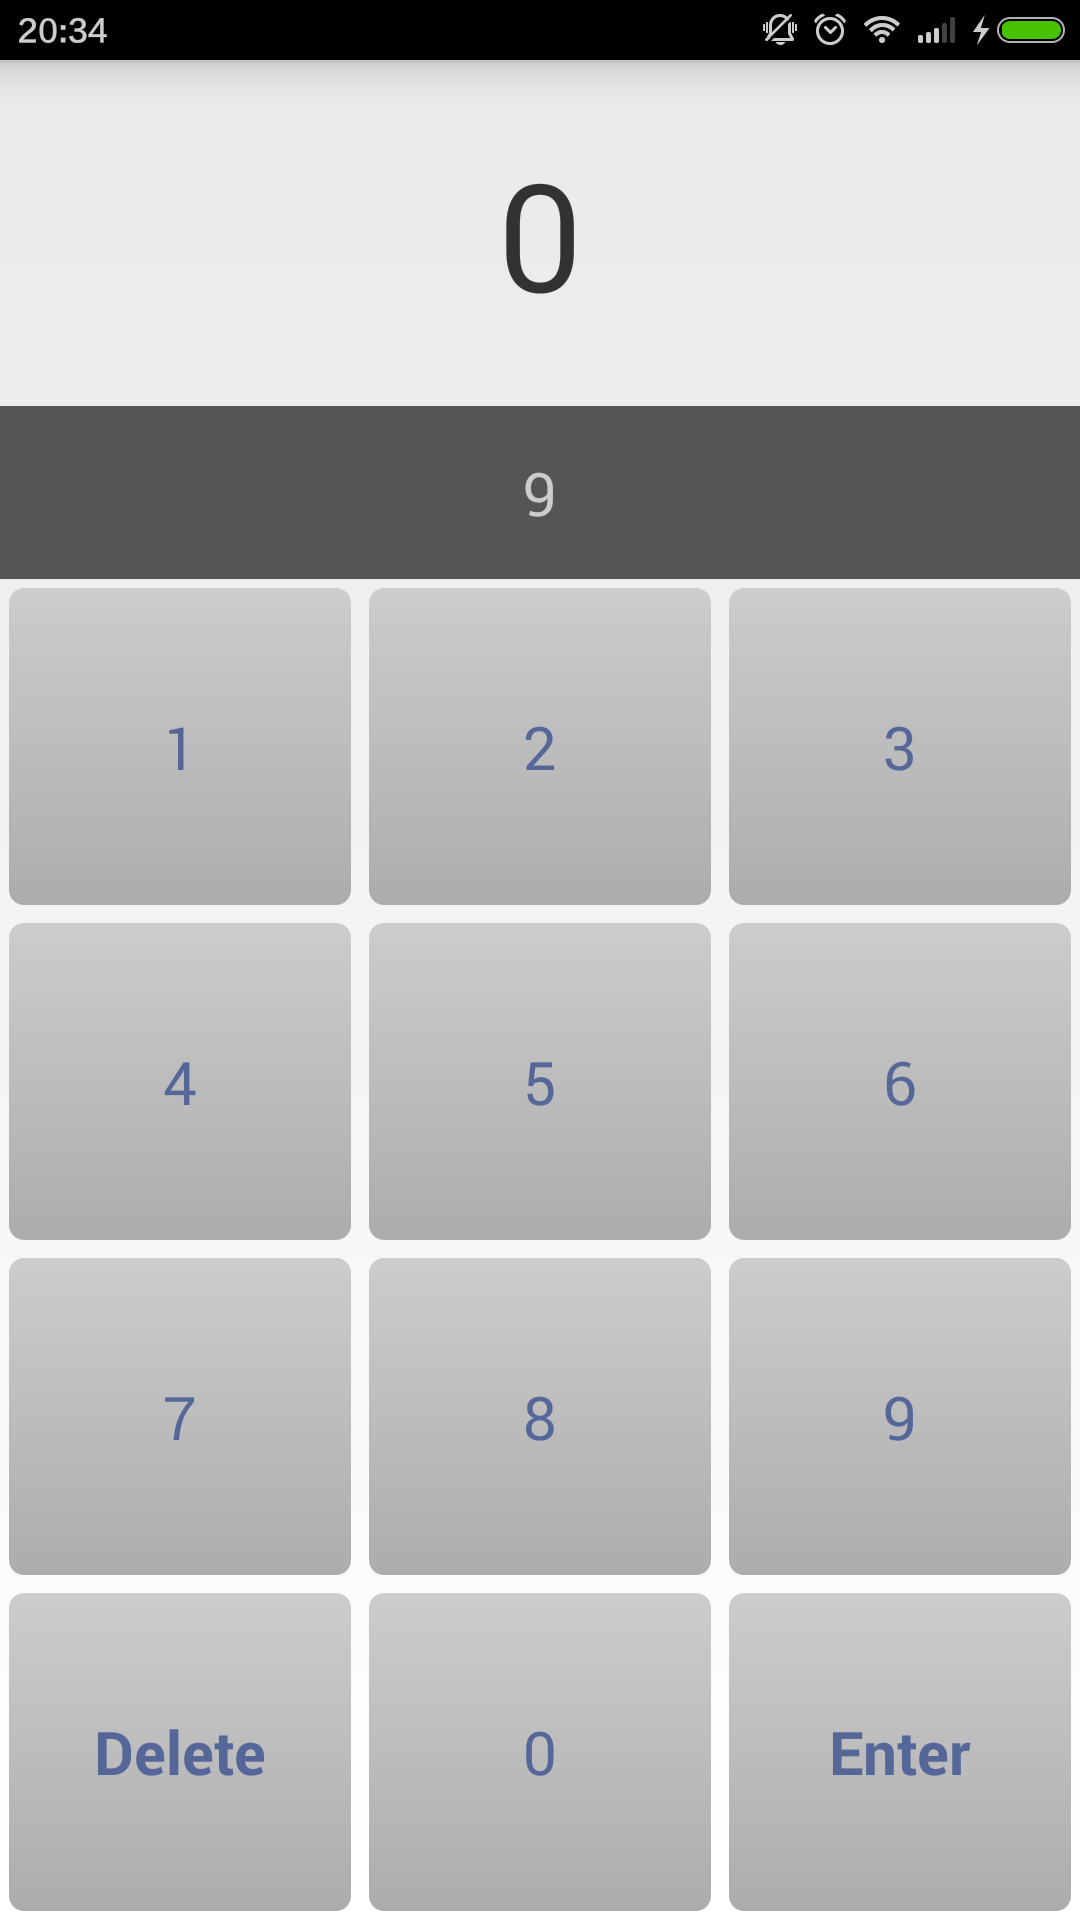
<selector xmlns:android="http://schemas.android.com/apk/res/android"><item android:drawable="@drawable/button_shape_pressed" android:state_pressed="true"></item><item android:drawable="@drawable/button_shape_normal" android:state_pressed="false"></item></selector>更新按钮的样式
<style name="RemoteButton"><item name="android:layout_width">0dp</item><item name="android:layout_height">match_parent</item><item name="android:textColor">@drawable/button_text_color</item><item name="android:textSize">20dp</item><item name="android:layout_margin">3dp</item><item name="android:background">@drawable/button_shape</item></style>效果图如下
三、layer list drawable与 inset drawable
原图时按钮具有阴影显示效果,但不幸得是,shape drawable没有可用的阴影属性。但使用其它两种类型的XML drawable,可自创阴影效果。这两种XML drawable 类型分别是:layer list drawable与 inset drawable。
在res/drawable目录下,以layer-list为根元素创建一个名为button_shape_shadowed.xml的文件。
<?xml version="1.0" encoding="utf-8"?>
<layer-list xmlns:android="http://schemas.android.com/apk/res/android" ><item><shape android:shape="rectangle" ><corners android:radius="5dp" /><gradient
                android:angle="90"android:centerColor="#303339"android:centerY="0.05"android:endColor="#000000"android:startColor="#00000000" /></shape></item><item><inset
            android:drawable="@drawable/button_shape"android:insetBottom="5dp" /></item></layer-list>
首先,使用与当前按钮drawable同样的shape创建一个阴影。然后,使用layer-list将阴影shape与当前按钮组合起来,在使用insert对按钮底边进行适当的短距移位,直到能够看到阴影显示。
可以看到,layer-list元素包含了多个drawable,并以从后至前的绘制顺序进行排序。列表中第二个drawable是一个insert drawable,其任务就是在已创建的drawable底部做5dp单位的移位,并刚好落在移位形成的阴影上。
注意,阴影drawable并未使用单独的文件,而是直接被嵌入了layer-list中。该技巧同样适用于其它drawable,如前面的state list drawable。
更新按钮的样式
<style name="RemoteButton"><item name="android:layout_width">0dp</item><item name="android:layout_height">match_parent</item><item name="android:textColor">@drawable/button_text_color</item><item name="android:textSize">20dp</item><item name="android:layout_margin">3dp</item><item name="android:background">@drawable/button_shape_shadowed</item></style>效果图如下
四、9-patch drawable
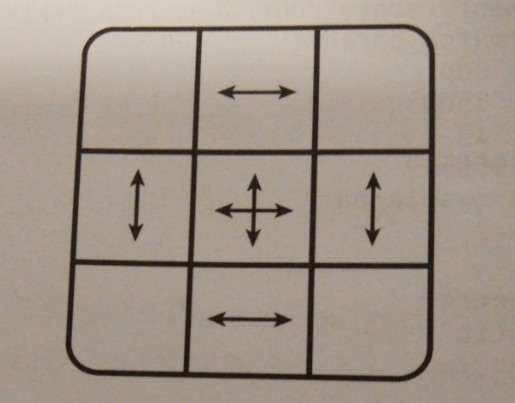
为什么叫做9-patch?9-patch可将图像分成3x3的网格,即由9部分或9 patch组成的网格。网格角落的patch不会被缩放,边缘部分的4个patch只按一个维度缩放,而中间部分则同时按两个维度缩放。
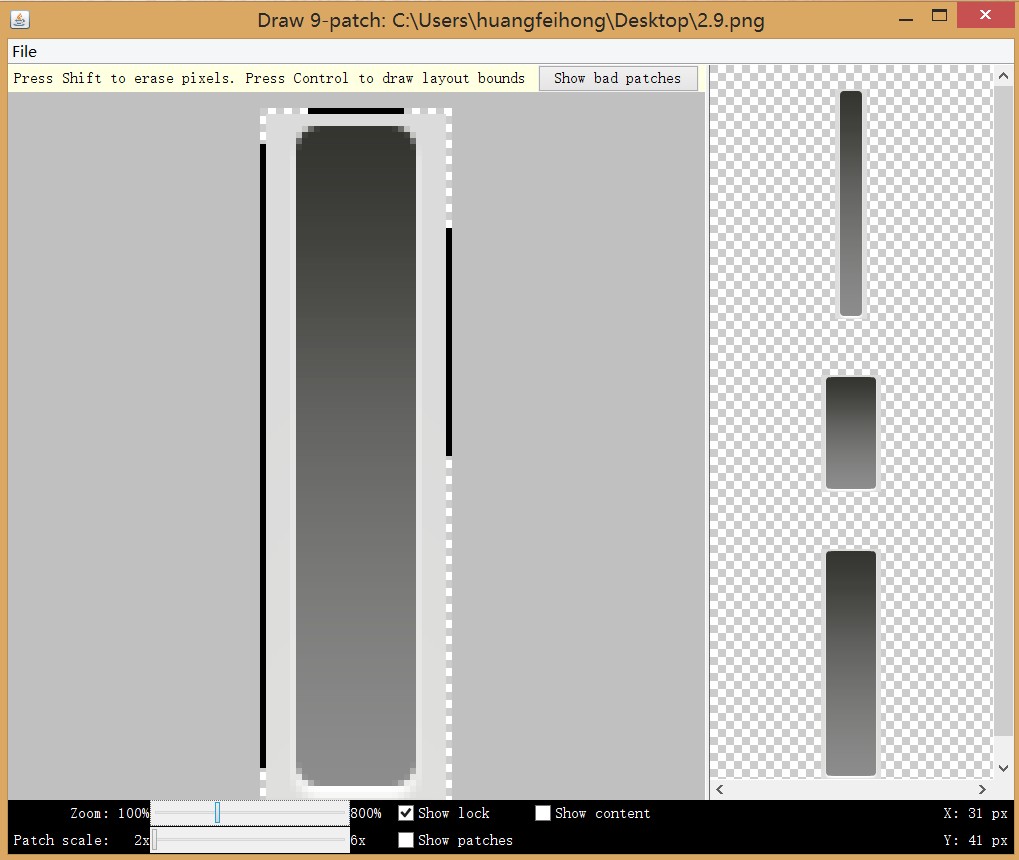
9-patch图像和普通图像基本相同,但以下两点除外:9-patch图像文件名是以.9,png结尾,图像边缘具有一个像素宽度的边框,用以指定9-patch图像的中间位置。边框像素绘制为黑线,以表明中间位置,边缘部分则用透明色表示。
顶部以及左边边框标记了图像的可伸缩区域。底部以及右边框定义了用于9-patch图像的可选drawable区域。drawable区域是内容(通常是文字)绘制的地方。
代码地址
这篇关于XML Drawable 与9-Patches的文章就介绍到这儿,希望我们推荐的文章对编程师们有所帮助!


